Decorative cutting boards
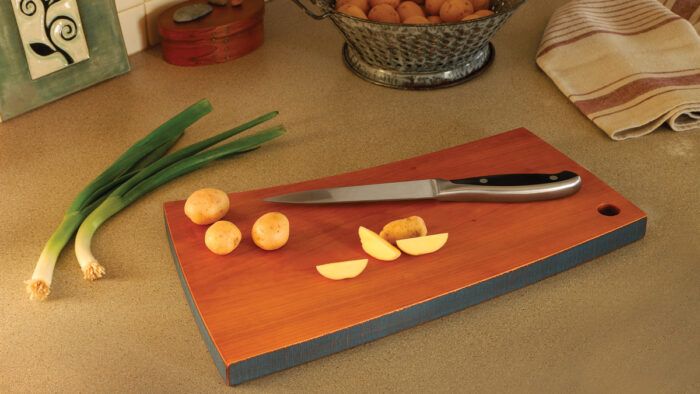
Mark Gardner's lovely cutting boards are perfect for carving decoration on one side and dinner on the other.

Synopsis: Because cutting boards are often kept out where they can be seen, Mark Gardner designed some that are fully functional and yet decorative. With their carved faces, curved edges, and hole for hanging, they are built to last years in the kitchen while looking beautiful at the same time.
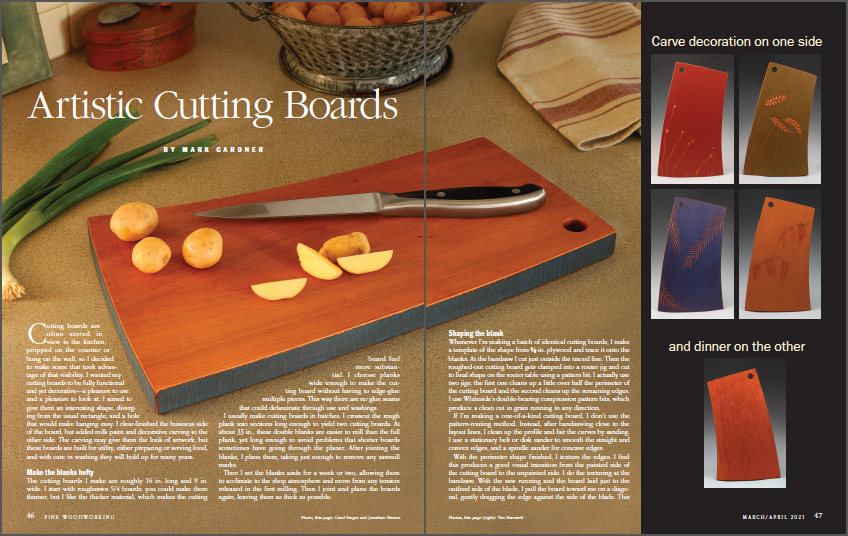
Cutting boards are often stored in view in the kitchen, propped on the counter or hung on the wall, so I decided to make some that took advantage of that visibility. I wanted my cutting boards to be fully functional and yet decorative—a pleasure to use and a pleasure to look at. I aimed to give them an interesting shape, diverging from the usual rectangle, and a hole that would make hanging easy. I clear-finished the business side of the board, but added milk paint and decorative carving to the other side. The carving may give them the look of artwork, but these boards are built for utility, either preparing or serving food, and with care in washing they will hold up for many years.
Make the blanks hefty
The cutting boards I make are roughly 16 in. long and 9 in. wide. I start with roughsawn 5/4 boards; you could make them thinner, but I like the thicker material, which makes the cutting board feel more substantial. I choose planks wide enough to make the cutting board without having to edge-glue multiple pieces. This way there are no glue seams that could delaminate through use and washings.

I usually make cutting boards in batches. I crosscut the rough plank into sections long enough to yield two cutting boards. At about 33 in., these double blanks are easier to mill than the full plank, yet long enough to avoid problems that shorter boards sometimes have going through the planer. After jointing the blanks, I plane them, taking just enough to remove any sawmill marks.
Then I set the blanks aside for a week or two, allowing them to acclimate to the shop atmosphere and move from any tension released in the first milling. Then I joint and plane the boards again, leaving them as thick as possible.
Video: Rough around the edges
Mark Gardner adds an aesthetic and tactile touch to the edges by pulling the board
across the bandsaw blade on a diagonal. In this video, he shows exactly how it’s done.
Shaping the blank
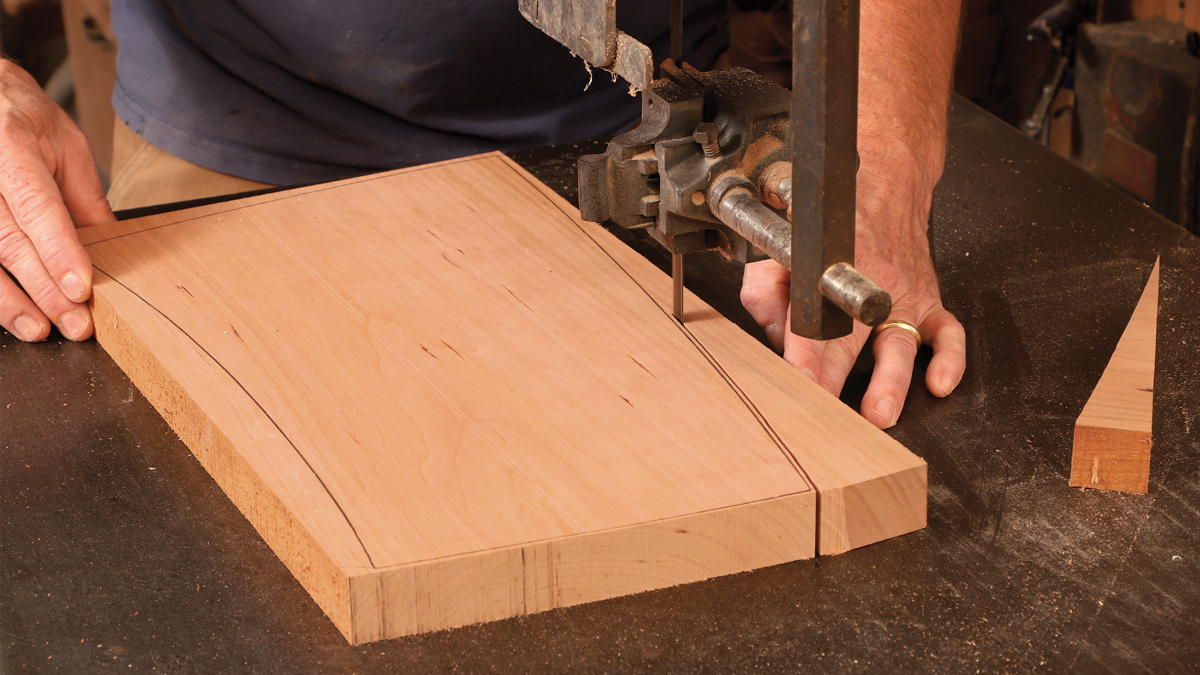
Whenever I’m making a batch of identical cutting boards, I make a template of the shape from 1⁄4-in. plywood and trace it onto the blanks. At the bandsaw I cut just outside the traced line. Then the roughed-out cutting board gets clamped into a router jig and cut to final shape on the router table using a pattern bit. I actually use two jigs; the first one cleans up a little over half the perimeter of the cutting board and the second cleans up the remaining edges. I use Whiteside’s double-bearing compression pattern bits, which produce a clean cut in grain running in any direction.
 From Fine Woodworking #288
To view the entire article, please click the View PDF button below.
The Coolest Woodworking Cutting Board Ever?
Smart, Stylish Cutting Boards
Make an End-Grain Cutting Board
Fine Woodworking Recommended Products

Suizan Japanese Pull Saw


Log in or create an account to post a comment.
Sign up Log in