Video: A textured and carved cutting board
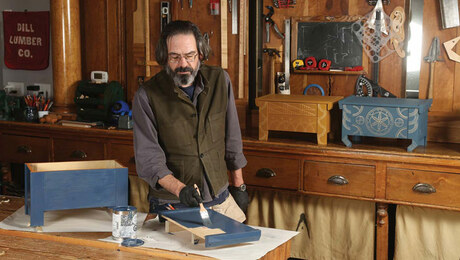
Mark Gardner adds an aesthetic and tactile touch to the edges by pulling the board across the bandsaw blade on a diagonal. In this video, he shows exactly how it’s done.If I’m making a one-of-a-kind cutting board, I don’t use the pattern-routing method. Instead, after bandsawing close to the layout lines, I clean up the profile and fair the curves by sanding. With the perimeter shape finished, I texture the edges. I find this produces a good visual transition from the painted side of the cutting board to the unpainted side. I do the texturing at the bandsaw. With the saw running and the board laid just to the outfeed side of the blade, I pull the board toward me on a diagonal, gently dragging the edge against the side of the blade. This allows the set of the teeth to score the surface without digging in too deep and affecting the shape. Adding this texture may seem odd, since I’ve just used the sander or router to remove the bandsaw marks, but this process produces a different kind of texture and one I can easily control. With the machine work complete, I sand the boards, front and back, to 150 grit.
Use a power carver to add the designs
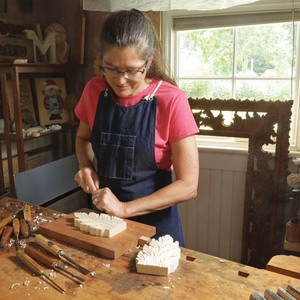
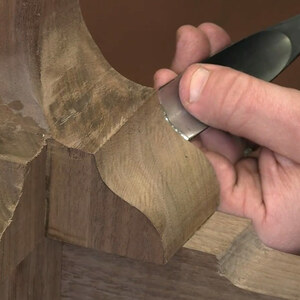
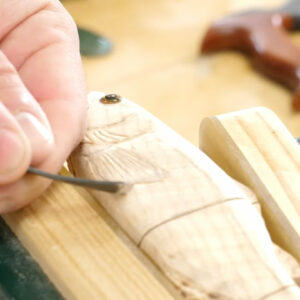
My wife, Nancy, came up with several designs for carvings on the painted side of my cutting boards. You can transfer a carving design to the milk-painted surface by placing carbon paper or transfer paper between the pattern and the cutting board. Using light pressure, trace over the design to transfer it to the cutting board. Then, using a V-chisel in a power carver, cut along the pattern through the paint to the wood surface below to create the image. I use an Automach reciprocating power carver and buy blades from Flexcut. The Automach is a great tool; pricey, but well worth it. For years, though, I used a Ryobi reciprocating carver, which was far less expensive than my current model and still worked very well.


Comments
Is that a food safe paint on your cutting board?
Log in or create an account to post a comment.
Sign up Log in