Gouges for Green Woodworking
David Fisher puts together a collection of his favorite gouges, suggesting which sizes are most useful and explaining what each is best used for.
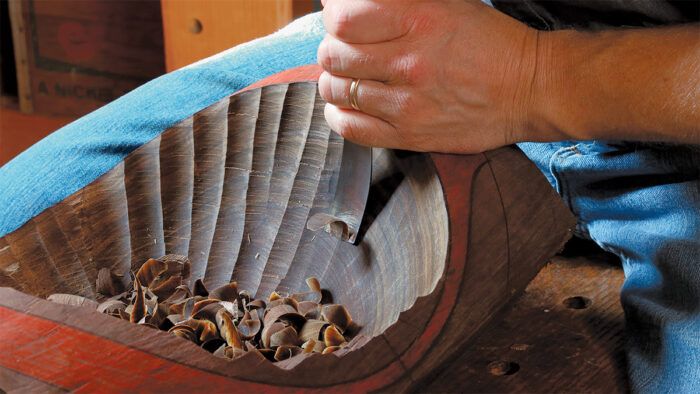
Synopsis: A small kit of eight carving tools can help you make bowls, spoons, shrink pots, chairs, and more. Here, green woodworker David Fisher puts together a collection of his favorite gouges, suggesting which sizes are most useful and explaining what each is best used for.
A handful of sharp carving tools can tackle many green woodworking tasks, helping you to make bowls, spoons, shrink pots, chairs, and more. They can also help accomplish the same jobs as other, harder-to-find tools, like adzes or a quality hook knife. Luckily, a small kit is enough to open up plenty of variety in your work.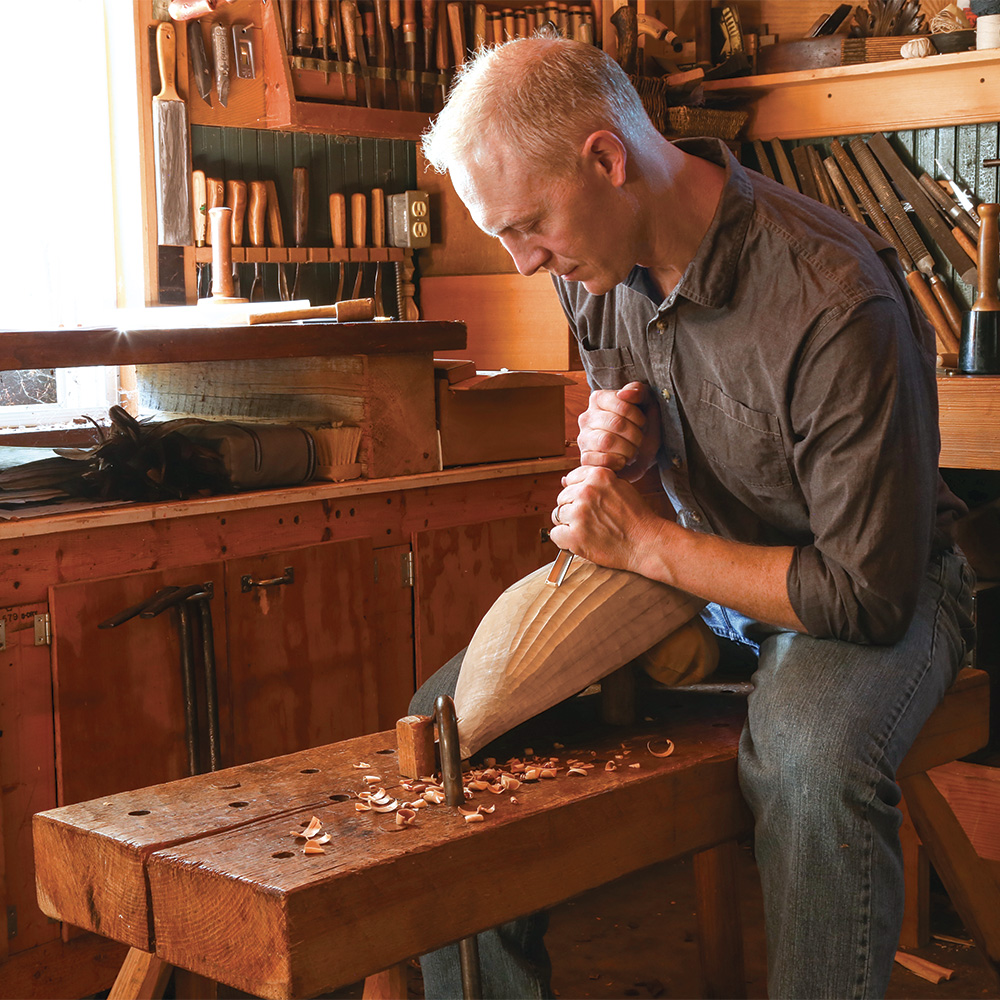
I find myself regularly reaching for the eight tools listed in this article. But don’t be overly concerned with acquiring the exact sweep (the first number in the tool’s name) and width (the second number) specified here. In most cases, it makes little difference whether you do the job with a #4 sweep or a #5. (For reference, the lower the number, the shallower the sweep.) So while I’ve listed specific sweeps and widths, you should think more generally, using my setup as a guide. And you may want to adjust for the particularities of the work you wish to do. Plus, variations between numbering systems and subtle differences between manufacturers makes exact matching difficult.
My favorite gouges, or close approximations, are all readily available from reputable brands, new or antique. Regardless of their vintage, I recommend full-size tools with an overall length of around 10 in.
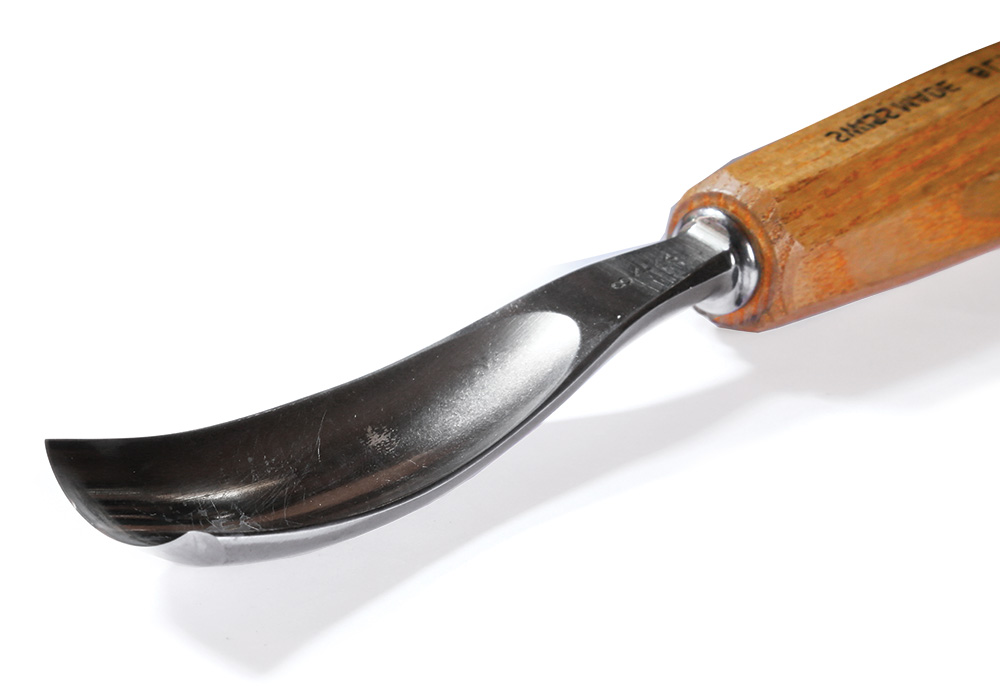
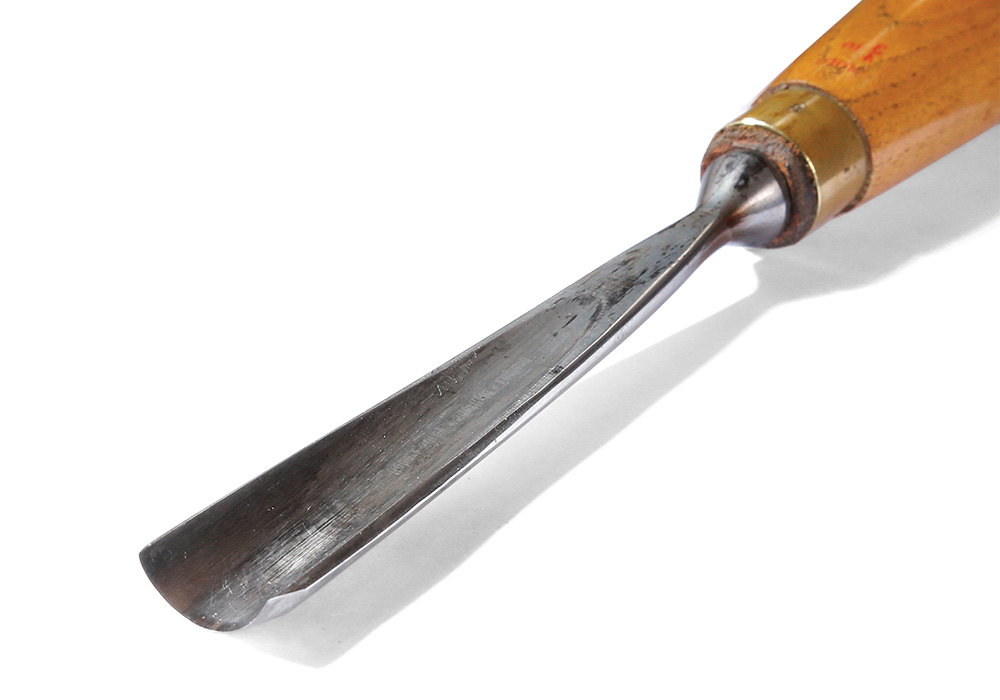
#8 30MM bent gouge
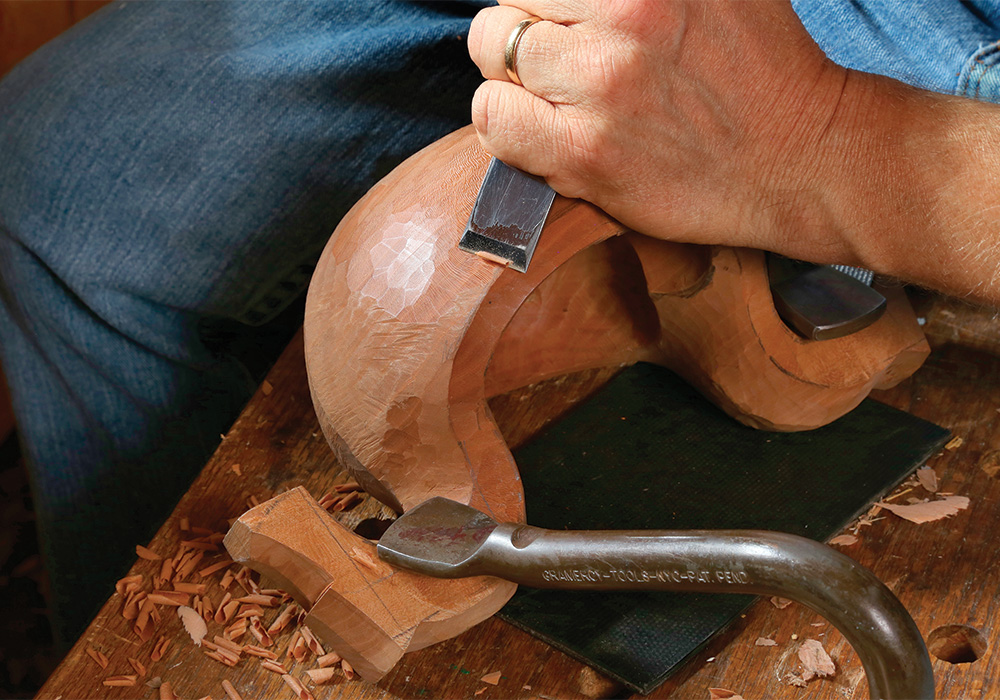
In general, higher sweeps are more versatile for hollowing, because they go deeper and into tighter areas without their corners digging in. In fact, you’ll find four #8 gouges on this list; that’s how useful I find them. Another special aspect of this gouge is that it’s bent, meaning the shank swoops down so it’s not in line with the handle, as it would be with a straight gouge. The bend allows the gouge to follow into hollows that could not be negotiated by a straight gouge. This gouge is also great for sculpting tasks such as the hollows underneath a bowl’s handles or the inside of a spoon’s bowl.
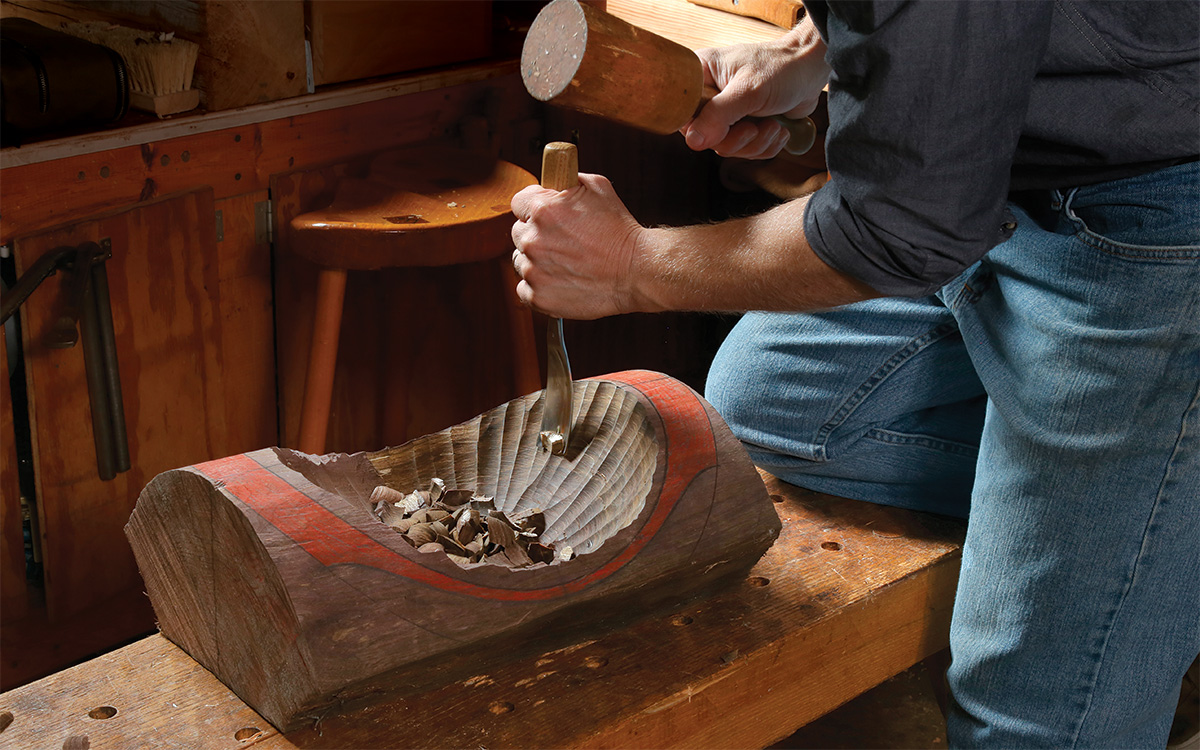
Video workshop: Carve a Greenwood Bowl with David Fisher
Using tools usually relegated to firewood preparation, David Fisher
starts with a log and turns it into a bowl that’s refined and beautiful.
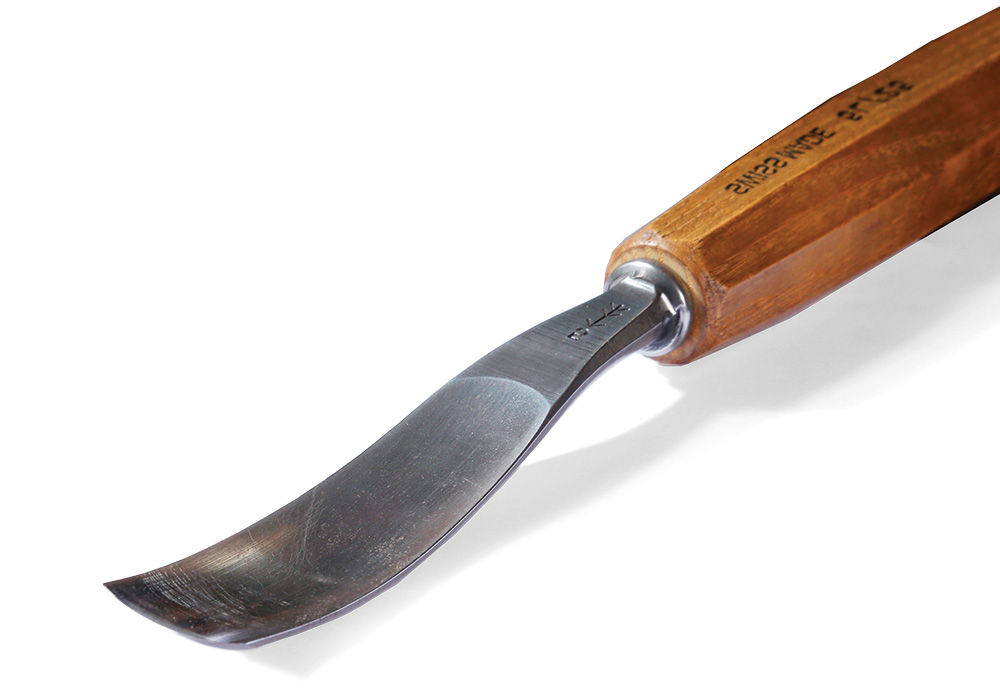
#5 25MM bent gouge
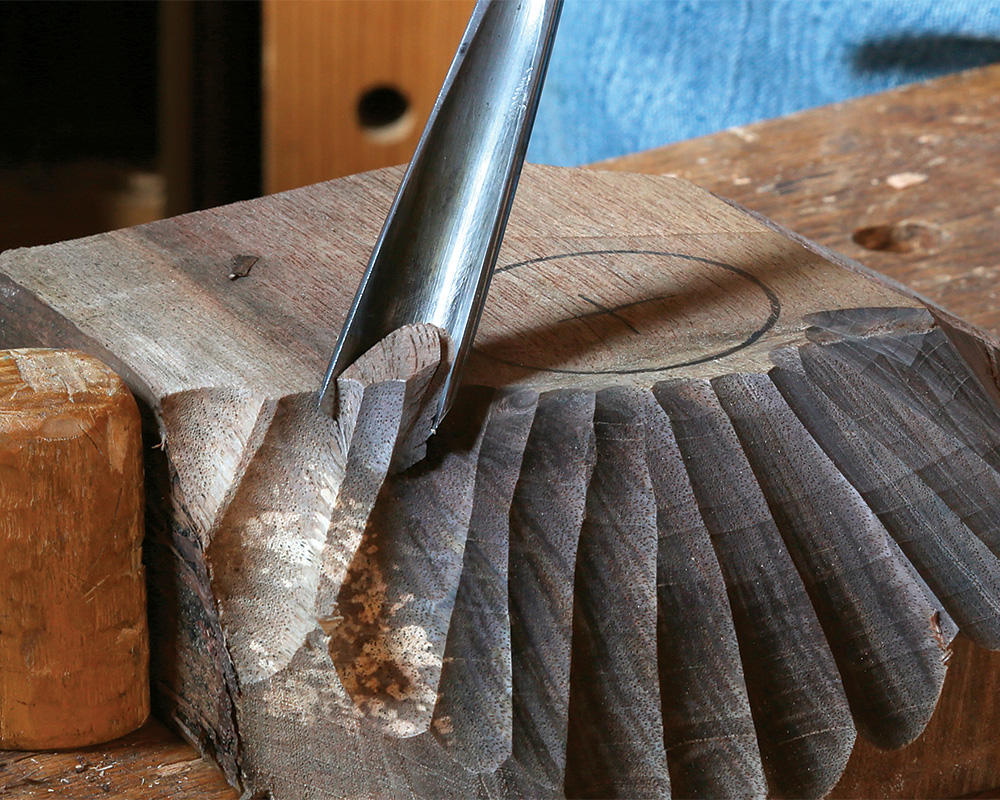
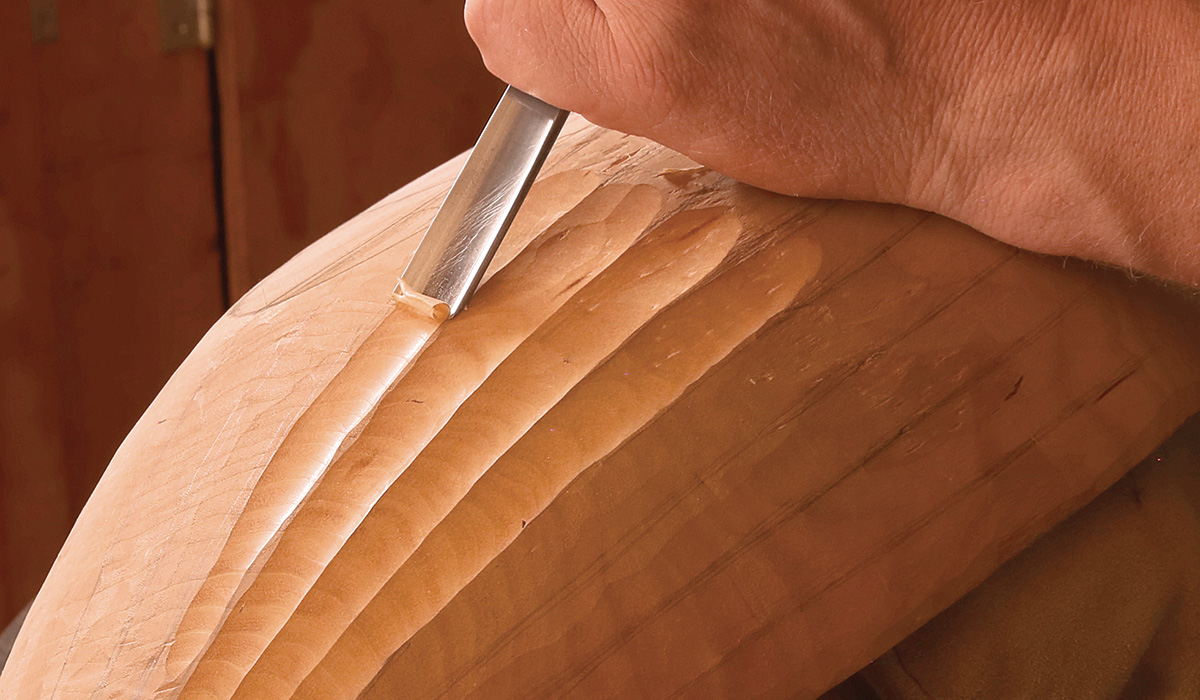
This medium-sweep gouge is a nice complement to the preceding #8. It can refine the boldly furrowed surface left by the #8 and leave a more subtle texture. I typically hold it in a dagger grip with my thumb over the back of the handle and registered against the front of my shoulder. I drop my knees and use my body weight for smooth, controlled paring cuts. For some small bowls, a narrower #5 may be a better option, but for most the curve of this gouge will negotiate the hollow without the corners digging in.
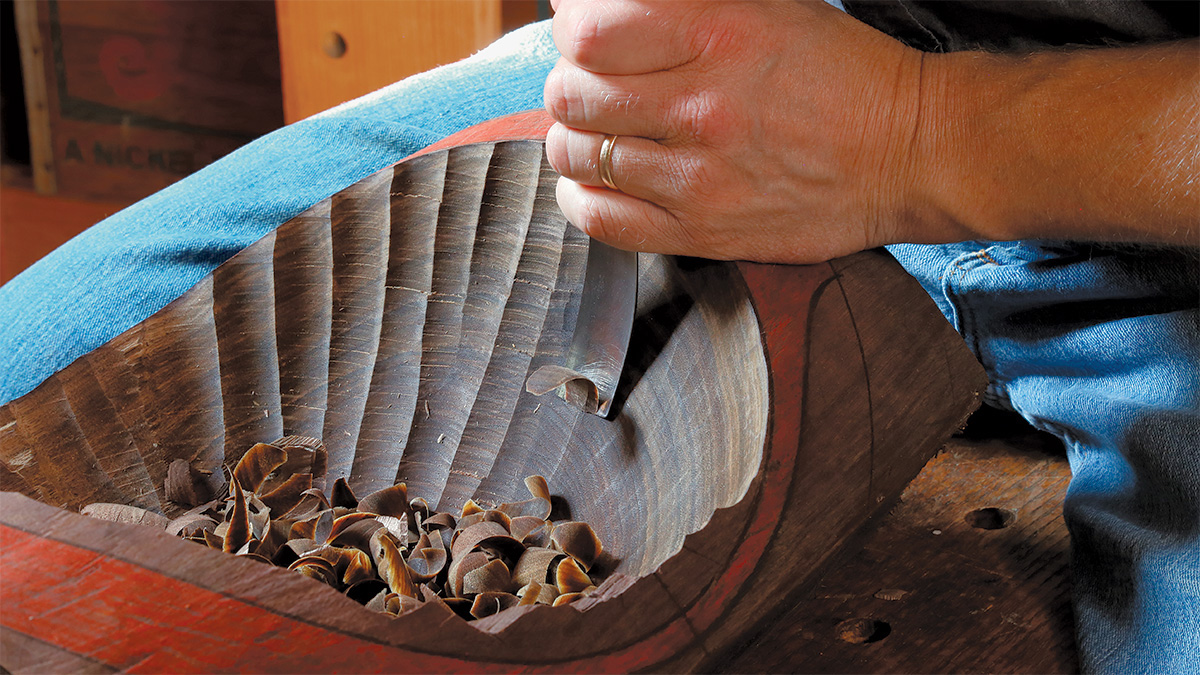
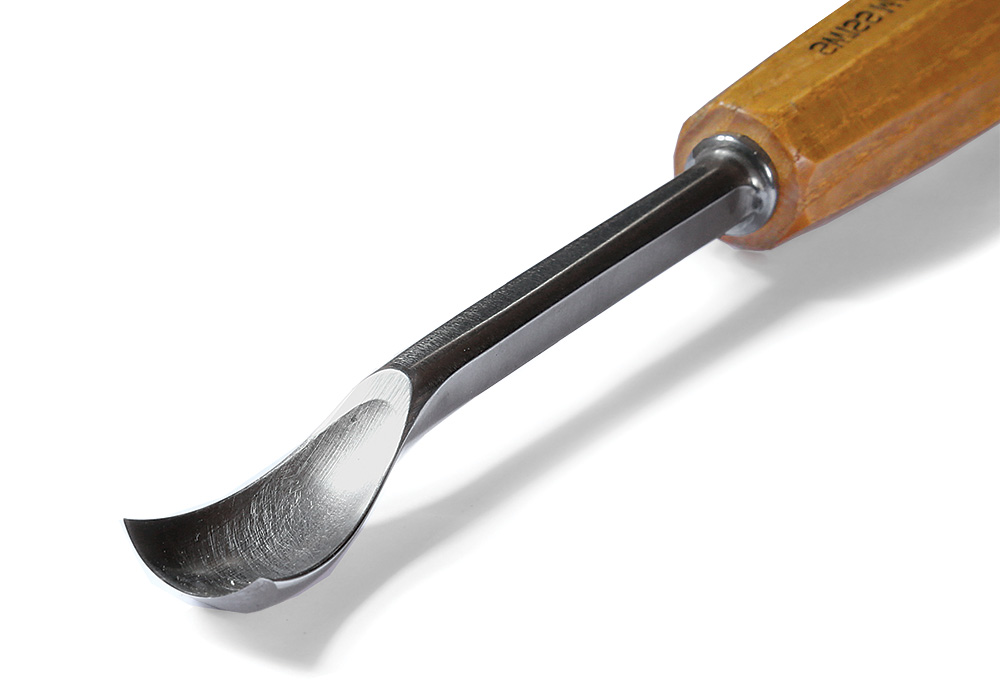
#8 20MM spoon-bent gouge
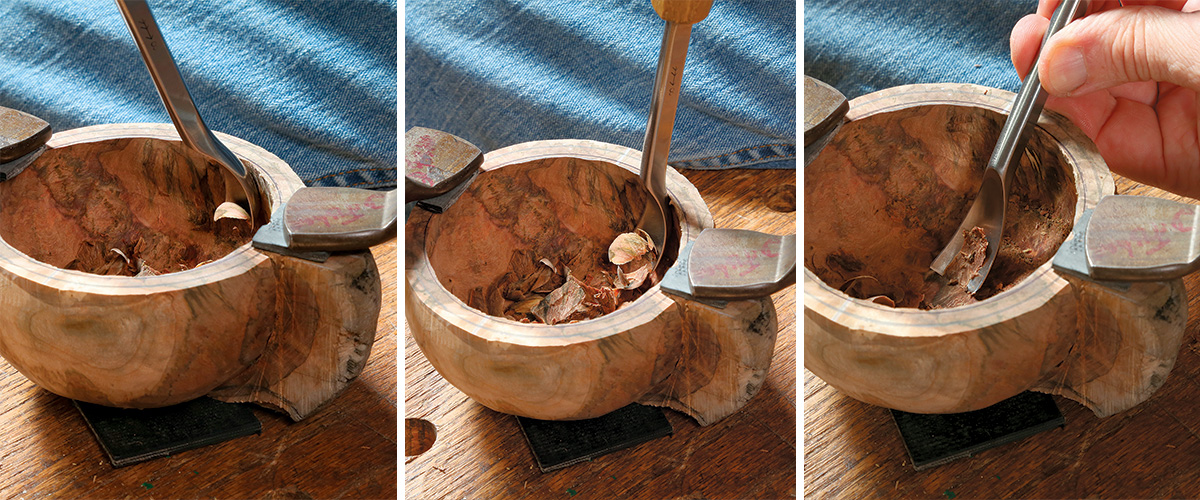
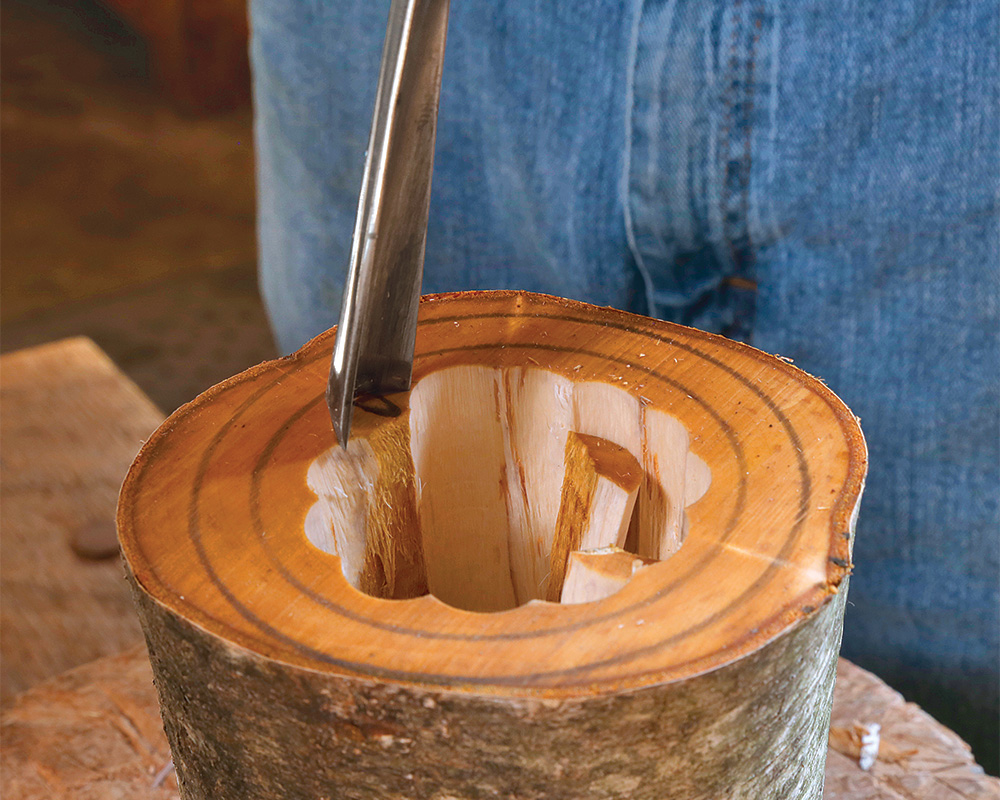
For hollows too steep and deep for even a bent gouge, a spoon-bent gouge really shines. Spoon-bent gouges have straight shafts for most of their length, finished by an abrupt scoop in the last inch or two. These tools can be rotated further than even a bent gouge before the handle interferes with the cut. This allows them to stand in for hook knives.
I typically hollow a deep ale bowl, for example, using a progression of gouges from straight to bent to spoon-bent. Only the spoon-bent can hog away so deeply and even undercut walls. Similar hollows, like those of kuksas—deeply hollowed drinking cups—also call for the spoon-bent gouge. For tricky-to-reach areas in the center of more standard bowls, go with a shallower sweep.
#8 20MM gouge
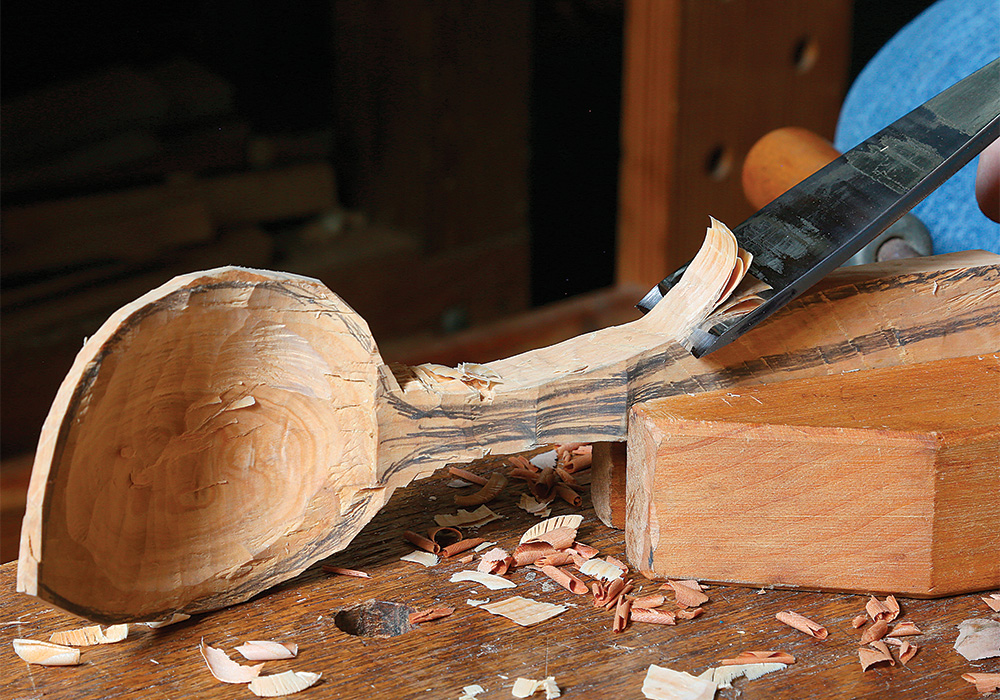
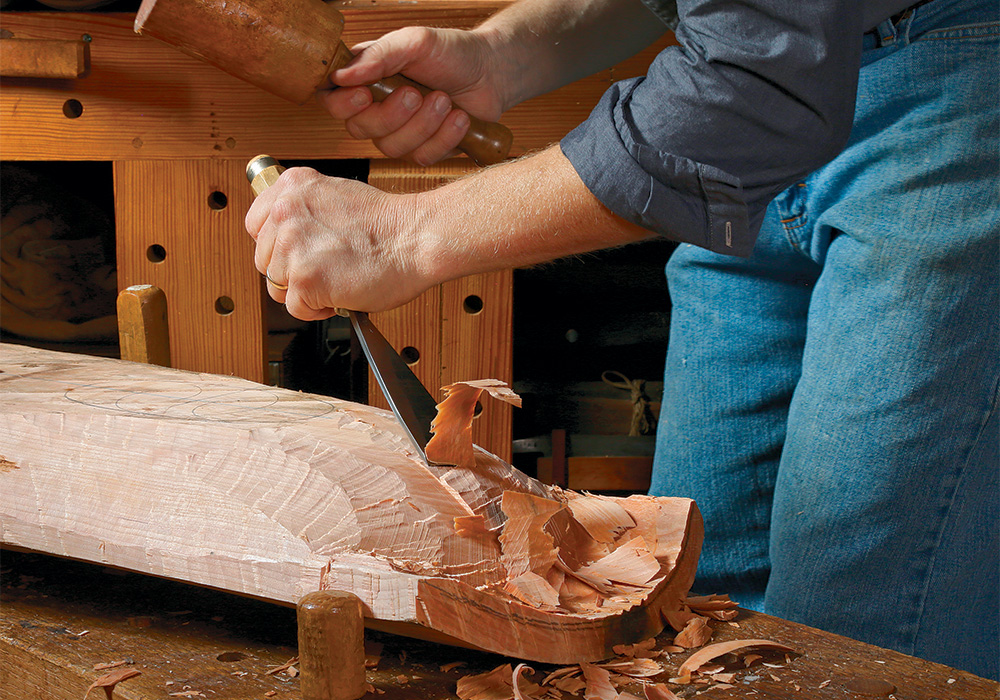
Here’s another #8, but this time straight. Bent gouges are essential for working into most hollows, but they’re awkward and more difficult to control on flat and convex surfaces. Conversely, this straight gouge can hog away material from the exterior of a bowl or other sculptural pieces. It’s a great general wood remover, even for shrink pots. Once you’ve bored out the center of the branch section for a shrink pot, the straight #8 can work its way through the rest of the material quickly. The outer bevel provides the control that prevents the tool from digging in too aggressively. The interior of the walls can be finished with the gouge or with a knife. If your work is unusually large, consider a wider version.
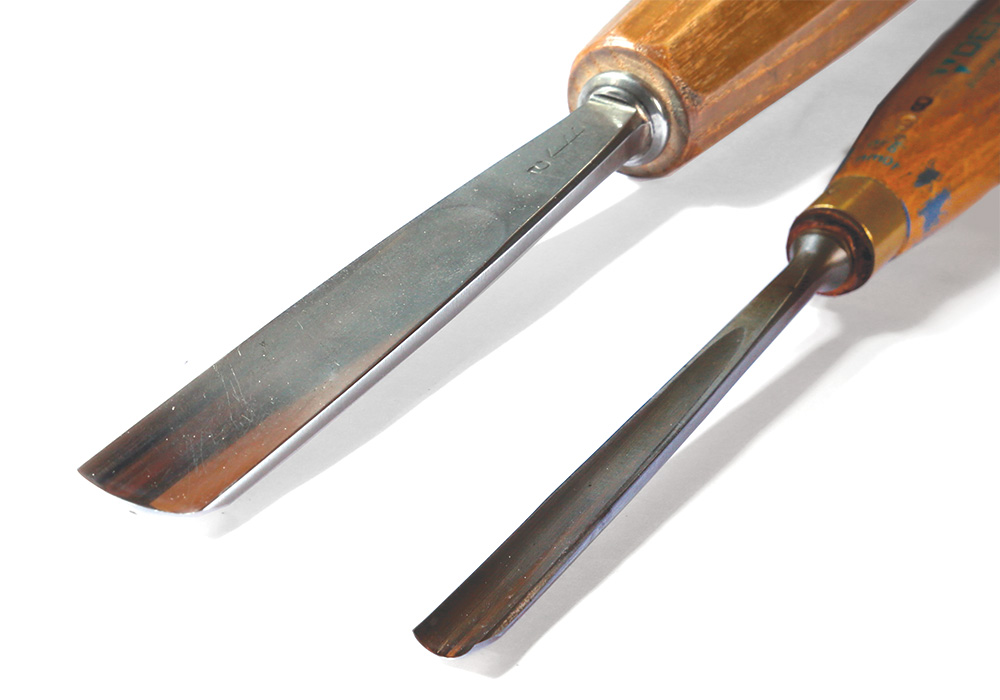
#5 18MM and #8 10MM gouge
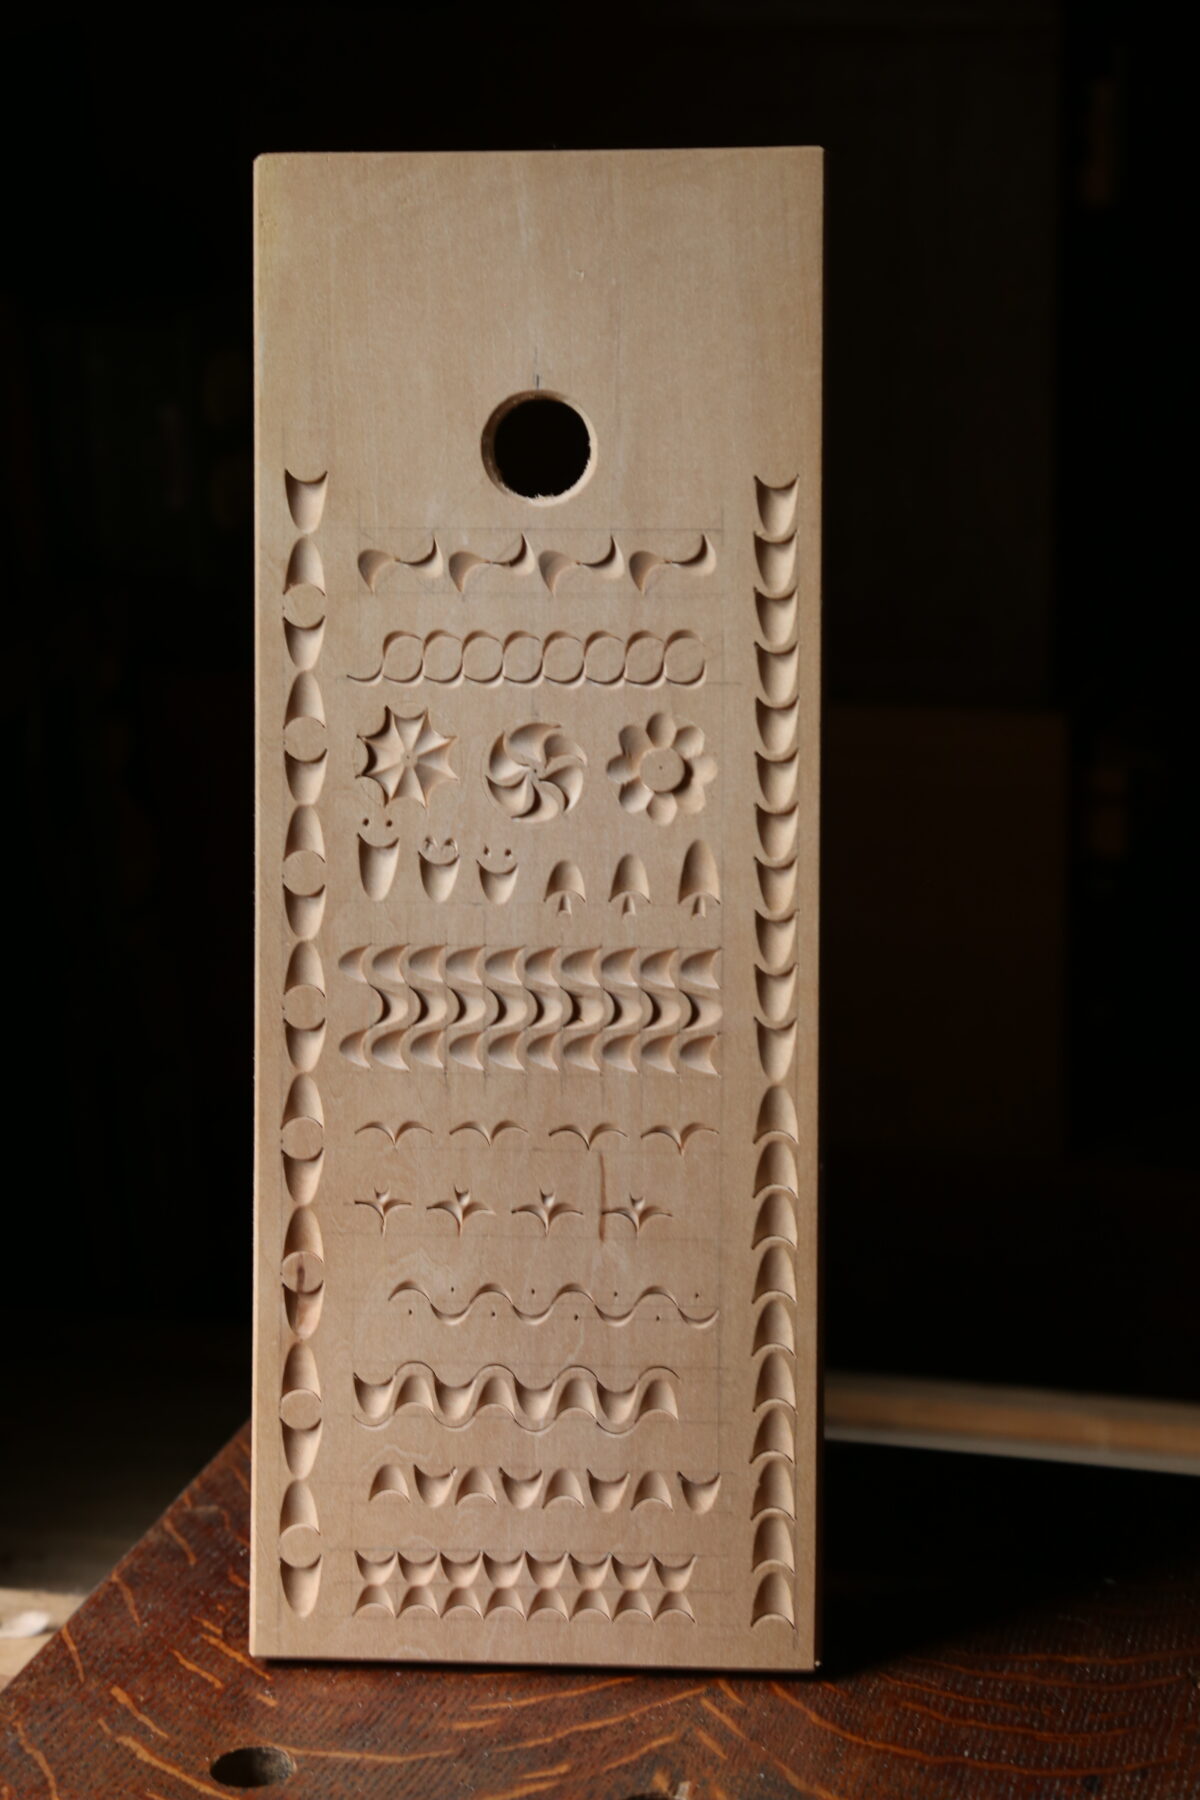
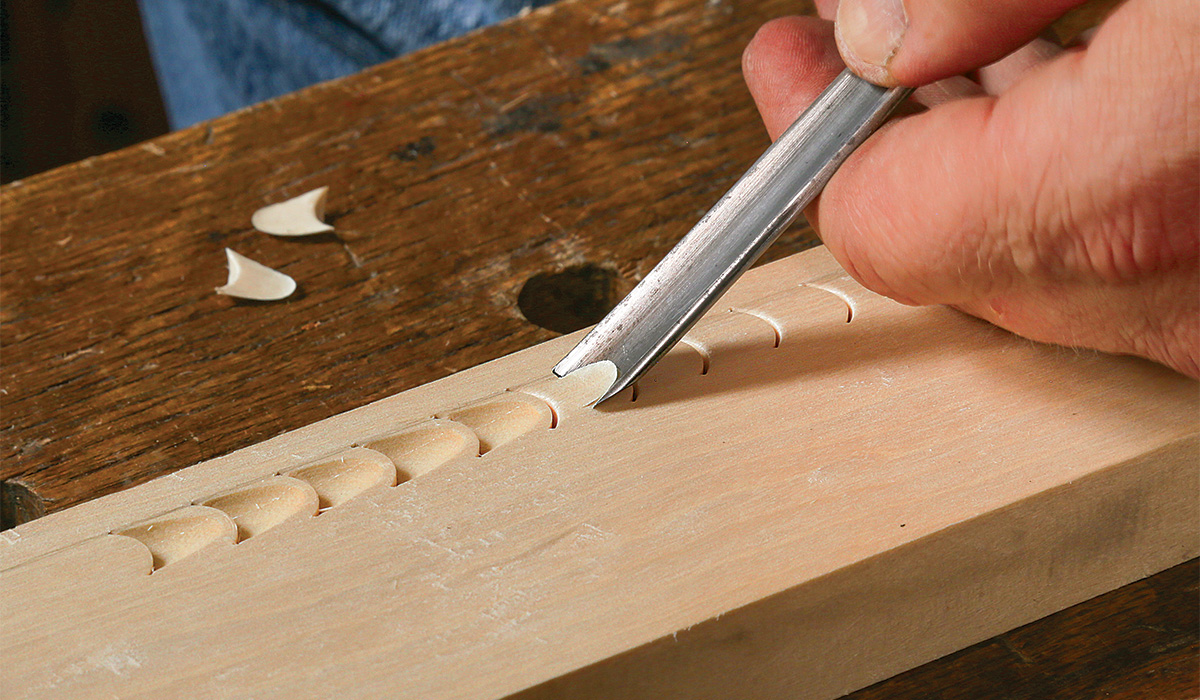
The larger of these two gouges is ideal for carving flutes deep enough to be noticed, but not so much as to leave fragile sharp peaks between hollows. There is a fine hand-worked texture left from each forward nudge of the gouge. The smaller gouge is a handy sweep and size for all sorts of jobs. It adds another, more bold, texturing tool to the kit, but I use it most for decorative thumbnail cuts.
#1 25–40MM double-bevel chisel
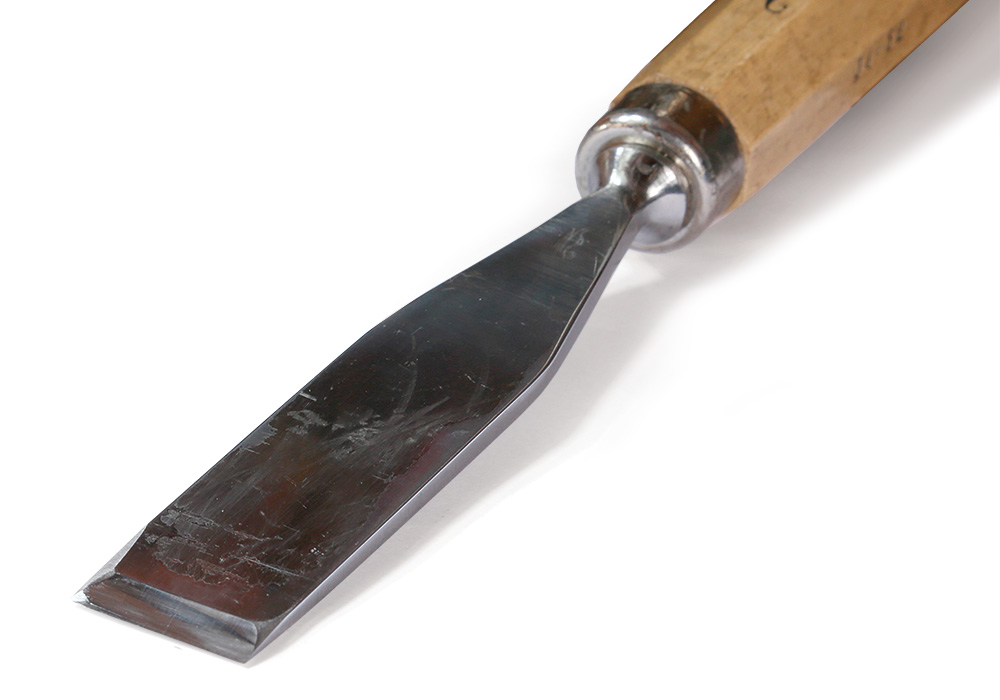
A flat chisel in this width range can hog away material or refine subtle facets on exterior surfaces. It can cut chamfers, including stopped ones. It’s perfect for large “chip” cuts, even in harder wood. A 40mm chisel can be challenging to manage, but, because of its width, the corners are less likely to dig in on surfaces that are only slightly convex. A tapered shaft can make a wide chisel easier to grasp. While you can do the same tasks with a standard bench chisel, the double bevels improve control. When using a bench chisel bevel-down, the handle must be raised relatively high. A double bevel chisel with a cutting edge at the same angle needs to be raised only half as high since the angle is split between two bevels. This puts the handle more in line with the cut—a better approach.
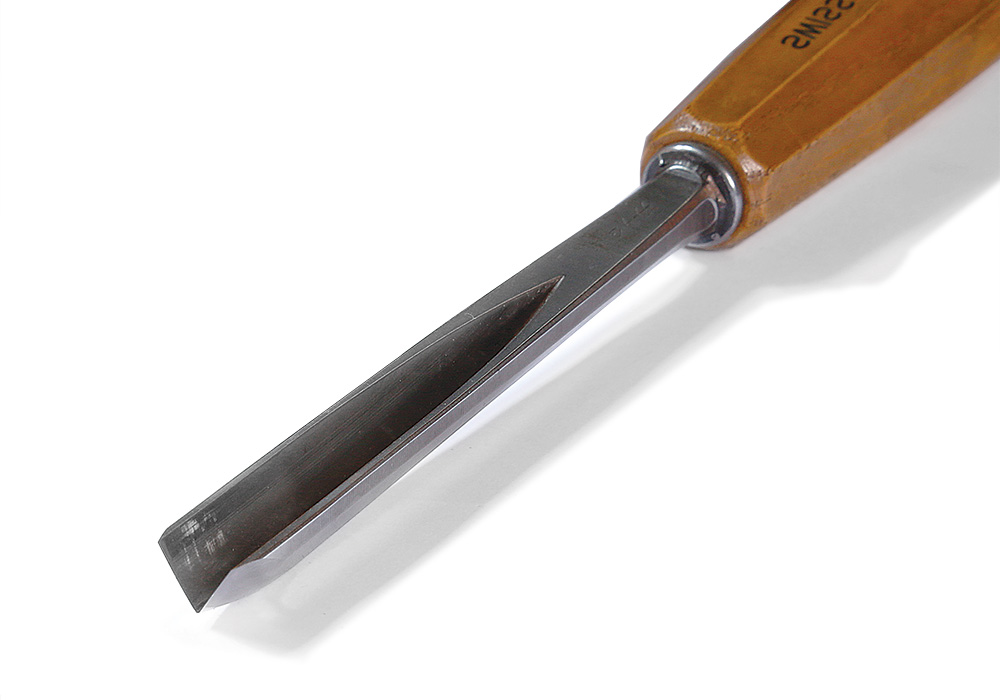
#12 (60°) 10MM V-tool
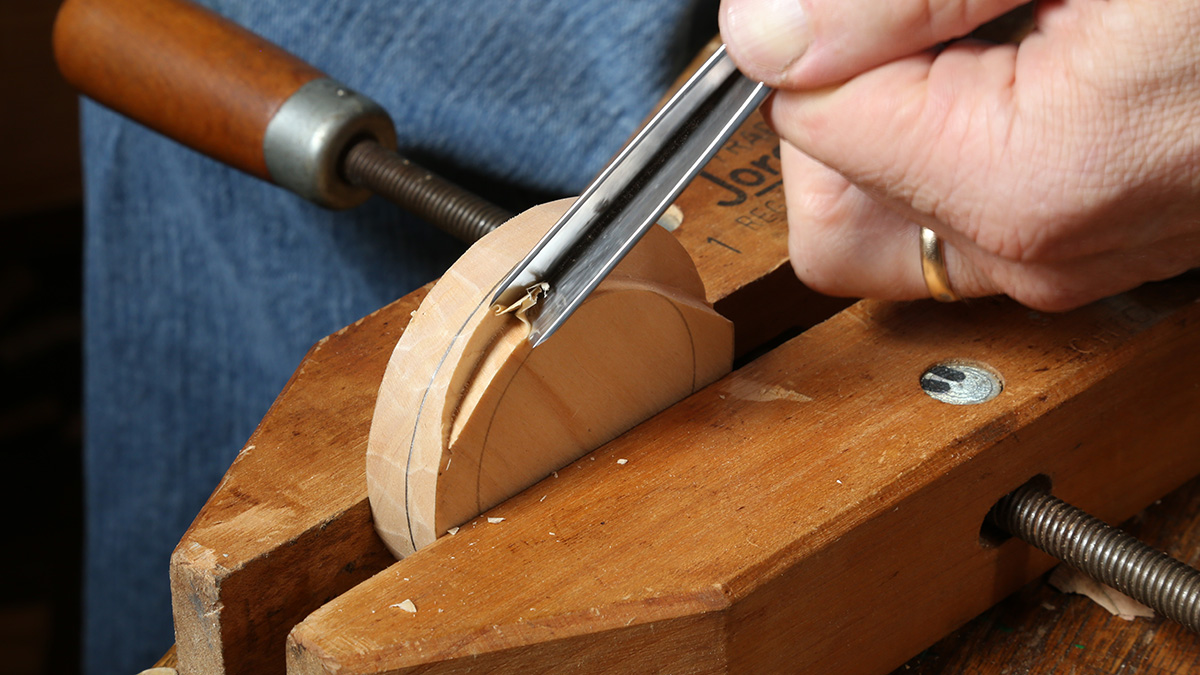
A good V-tool is indispensable for all sorts of green woodworking tasks. Many decorative carving techniques require a V-tool, including many of the 17th-century carving motifs like those Peter Follansbee specializes in. I also use this tool to begin excavating the large triangular recesses I sometimes carve on bowl rims and handles. A more surprising use may be in carving the rabbet on round shrink pot lids. With the lid secured on edge in a clamp, I work by hand or with a mallet to remove the majority of the waste from the rabbet with the V-tool. The job can be finished with the V-tool by tilting one wing and then the other to pare to each line separately.
From Fine Woodworking #288
Greenwood: What to look for in an adze
Carve Your Daily Bowl
Sharpening gouges and drawknives with a lapidary wheel
Fine Woodworking Recommended Products

Starrett 12-in. combination square

Veritas Precision Square
Lie-Nielsen No. 102 Low Angle Block Plane



Log in or create an account to post a comment.
Sign up Log in