Tools for power carving
Danny Kamerath shows off the tools he uses when power carving.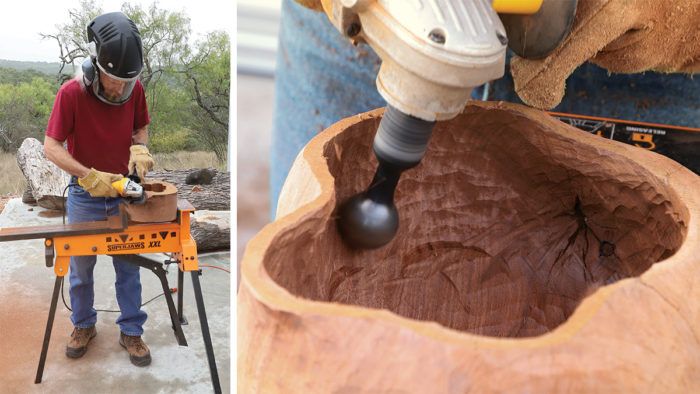
Safety and stability. (photo, above left) Carving outside whenever possible, Kamerath uses a portable bench/vise, the Triton Super Jaws XXL. He wears leather gloves and a Trend Airshield helmet, which provides filtered air as well as a face shield. He wears ear protectors with the band swung under his chin.
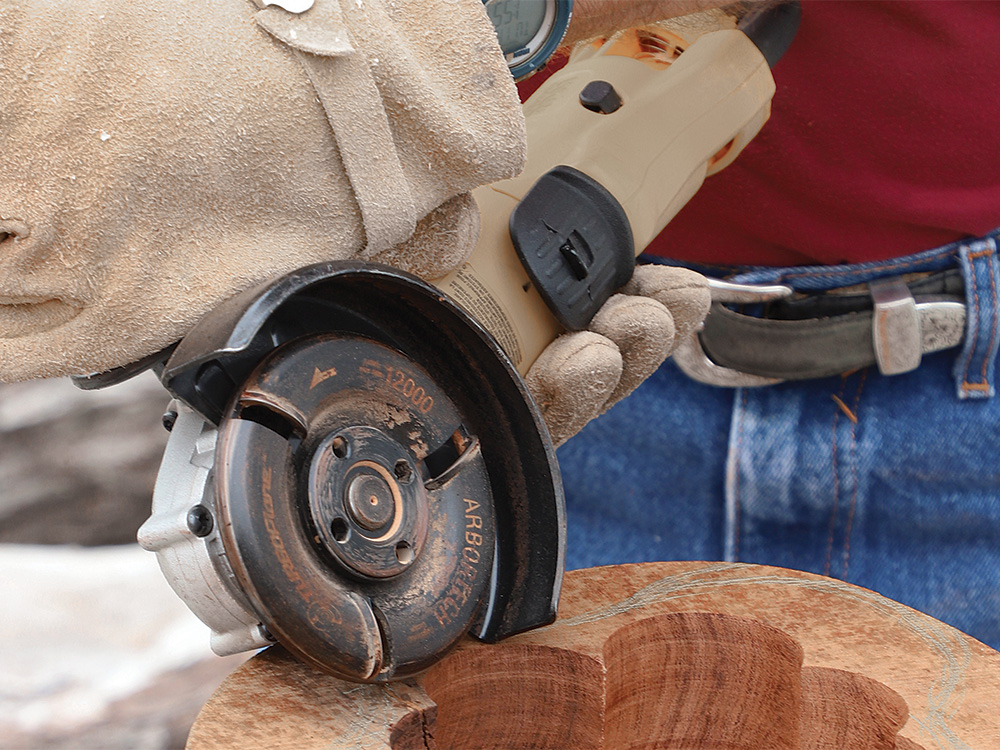
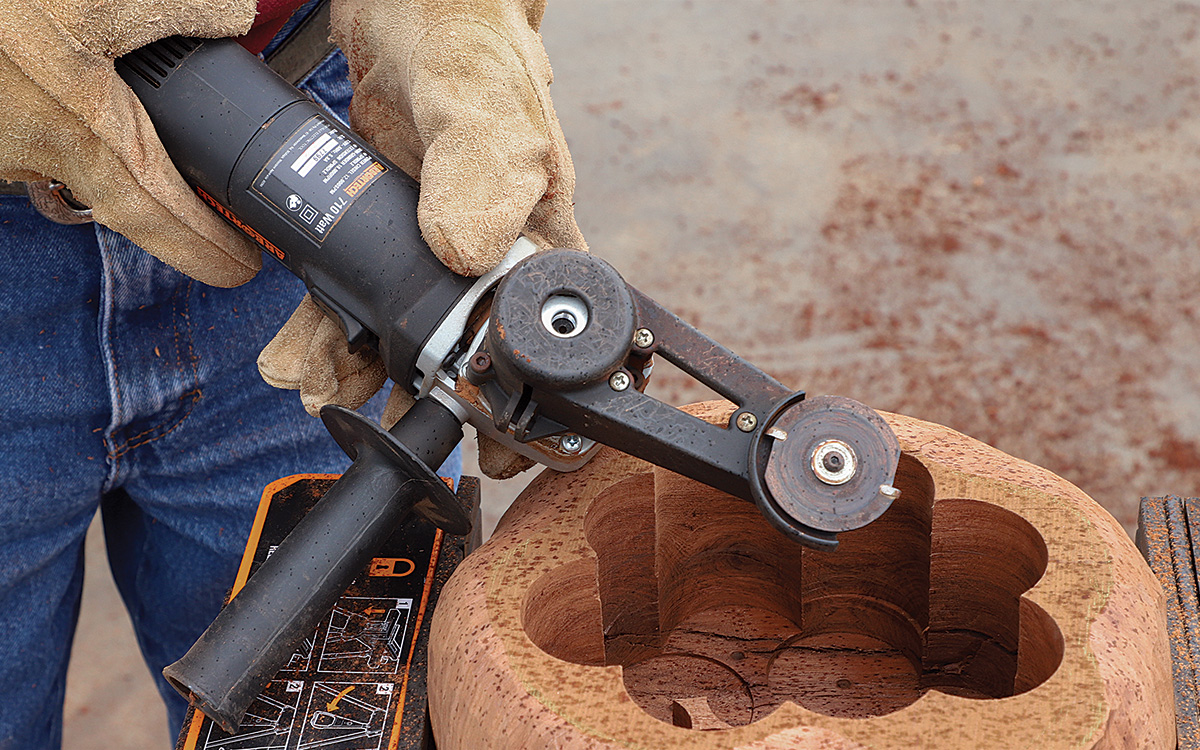
Get to the grinding. For the aggressive first shaping of the outside, Kamerath uses a 4-in. grinder with an Arbortech Turbo Plane attachment. He begins carving with the blank upright, then turns it on its side to round the bottom, rotating it as he goes.
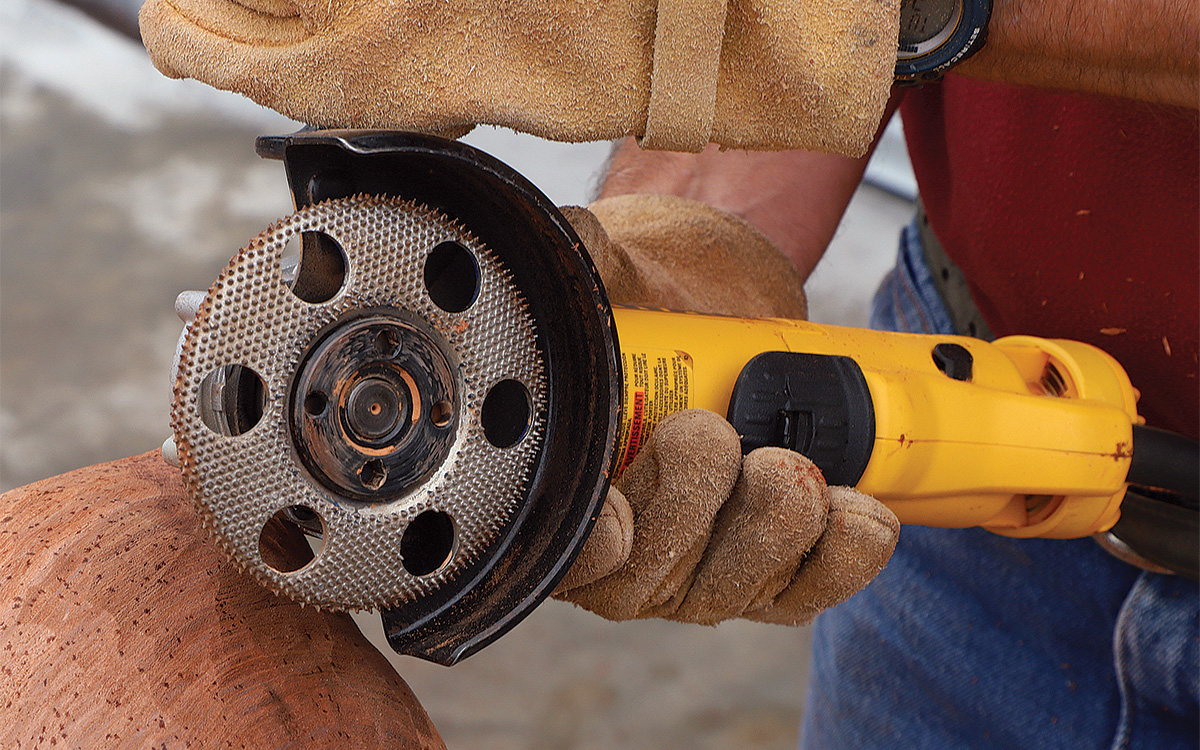
Coarse tool, smooth contours. A coarse carbide Saburrtooth carving wheel refines the shapes roughed out by the Turbo Plane. When you finish smoothing the sides, invert the bowl and create a shallow dished area at the center on the bottom; this helps the bowl sit stably on a flat surface.
Powerful tool for the inside. Kamerath uses an Arbortech Mini Carver with a carbide cutting wheel to rough out the inside of the bowl. The tool removes wood quickly and aggressively and leaves a deeply fluted surface. He works cautiously with it, as it is easy to grind too much.
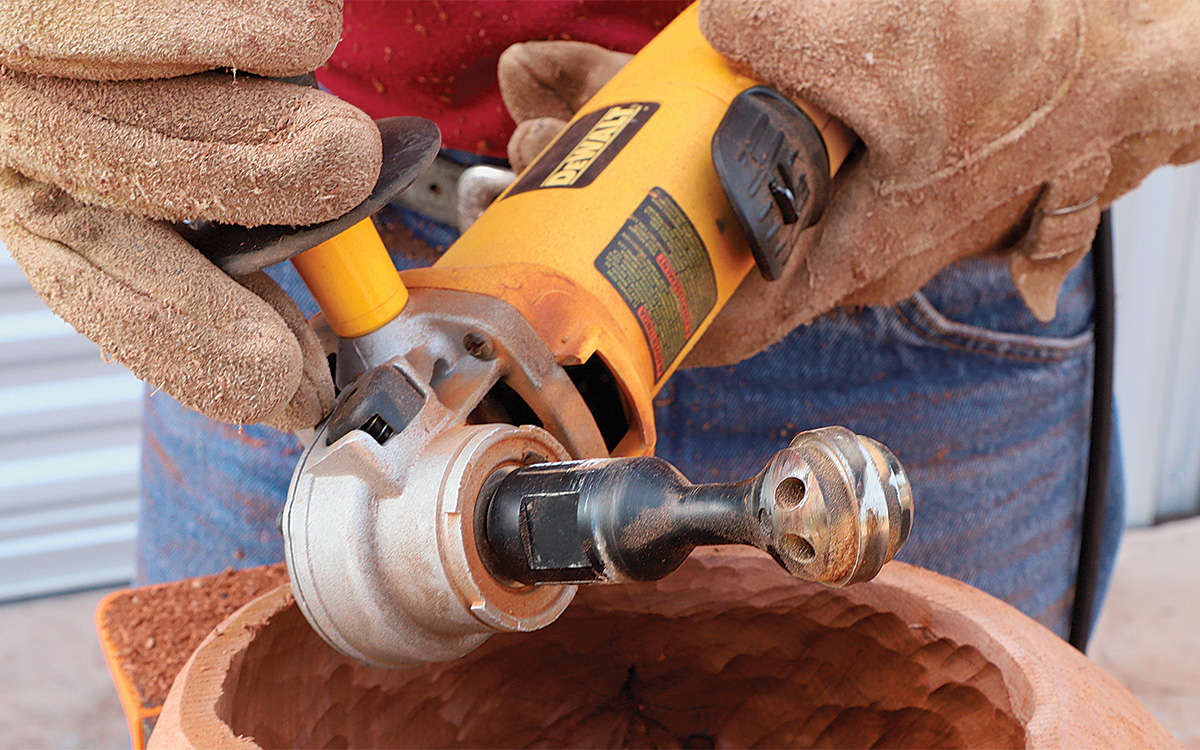
Medium smoother. A ball gouge in a 4-in. grinder fairs the ribbed surface left by the Mini- Carver. The ball gouge, which leaves a somewhat scalloped texture itself, is particularly handy for working undercut portions of the rim.
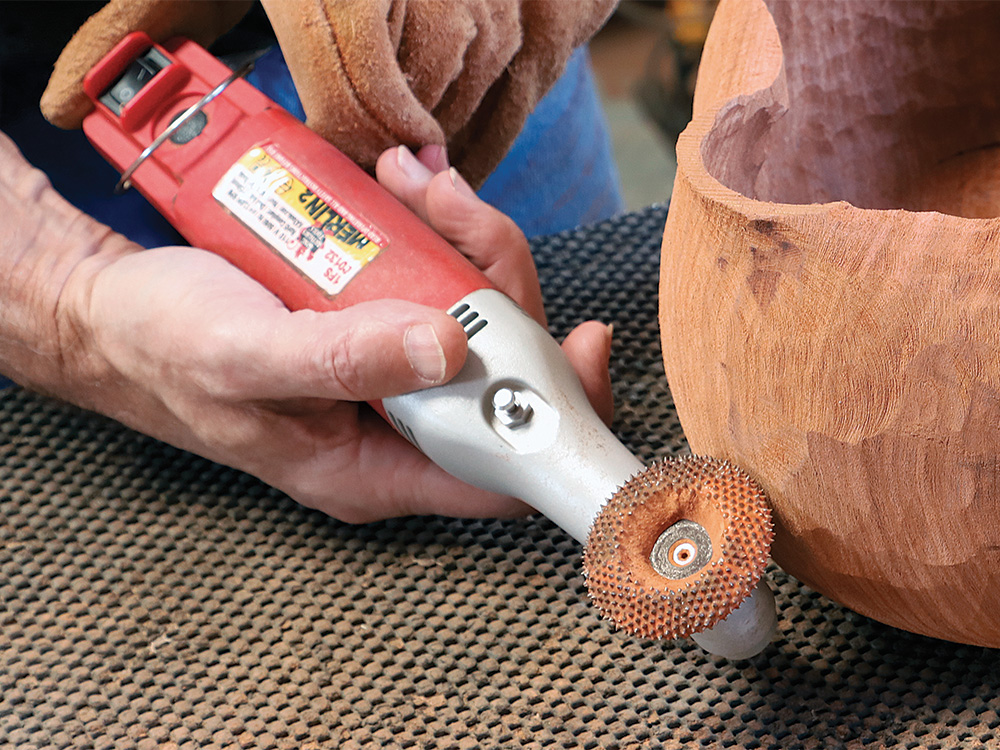
Final grinding inside and out. Using a Merlin mini grinder with a coarse carbide wheel, Kamerath fairs and smooths the surfaces left by the larger, more aggressive carving tools.
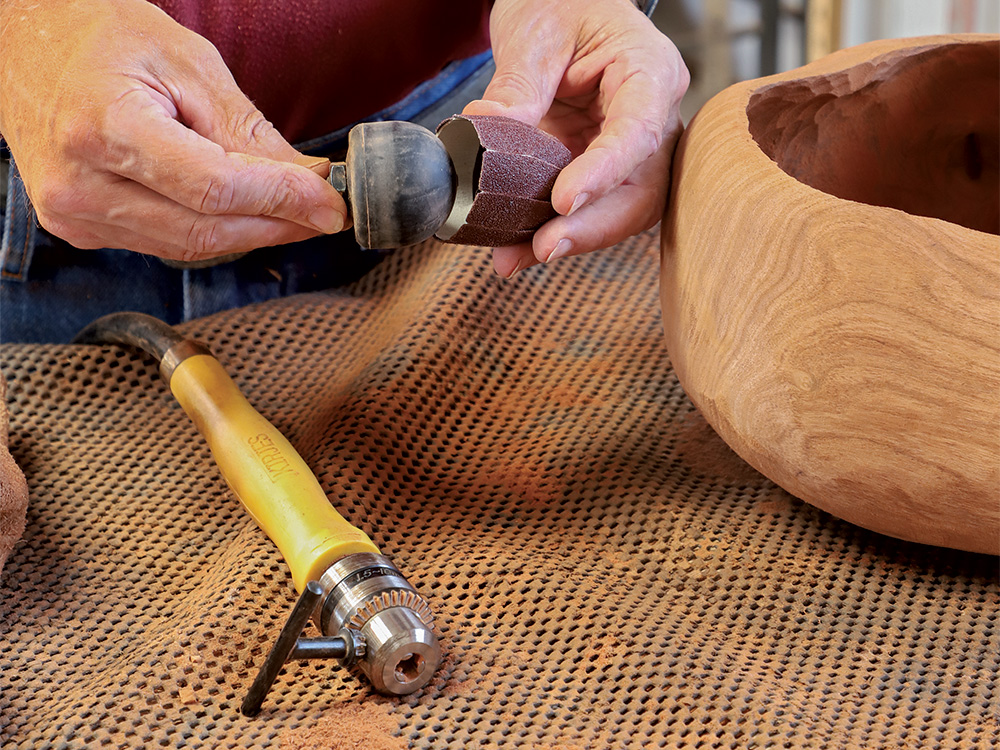
Cylindrical sanding. Moving indoors to a bench with a rubber mat, Kamerath uses a flex-shaft rotary tool with a pneumatic sanding cylinder and a 60-grit sleeve to erase the facets and divots left by the carving tools. Then he goes up through the grits to 320.
Sanding ball tames the hollows. Switching to a pneumatic sanding ball with a 60-grit sleeve, Kamerath refines the whole interior of the bowl and any hollows on the outside. He follows up with finer and finer grits. The ball also defines the final curves of the lip.
From Danny’s article in Fine Woodworking #284 How to power carve a bowl
Carve a Greenwood Bowl with David Fisher
How to Turn a Basic Bowl
Splash
Fine Woodworking Recommended Products
Fein Turbo II HEPA Wet/Dry Dust Extractor
Milwaukee M12 23-Gauge Cordless Pin Nailer

Stanley Powerlock 16-ft. tape measure








Comments
Obviously, nice work. The issue I have is that he showed us how to carve a bowl using tools valued at well over $2,000--which I'm confident most of could do if we had those tools. It would be nice to show us how to carve a bowl on a budget most of us can afford.
Log in or create an account to post a comment.
Sign up Log in