Thumb molding by hand
Megan Fitzpatrick creates a half thumb molding on the edge of her toolbox lid by hand, in only a few minutes.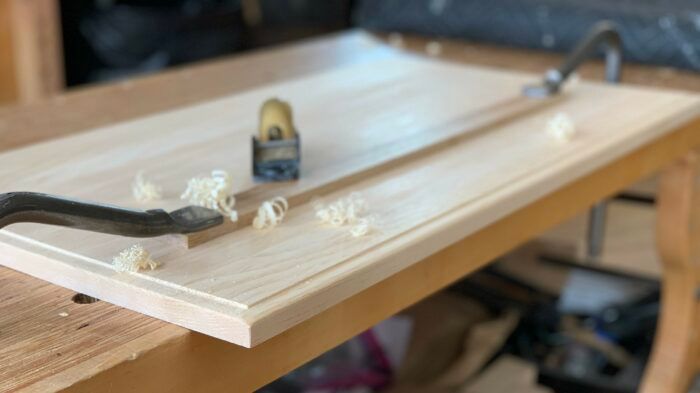
I’m not one for furbelows on furniture; I think of moldings not as decoration so much as a means to protect a fragile edge, or create a break or shadow line. I’ll almost always choose a simple option, such as a single bead, a chamfer, or a thumbnail molding (aka thumb molding). “Thumb moulding” is defined in Vic Taylor’s The Woodworker’s Dictionary as a “small rounded moulding, usually elliptical but may be circular, worked at the edge of wood, generally with a fillet.” So I guess what I put on the lid of my Dutch tool chests is technically a half-thumb molding. Below is how I do that by hand, and in only a few minutes.
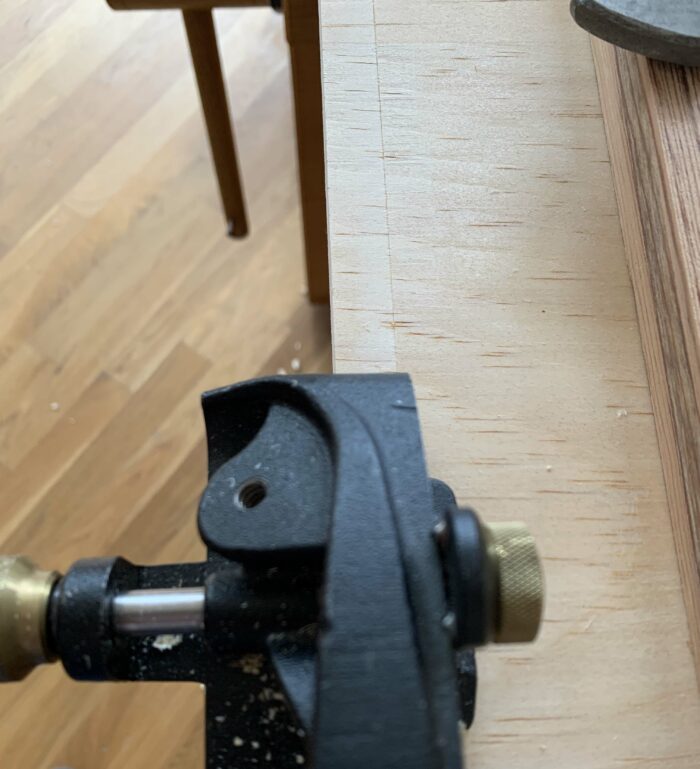
It’s possible I like this profile because it uses the rabbet plane, which is great fun to use. After setting up its stops for a 1/2-in.-wide by (approximately) 1/8-in.-deep cut, I secure the lid to my bench with holdfasts atop a batten, with an end hanging over by about 2 in. Not only does that batten protect the workpiece, but it also helps to pull out any cup, which would interfere with getting a consistent cut. (Later, I’ll add battens to the lid to keep it flat through the seasons.) I start with the ends to make the crossgrain cuts; that way, if I get any spelching, it will be cleaned up by the passes down the front edge.
Don’t just dive right in with the rabbet cut. First, pull the plane backward in the cut to score the shoulder; that will help to make a cleaner cut right at the top where it’s more visible. But if your rabbet plane doesn’t have a nicker, no problem. Simply lay out, then knife in the cutline. (For more on cutting rabbets, see “Three planes for cutting rabbets.”)
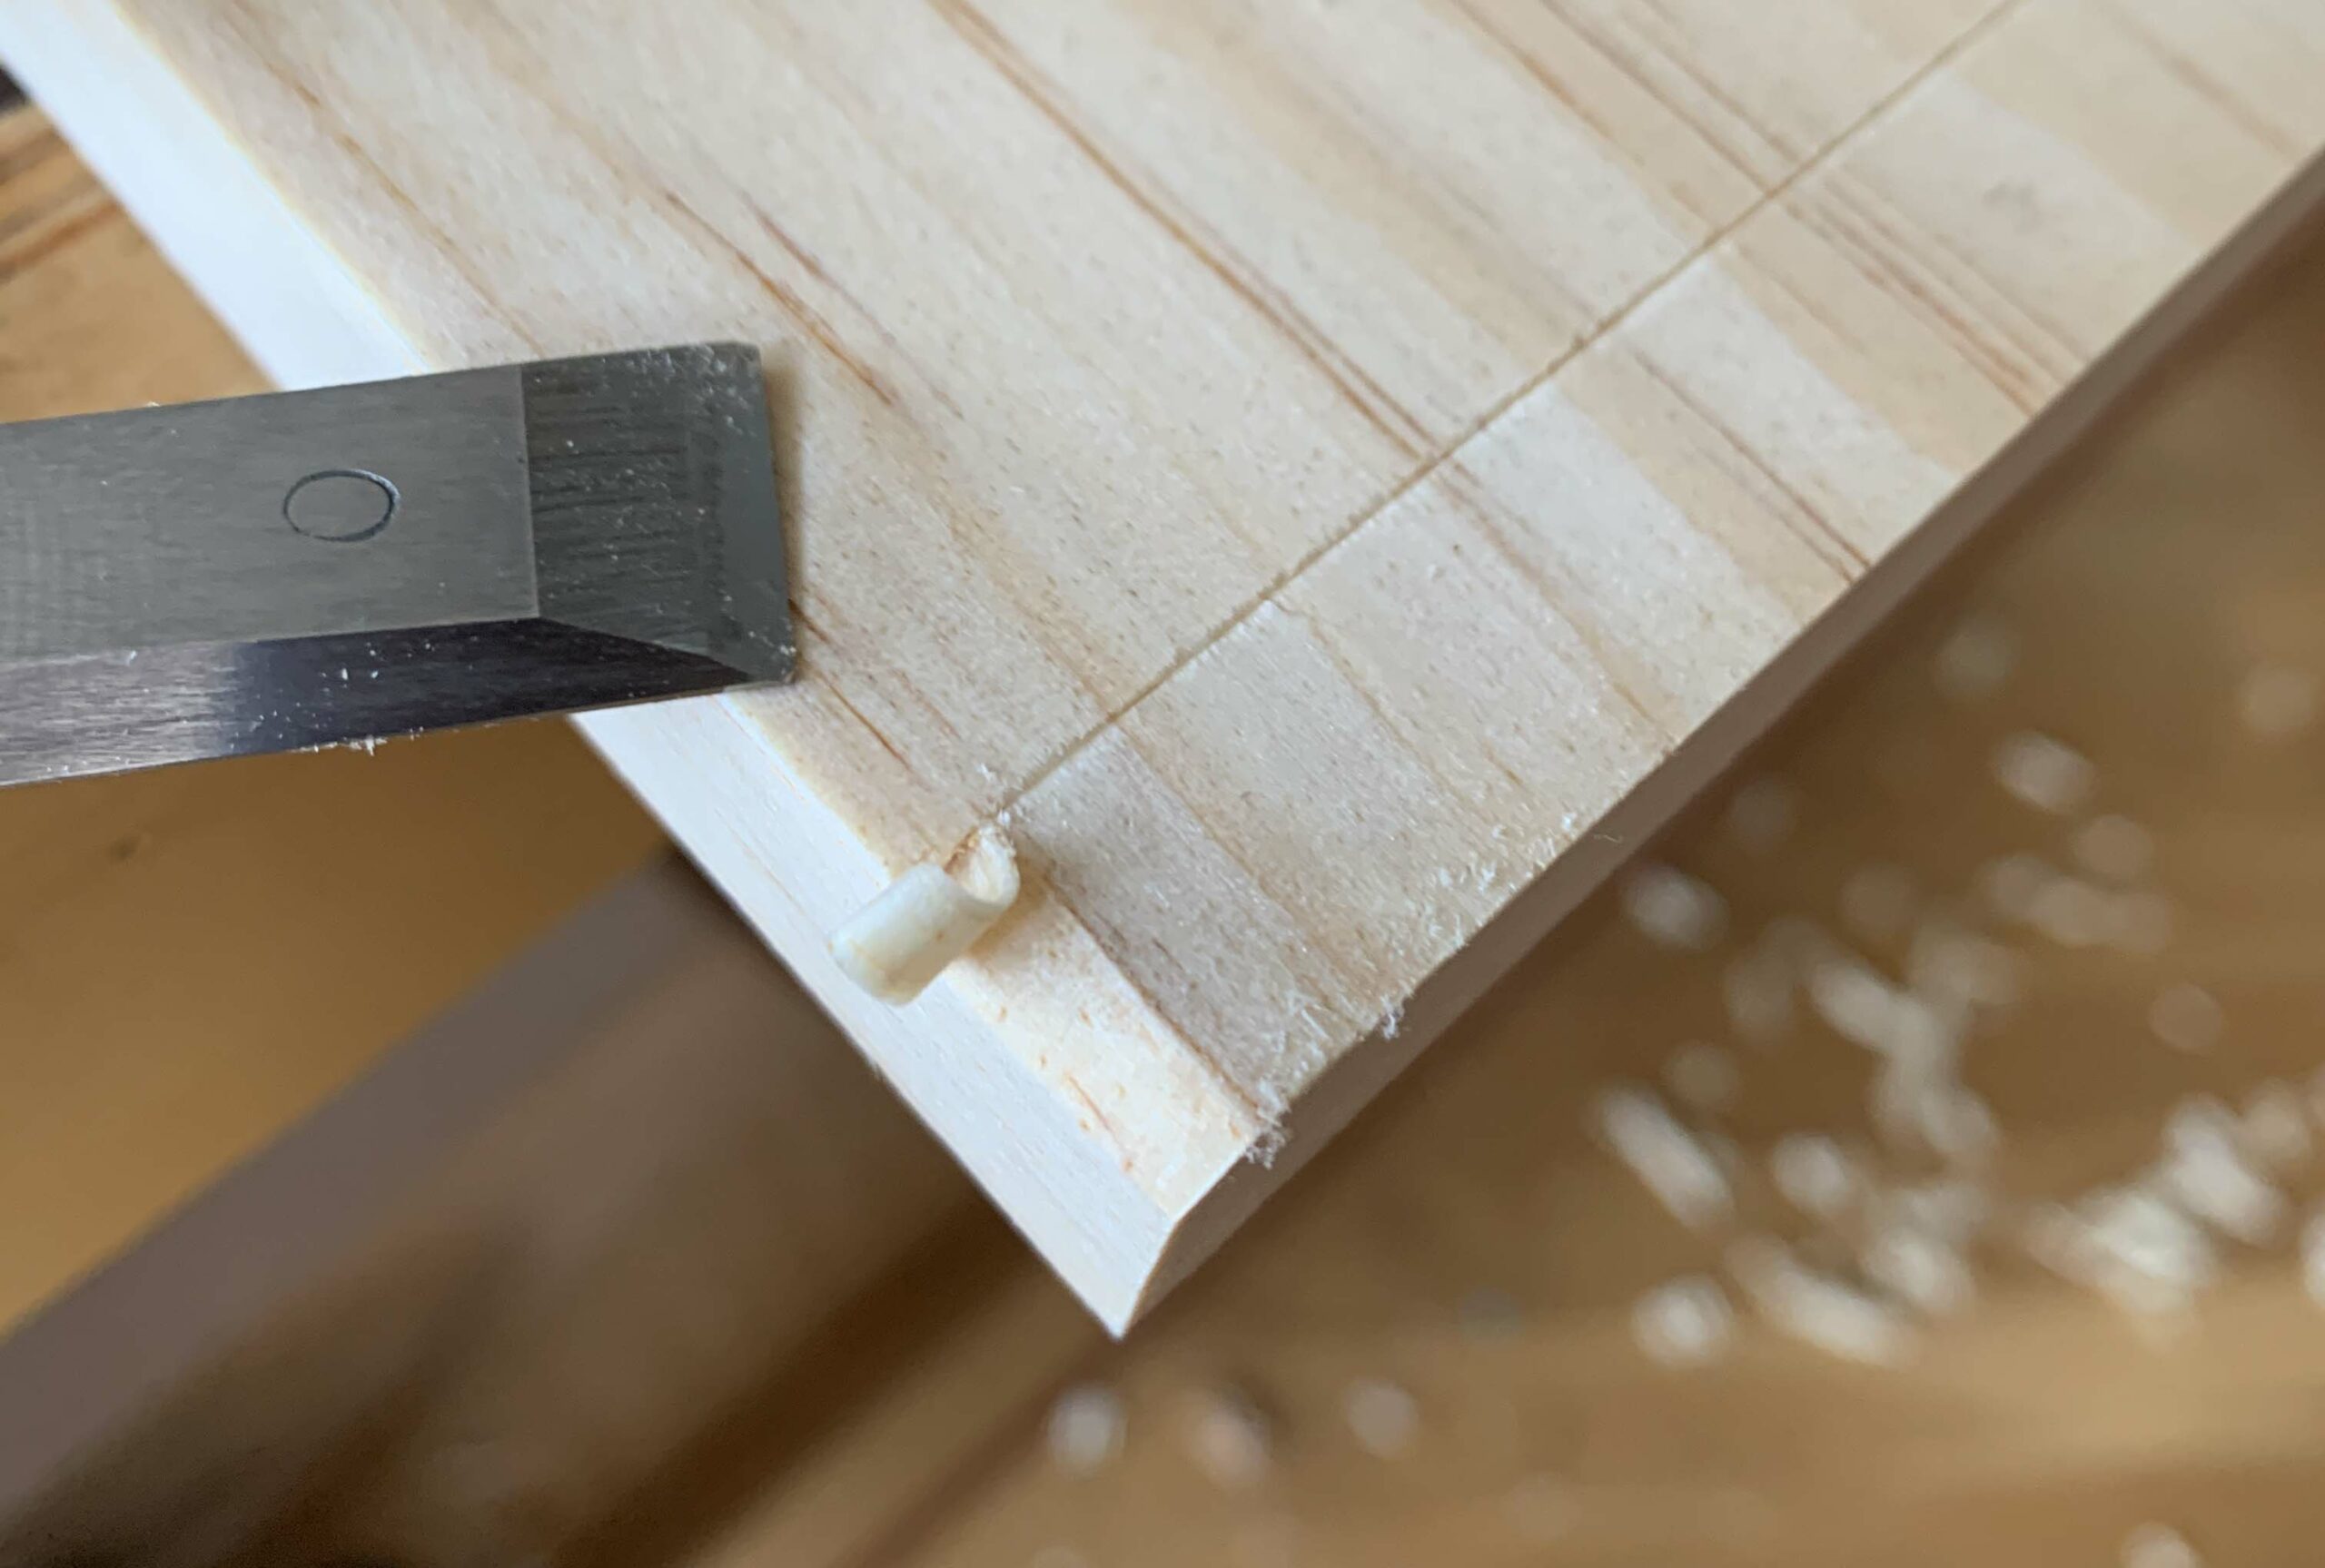
Now grab a chisel and chamfer off a sliver, 1/8 in. or so deep, at the end of the cut. Try not to take off more than what will be the final depth of your cut. You can also remove less, then keep an eye on things and take off a little more if that first chamfer disappears. This is to protect the workpiece from spelching, or splintering the grain at the end of the cut. You’ll likely still get a little, but don’t worry; it will be cleaned up (within reason) by your long-grain cut … on only one edge in this case. This lid gets a molding only on the two ends and the front – so I’m super-careful to not spelch out the ends at the back. I’m slightly less careful at the front.
Now – finally! – it’s time to cut the rabbet. As I’ve written before, start at the exit end of the cut and work your way back. Concentrate on keeping the blade flat to the workpiece; it has a tendency to tip outward and cut a slope. (This, however, is a great place to practice rabbets. You’re going to round over the edge anyway, so if you do inadvertently cut a slope, it will be easy to disguise.) Repeat on the other end, then rabbet the front edge. (Note that you could be cutting against the grain if your plane – like mine – is handed. If so, make sure the blade is wicked sharp and take shallow cuts if your wood is prone to tearout.
If you want the molding part to go a bit faster, start with a jack plane and cut a significant chamfer (about 3/16 in. wide), first on each end, then on the front.
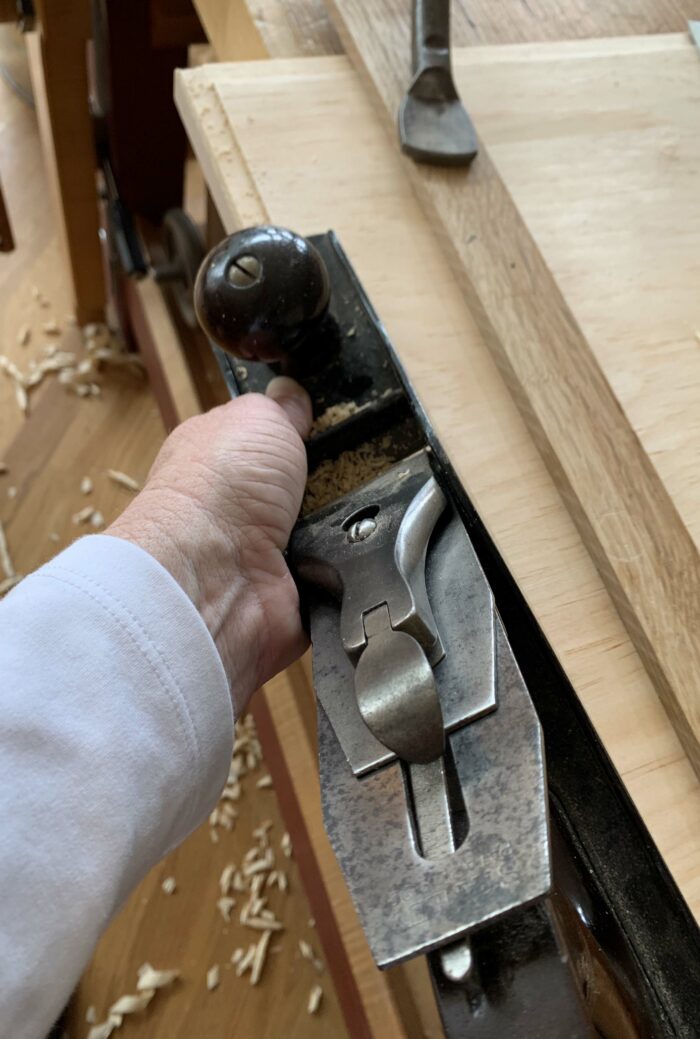
With the flats cut, make a series of passes, slightly adjusting the plane’s angle as you remove arrises and create new ones. Keep shifting to higher and lower angles, and you’ll eventually round over the edge to a simple – but pleasing – shape. Again, start on the ends, then do the front edge. It took longer to write the above than to do it.
The challenge is to shift your plane enough to not catch the crisp edge of the raised panel. So to mitigate that possibility, I like to use my apron plane (or any block plane) to smooth over the arrises. Its much narrower blade and tighter mouth can’t take a big bite so it does add a little time, but its much narrower blade also means you don’t have to be quite as careful. And even with using my apron plane, this paragraph took longer to write than to finish the task … and not because I’m a slow typist.
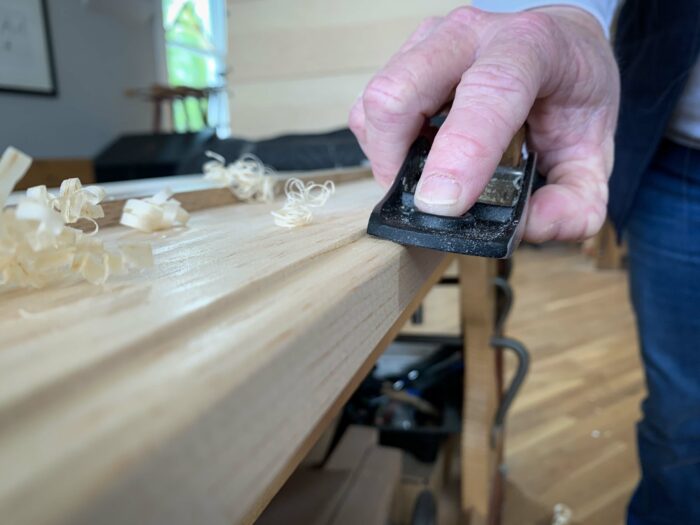
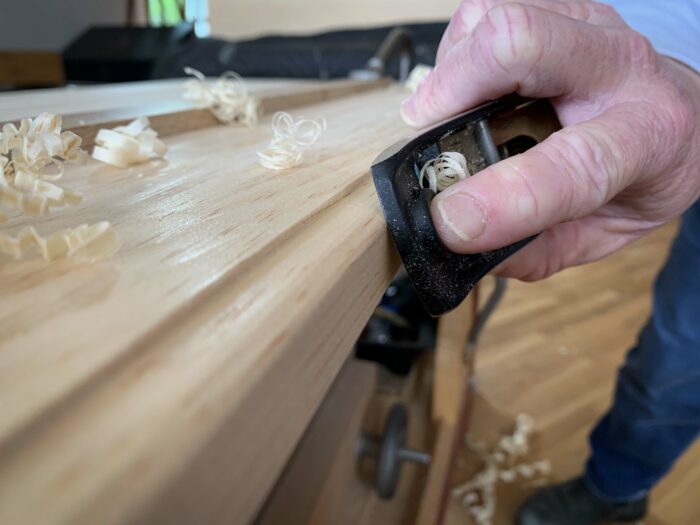
And that’s it. You can clean up the corners a bit with sandpaper if you like – but for a tool chest, I wouldn’t bother. It’s going to get quickly beat up anyway, and then it will look perfect.
Three planes for cutting rabbets
Pine(ing) for perfection
The woodworking clamps you need
Fine Woodworking Recommended Products

Starrett 4" Double Square

Veritas Micro-Adjust Wheel Marking Gauge
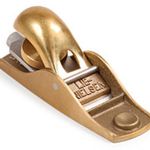
Lie-Nielsen No. 102 Low Angle Block Plane




Comments
Hey, you've lost your front knob.
No I didn't; it's on my windowsill.
Log in or create an account to post a comment.
Sign up Log in