Seven tasks for a block plane
One of the most versatile tools in the shop, the humble block plane is essential to Mike Korsak's production of accurate and precise work.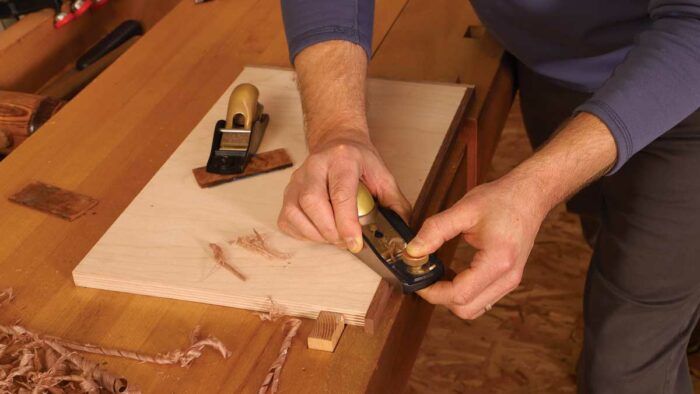
Synopsis: One of the most versatile tools in the shop, the humble block plane is essential to Mike Korsak’s production of accurate and precise work. Korsak uses it to flush edges, milling small parts to size, smoothing small or hard-to-reach parts, working curves, planing end grain, creating smooth edges on veneer, and making small wedges to secure door and drawer pulls.
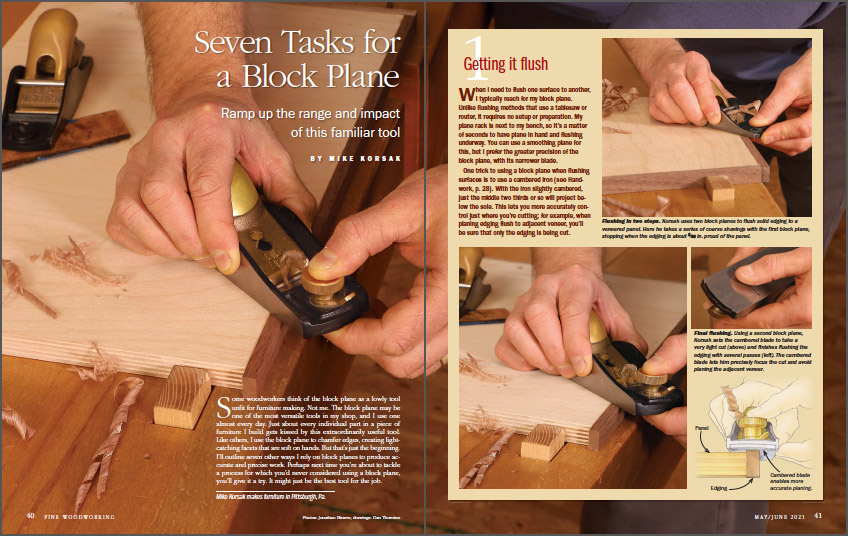
Some woodworkers think of the block plane as a lowly tool unfit for furniture making. Not me. The block plane may be one of the most versatile tools in my shop, and I use one almost every day. Just about every individual part in a piece of furniture I build gets kissed by this extraordinarily useful tool. Like others, I use the block plane to chamfer edges, creating light-catching facets that are soft on hands. But that’s just the beginning. I’ll outline seven other ways I rely on block planes to produce accurate and precise work. Perhaps next time you’re about to tackle a process for which you’d never considered using a block plane, you’ll give it a try. It might just be the best tool for the job.
 |
 |
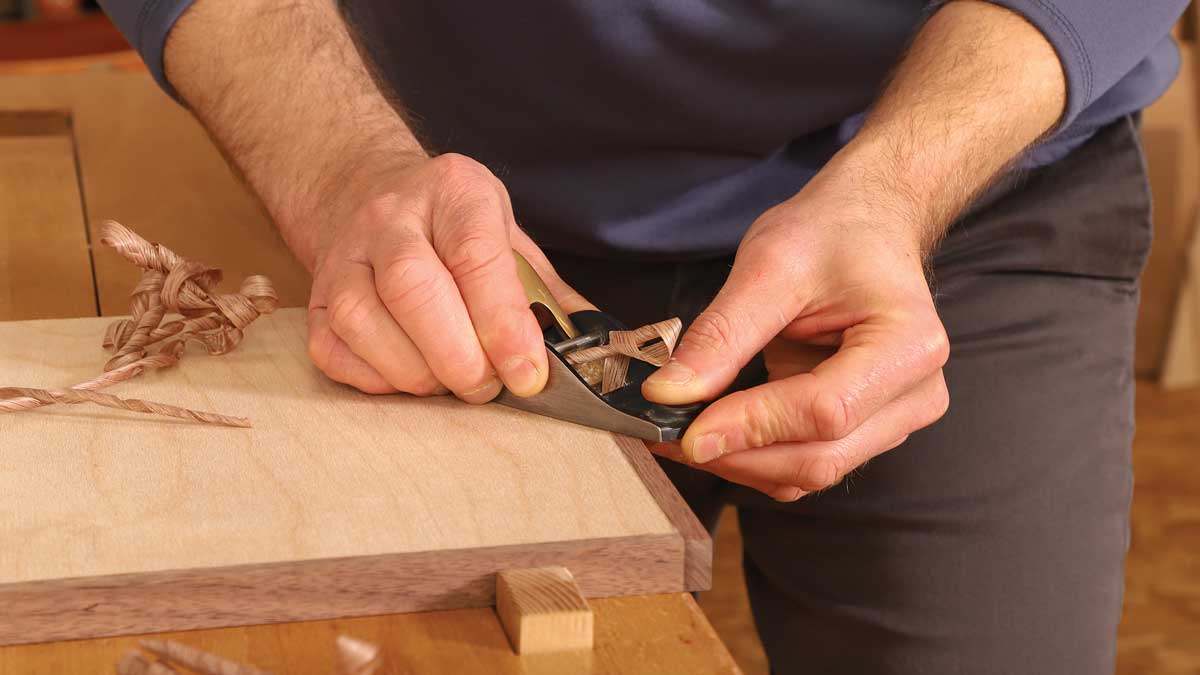
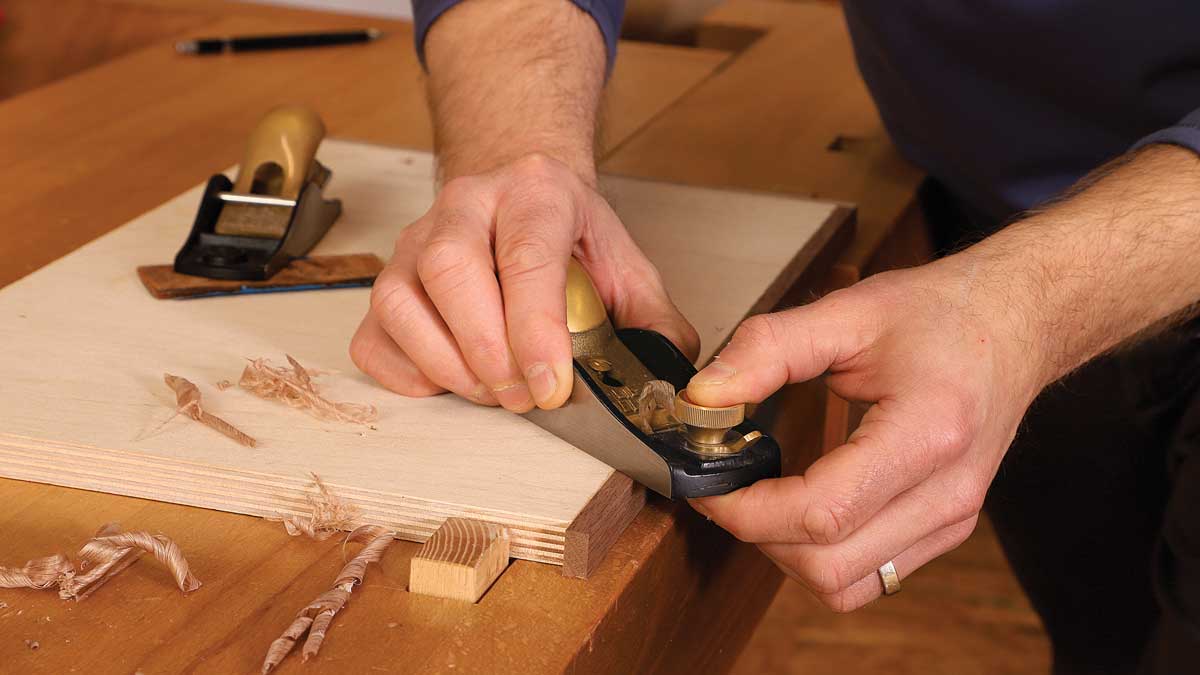
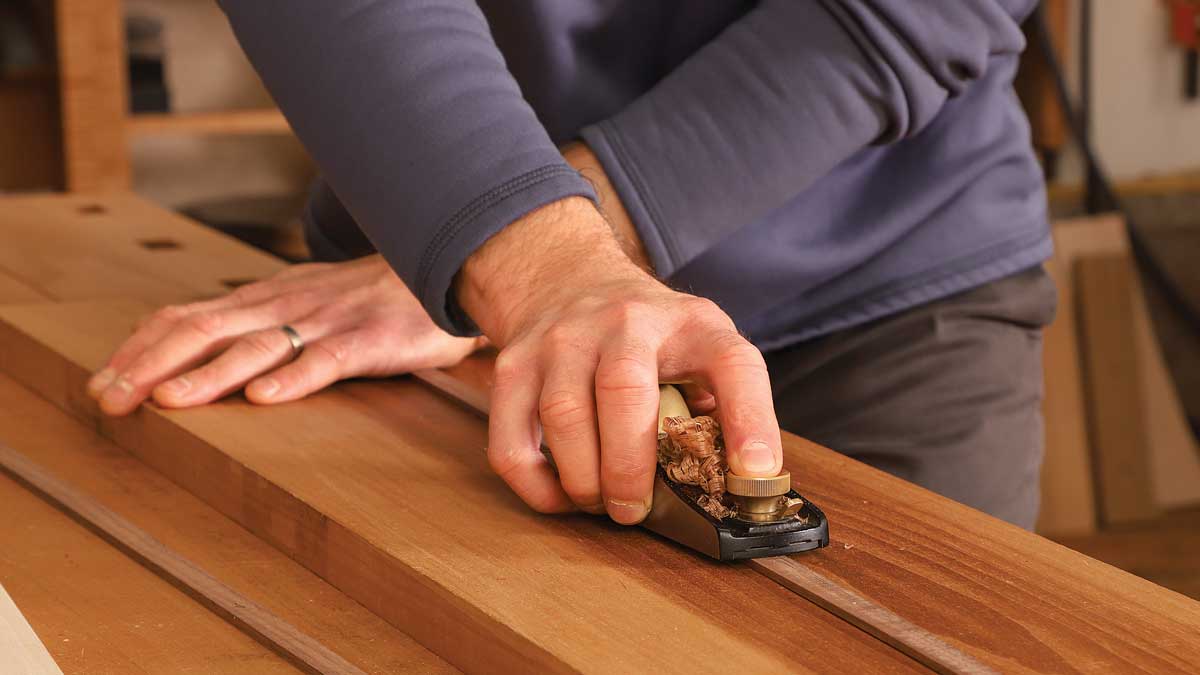
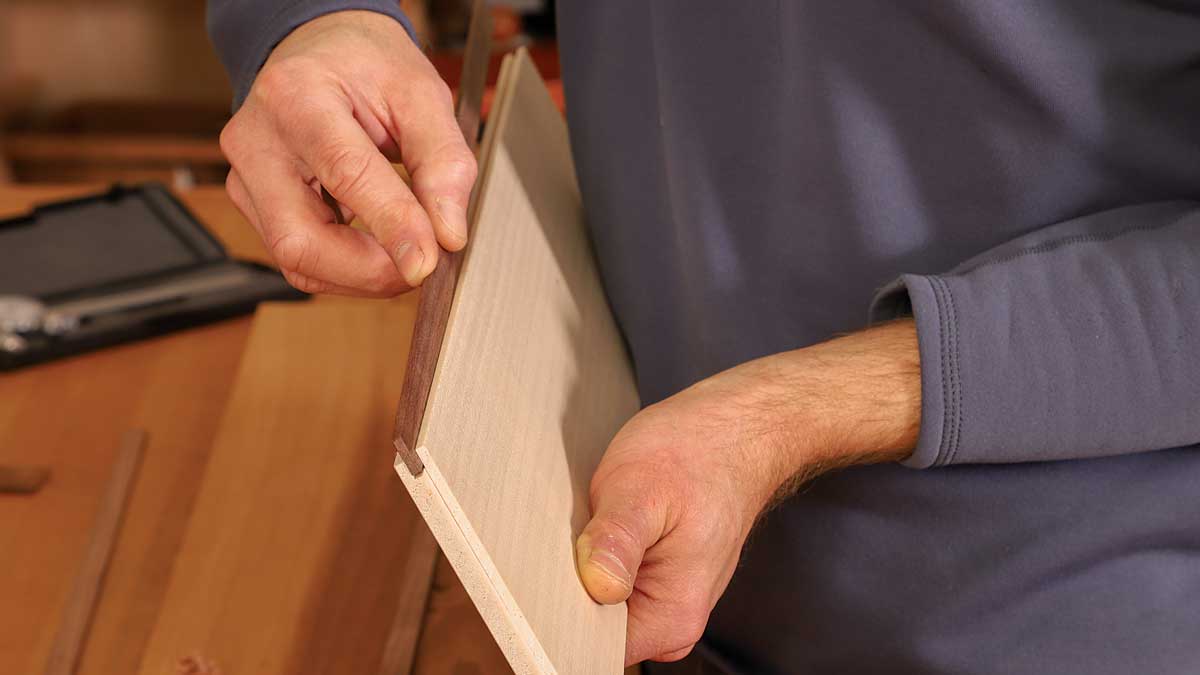
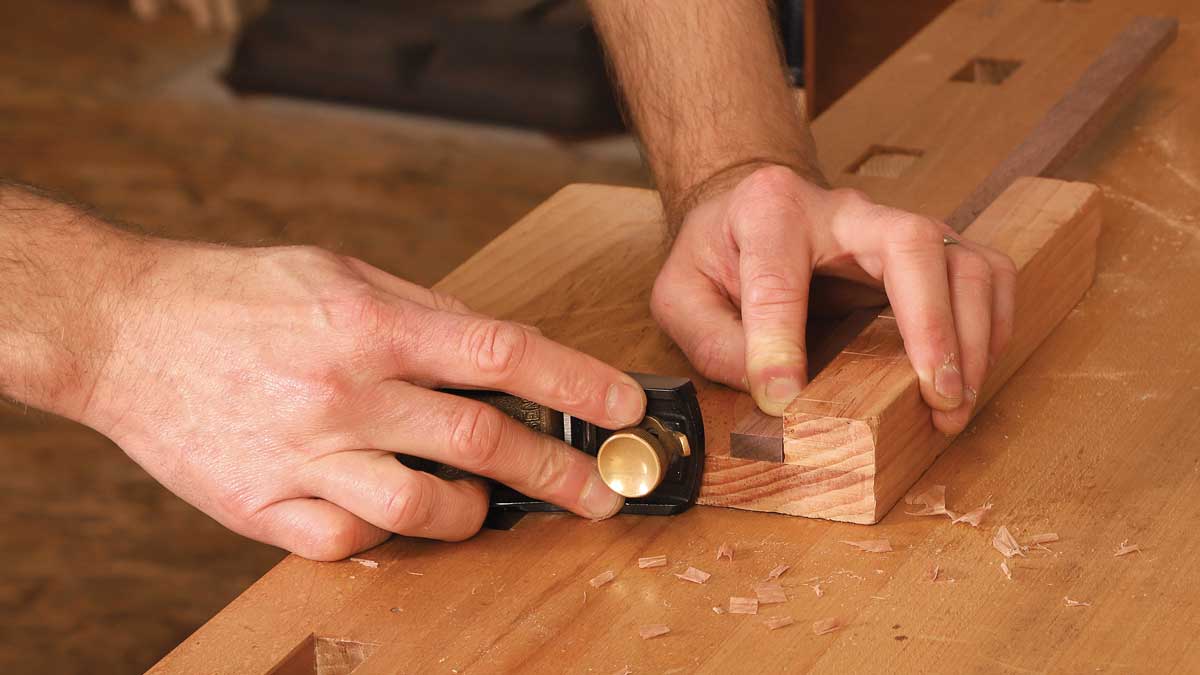
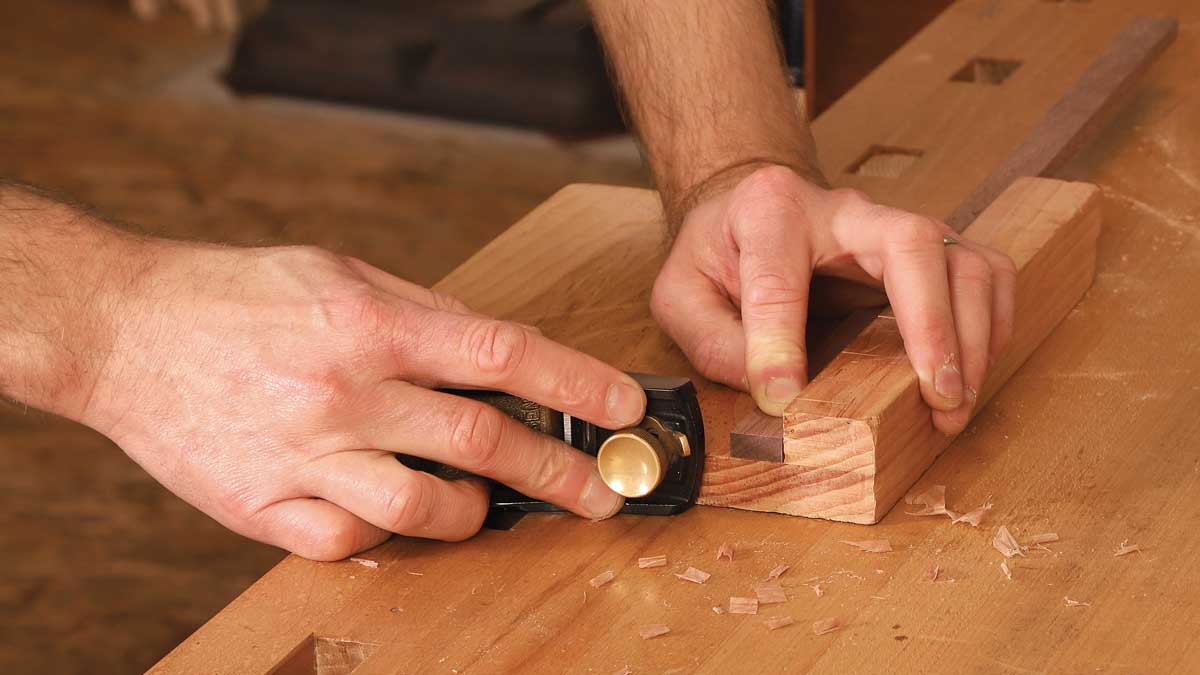
Final flushing. Using a second block plane, Korsak sets the cambered blade to take a very light cut (left) and finishes flushing the edging with several passes (right). The cambered blade lets him precisely focus the cut and avoid planing the adjacent veneer.
1. Getting it flush
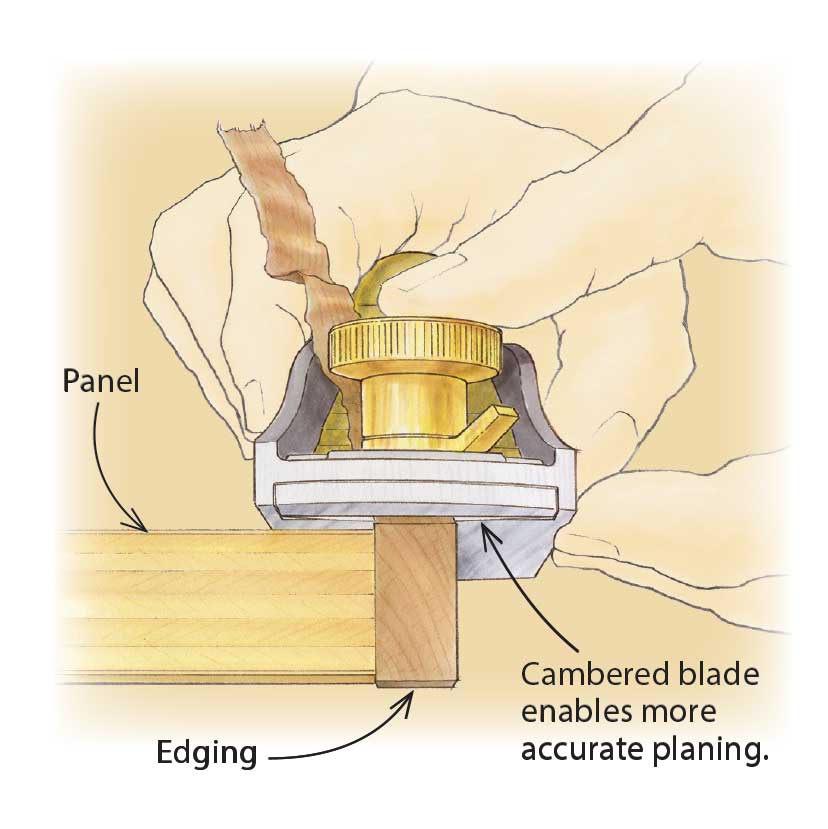 When I need to flush one surface to another, I typically reach for my block plane. Unlike flushing methods that use a tablesaw or router, it requires no setup or preparation. My plane rack is next to my bench, so it’s a matter of seconds to have plane in hand and flushing underway. You can use a smoothing plane for this, but I prefer the greater precision of the block plane, with its narrower blade.
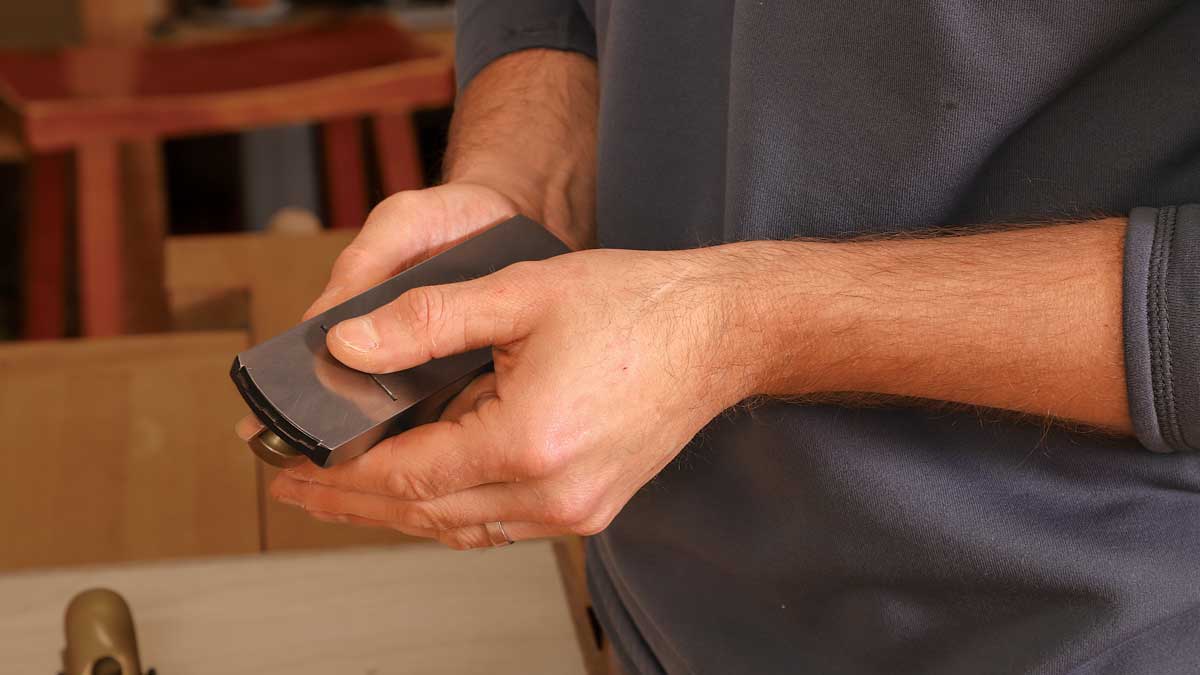
One trick to using a block plane when flushing surfaces is to use a cambered iron (see Handwork). With the iron slightly cambered, just the middle two thirds or so will project below the sole. This lets you more accurately control just where you’re cutting; for example, when planing edging flush to adjacent veneer, you’ll be sure that only the edging is being cut.
 |
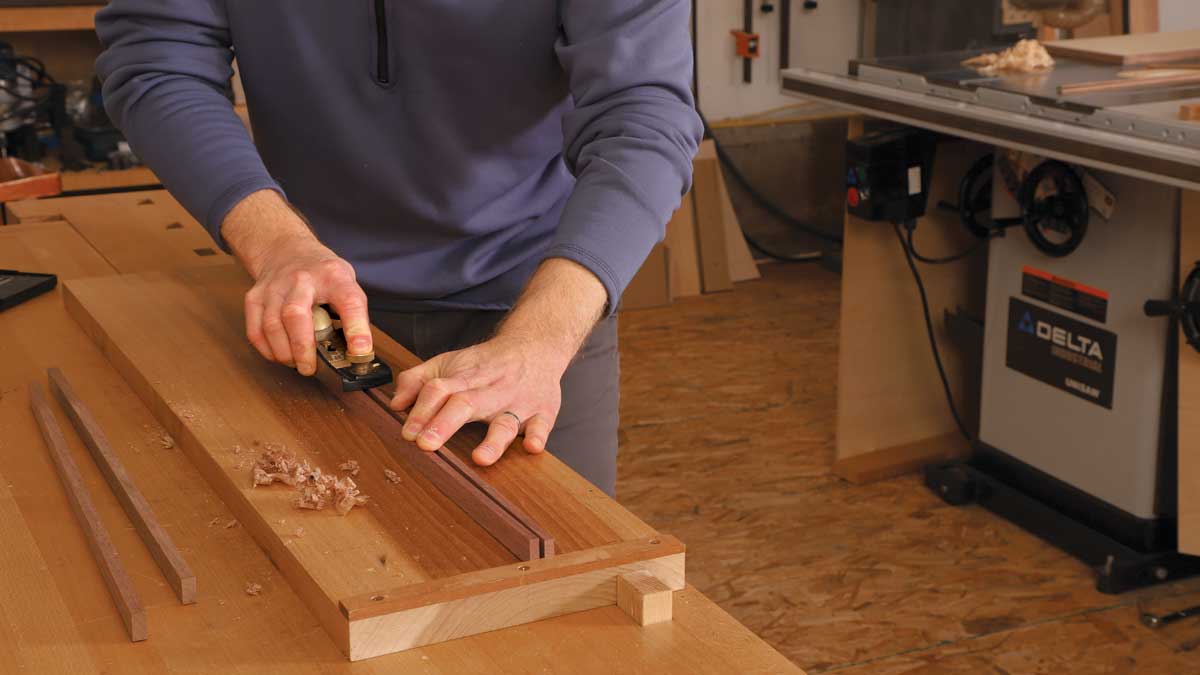 |
A bridge for balance. If one workpiece is too narrow to provide adequate support, Korsak planes two at once.
2. Sizing parts
The block plane is very handy for milling small parts to accurate thickness. I use this technique when I’m making splines, for example. I cut the grooves first, and then mill the splines to fit. Instead of trying to hit the exact thickness on the planer, I leave the splines oversize and do final thicknessing with a block plane. If the spline stock is too thin to survive in the planer, I rip the stock to rough size on the bandsaw and then mill to final thickness with a block plane.
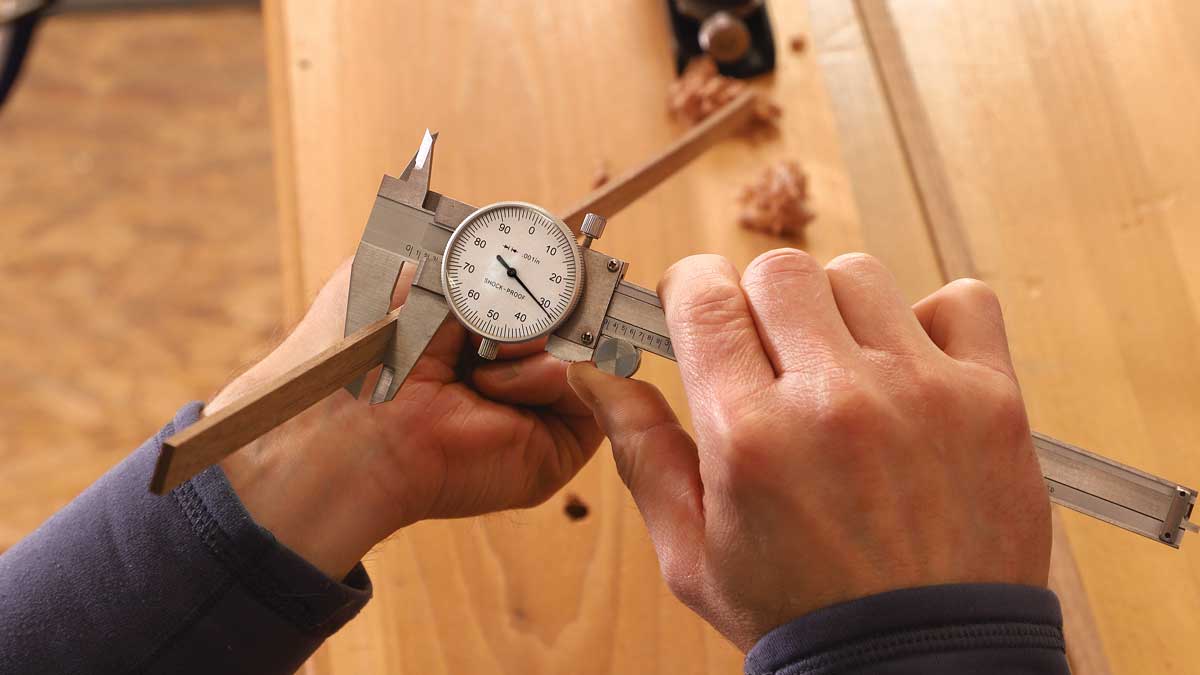
To plane the stock to final dimension, I work right on my bench or on a planing stop, holding the stock with my left hand while planing with my right. As I’m planing, I check the stock’s thickness and parallelism in multiple places along its length with dial calipers to ensure that I’m working it consistently. The beauty in using a block plane for this task is that it’s small enough to be comfortably held and easily controlled with only one hand—something that would be awkward or difficult with a larger plane.
You can even mill strips to width with a block plane. It can be a challenge to keep the plane balanced on narrow pieces, but that can easily be overcome by planing multiple pieces at once to give a wider bearing for the sole of the plane.
 |
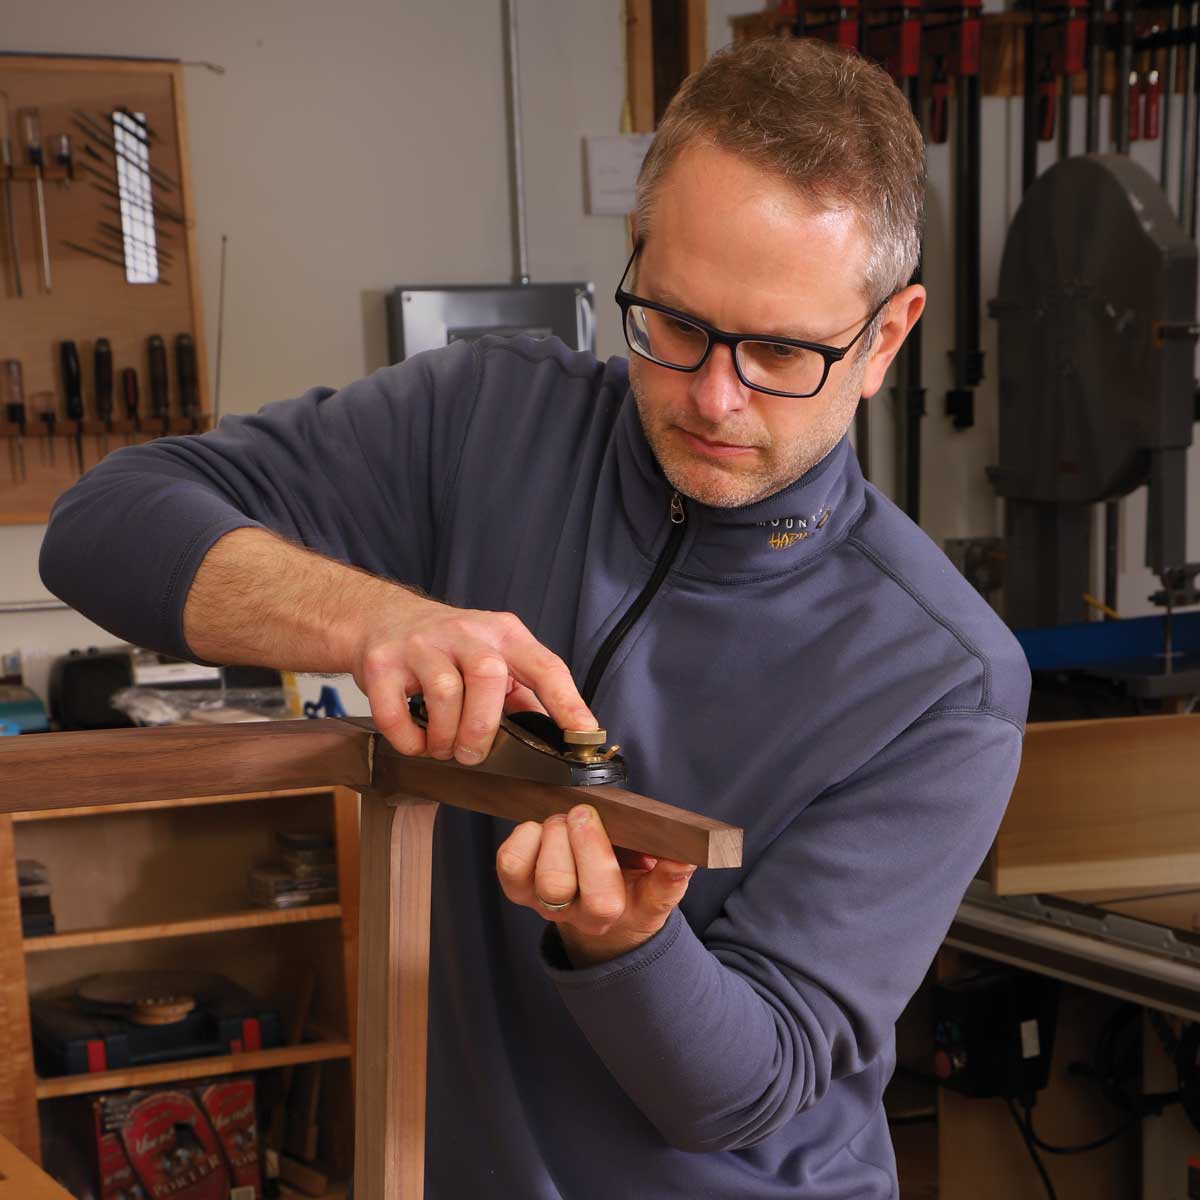 |
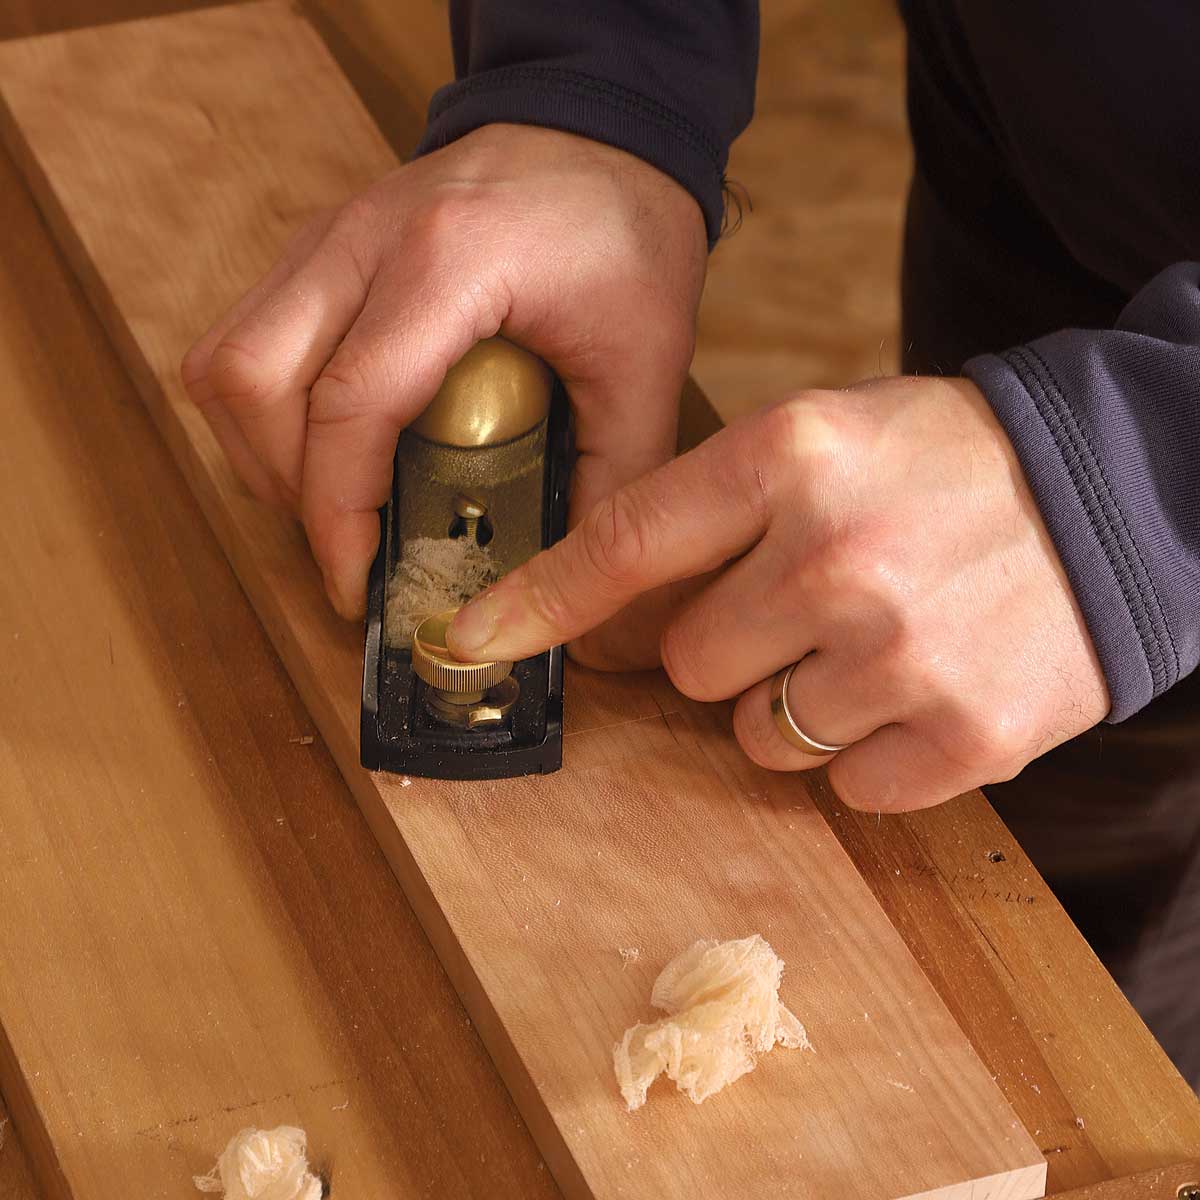
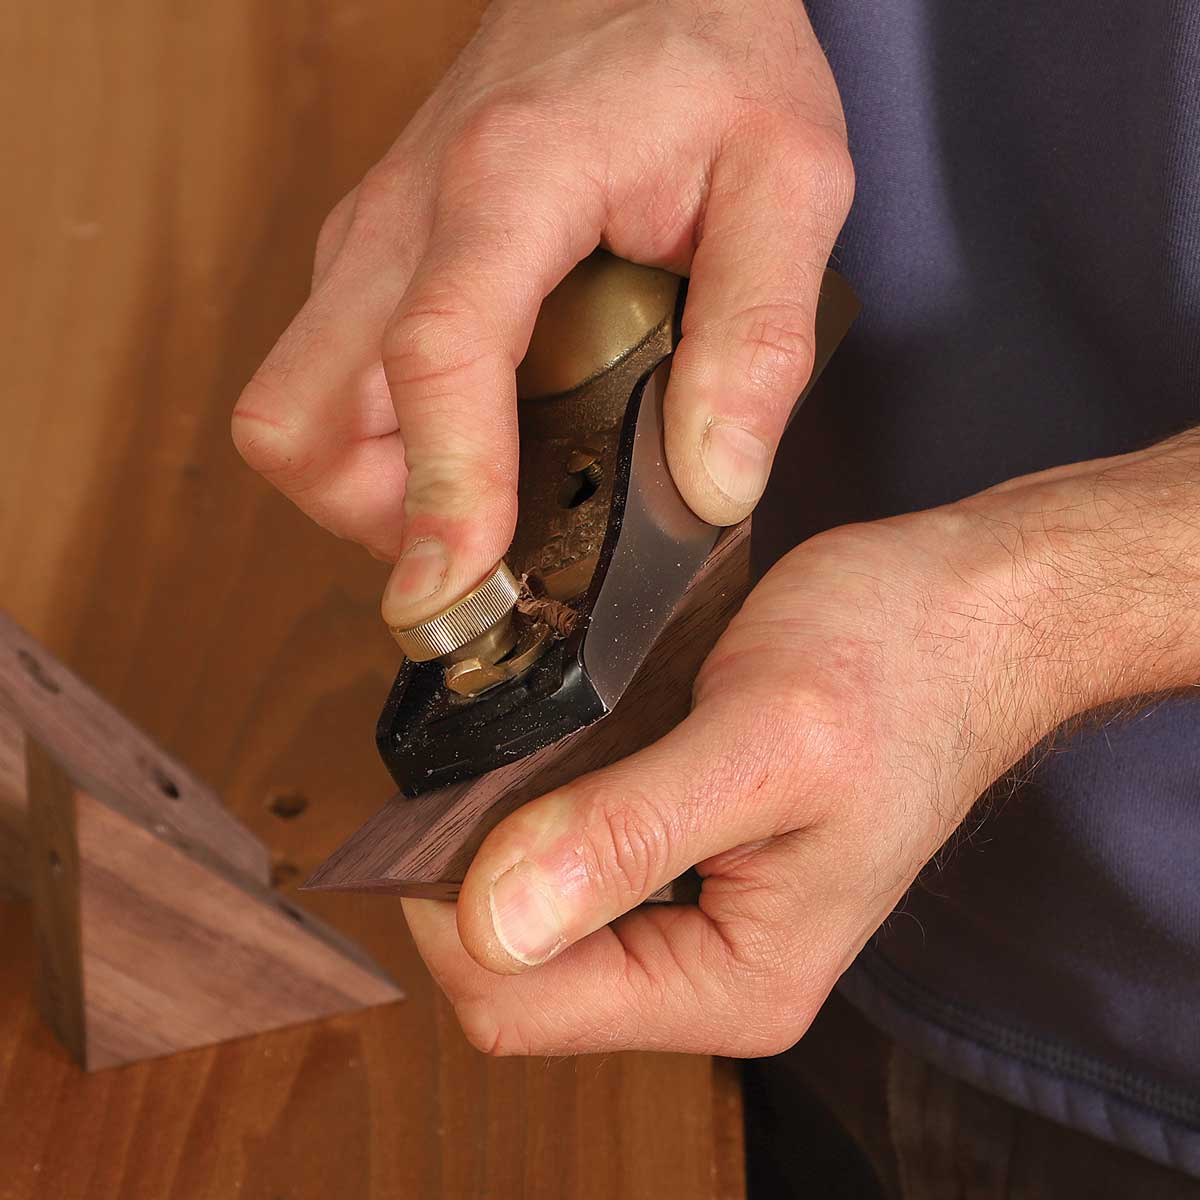
Fine tool for odd jobs. With its small size making one-handed operation easy, the block plane is handy for smoothing parts that are hard to clamp (left) and areas that are delicate or hard to reach (right).
3. Smoothing
I often use my block plane as a smoothing plane. It is just as capable of making fine, fluffy shavings as a dedicated smoother. Because it can be operated with just one hand, the block plane is useful when smoothing parts that may be hard to hold down, or hard to reach. But even if parts can be easily held or clamped, I often reach for a block plane. I just prefer its smaller size and greater maneuverability.
I’m not relying on it here to eliminate major high spots or large discrepancies between surfaces, just preparing the surfaces for finish. A very sharp iron is key. This is the last time a tool will touch the wood, and the iron has to be as sharp as I can get it so there’s absolutely no tearout. The iron should be cambered and set so just the middle two-thirds of the iron does the cutting.
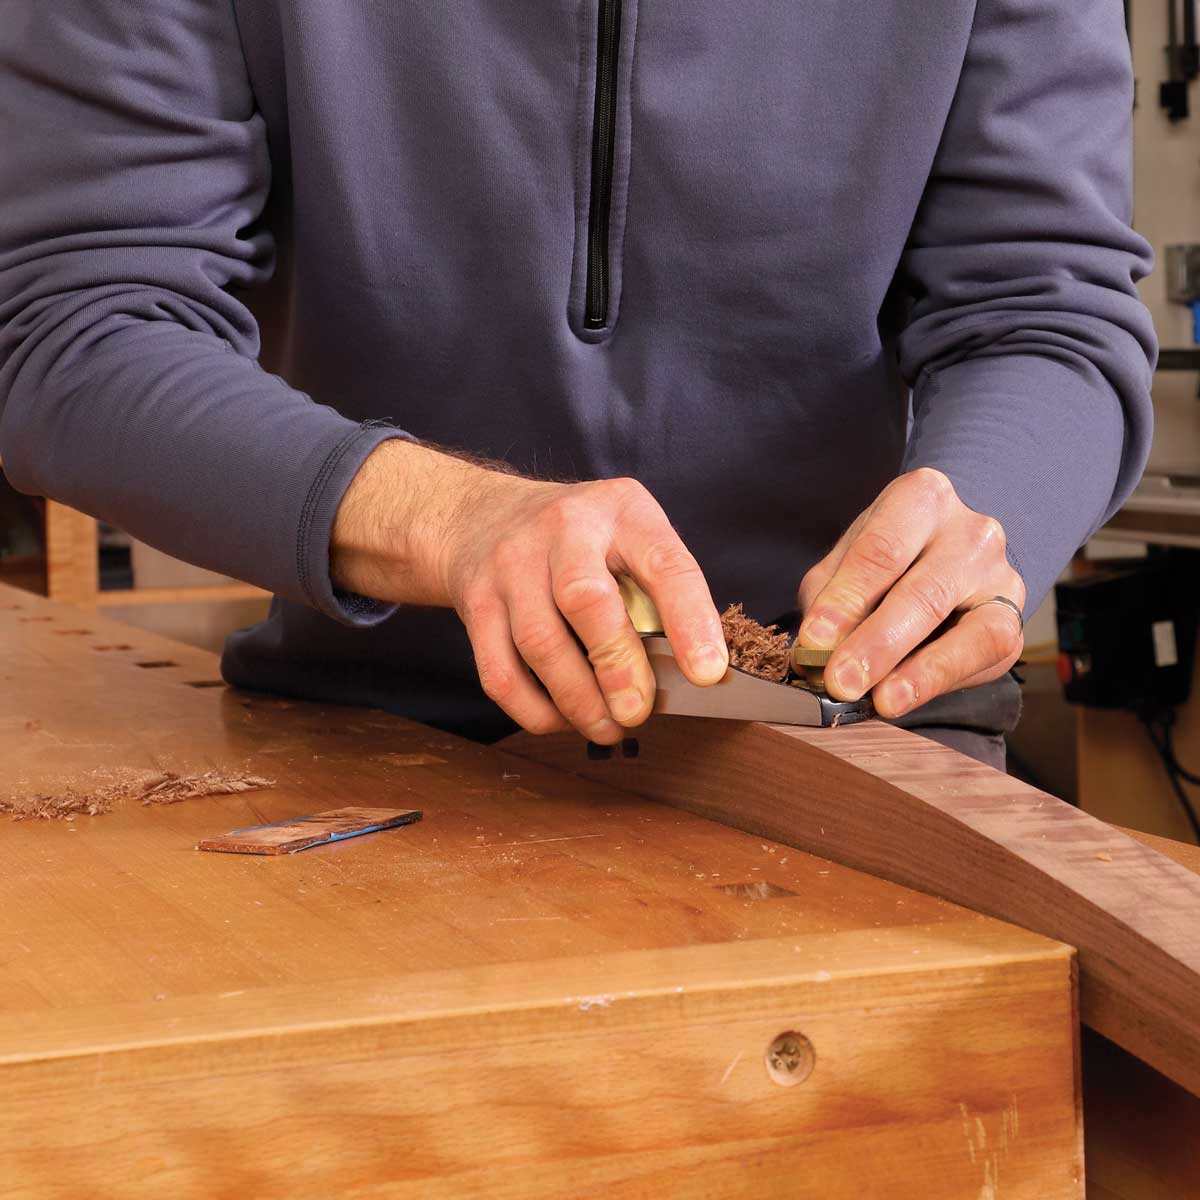
4. Working curves
The block plane is not often thought of as a tool used for shaping curved parts, but I find that it can be used to work convex surfaces and even slightly concave ones. The trick to working convex surfaces is to keep two points on the plane in contact with the curving stock: the iron itself (because if it’s not making contact, nothing is being cut) and the area of the sole just in front of the iron. As the cut proceeds, the angle of the block plane must constantly change to maintain that contact. It takes some practice to be able to do this consistently, but when you have it down it works quite well. To work slightly concave shapes, I skew the plane significantly, shortening its effective length and allowing the sole to ride the curve of the stock while still taking a shaving.
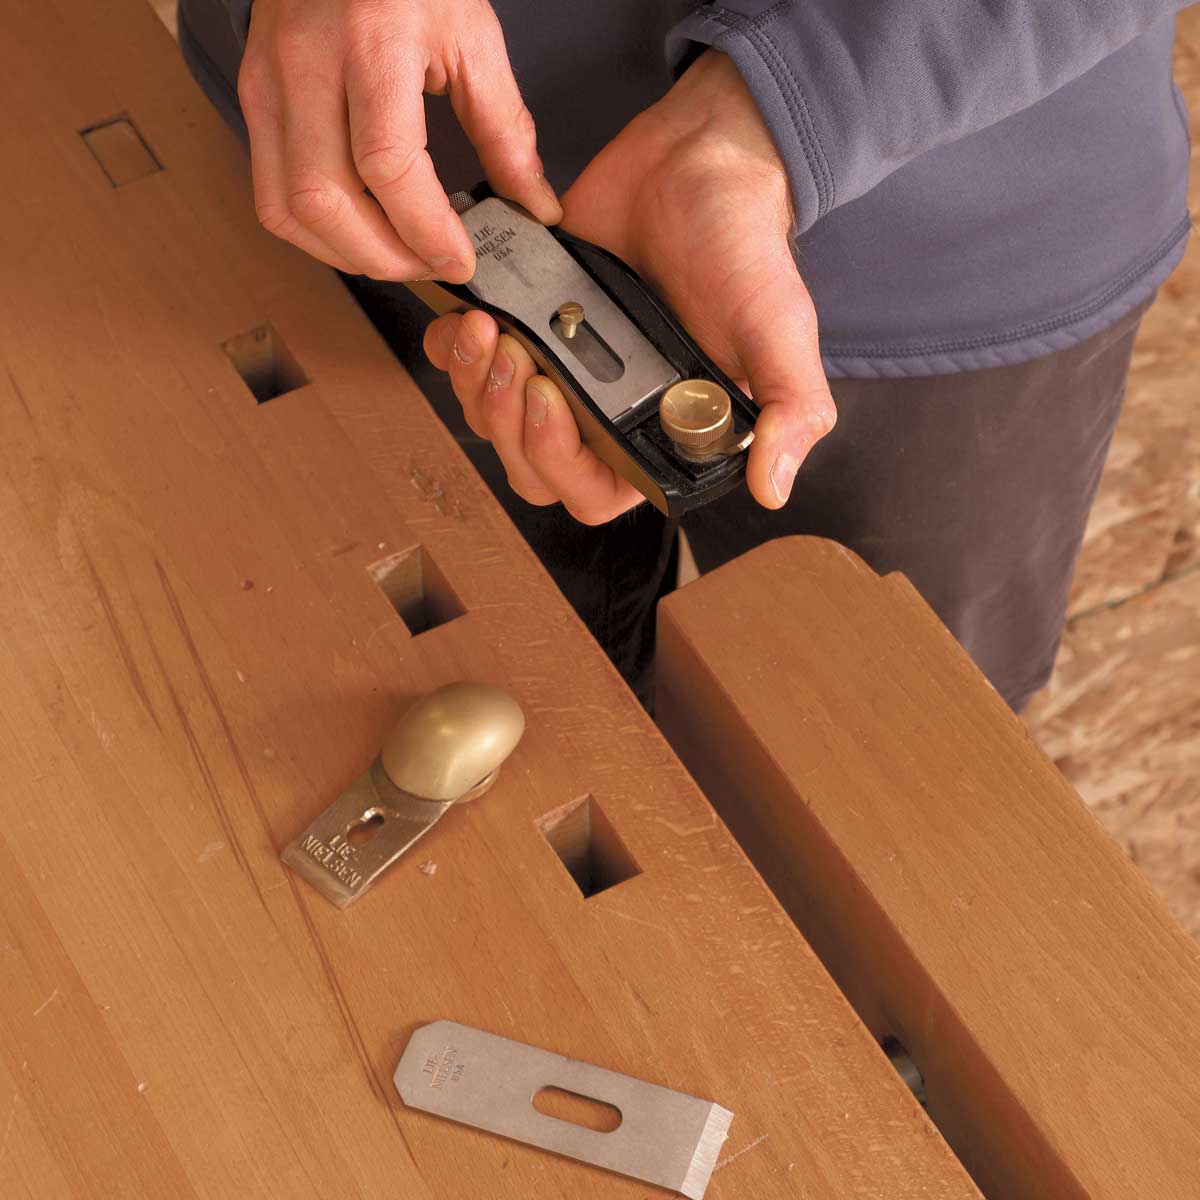 |
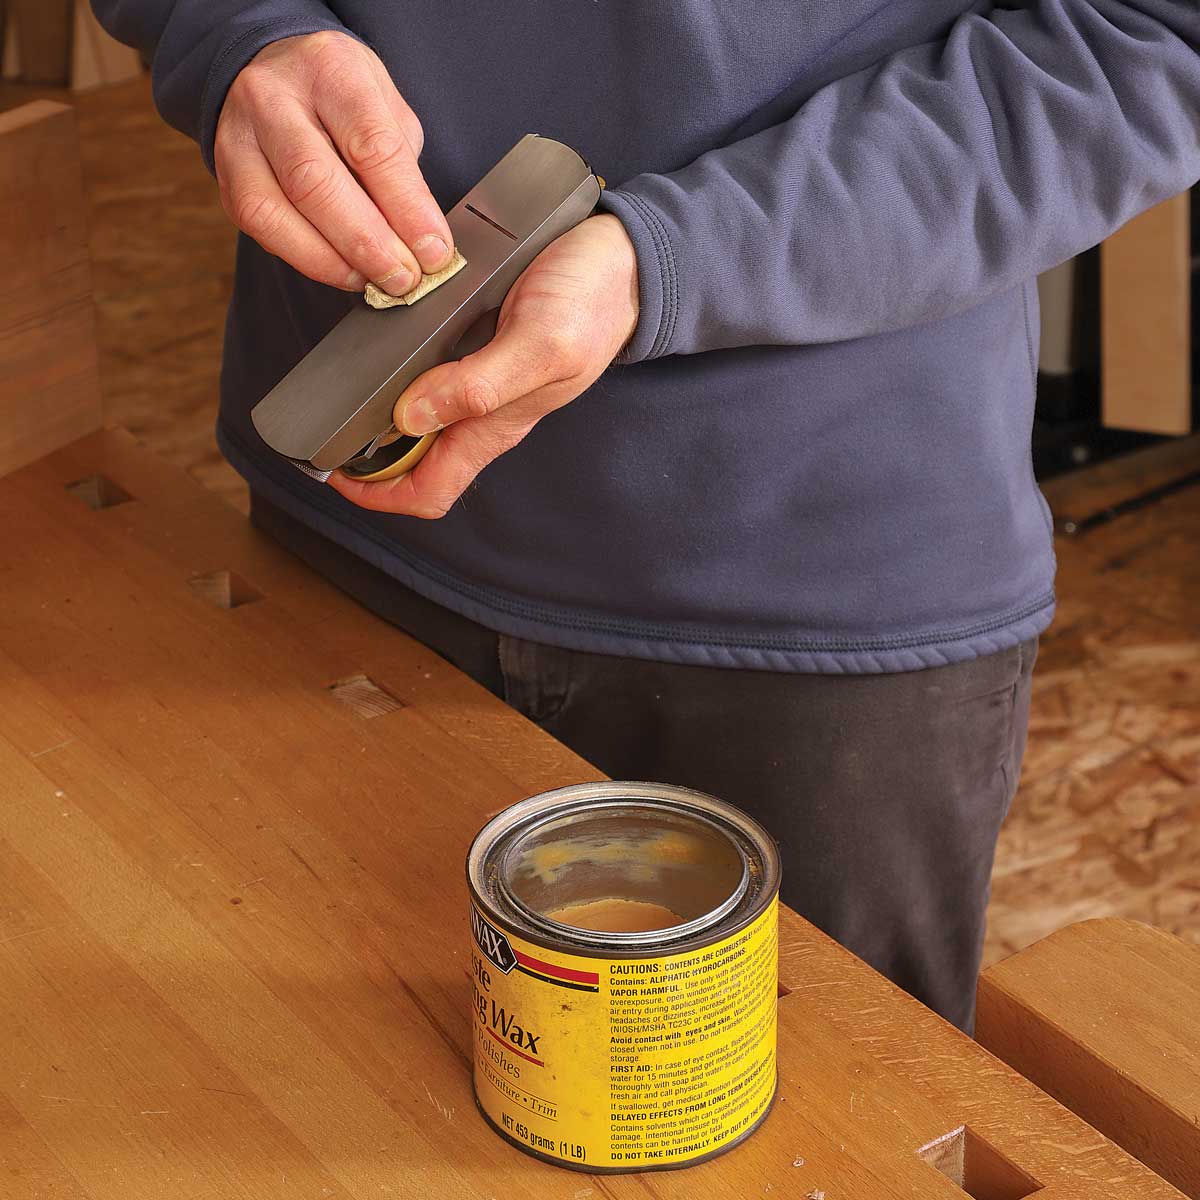 |
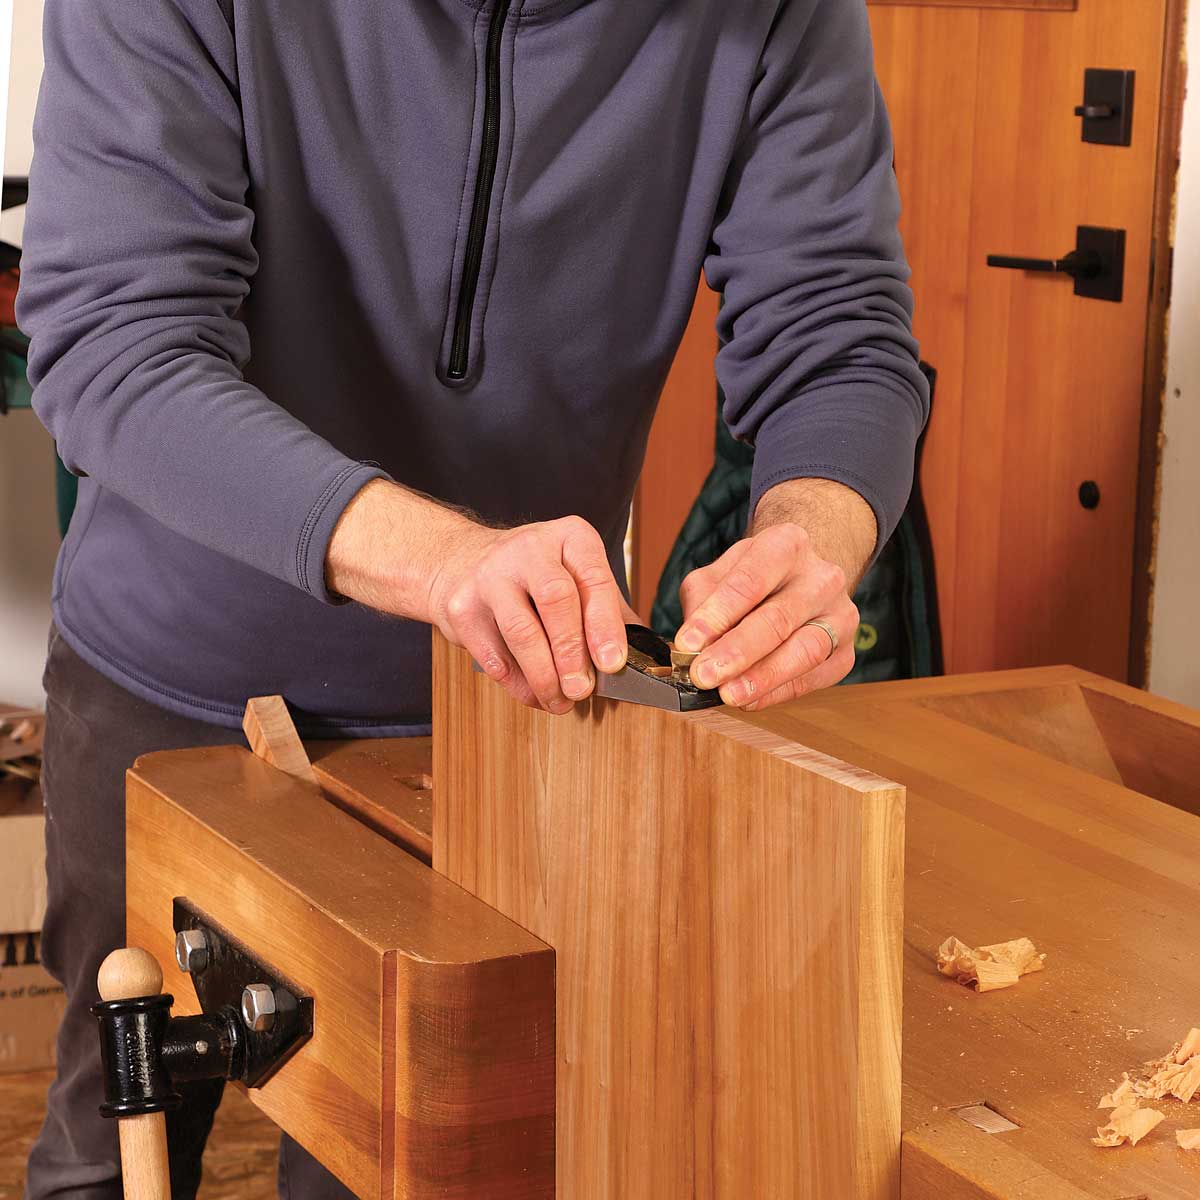 |
5. Planning end grain
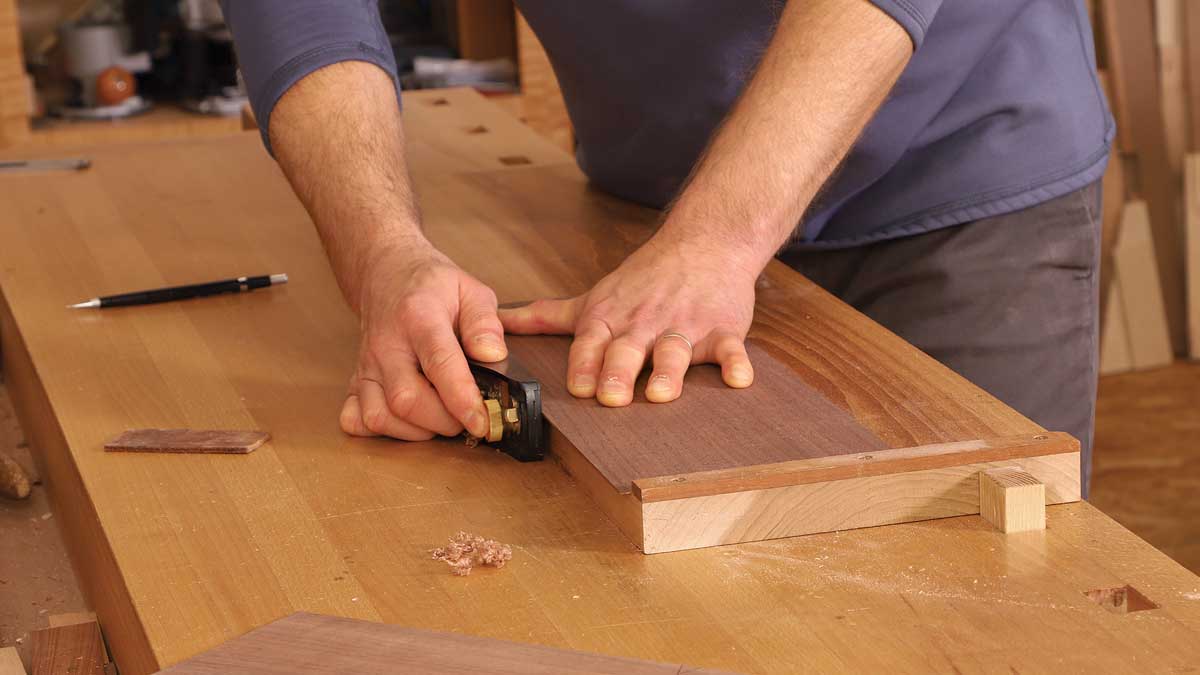
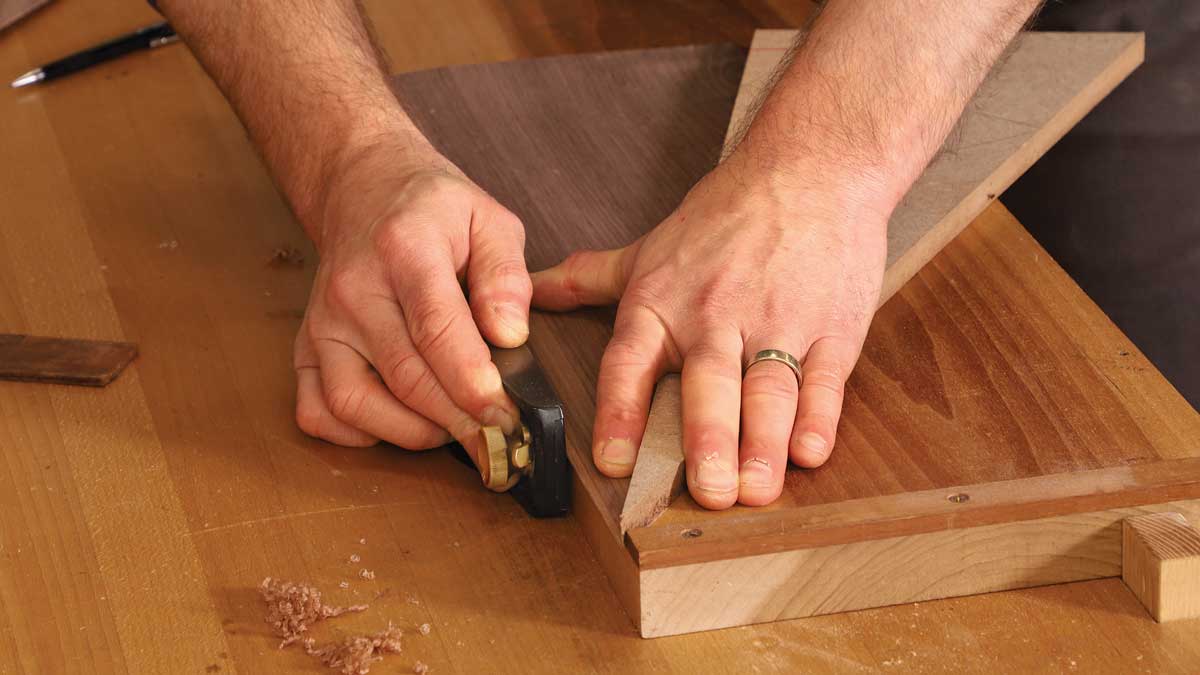
The block plane is widely thought of as a tool used to work end grain, and I definitely use my block plane to do so. One way in which my approach differs from common practice is that I rarely use a shooting board. For most stock, I simply stand the board on edge on my bench, use my left hand to steady the stock, and plane the end grain in a downward motion. Sometimes I boost myself a bit higher by standing on the lower rung of a stool, but that’s only necessary when planing the end of a wide board. If we’re talking a really wide board, then I may stand it up vertically, clamp it in a bench vise, and work the end grain horizontally.
I also tend to follow this approach for mitered parts. As long as the end of the stock provides enough surface area for the sole of the block plane to bear on without being tippy, I skip jigs and fixtures and just hold the work on my bench. If I’m planing very small parts, however, I’ll use a bench hook to make steadying the work easier.
6. End-joining veneer
When I’m joining pieces of veneer edge-to-edge, whether to make wider sheets of veneer or to create a composition, I generally use a block plane to joint the edges. I always use thick veneer, whether shopsawn or purchased, and the block plane does a great job of jointing it. Since I can very comfortably control a block plane with only one hand, my left is freed up to hold the veneer. This is especially helpful when jointing delicate pieces that need to be backed up to prevent flexing.
When jointing long edges of veneer I’ll sometimes use a longer plane (like a No. 62 jack plane), but it’s not essential. I find that I can joint long veneer edges with a block plane and easily achieve glue-ready joints.
 |
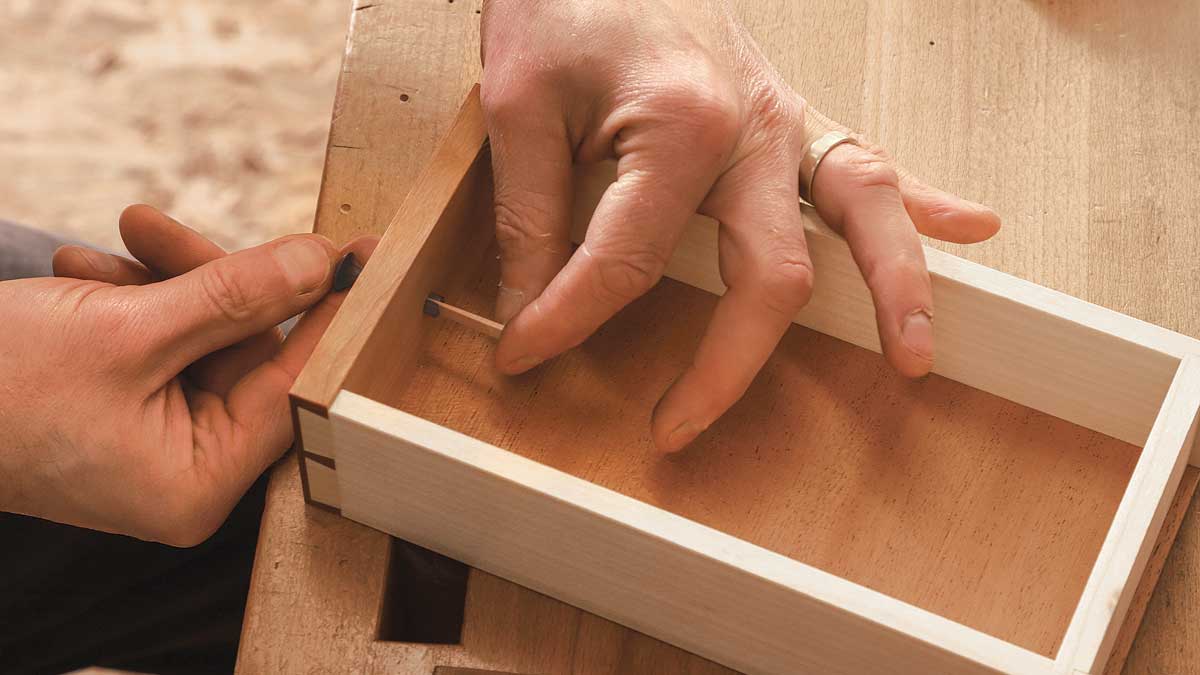 |
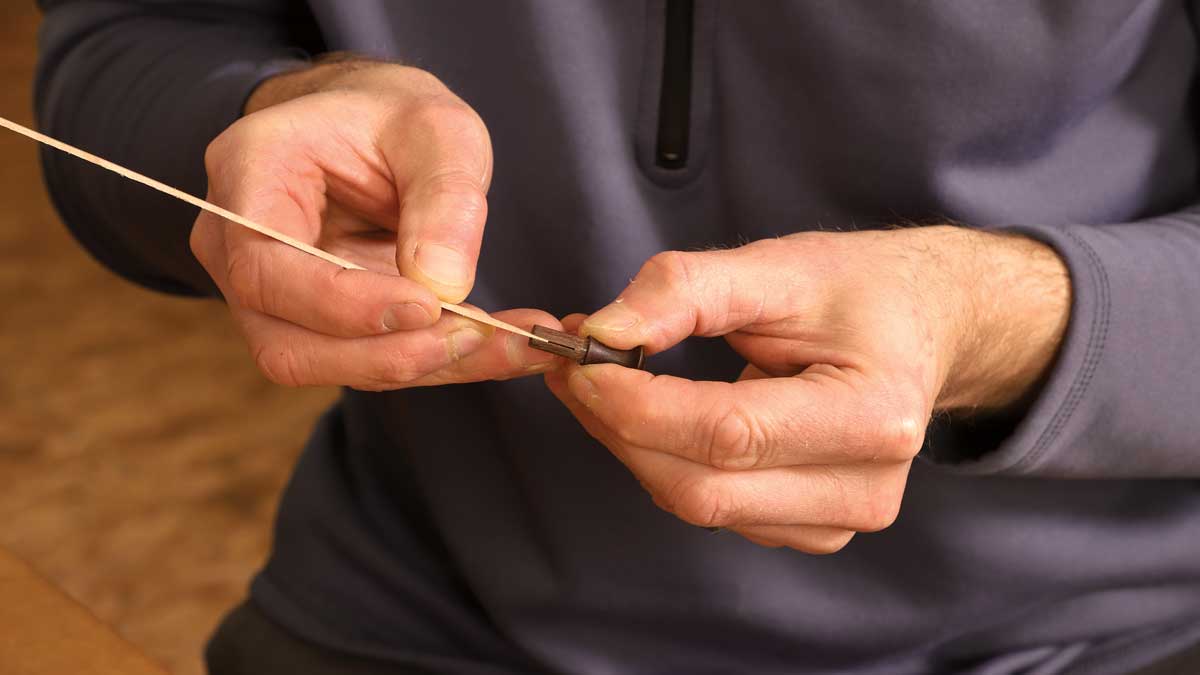
Fitting the wedge. Test the fit of the wedge, then cut it to length and taper the next section of the strip. With the drawer pull in place, Korsak glues in the wedge (above).
7. Making tiny wedges
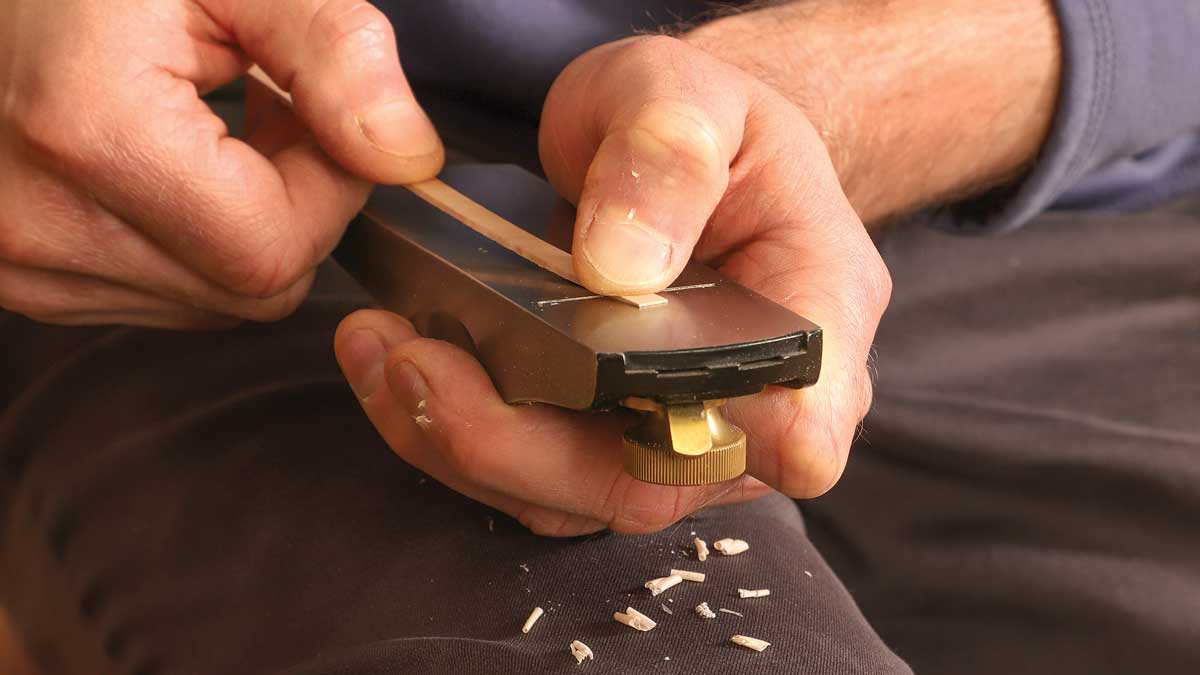
When I make door and drawer pulls, I secure them with a wedge. The wedges are strong, but tiny. They are an inch or so long, and their thickness tapers from about 1⁄16 in. down to 1⁄64 in. at the tip. I suppose they could be made (very carefully) by machine, but I find that they’re easily and safely made by hand, using a block plane.
I start at the bandsaw with a scrap 4 in. or 5 in. long, and I slice off strips that are a bit over 1⁄16 in. thick. To create the taper, I hold the block plane sole up and pull just the very end of the strip across the blade. After a few passes, a noticeable taper has developed. I gradually increase the length of the cut until I’ve achieved the taper I want. Then I cut off the tapered portion and repeat the process to make the next wedge.
 Mike Korsak makes furniture in Pittsburgh, Pa.
Photos: Jonathan Binzen; drawings: Dan Thornton
From Fine Woodworking #288
To view the entire article, please click the View PDF button below.
Fine Woodworking Recommended Products
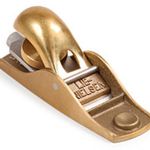
Lie-Nielsen No. 102 Low Angle Block Plane

Marking knife: Hock Double-Bevel Violin Knife, 3/4 in.

Stanley Powerlock 16-ft. tape measure




Log in or create an account to post a comment.
Sign up Log in