Dialing in a dado stack on the first try
Grooves, tenons, bridle joints, rabbets—this affordable tool cuts them all.
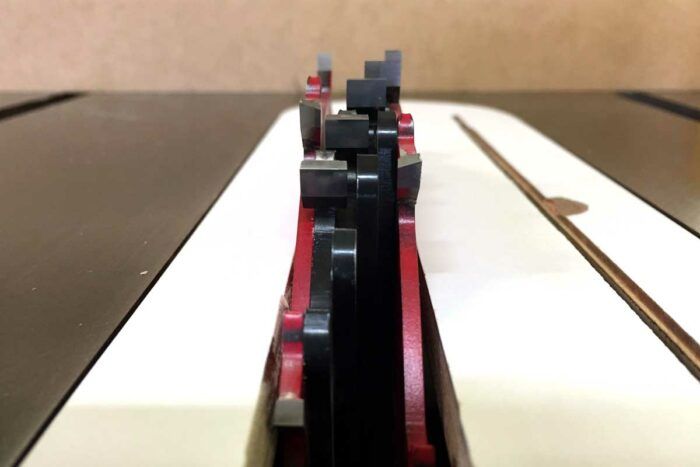
It seems to me there are very few bargains in the world of woodworking. Power and hand tools, materials, and supplies all seem to be expensive. And the further you go into the rabbit hole of woodworking, the more expensive it gets. Even a single handplane with a very narrow application can cost hundreds of dollars. But there is one item that is relatively inexpensive and has a fairly wide array of uses—the dado stack. I think it is the first joinery tool any woodworker should buy. For between $100 and $200 you can buy a pretty nice dado stack and get to work cutting grooves, tenons, dadoes, bridle joints, lap joints, and so on. With these joints and some creativity, many different cabinet and furniture pieces can be constructed.
Modern dado stacks are relatively cheap, especially considering how much use you can get from one. I could build an entire set of kitchen cabinets including the doors, drawers, and boxes with a dado stack and tablesaw. I could also build lots of really nice freestanding furniture such as chests of drawers, sideboards, and cupboards.
Dadoes help with alignment when gluing up a piece with lots of parts, and create a joint that is certainly strong enough for most cabinet projects. Best of all, they are adjustable in width from less than 1/4 in. to more than 3/4 in.
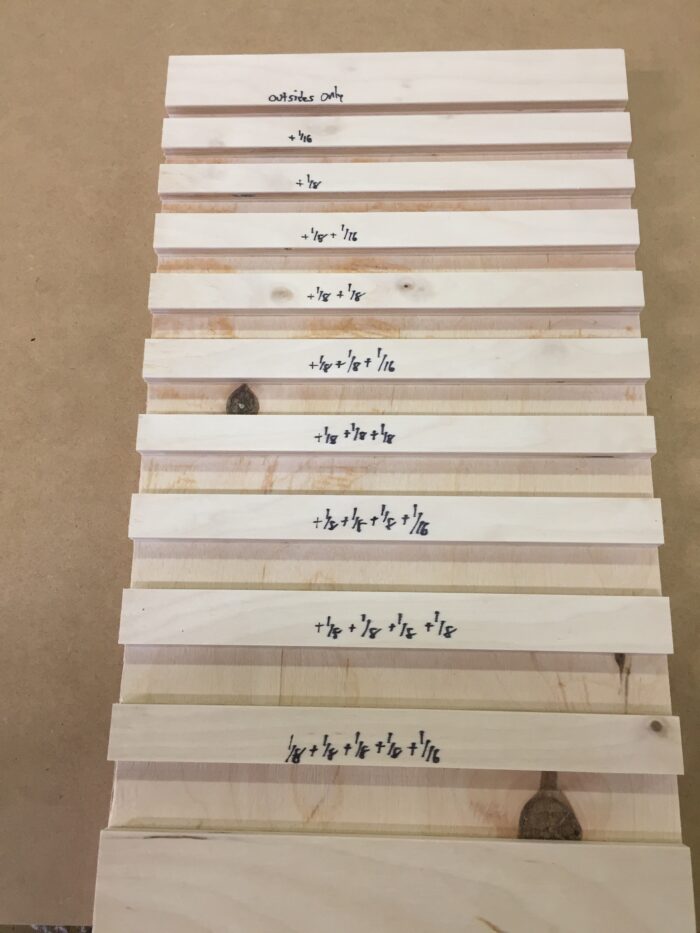
There is one down side to using a dado stack, especially if you are going to use it for many different-size parts: the setup. A dado joint must be somewhat tight to be effective. That means some amount of adjustment is needed. Normally this is accomplished via shims that are added between the various cutters that make up the stack. The problem with adding or removing shims is that it’s both time consuming and annoying. One trick is to make a test board that has a few different dadoes cut in it and is marked with which combination of chippers was used. To use the board simply find the dado that is slightly smaller than your workpiece. Measure both the workpiece and the dado with calipers. Then add the correct amount of shims to the stack and you’re ready to go. For the most part I nail setup the first time using this method.
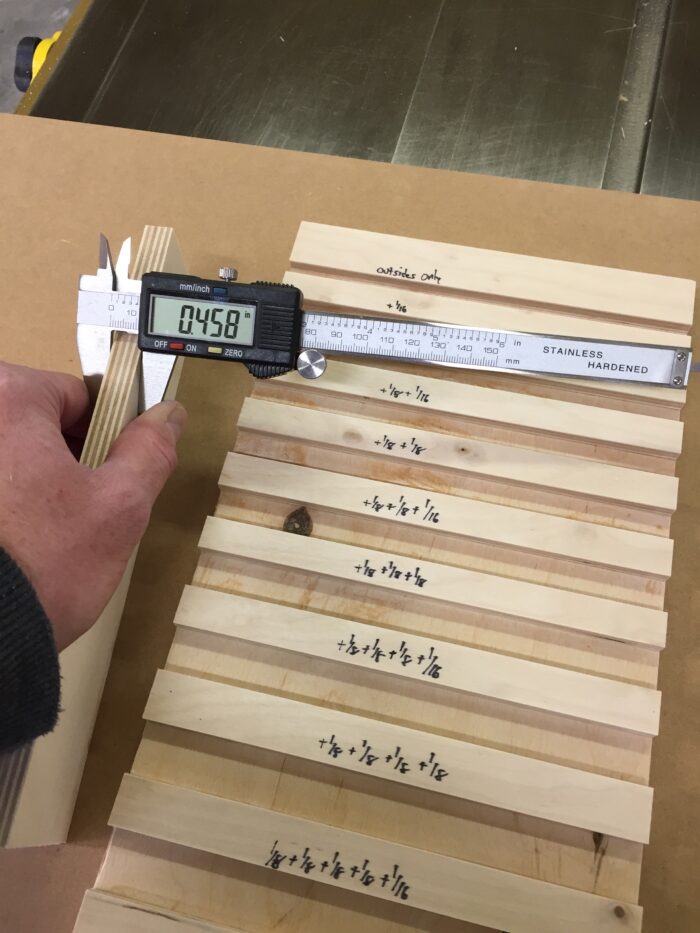
I measure my workpiece and note its thickness.
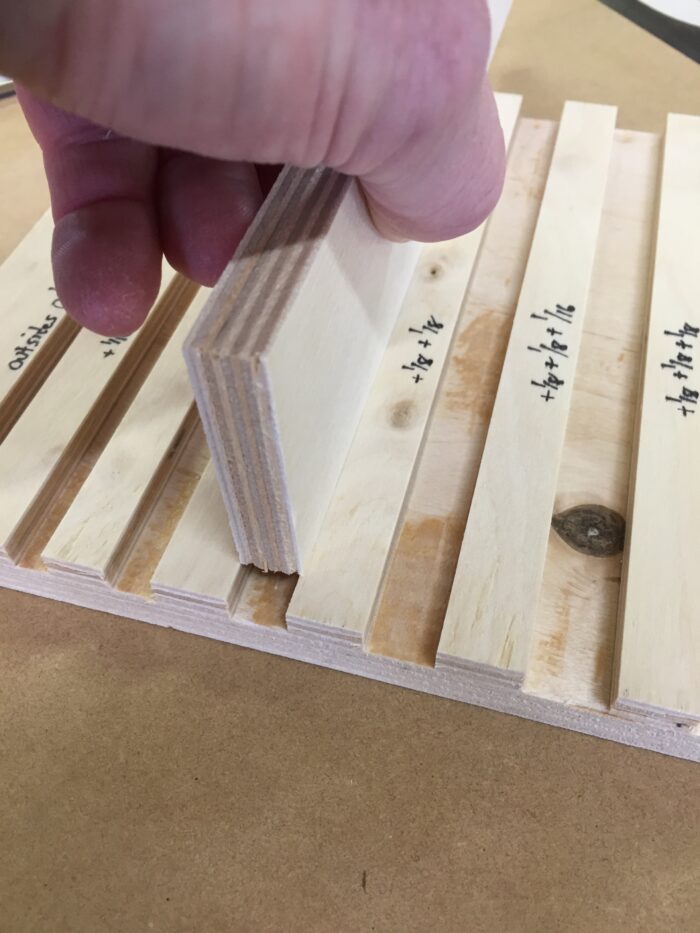
Next, I find the largest dado my piece WON’T fit in.
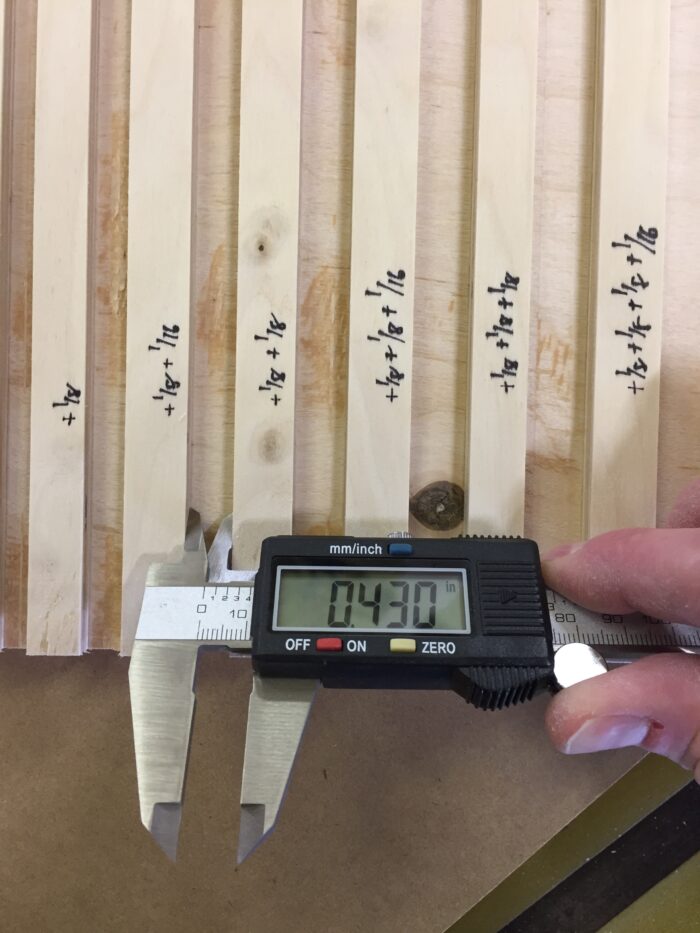
Measure the size and take note.
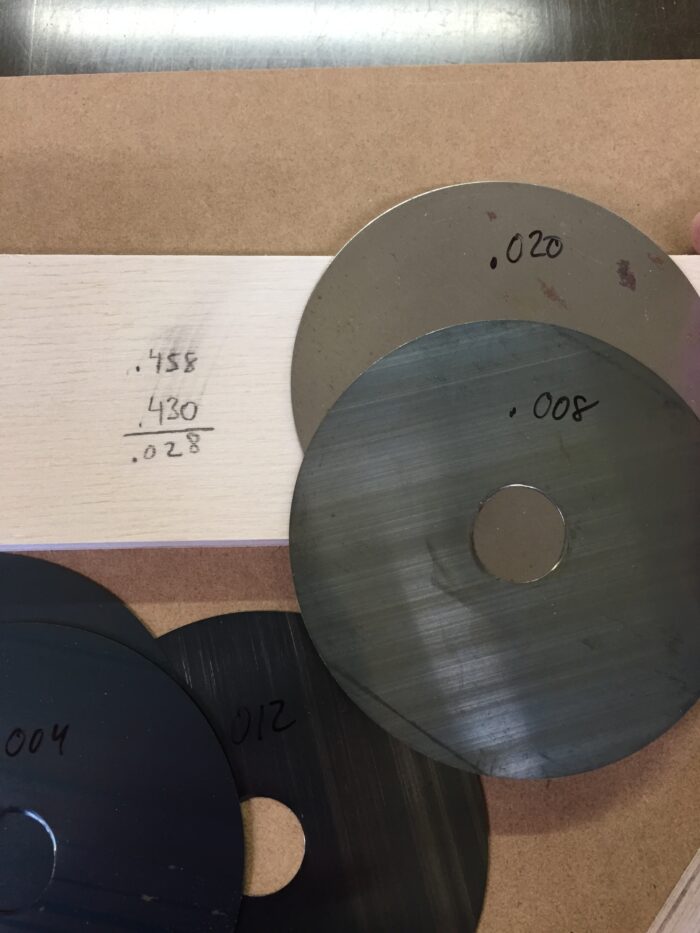
I do a little math and find the closest shim arrangement to make up the difference. In this case I was spot on.
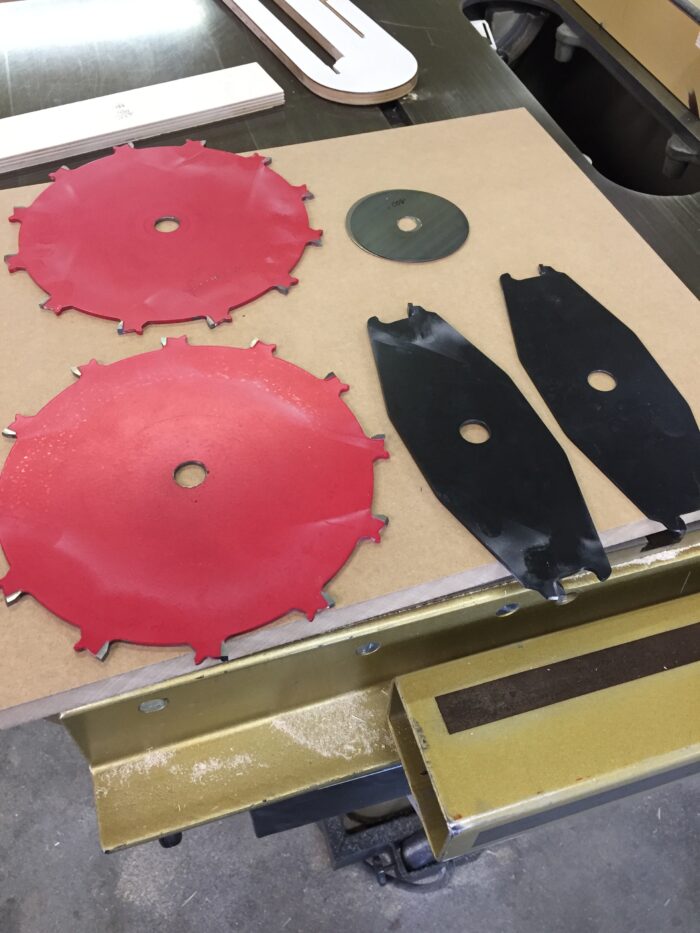
Based on my test dado board and measurements, here is what I need to cut the perfect dado. Both outside cutters, a 1/8-in. chipper, a 1/16-in. chipper, and the two shims.
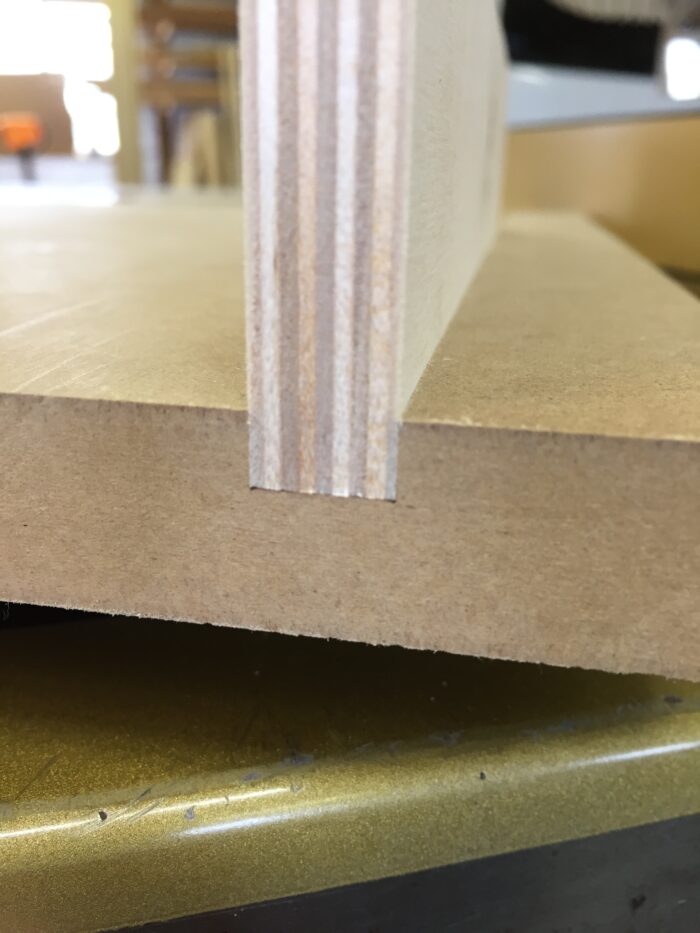
That is a pretty darn nice fit. Nailed it on the first try…. Or did I dado it on the first try?
I realize for many, the dado stack is a well-known entity. I wanted to mention it for those new to woodworking, or those who maybe haven’t given one a try. When compared to many of the common handheld joinery tools, such as the Festool Domino, a dado stack can do much of the same work at a fraction of the price.
Pro tip: Bigger isn’t always better when it comes to a dado stack. If you are going to be doing a stopped dado the smaller diameter of a 6-in. dado stack means less cleanup.
So today, mighty dado stack, I salute you. That’s it for this one. Thanks for reading.
Dado Heads
Do More with Your Dado Set
How to cut accurate tenons on the tablesaw
Fine Woodworking Recommended Products
Pfiel Chip Carving Knife

Suizan Japanese Pull Saw

Marking knife: Hock Double-Bevel Violin Knife, 3/4 in.




Comments
Thank you, Mike! A great article that offers me more incentive to use a dado stack. Often I avoid the dado stack because of the setup time and the trial cuts. This has me thinking more favorably to use my dado stack with your layout jig!
You can save some math by zeroing out the caliper after the first measurement. The readout from the second measurement will be the difference!
I second the pain factor. I often just use closest size without shims then put a rabbet in the mating shelf to match the dado. Not really a time saver though nor applicable for all scenarios. Going to make one of these gauge boards, might just be the ticket. Thanks for the tip Mike.
Thank you Mike! Once again you've identified a quality time saving technique that doubles as an incentive to move toward smarter problem solving system. Thanks also to TimH; I don't currently own a digital caliper, this article may be just the reason to make the move over from my traditional dial caliper!
Log in or create an account to post a comment.
Sign up Log in