Creating a custom cove molding
The cove molding provides a calm, pleasant transition between the base and the case.Sponsored by Lee Valley/Veritas
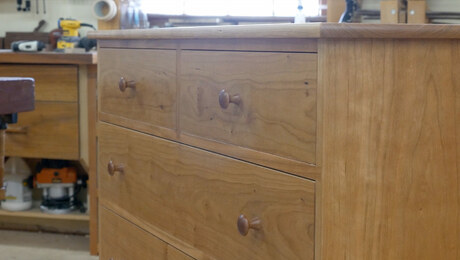
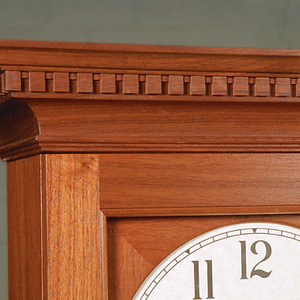
The cove molding provides a calm, pleasant transition between the base and the case. It also conceals the pine bottom. If possible, make the cove molding from the same material you used for the base. This creates a more uniform appearance between the two.
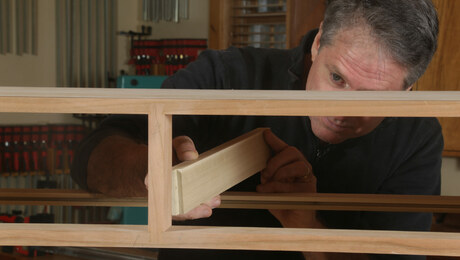
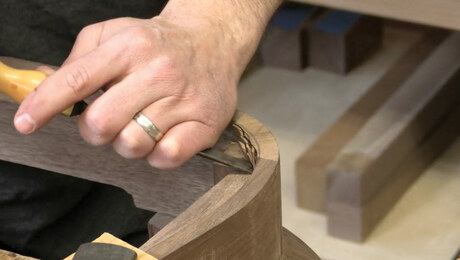
Thickness the molding stock to match the base-case offset. But for safety while cutting the cove, keep the blank plenty wide. At the router table, use a cove bit to shape the stock. Scrape and sand the cove, then rip the molding from the blank.
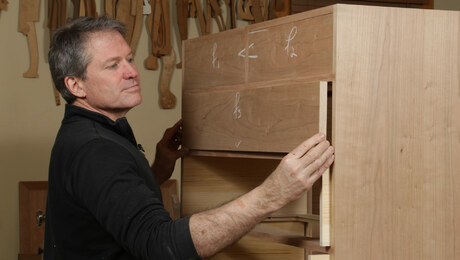
To apply the molding, first miter and glue the front in place. Then miter the side pieces, cut them to length, and install them. All three pieces can be glued to the base. The whole front piece can be glued to the case, but to accommodate wood movement, only the front 7 in. of the sides should be glued.
You can get the full-size plans for this project at Tom’s website!









Comments
OK, is it me or the video?
Did Tom route the edge with a climbing cut? Or do Festools rotate in reverse? If so, the router bit must be backwards too!
What gives?
Yes that was a climb cut. Given very little material being removed the bit may not have had that much opportunity to grab and get out of control. Even so, he didn't seem to have a firm hold of the router so I was also surprised.
Same, it didn't go unnoticed.
Log in or create an account to post a comment.
Sign up Log in