Assemble a Drafting Tool Kit
Mike Korsak figures out exactly how his furniture will go together the old-fashioned way—with pencil and paper, making full-scale drawings.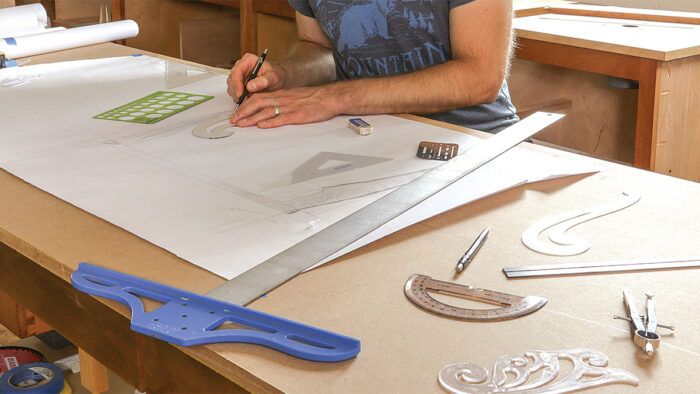
Synopsis: Before a cutting tool makes contact with wood, Mike Korsak figures out exactly how his furniture will go together. Most of the time, he does this the old-fashioned way—with pencil and paper, making full-scale drawings. He also uses CAD software when the occasion demands. From tape measure to protractor to drawing paper, here’s a rundown of the tools and techniques he uses to draft his furniture designs.
All of the woodworking, carpentry, and timber-framing jobs I’ve held have reinforced the value of figuring something out first on paper (or with a computer) before any cutting or building took place. When I designed timber-frame structures, design work was done with a computer, using computer-aided design (CAD) software. With CAD, I built 3-D models of each frame I worked on, and these models would include every joint, fastener, connector, etc. In essence, these buildings were built twice—the first time in CAD, the second time in real life. This approach eliminated a lot of potential building mistakes at the design stage, where they could be resolved before they became a major problem at the job site.
In my work as a furniture maker, I still subscribe to building it twice, although I do it mostly on paper, not in CAD. I’d still much rather figure out how things should go together (or not!) before I start cutting any wood, as opposed to discovering a design mistake during the build itself. To accomplish this, I generally design furniture by drafting full-scale drawings using pencil and paper.
Behind The Design: Mike Korsak’s En Pointe
Mike Korsak takes you through is design process for
one of his newest pieces, a case on stand, En Pointe
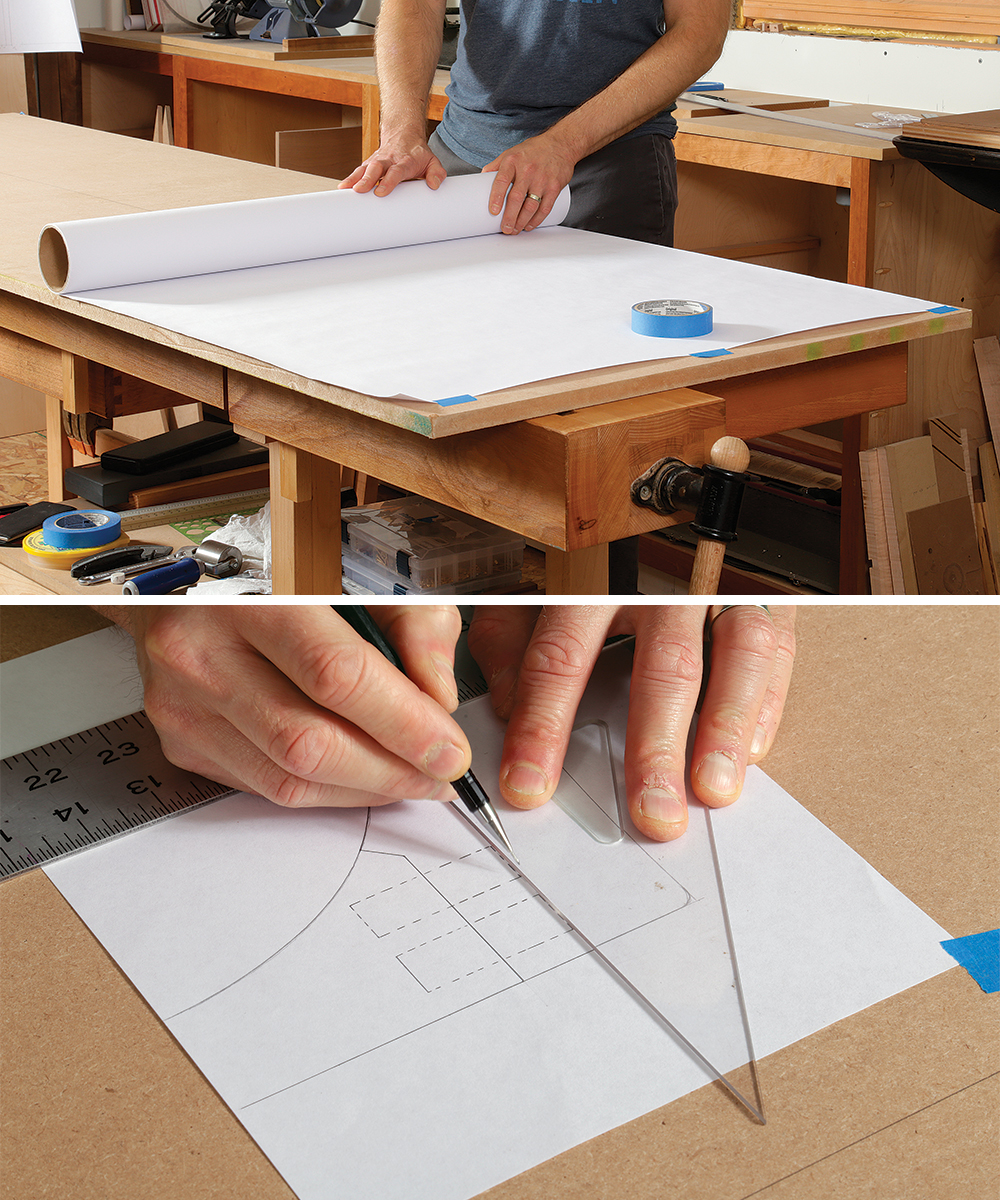
When drafting by hand I use the same tools and techniques that I was taught back in high school (many thanks, Mr. Miller). And since these drawings are full scale, I draw all of the furniture components at their final size. This means my drafting tool kit needs to accommodate workpieces, curves, and details big and small. My kit’s neither large nor expensive, but it also doesn’t hinder my designs no matter their complexity.
Moveable, adaptable drafting station
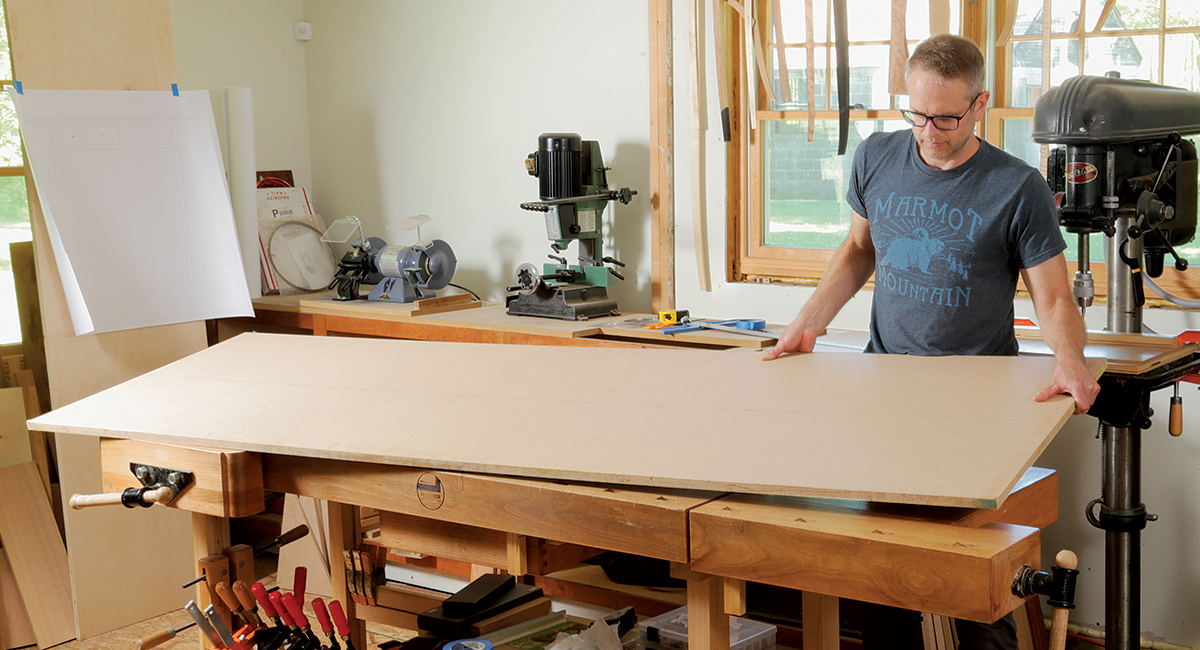
As much as I’d love to have a dedicated drafting table, space is limited in my shop. But full-size drawings are crucial to my process, so I found a solution: MDF laid on my workbench. I generally have it in my shop in various sizes, so I pick a piece that corresponds to the size of the drawing. MDF has a very smooth surface, so there’s no chance of a pencil veering off course like it would in the open grain of plywood or solid wood. One edge of the MDF should be true and flat for a T-square to register against.
From Fine Woodworking #290
To view the entire article, please click the View PDF button below.
Behind The Design: Mike Korsak’s En Pointe
Creating Working Drawings
Michael Fortune’s Drawing Tricks
Fine Woodworking Recommended Products

Stanley Powerlock 16-ft. tape measure

Marking knife: Hock Double-Bevel Violin Knife, 3/4 in.

Starrett 4" Double Square






Log in or create an account to post a comment.
Sign up Log in