How to rub out a varnish to a mirror shine
Rubbing out allows you to adjust the sheen of a finish, while removing imperfections like dust nibs, runs, sags, or bumps from the surface.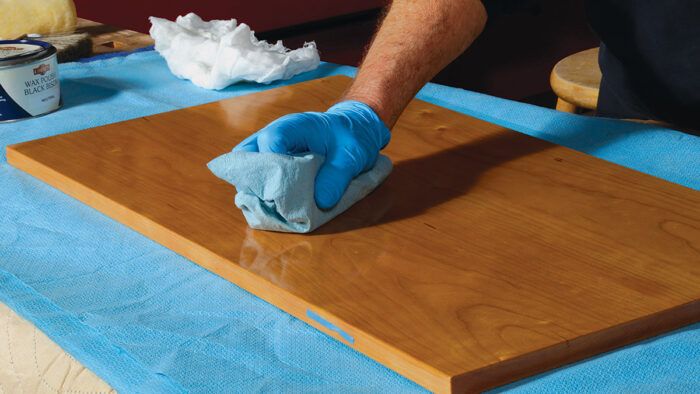
Rubbing out allows you to adjust the sheen of the finish while removing imperfections like dust nibs, runs, sags, or bumps. While these can be minimized by careful application, they are inevitable. In the process of removing them, the sheen is affected, so take advantage of the opportunity and adjust it as you like. As long as the film of finish is thick enough and the finish is hard enough, any luster from dead flat to ultra-high gloss is possible.
A low sheen is easy enough with 0000 steel wool after the finish cures. For a silky satin sheen or a high-style gloss, the process is more in depth, but the results speak for themselves.
The most successful rubouts are done on extremely hard finishes like shellac or lacquer, but many varnishes eventually dry hard enough that they respond well to the process. Drying time is the key. Don’t even think of rubbing out a varnish without at least a week and a half of drying time. Two to three weeks is better.
Unlike traditional methods, this process does not involve lubricants, like paraffin oil. I find liquids add uncertainty because you cannot see if you have rubbed too much until it is too late.
Working a flat surface
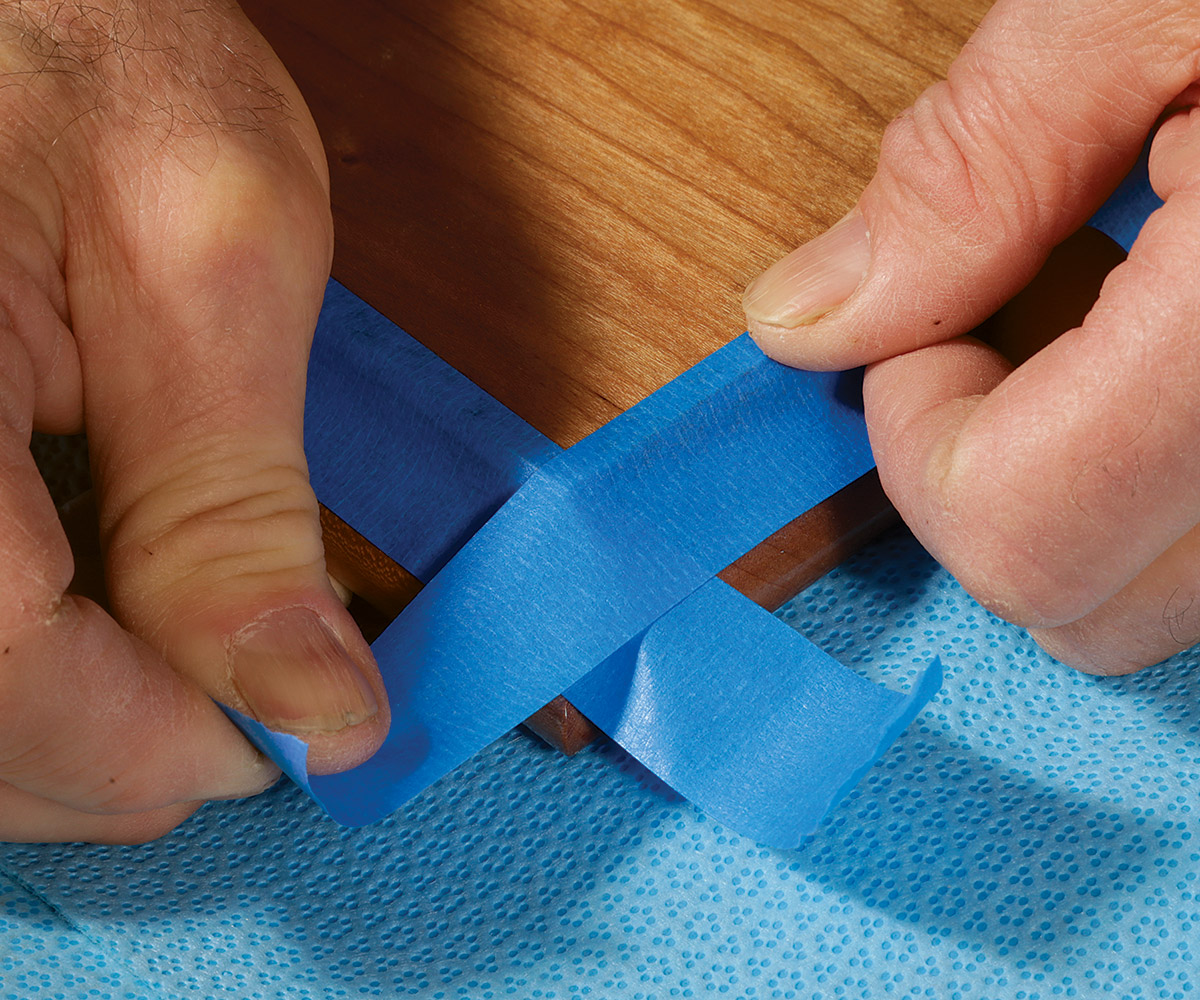
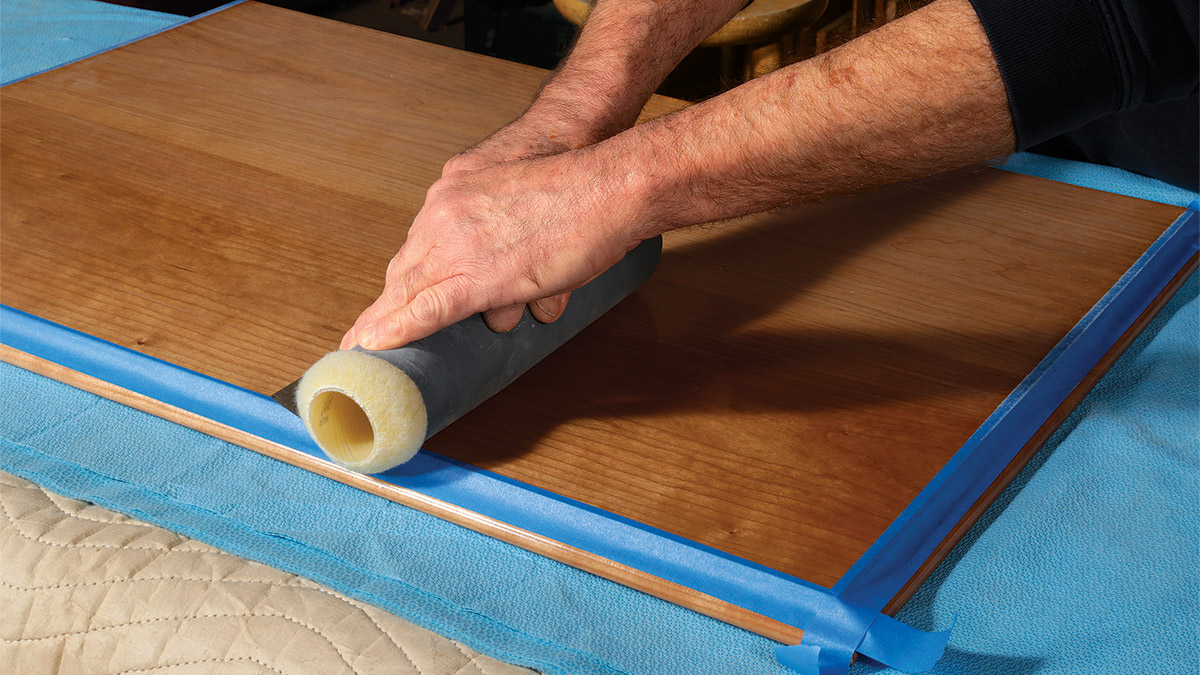
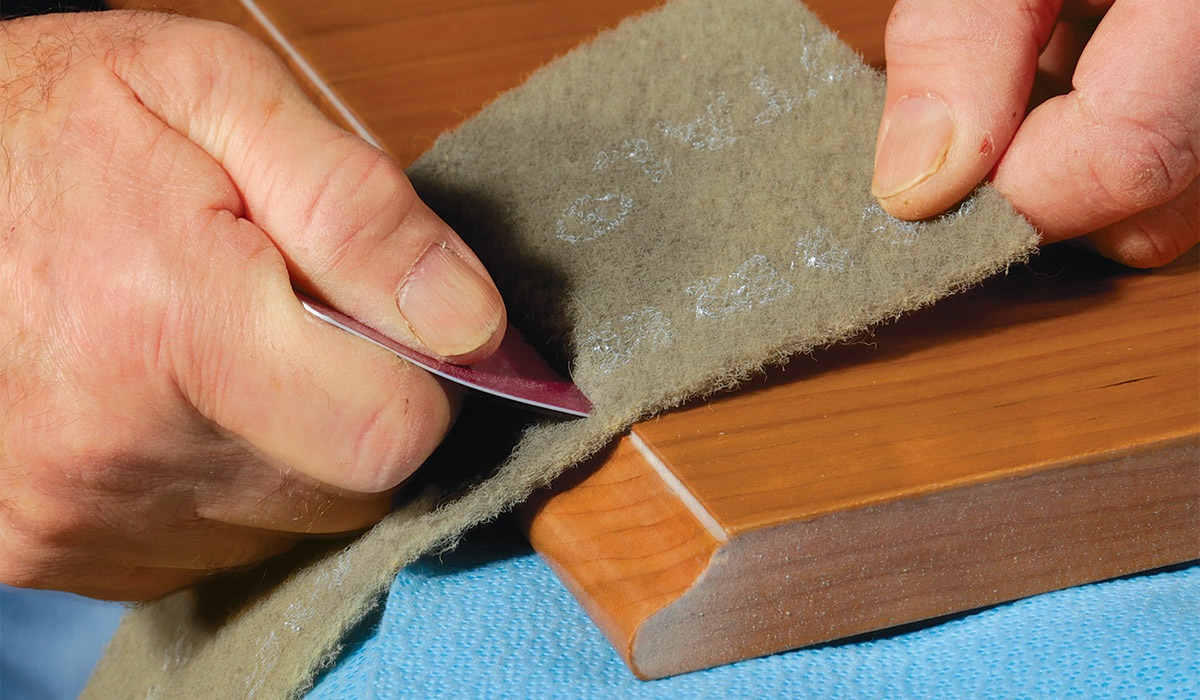
Start leveling the finish by sanding with 400- or 600-grit sandpaper. This important step removes the dust nibs and, done with care, levels out runs in the finish. For more targeted removal, use a card scraper. Protect the perimeter of the workpiece with blue tape, since the varnish will likely be thin there.
Check your progress with raking light. When level, the whole surface will have an evenly dull sheen. Low spots in the finish will be shinier. Carefully resolve these for the best results.
After leveling, remove all traces of sanding dust using a blue shop towel wrapped around a felt block. Keep rewrapping the block, exposing fresh towel, until you no longer see white dust residue on the towel.
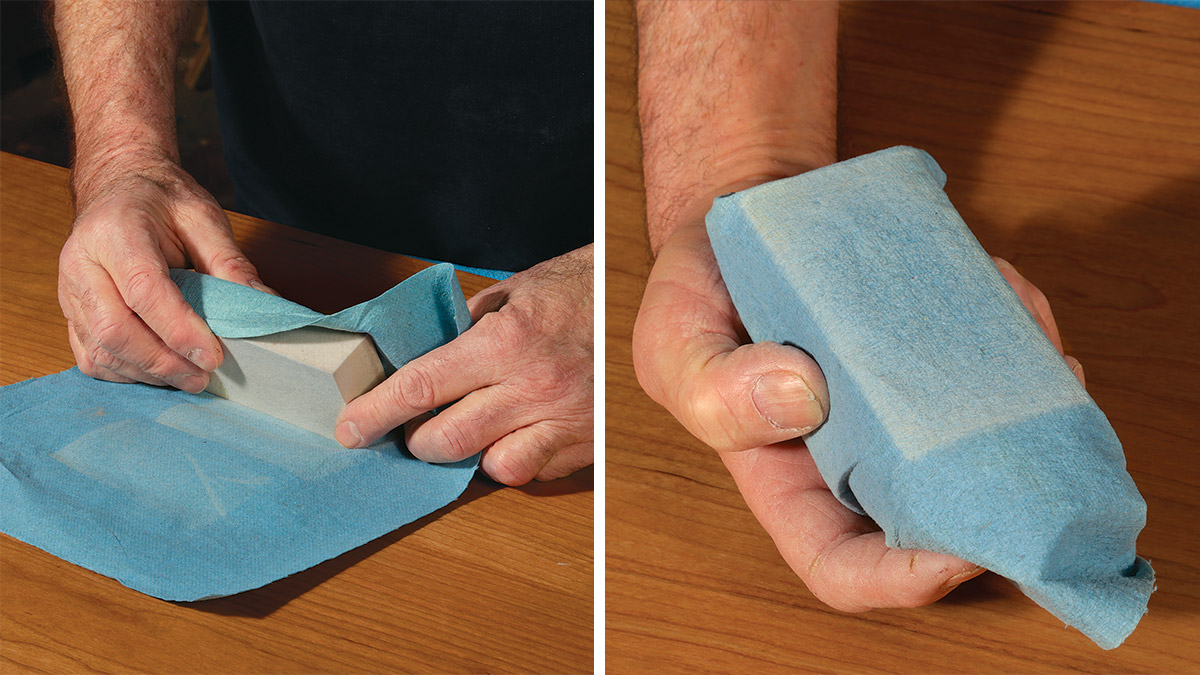
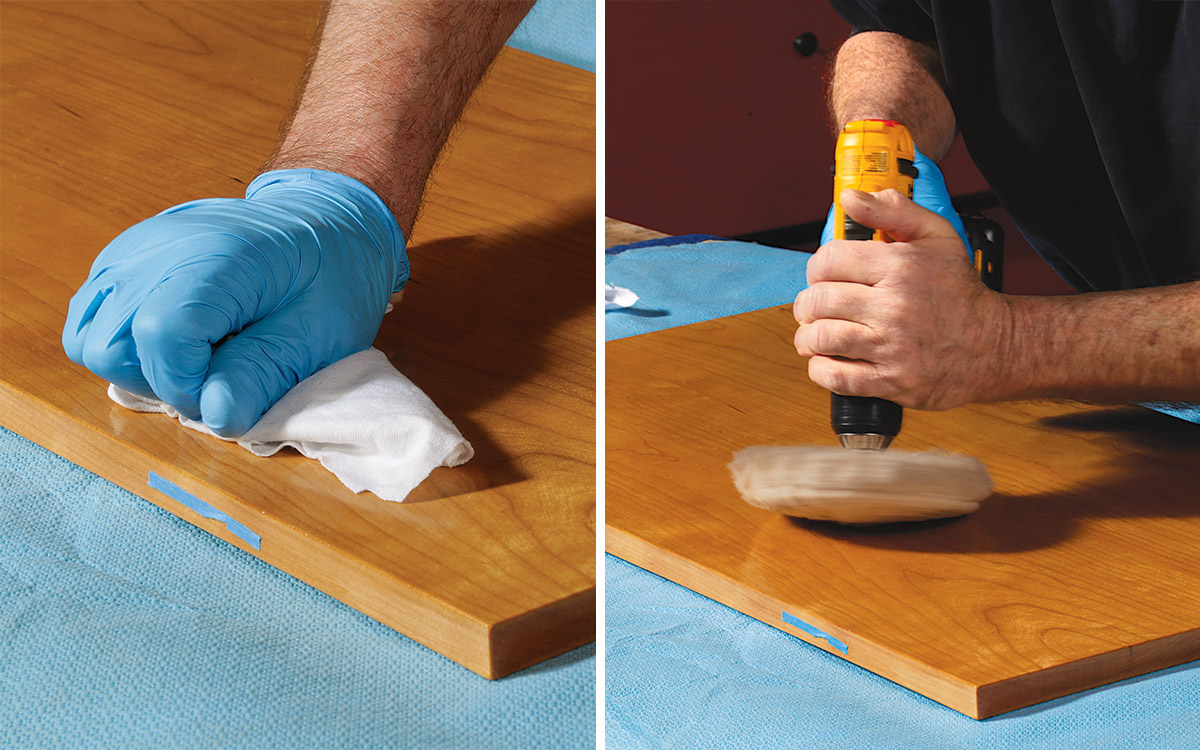
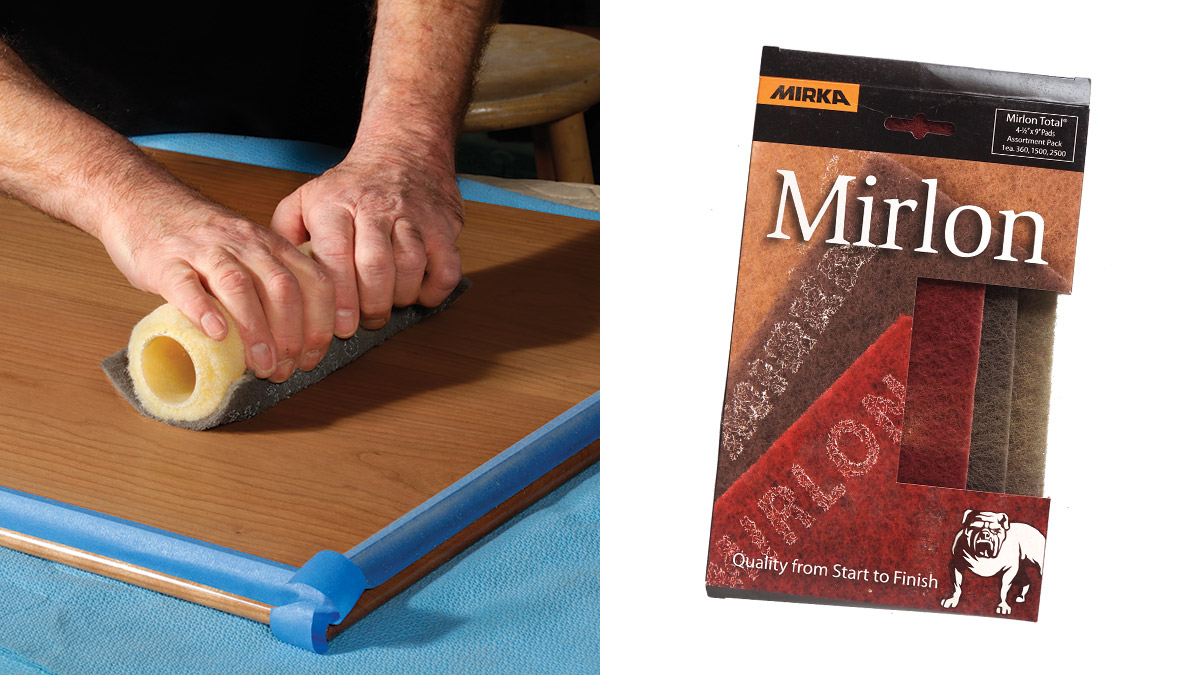
Next, I move to Mirlon, a superior synthetic pad, in increasingly finer grits, 360; 1,500; and 2,500. Take firm, even strokes as you cover the whole surface. Again, clean the surface completely between grits with a shop towel. You’ll notice the inherent abrasiveness of the towel will bring up the shine slightly when all the surface dust is gone.
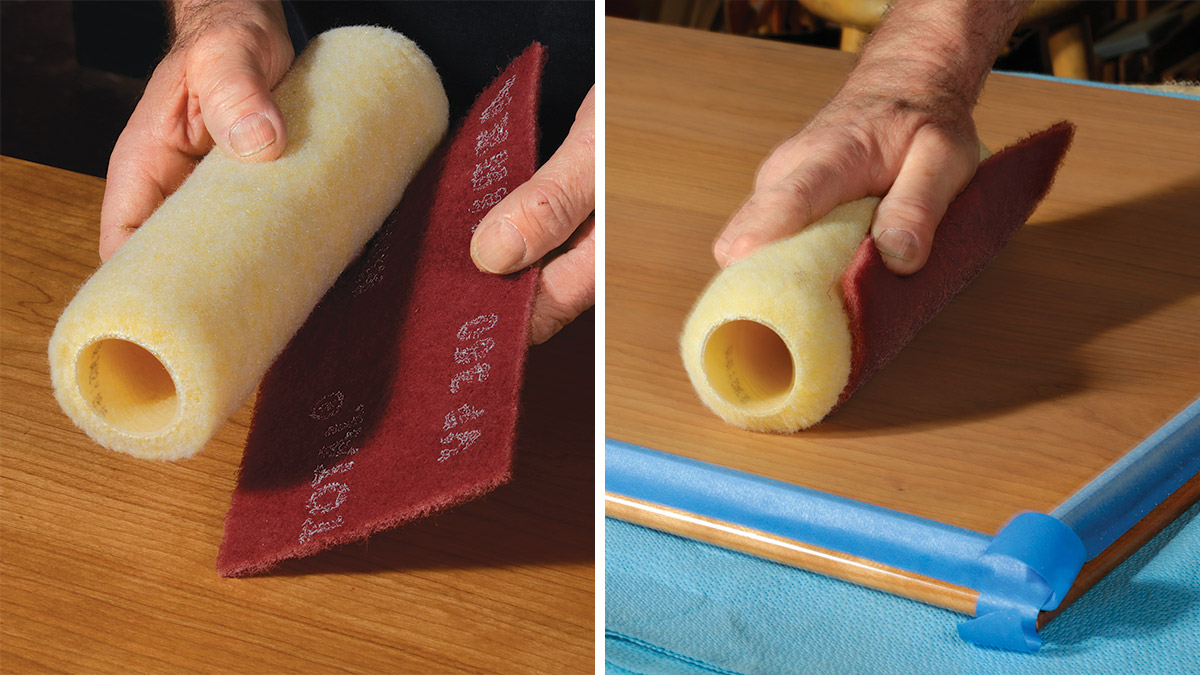
Before using the finest-grit Mirlon, remove the blue tape that protects the edges. I then use firm, even strokes with the Mirlon wrapped around a felt block. It is especially important to rub out the surface completely and firmly using the blue towel and felt block afterward.
Address the edges
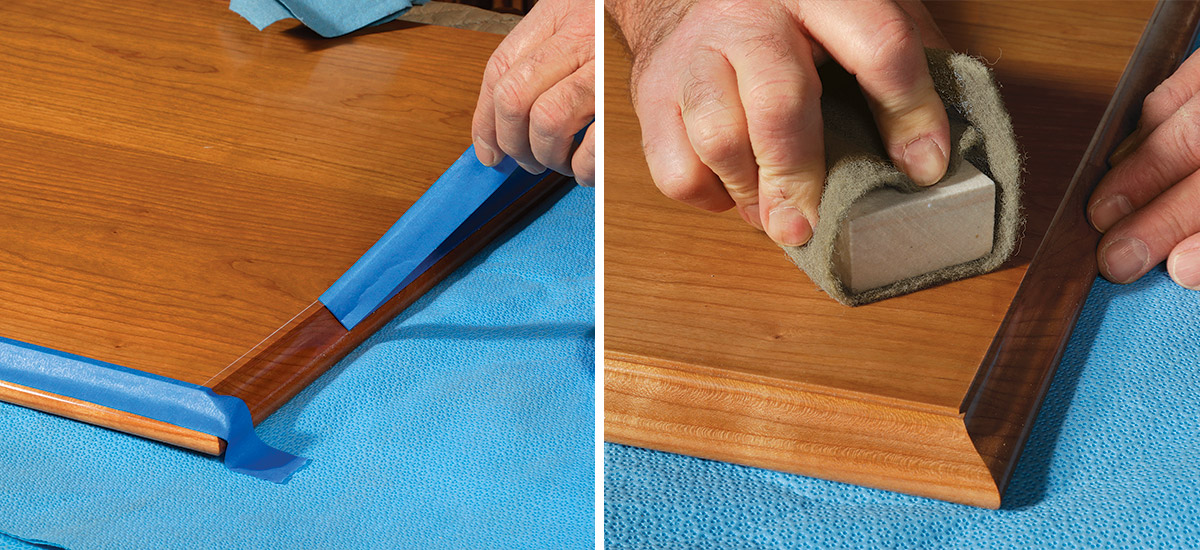
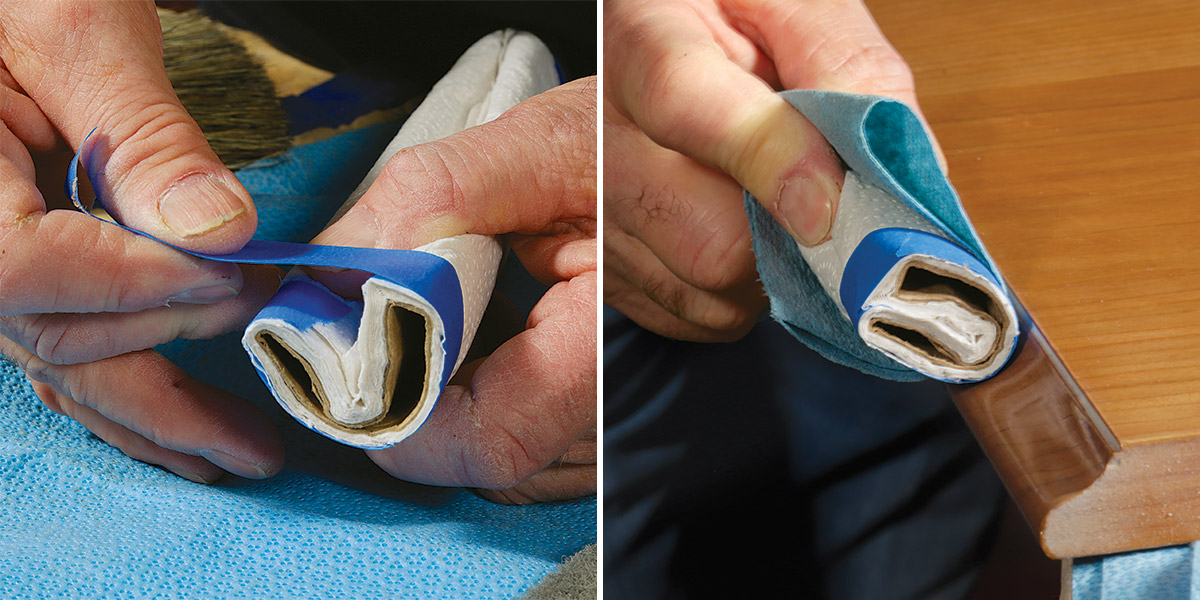
When you are happy with the flat surface turn to molded edges. Use the same Mirlon pads, this time wrapped around a shaped sanding block. I use a foldedover paper towel tube here, but builder’s insulation foam or a dowel wrapped in paper towel work too. To work into corners, back the Mirlon with a stiff card.
Add paste wax if desired
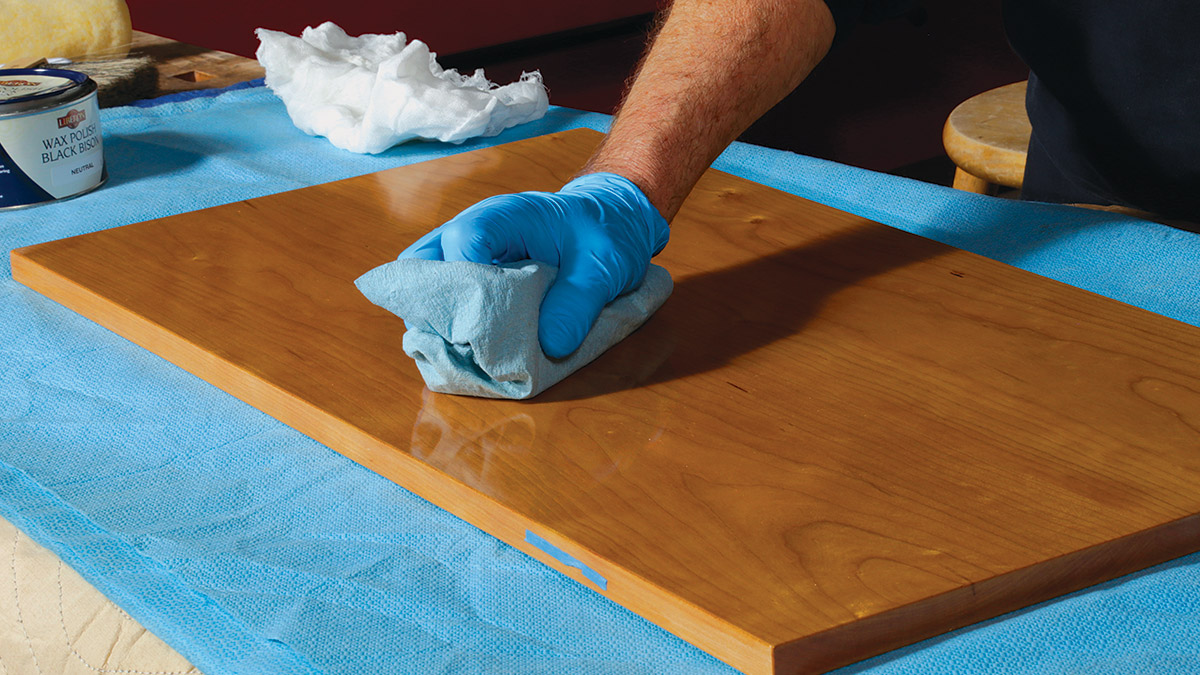
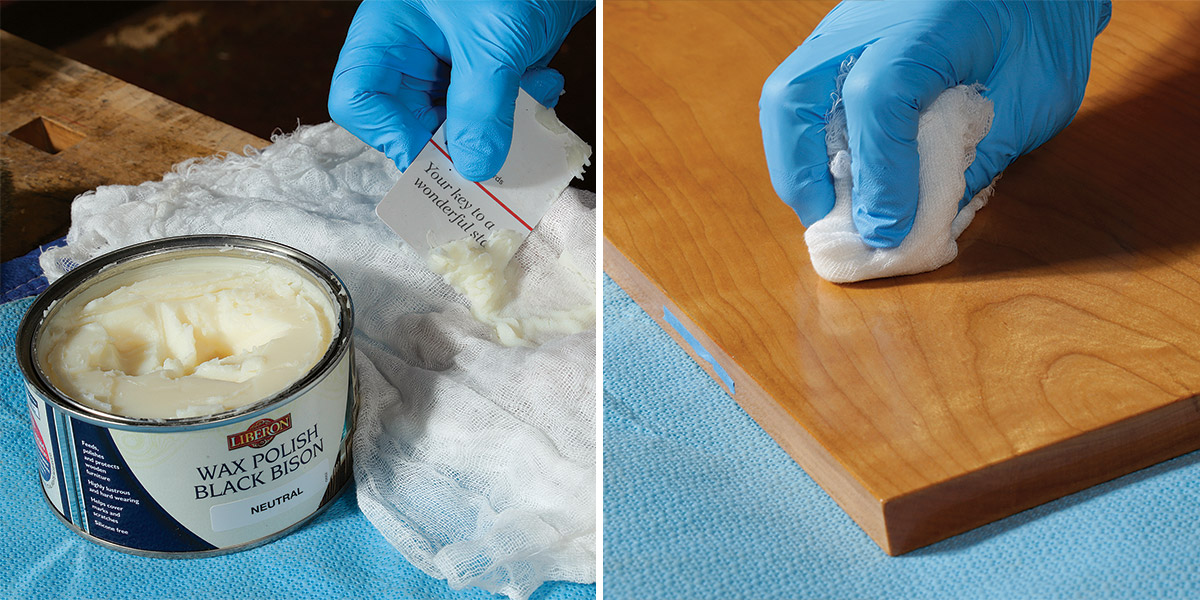
At this point you can stand back and admire your work, or you can decide to add a coat of paste wax. The wax does not add much protection other than making the surface slippery and scratch resistant, but it will sometimes even out an uneven sheen or even raise the sheen slightly. You can always remove the wax with a naphtha-soaked rag if you do not like it. You can also rub back the sheen with 1,500-grit Mirlon.
From Bob’s article How to brush on a varnish finish in Fine Woodworking #289
Fine Woodworking Recommended Products
Waterlox Original
Odie's Oil
Bumblechutes Bee’Nooba Wax







Log in or create an account to post a comment.
Sign up Log in