Make a shelf on the lathe
Mark Gardner reveals how he makes the shorter, deeper shelf version of his shelf featured in FWW #291.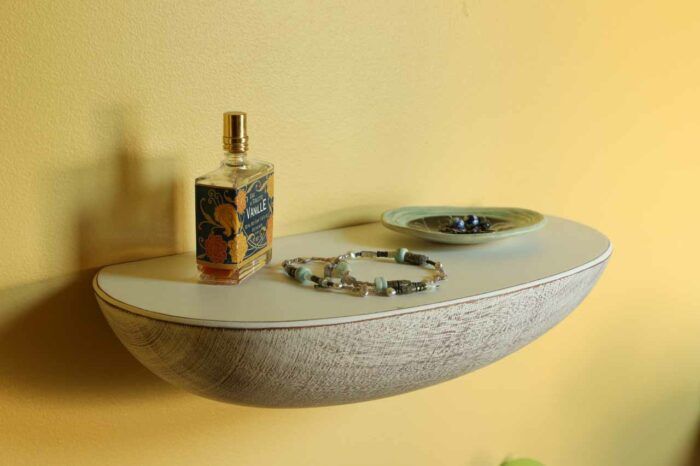
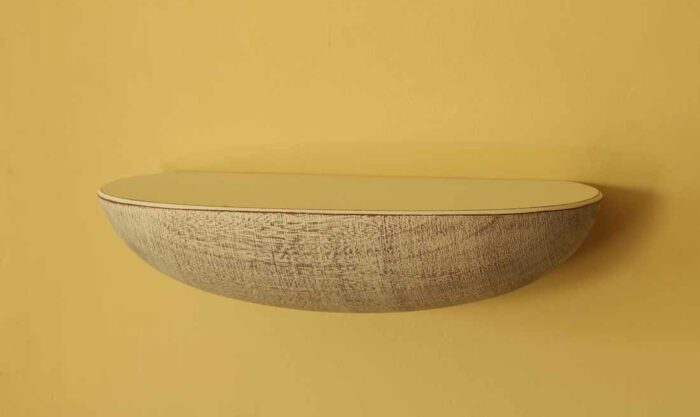
Mark Gardner’s article “Floating Wall Shelf,” in FWW #291, shows you how to make an elegant shelf on the lathe. Mark made the long, shallow shelf in the article by gluing up a turning blank with kraft paper in the joints, turning it, then splitting it apart into four shelves. Here he reveals how he makes the shorter, deeper shelf shown above by gluing up a blank in a different configuration but turning it and splitting it apart using most of the same techniques.
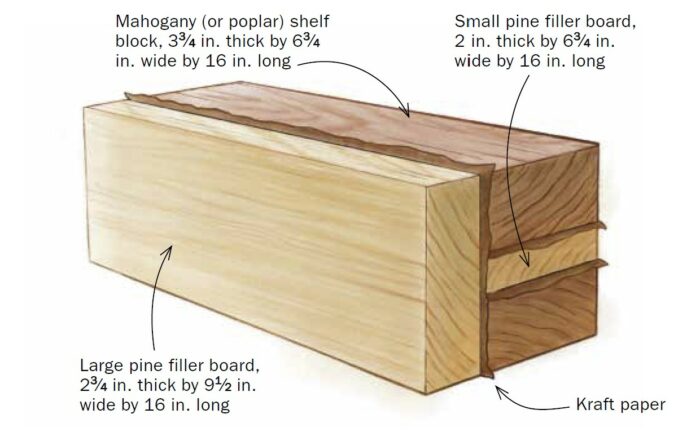
This blank, with its wide pine filler board on one side (instead of down the middle), yields two deeper shelves rather than four shallower ones.
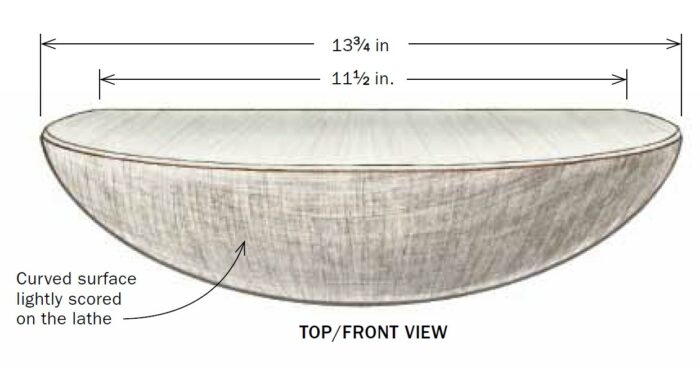
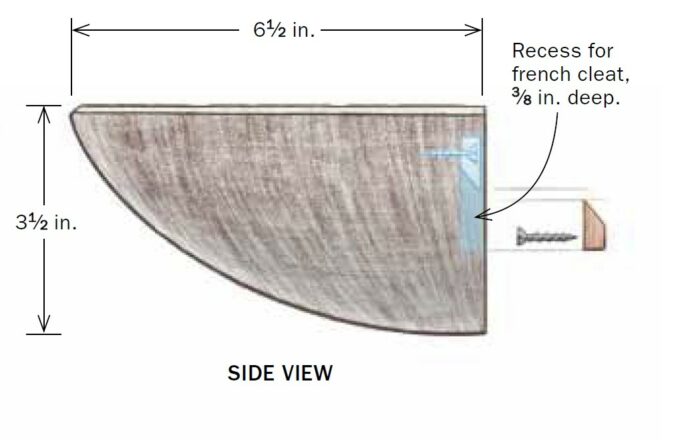
To make a pair of these shelves, Mark glues up a turning blank with two 16/4 pieces of mahogany (or poplar, or any wood you prefer) and two pine filler pieces. The filler pieces enable him to get a shelf that is deeper than it is high. The softer filler wood also protects the shelves from damage when they are split apart after turning.
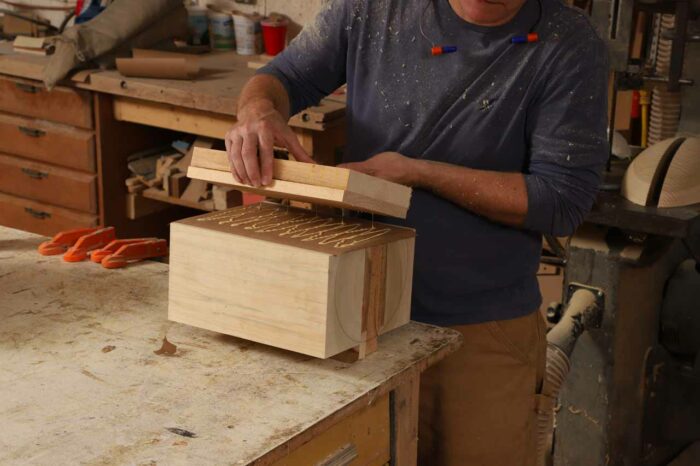
Insert kraft paper in every joint as you glue up the turning blank. In the photo above, Mark has face-glued two pieces of pine to create the side filler piece that he’s gluing on.
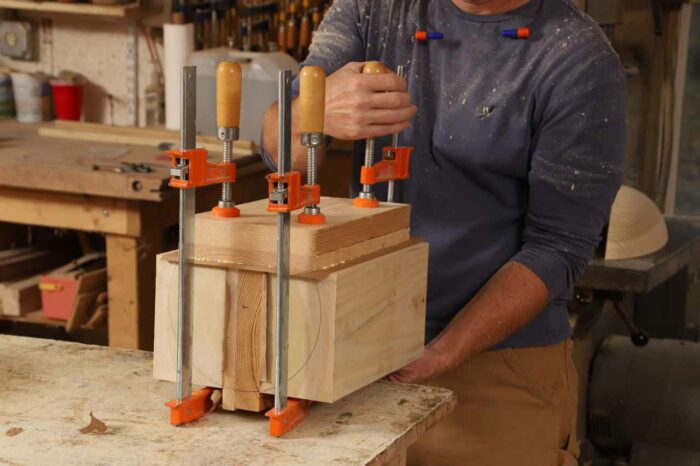
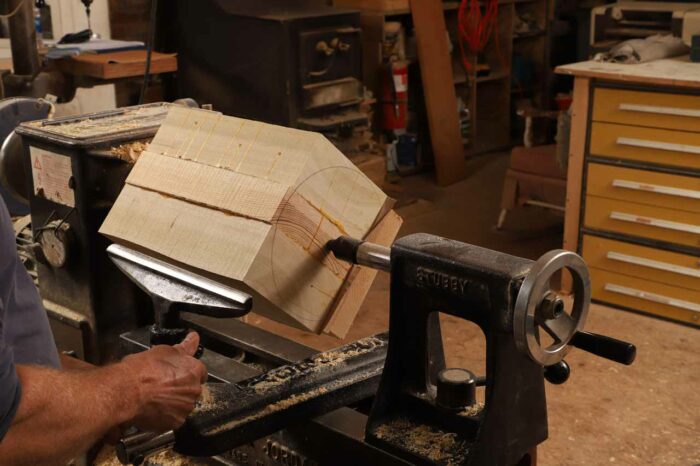
After drawing a circle on each end of the blank to locate the centerpoint, Mark chucks the blank between centers and spins it to be sure its corners will clear the tool rest.
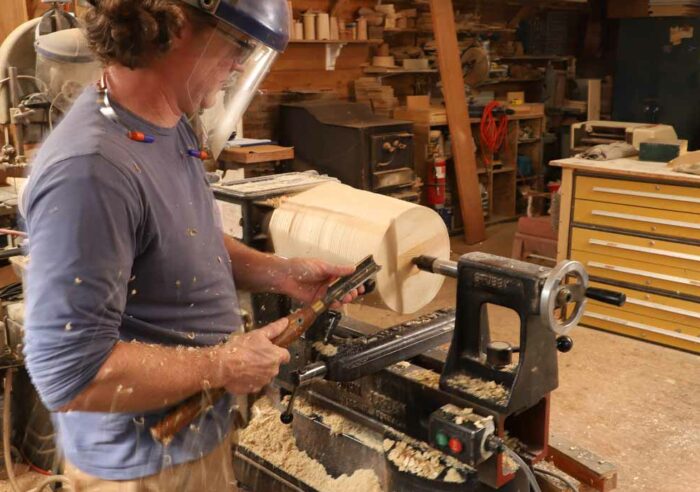
Mark uses a heavy spindle-roughing gouge to take the blank down to a cylinder.
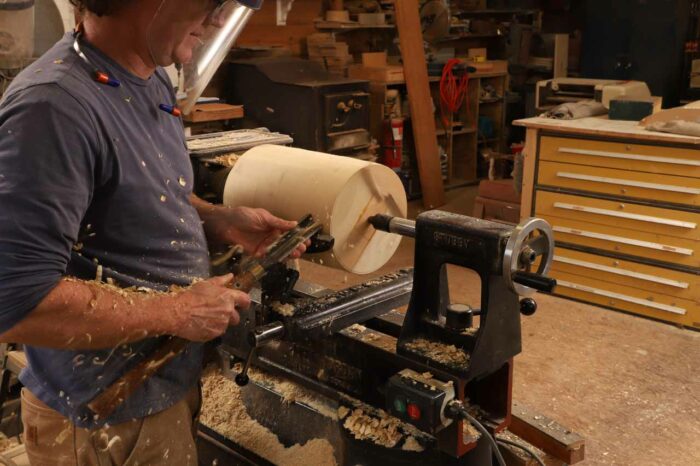
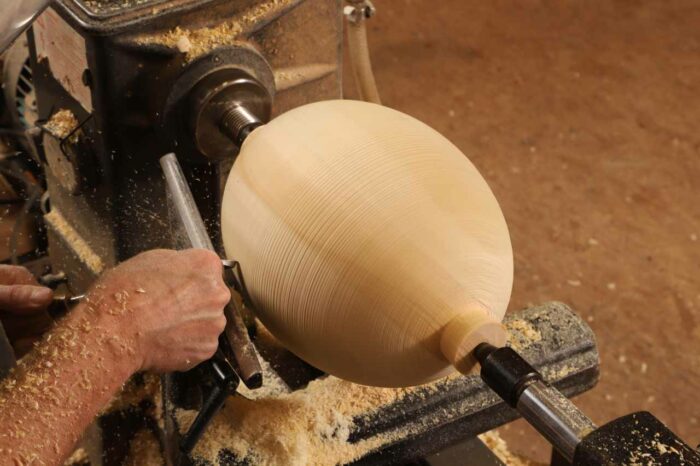
Once the blank is cylindrical, Mark pencils the center line of the shelf and the end lines. After trimming the ends flat, leaving just a plug at the center, he begins shaping the blank with a bowl gouge (below).
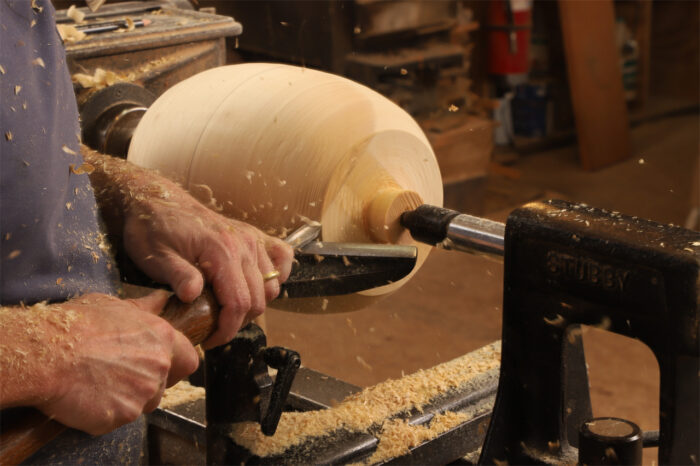
To ensure that the final shape is symmetrical, make equally spaced pencil marks and use turner’s calipers to check that corresponding diameters are equal. Let those measurements guide your turning.
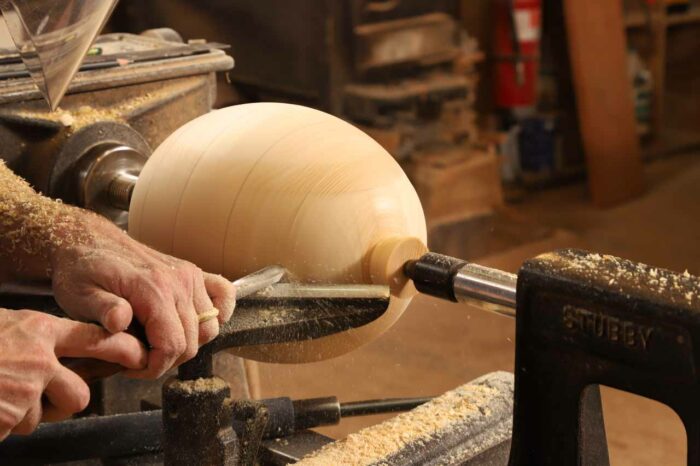
To finesse the surface, Mark uses a shear scraper.
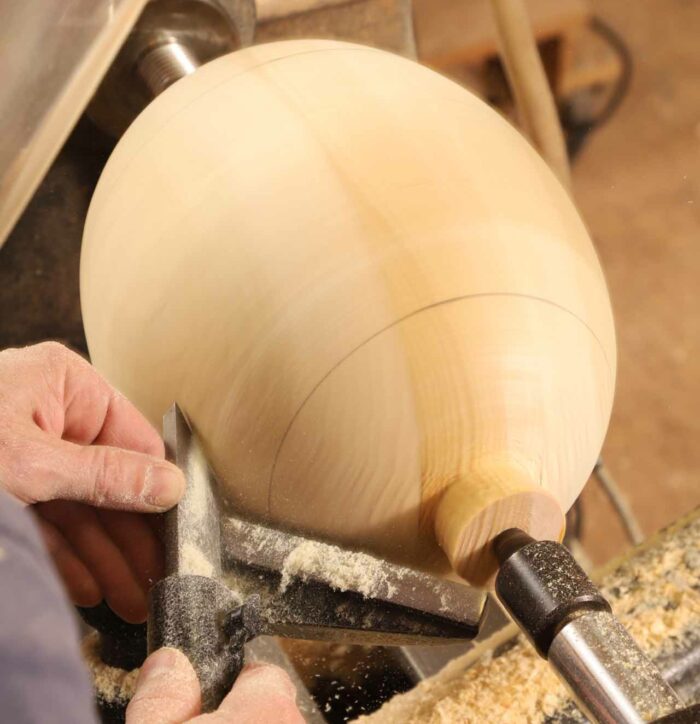
And once he’s got the shape he wants complete, he adds a decorative touch. For some shelves he cuts coves or beads; here he uses the tip of the gouge to create a lightly scratched surface.
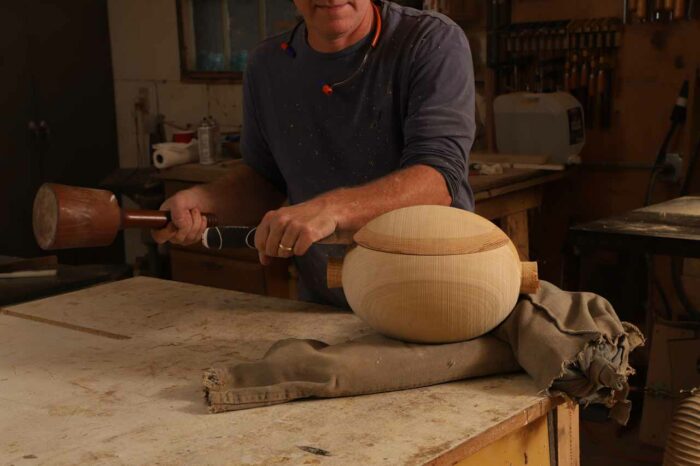
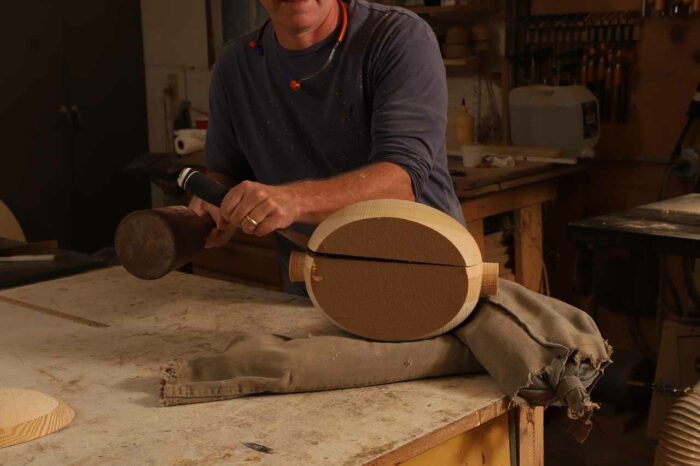
As with his longer shelves, Mark splits this one apart using a stiff-bladed paint scraper held with its bevel facing the sacrificial filler board, not the shelf. A few whacks with a mallet and a little levering usually suffice to separate the joints. If more torque is needed, he’ll knock in a long wooden wedge or two.
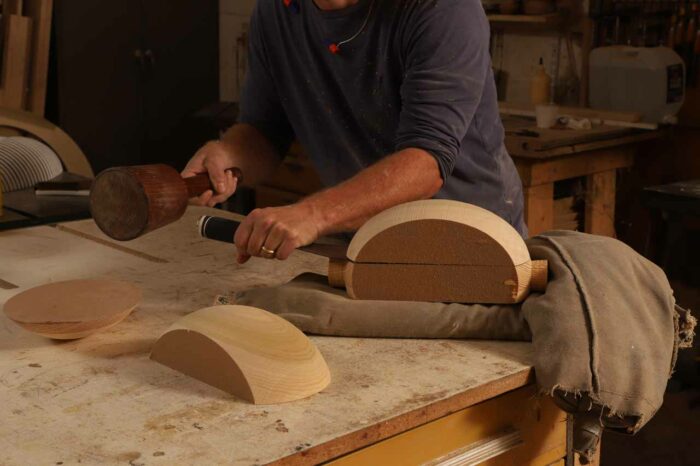
After splitting up the blank, Mark lightly joints the top and back surfaces of the shelf to remove residue of the kraft paper and glue, and then he mortises the back of the shelf to receive the French cleat he’ll use to hang it. The finish for the shelf shown below, which was made with mahogany, began with milk paint. Once dry, the paint was scuff sanded to reveal the wood beneath. Then Mark sprayed a topcoat of clear lacquer.
 |
Decorative cutting boards |
 |
Add color and texture to a turned bowl |
 |
Build a Modern Wall Shelf |
Fine Woodworking Recommended Products
CrushGrind Pepper Mill Mechanism


Log in or create an account to post a comment.
Sign up Log in