How to make an Ames square
Used to find the center of a circle, this shopmade tool is useful in setup for spindle turning on the lathe.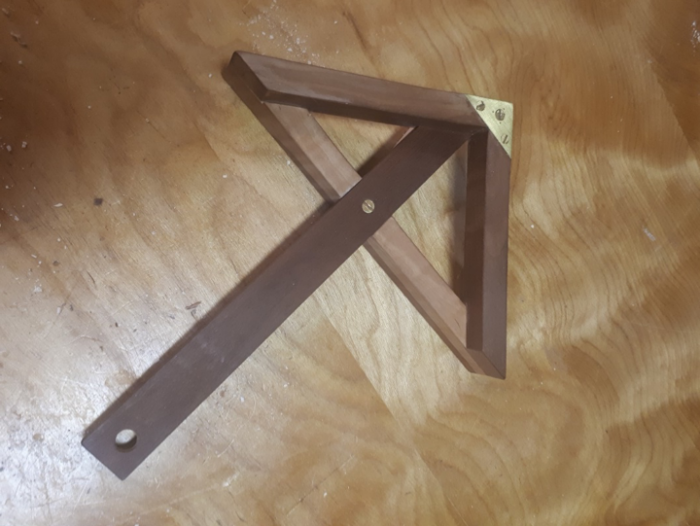
Editor’s note: William Howes’s Ames square is one of the shop-made tools featured in our gallery for Tools & Shops 2022. Here, he details how he made it.
Nathan Ames of Boston was issued a patent in 1852 for a square that could be used to find the center of a circle, a useful tool in setup for spindle turning on the lathe. This ingenious tool was manufactured by J.R.Brown and Sharp of Providence, R. I., and is sometimes still available in old tool markets. Ames held other patents including one for a precursor of the escalator.
As well as finding the center of the stock, it can also be used in a fashion like a modern speed square to layout 90° and 45° angles and to check inside corners for squares. I decided to reproduce this attractive tool in wood.
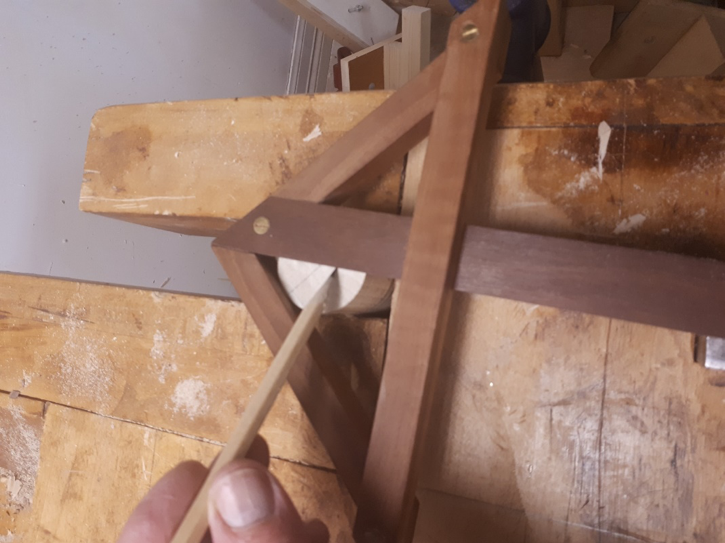
Creating a replica in wood requires careful work, and after several attempts, I concluded that the use of simple jigs would improve accuracy.
Start by milling stock to 5/8 in. by 5/8 in. Any fine-grained hardwood is suitable, I have used apple, hawthorn, and beech, but anything available will work.
Join the square sides with a butt joint held by a screw (1 in.#6). A jig to hold the pieces at 90° is useful.
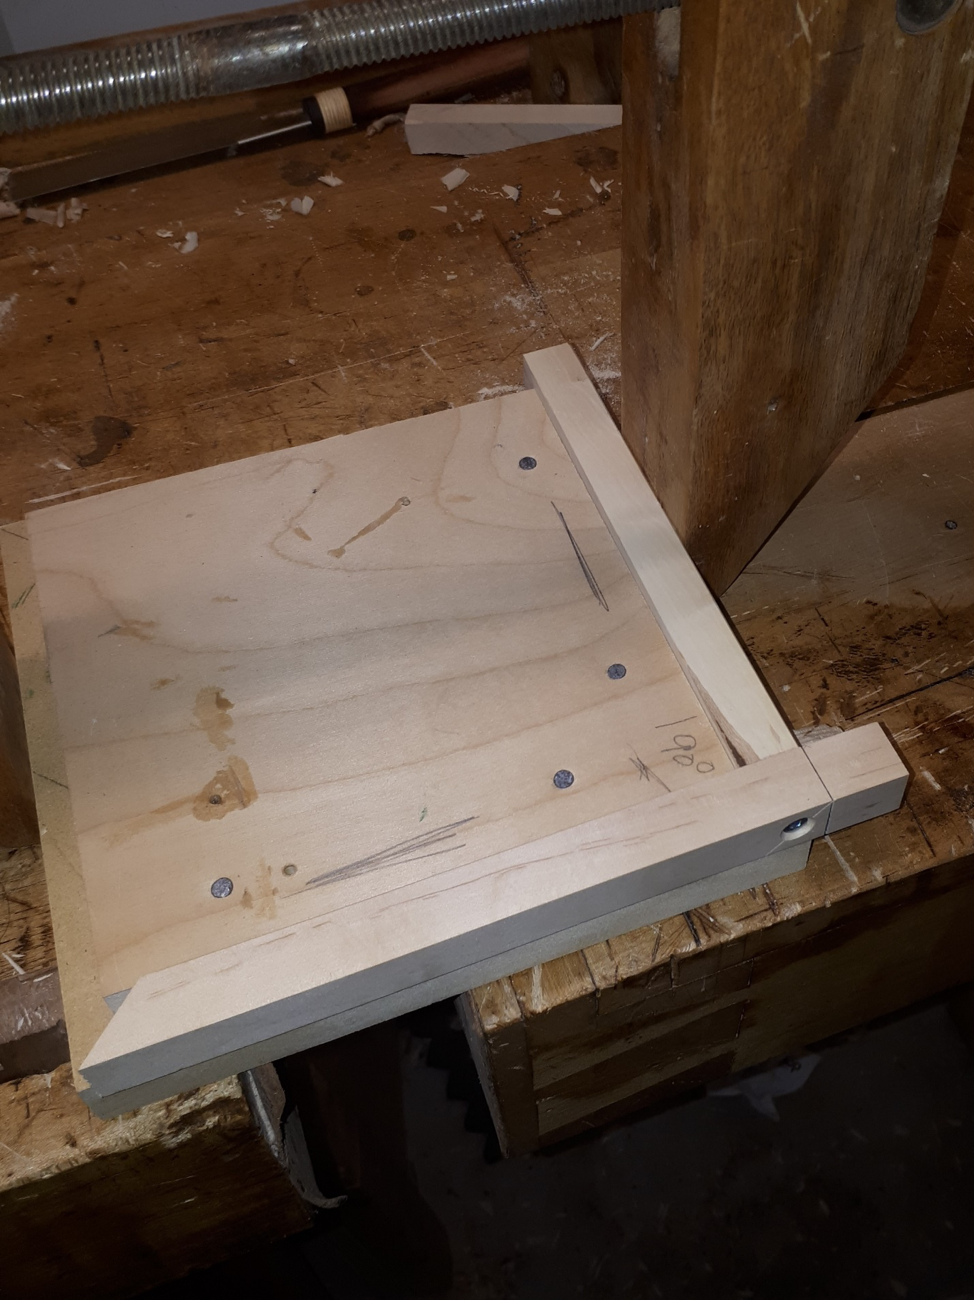
Alternately, a half lap joint involves no screw, and if the glue-up is true the joint remains square, in contrast to the butt joint.
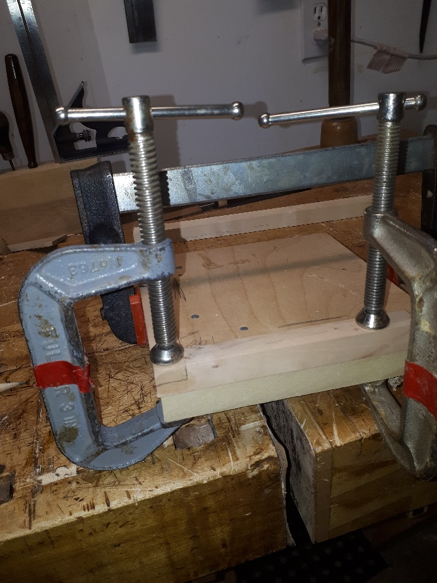
The base or hypotenuse of the triangle joins the two equal sides with half-lap joints. Lay these out to a depth of half the thickness of the ruler. I made my rule 1/4 in. thick, and the lap joint mortises each 1/8 in. deep. The blue tape helps with the accuracy.
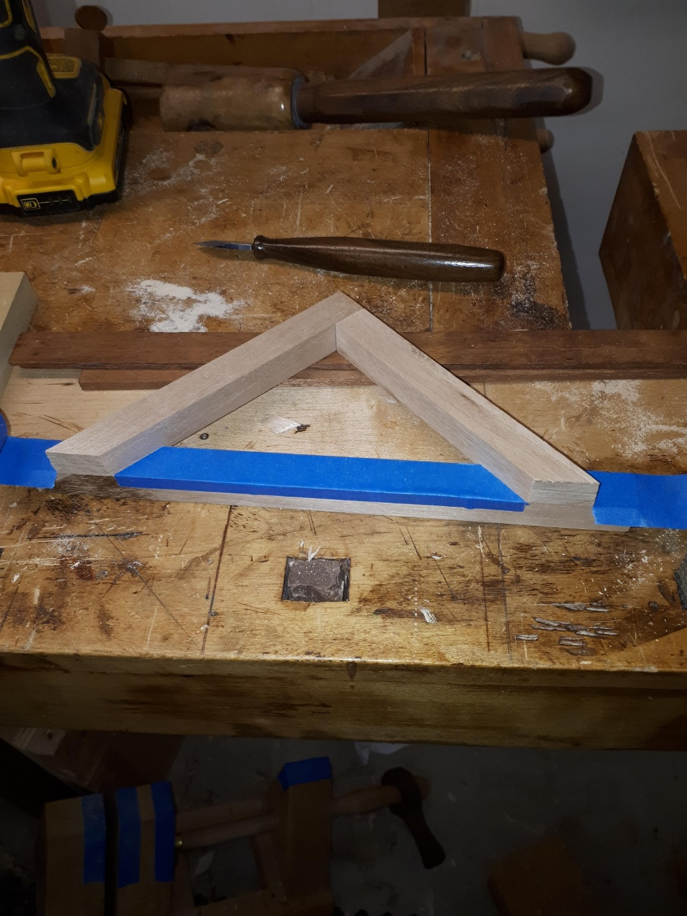
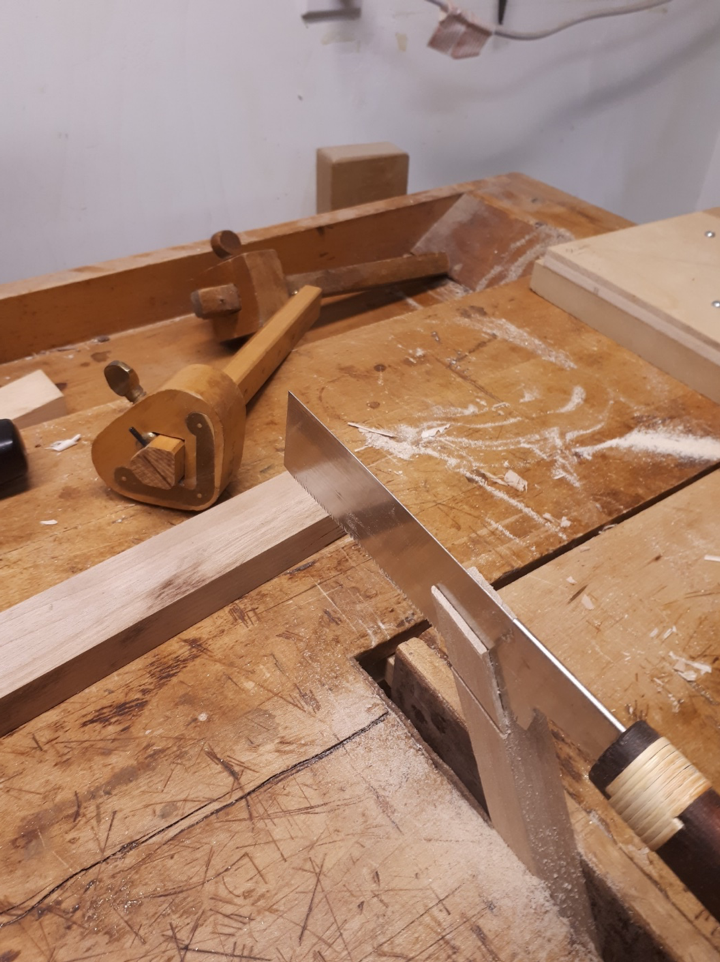
And a flush-cut saw with no set allows the fine cut.
Again, a jig to hold everything square during glue-up simplified things.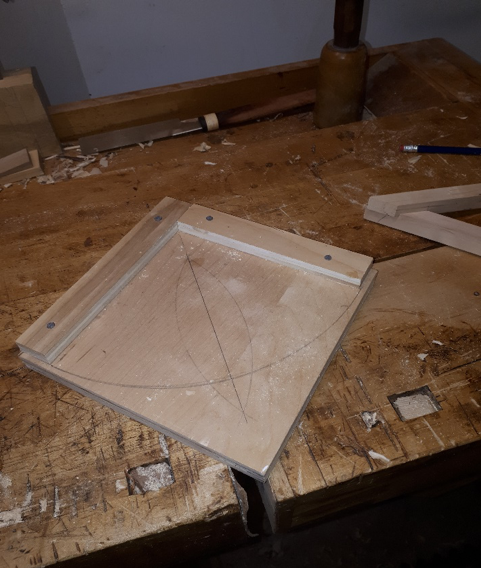
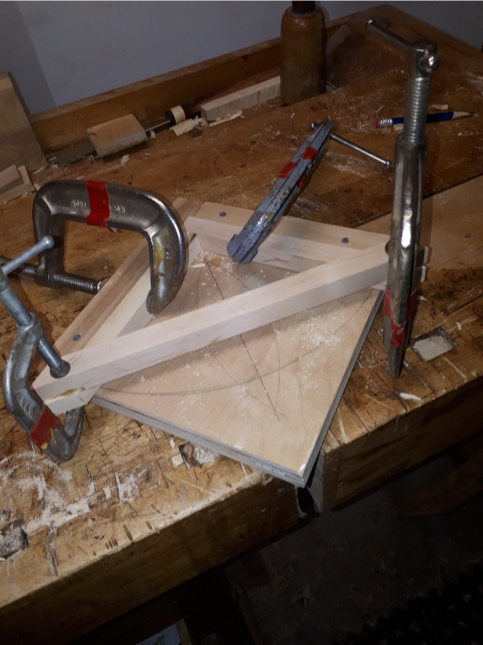
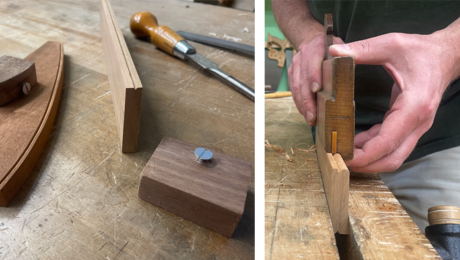
Setting the ruler in.
A small scrap cut to 45° aids in laying out the mortise for the ruler. Measure from both edges and leave the line, as this will be the future center line that you end up drawing when you use the tool.
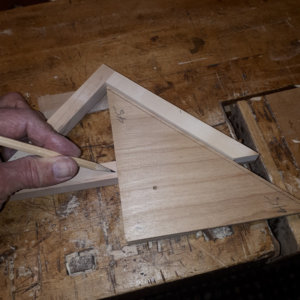
Take care with the layout, making sure that the ruler is to the left of the midline, if you are right-handed.
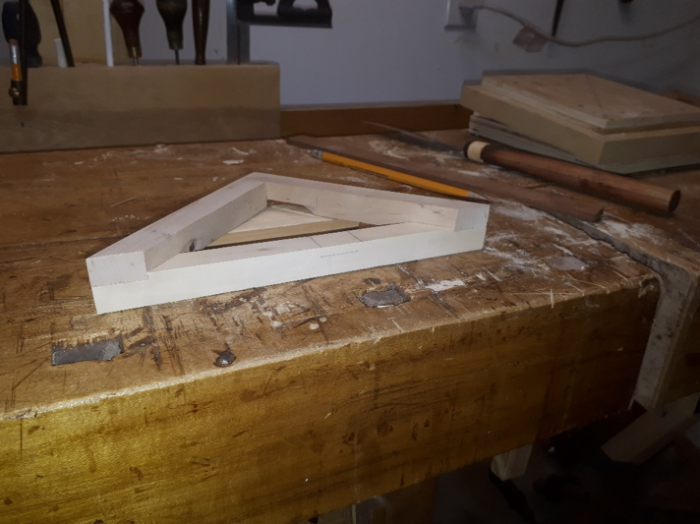
Remembering that this view is of the bottom of the square, make the inset for the ruler a hair undersize so that adjustment can be made to allow the ruler to be 90° to the baseline.
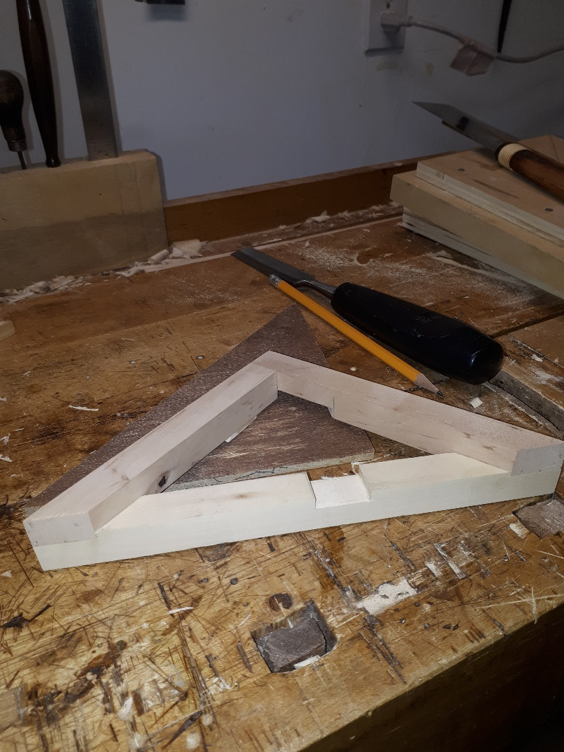
Before gluing up, it’s easier to soften the edges and corners.
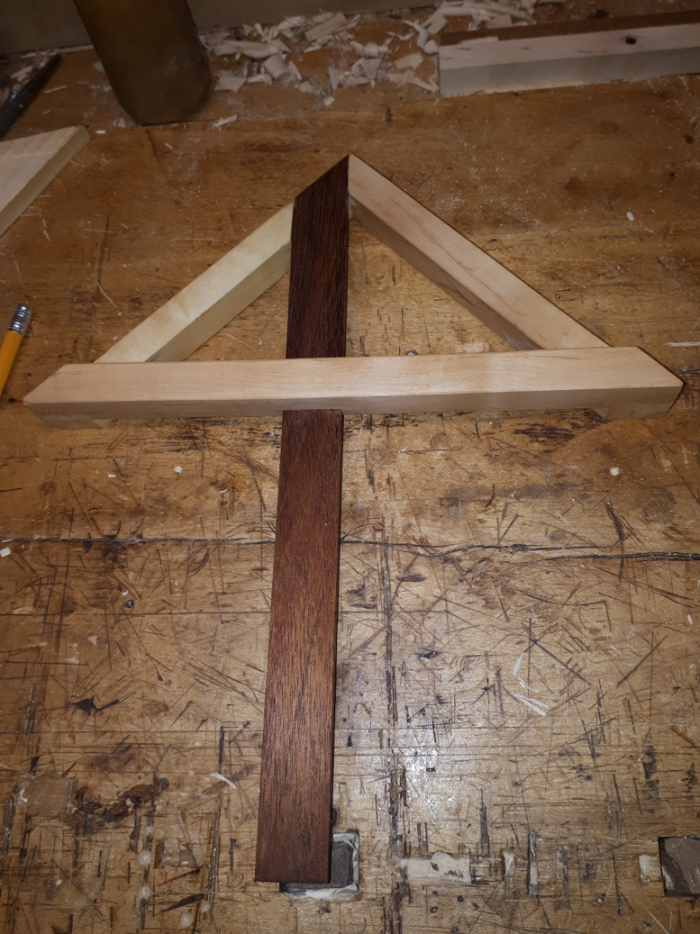
The finished product.
Fine Woodworking Recommended Products

Starrett 4" Double Square
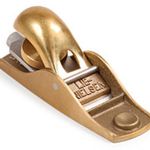
Lie-Nielsen No. 102 Low Angle Block Plane

Suizan Japanese Pull Saw







Comments
“[Deleted]”
Log in or create an account to post a comment.
Sign up Log in