How to build a Dutch tool chest
Improve your hand skills with a chest sized for travel and the shop
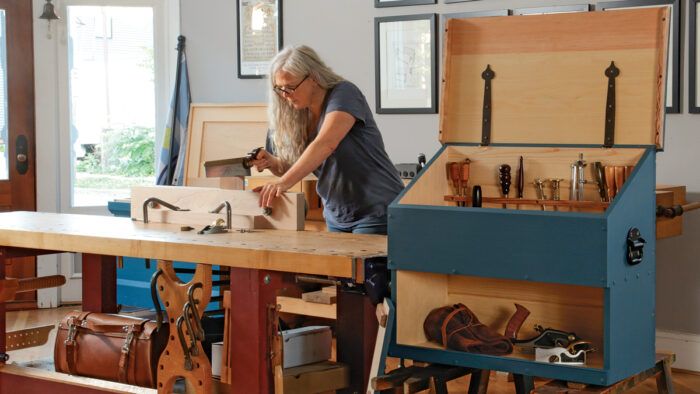
Synopsis: This Dutch chest is portable enough to fit in the car, and it holds enough tools to get most jobs done. The sloped lid is a great surface for working on shop drawings, and the whole project is a great way to practice hand-cut joinery dovetails, dadoes, rabbets, cut-nail joinery, and moldings. The top tier has plenty of room for chisels, saws, planes, and layout tools. The bottom is sized for molding and joinery planes, as well as tool rolls.
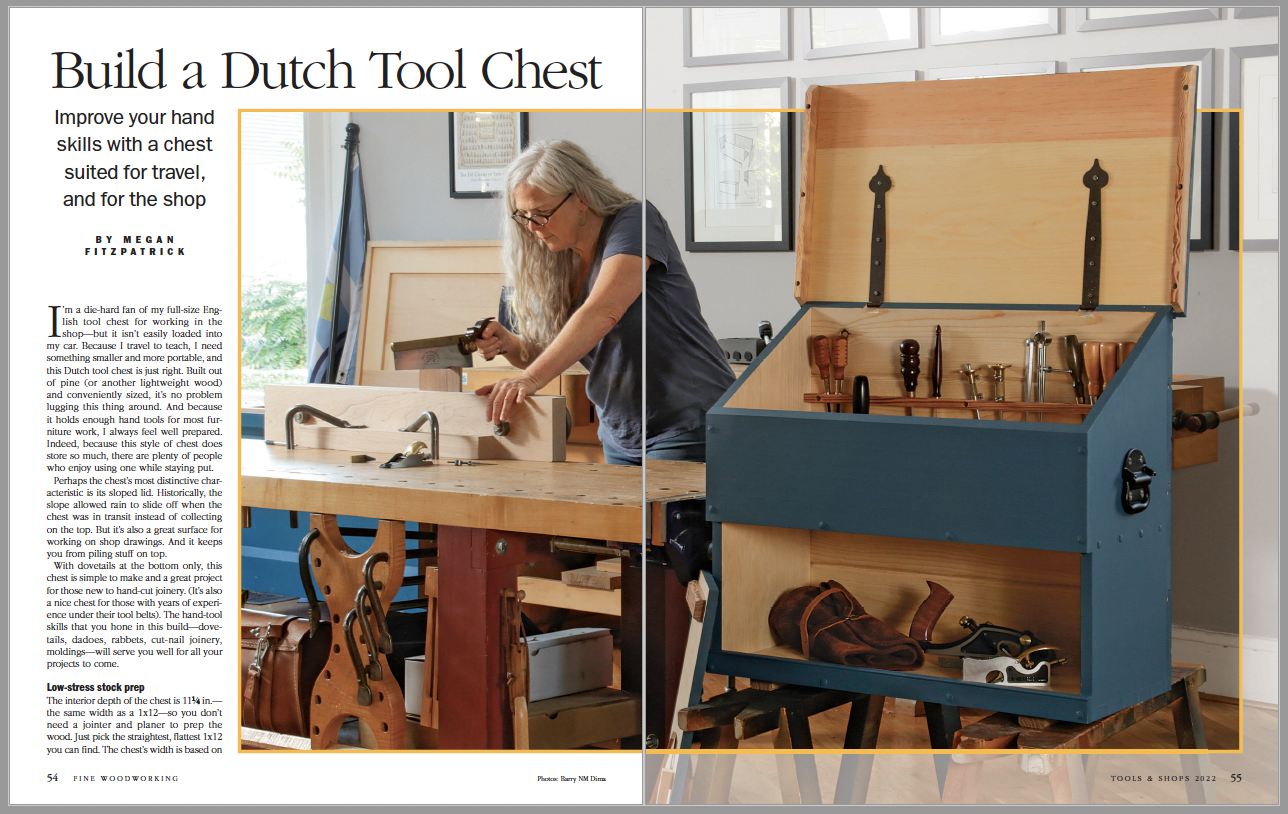
I’m a die-hard fan of my full-size English tool chest for working in the shop—but it isn’t easily loaded into my car. Because I travel to teach, I need something smaller and more portable, and this Dutch tool chest is just right. Built out of pine (or another lightweight wood) and conveniently sized, it’s no problem lugging this thing around. And because it holds enough hand tools for most furniture work, I always feel well prepared. Indeed, because this style of the chest does store so much, there are plenty of people who enjoy using one while staying put.
Perhaps the chest’s most distinctive characteristic is its sloped lid. Historically, the slope allowed rain to slide off when the chest was in transit instead of collecting on the top. But it’s also a great surface for working on shop drawings. And it keeps you from piling stuff on top.
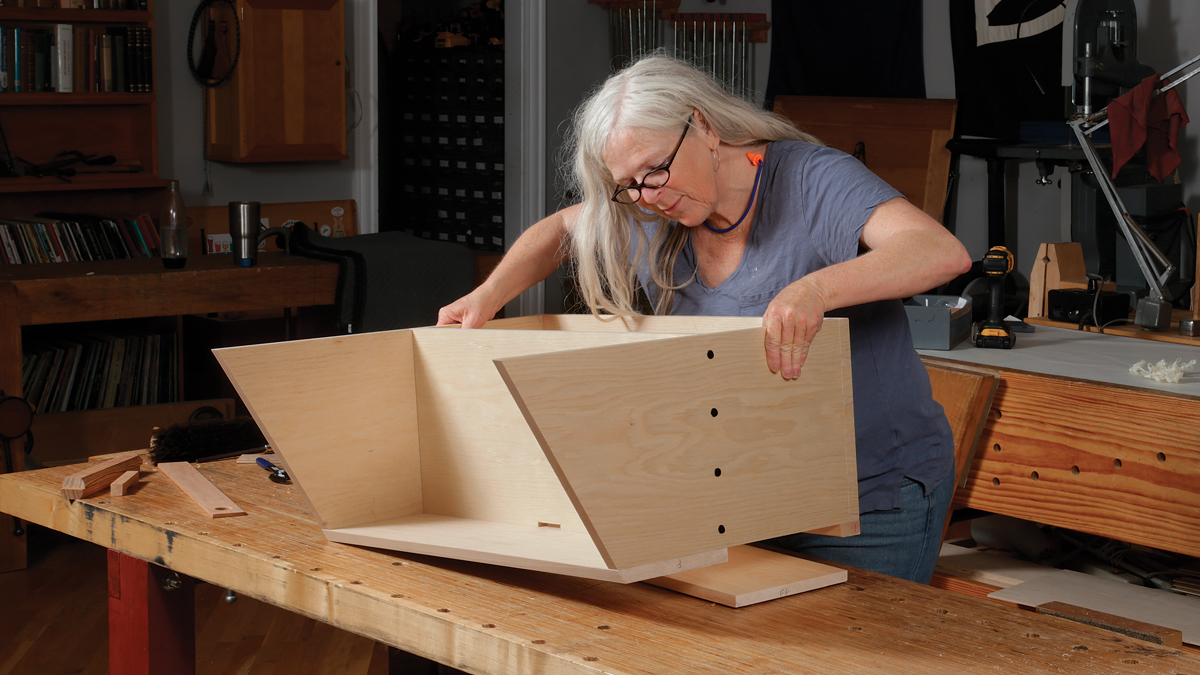
With dovetails at the bottom only, this chest is simple to make and a great project for those new to hand-cut joinery. (It’s also a nice chest for those with years of experience under their tool belts). The hand-tool skills that you hone in this build—dovetails, dadoes, rabbets, cut-nail joinery, moldings—will serve you well for all your projects to come.
Low-stress stock prep
The interior depth of the chest is 11-1⁄4 in.—the same width as a 1×12—so you don’t need a jointer and planer to prep the wood. Just pick the straightest, flattest 1×12 you can find. The chest’s width is based on holding a No. 8 jointer plane, plus a little room to spare. When determining the arrangement of the boards for the carcase sides and bottom, consider having their heart side face out; that way, if they eventually cup, they will cup inward and be restrained in the middle by the dovetails and shelf dado, and the joints will stay closed. If the bark side faces out, the boards will cup outward, which could open the joints. But also consider the appearance, particularly if using a clear finish; good joinery should hold the boards flat in either orientation.
 From Fine Woodworking #293
To view the entire article, please click the View PDF button below.


Comments
The sketch in the PDF has a mistake. The shelf isn't 24.5 inches long. It's 24 inches long.
You're right. I just "built" the chest to check. On the bright side if cut to 24-1/2 in. long at least it won't be too short. It can be trimmed to work with the actual depth of the dadoes.
The dimensions are inconsistent but if you don't keep the shelf length at 24.5", the #8 plane (24") that is intended to fit will not fit. It seems like all of the references to 25" should be 25.5". I suspect that the actual dimensions were even greater since 25.5" wouldn't barely leave room for the smaller planes plus the thicknesses of the middle and ends of the plane cubby that we see.
Am I being daft here - I can't find the vertical dimension to place the dado. Is it some standard I'm not familiar with or am I just missing it?
I didn't find a dimension for the dado location either. When I made the 3D model based on the information in the article, I placed the dado such that the bottom edge is aligned with the bottom edge of the Fixed front. That required laying out the angled cut on the sides first. Then I measure down the width of the Fixed front.
Thinking about it as I type now, I might consider dropping it down about 1/4 in so there's a positive stop for the Fall Front to hit. You could glue in stop blocks on the underside of the shelf, though.
Just happened to check comments on this article, since i was following the magazine article as i built this. I thought i was losing it when i wasnt getting the listed length. Super bummed when i realized my no 8 wouldnt fit and panel saws wouldnt fit on the lid. Only after looking at the pics did it dawn on me it wasnt rlly meant to hold panel saws. I shouldve followed the 2014 article...
Log in or create an account to post a comment.
Sign up Log in