Dovetailed drawer design in SketchUp
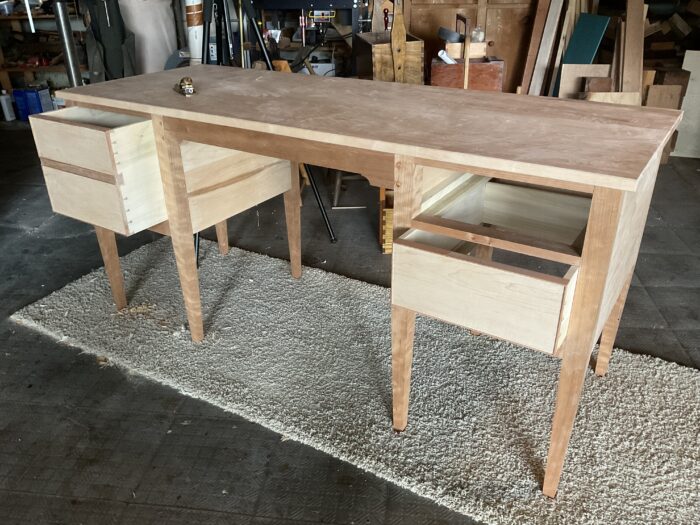
Tim Killen demonstrates how he creates dovetails in SketchUp.I’m currently working a large desk and finally getting to the drawers. The left side drawer looks like two drawers, but in fact is only one and it is quite deep. I duplicated the dovetails from the two individual drawers on the right. Here is a photo of my stage of construction with the drawers partially inserted.
I would say my drawer and dovetail design is comparable to that of historic 18th C. furniture. In this case (as with many period furniture pieces) the drawers are fitted with cock bead. That complicates overall drawer construction, but doesn’t substantially impact how the dovetails are designed. In the following photo, you see the cock bead pulled away from the drawer front. Then notice that the front face of the dovetails is butted up against the installed vertical cock bead.
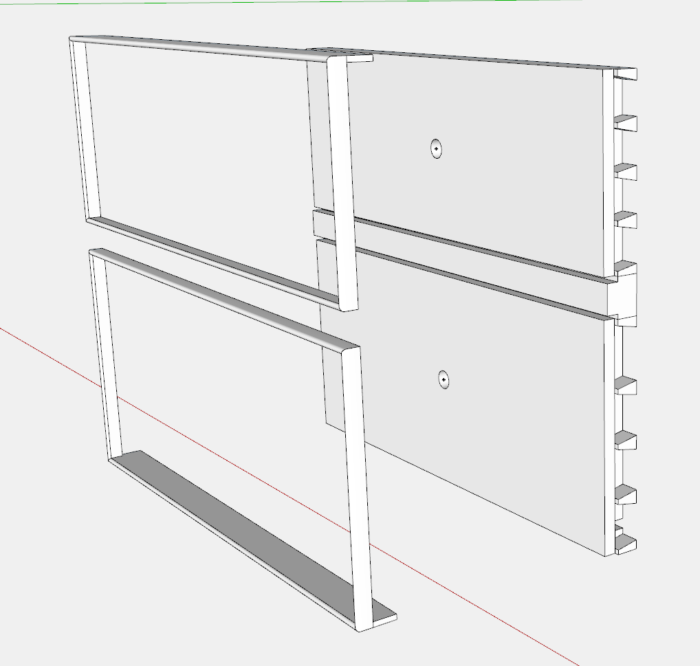
Although the cock bead complicates overall drawer construction, my design of dovetails is basically the same with or without cock bead. In the following steps and in a video, I will show this method.
I start the dovetail design making the “Tails” in the drawer Side components.
Step 1: Draw a vertical guideline 9/16-in. from front edge of drawer side. Also draw horizontal guidelines 3/16-in. from top and bottom edges.
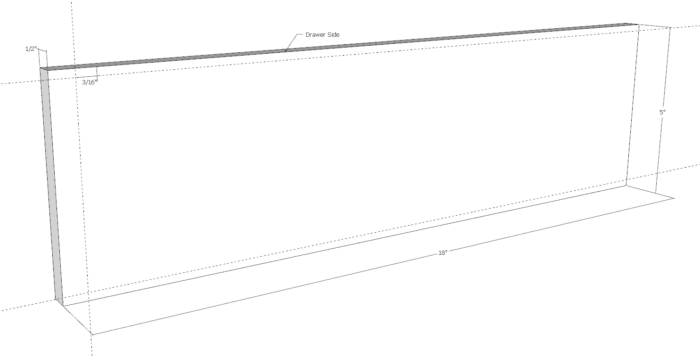
Step 2: Draw a vertical line then right click and select Divide. I divided the line into 4 parts.
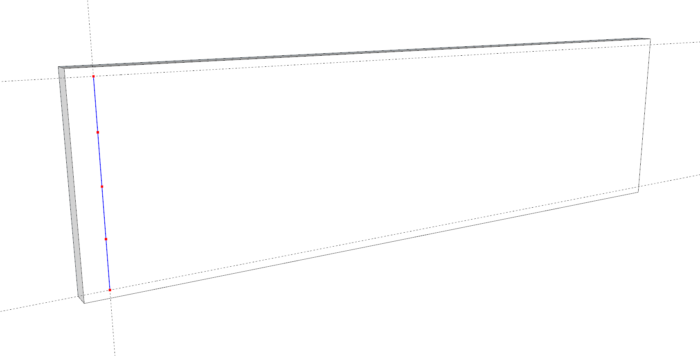
Step 3: Draw guidelines at the line segment endpoints. These are the centerlines of the dovetails.
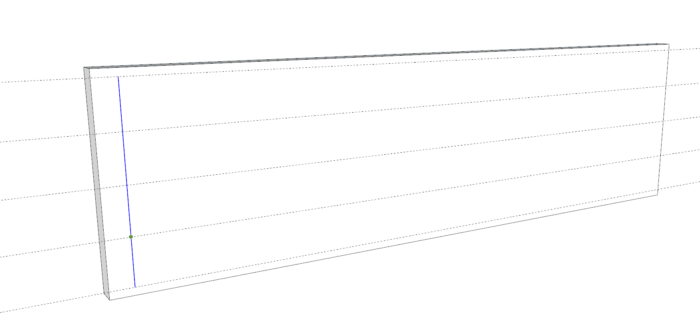
Step 4: Draw two 1/16-in. spaced guidelines from the center, then add another 1/32-in. guideline at bottom and top. This gives me a 1/8-in. spacing at the throat and 5/16-in. spacing at the base of the dovetail.
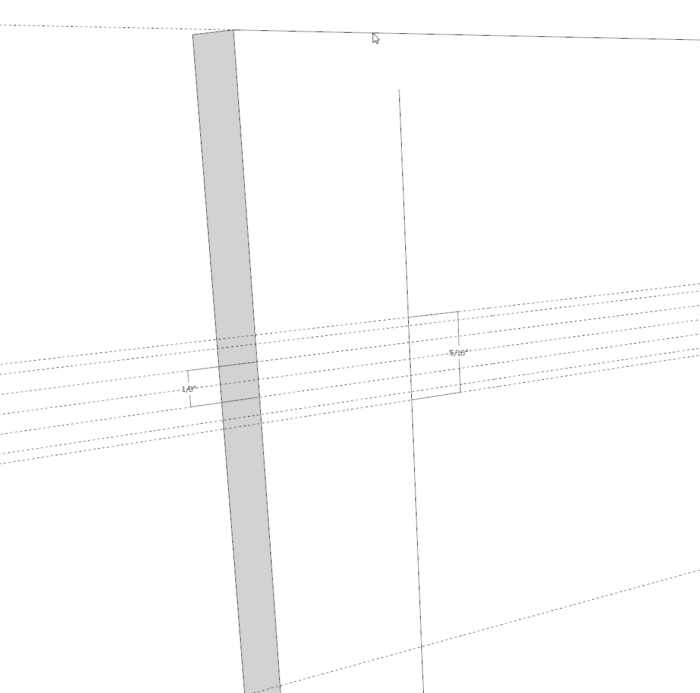
Step 5: Draw the angled lines that surround the dovetail. That angle will be about 9 1/2 degrees which is a good angle for dovetails.
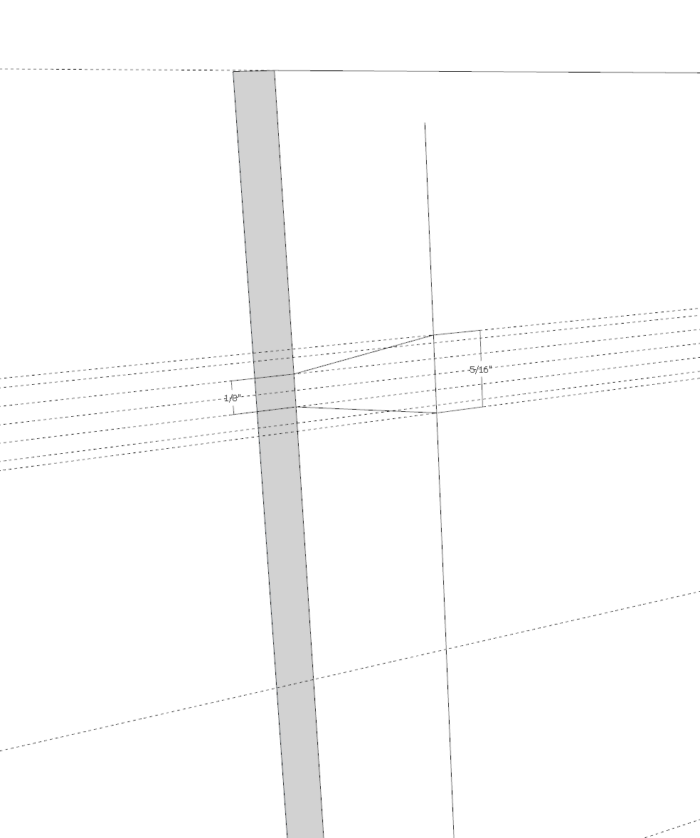
Step 6: Use the Push/Pull Tool to remove the waste.
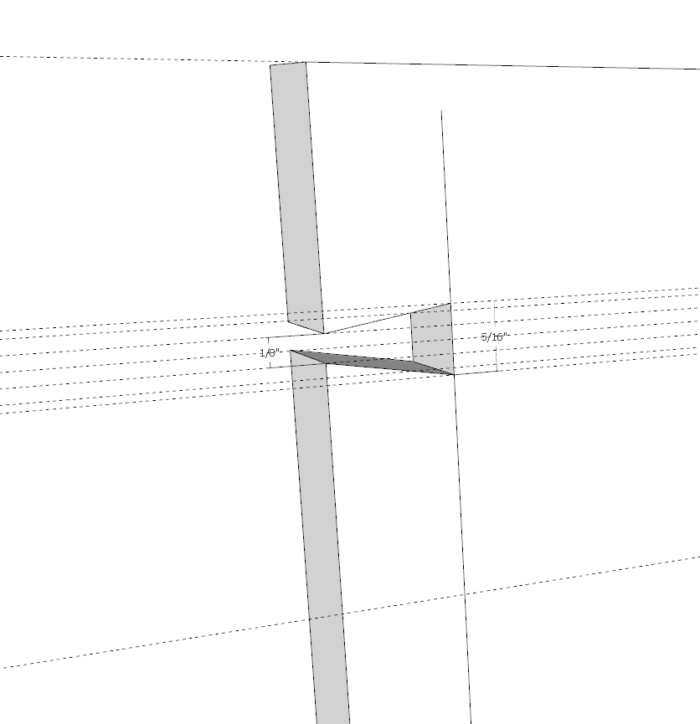
Step 7: Copy the one shape to all the other locations using the centerlines as reference.
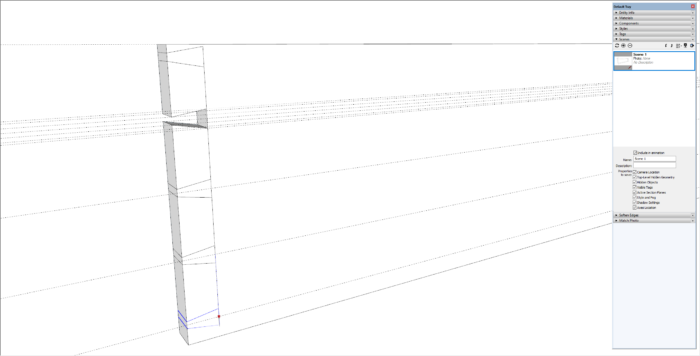
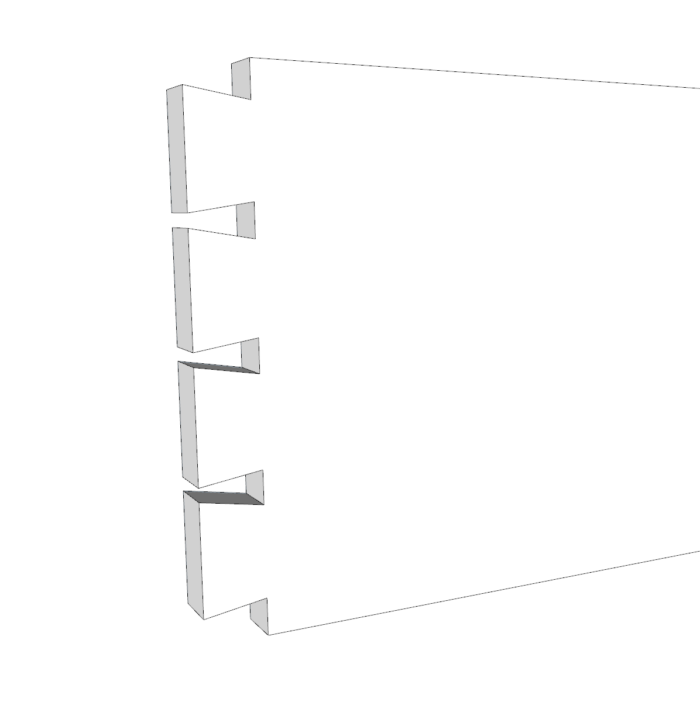
Step 8: Remove waste and show all the equal sized “Tails”. This Side piece is then used to make the “Pins” in the Drawer Front.
Tim
KillenWOOD





Comments
Great video. I like the work you have done on the desk, too.
Log in or create an account to post a comment.
Sign up Log in