Make mosaic cutting boards
Simple, repetitive steps elevate your shop scraps into beautiful, useful kitchen tools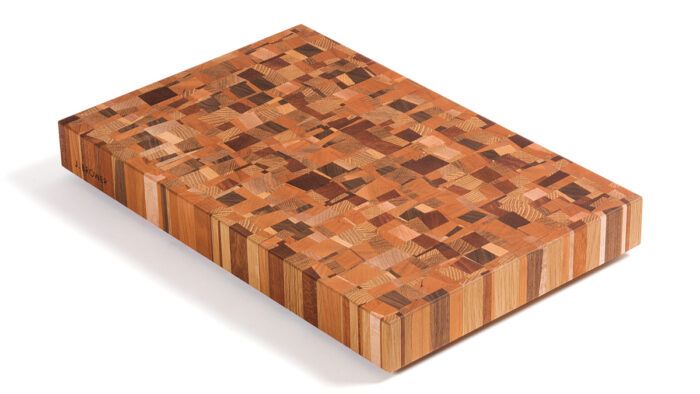
Synopsis: End-grain cutting boards are durable and useful. They can also be beautiful, especially when the traditional end-grain glue-up is taken to another level. Jonathan Brower starts with a traditional glue-up and then takes the blank through a series of twists, turns, angled cuts, and glue-ups to create intricate and eye-catching mosaics.
Like a lot of woodworkers, I realize it must be time to make cutting boards when the scrap pile is at fire-hazard status. I have made many end-grain cutting boards over the years. I prefer them because they stand up well to the use and abuse of knife work, liquids, and the general torture of meal prep and food service. They are great gifts that get a lot of use. A large cutting board can be a focal point for a family preparing and sharing a meal and can become a treasured item in the kitchen.
What are the best food-safe finishes
to use on your wooden kitchenware?
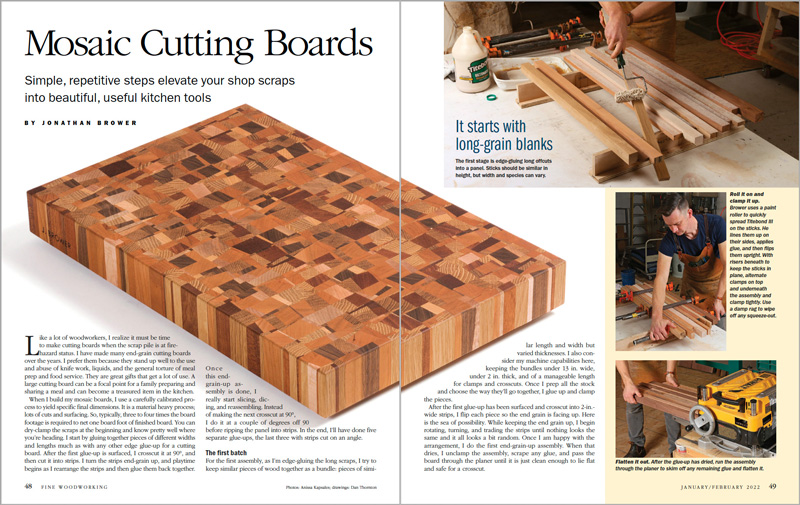
When I build my mosaic boards, I use a carefully calibrated process to yield specific final dimensions. It is a material heavy process; lots of cuts and surfacing. So, typically, three to four times the board footage is required to net one board foot of finished board. You can dry-clamp the scraps at the beginning and know pretty well where you’re heading. I start by gluing together pieces of different widths and lengths much as with any other edge glue-up for a cutting board. After the first glue-up is surfaced, I crosscut it at 90°, and then cut it into strips. I turn the strips end-grain up, and playtime begins as I rearrange the strips and then glue them back together. Once this end-grain-up assembly is done, I really start slicing, dicing, and reassembling. Instead of making the next crosscut at 90°, I do it at a couple of degrees off 90 before ripping the panel into strips. In the end, I’ll have done five separate glue-ups, the last three with strips cut on an angle.
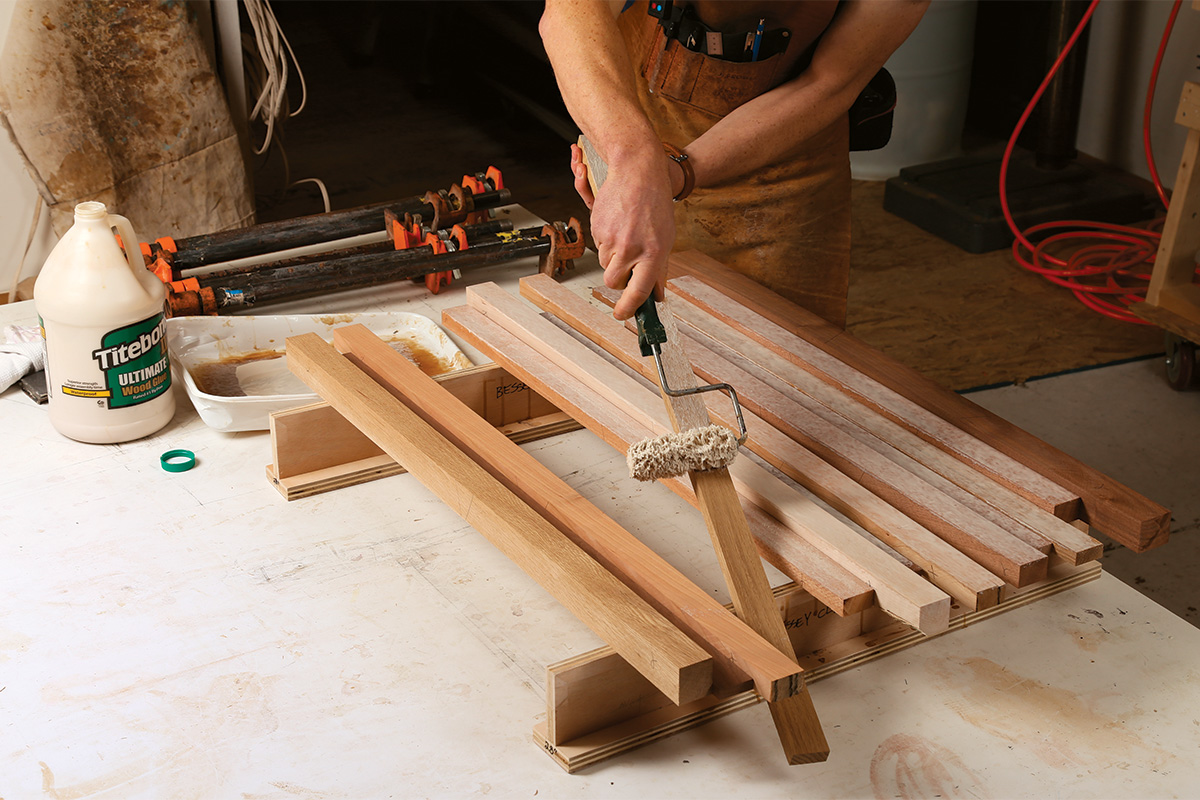
The first batch
For the first assembly, as I’m edge-gluing the long scraps, I try to keep similar pieces of wood together as a bundle: pieces of similar length and width but varied thicknesses. I also consider my machine capabilities here, keeping the bundles under 13 in. wide, under 2 in. thick, and of a manageable length for clamps and crosscuts. Once I prep all the stock and choose the way they’ll go together, I glue up and clamp the pieces.
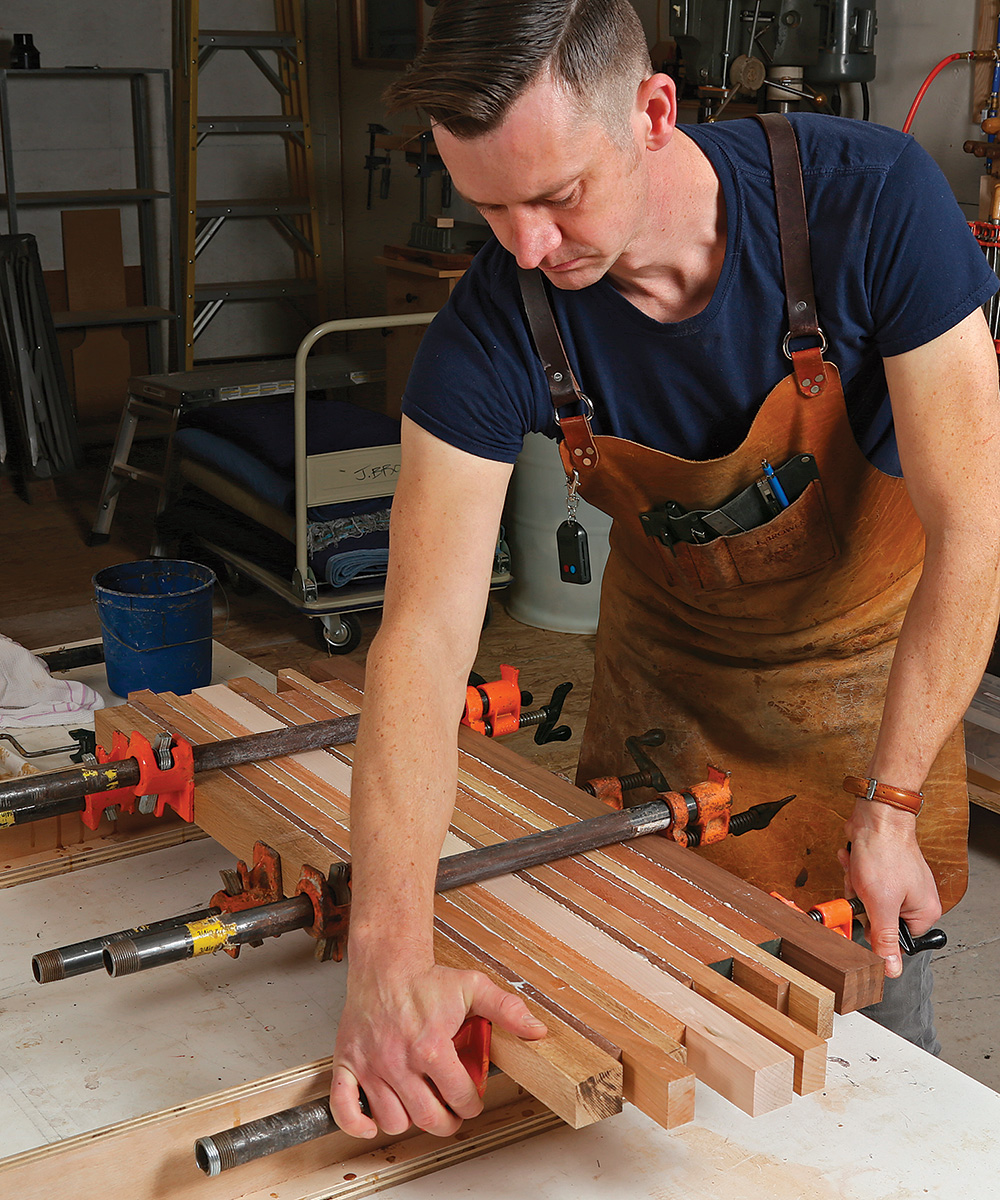
After the first glue-up has been surfaced and crosscut into 2-in.- wide strips, I flip each piece so the end grain is facing up. Here is the sea of possibility. While keeping the end grain up, I begin rotating, turning, and trading the strips until nothing looks the same and it all looks a bit random. Once I am happy with the arrangement, I do the first end-grain-up assembly. When that dries, I unclamp the assembly, scrape any glue, and pass the board through the planer until it is just clean enough to lie flat and safe for a crosscut.
A different way to introduce work to the machines
From this point on you’ll be working with end-grain-up blanks, and the machine use will need to be slightly adjusted. If you straighten an edge on the jointer by standing the cutting board upright against the fence, you will be jointing across the grain and it will tear out at the end of the cut. You can let that happen and take care of it later by trimming it off, or chamfer the end before jointing to minimize tearout. Similarly, when you send the board through the planer as an end-grain-up piece, the trailing end will tear out. Chamfer that end as well or glue or adhere a temporary support block to minimize or eliminate the tearout.
From Fine Woodworking #294
To view the entire article, please click the View PDF button below.
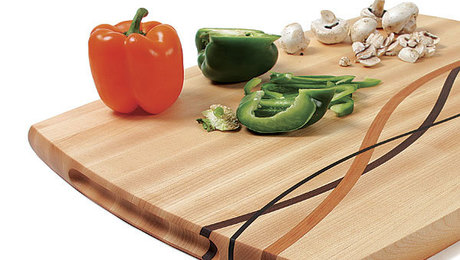 |
A Unique Cutting Board |
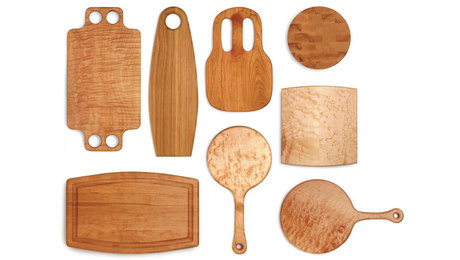 |
Smart, Stylish Cutting Boards |
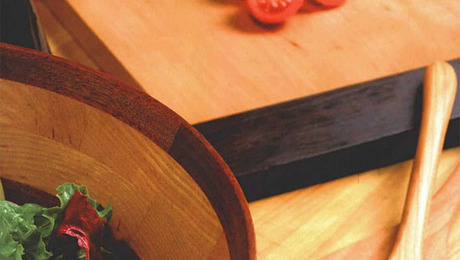 |
Food-Safe Finishes |
Fine Woodworking Recommended Products

Suizan Japanese Pull Saw







Comments
Beautiful design! I'm wondering about the 2, 4 and 6 degree cuts - are those first and last angled pieces disposed of, or added back into the glue-up? Based on the images, I don't see any glue squeeze out that would suggest you keep them, but it's hard to tell.
Log in or create an account to post a comment.
Sign up Log in