A simple Windsor part 2: Posts, spindles, and crest rail
Build a handsome chair with an inexpensive kit of tools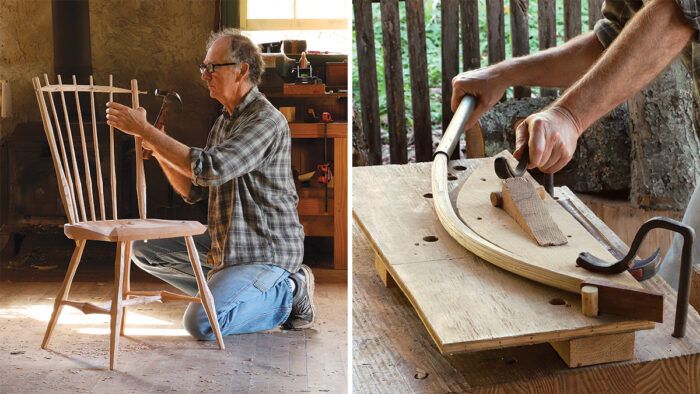
Synopsis: Continuing the construction of the democratic chair, Curtis Buchanan focuses on the upper structure, including posts and spindles and crest rail. He details splitting the spindle blanks from a green log, shaping them using a drawknife, shaping the crest rail and bending it, drilling the mortises, and assembling the chair.
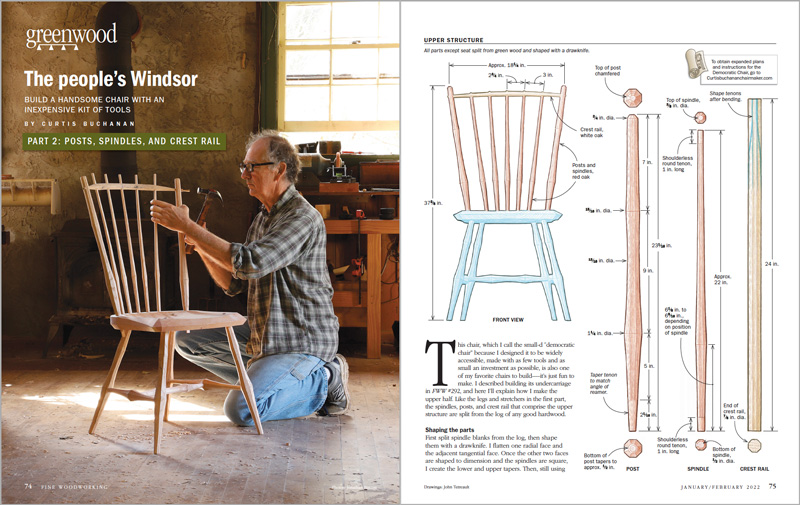
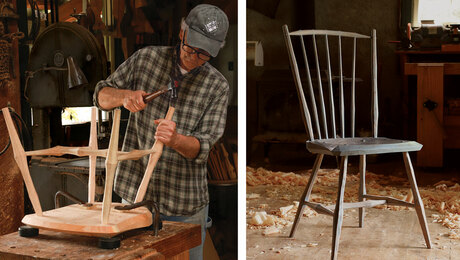
This chair, which I call the small-d “democratic chair” because I designed it to be widely accessible, made with as few tools and as small an investment as possible, is also one of my favorite chairs to build—-it’s just fun to make. I described building its undercarriage in FWW #292, and here I’ll explain how I make the upper half. Like the legs and stretchers in the first part, the spindles, posts, and crest rail that comprise the upper structure are split from the log of any good hardwood.
Shaping the parts
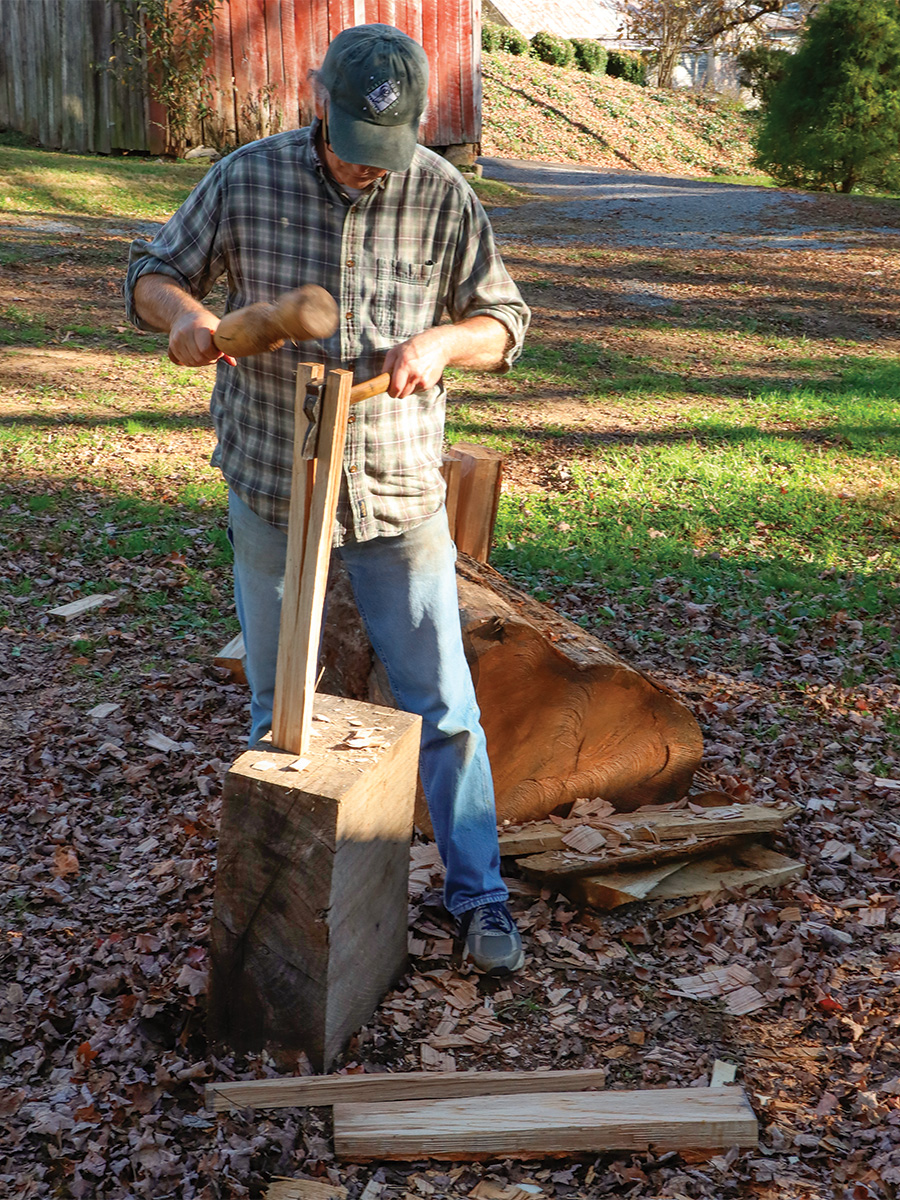
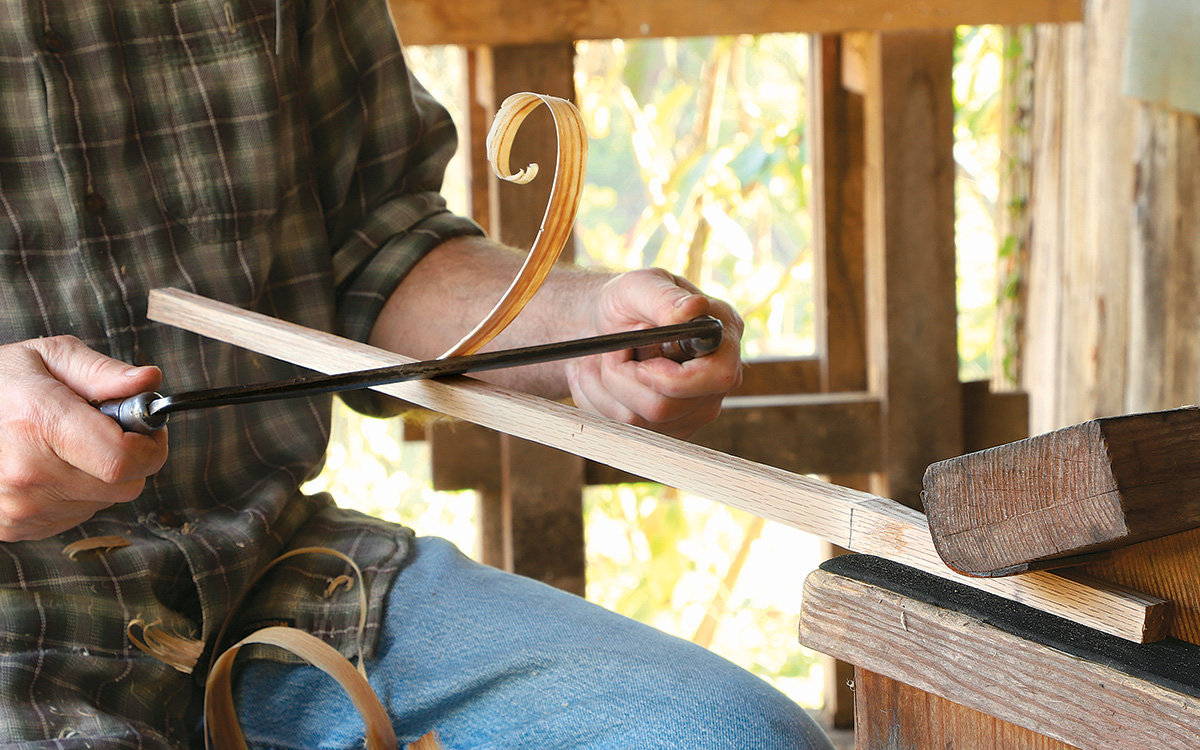
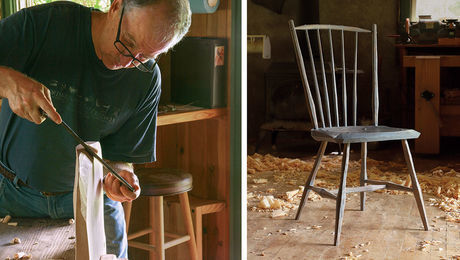
First split spindle blanks from the log, then shape them with a drawknife. I flatten one radial face and the adjacent tangential face. Once the other two faces are shaped to dimension and the spindles are square, I create the lower and upper tapers. Then, still using the drawknife, I shape the spindles to an octagon and set them aside to air-dry. I finish the drying by placing them in a lightbulb kiln or near a woodstove. Once the spindles are dry, I cut the upper and lower tenons to size with a drawknife.
I make the posts in much the same way I shaped the legs in Part 1. They get shaved square first, then tapered toward the ends and shaved to a slight saddle between the peaks. After carving off the corners to give the posts an octagonal cross-section, I shape the tapered tenon at the bottom slightly oversize. I let the posts sit out for a week or so, and then superdry the tapered tenons and size them to fit my reamer. I then bore and ream the post mortises in the seat.
Shape the crest rail by first flattening one side with the drawknife, being sure to follow the long wood fibers. I start in the radial plane for easy cutting. Flatten the adjacent tangential plane, then cut the other two faces to a 15/16-in. dimension. Finally, shape the crest rail to an octagon with the drawknife.
If you have access to good bending wood like white oak, you can bend the crest cold. Otherwise, you will have to steam it to get it to bend. After bending, place it to dry in an area with low humidity. You can speed up the process by putting it in a lightbulb kiln or near a woodstove.
Drill and assemble
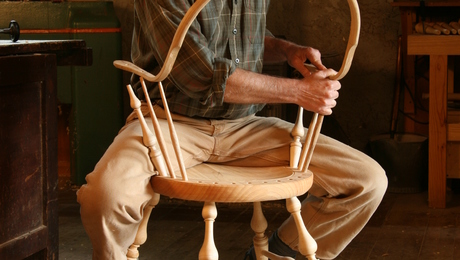
You are now ready to drill mortises in the posts to accept the crest rail tenons. First place the posts in their respective seat mortises and use spring clamps to hold the crest rail to the back of the posts. Rotate the crest so it crowns upward about 1/4 in. Next, lining up your drill bit with the extra length of the crest rail, drill the mortises. Measure between the posts at the mortises to determine the length of the crest rail. Then, if you haven’t done so already, shape the crest rail tenons. Assemble the crest rail to the posts and place them as a unit in the seat.
From Fine Woodworking #294
To view the entire article, please click the View PDF button below.
 |
A simple Windsor part 1: Build a Handsome Chair with Limited Tools |
 |
Curtis Buchanan: Windsor Master |
 |
Song of the Drawknife |




Log in or create an account to post a comment.
Sign up Log in