Round Pedestal Table
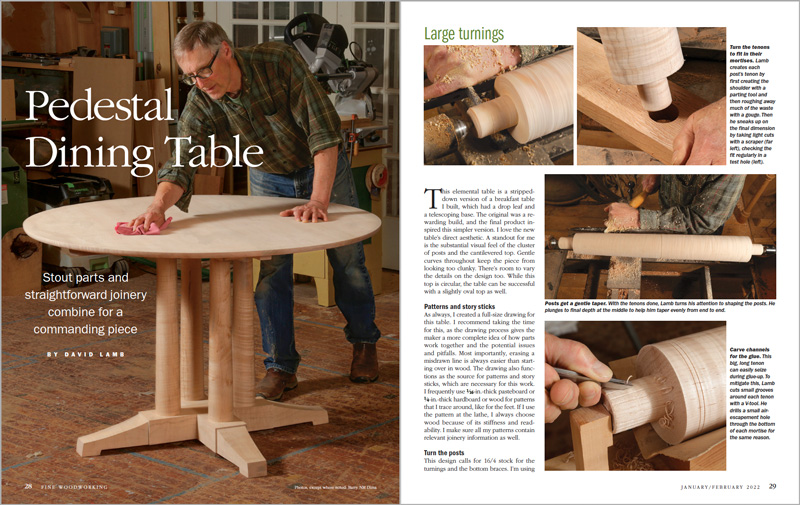
Stout parts and straightforward joinery combine for a commanding piece.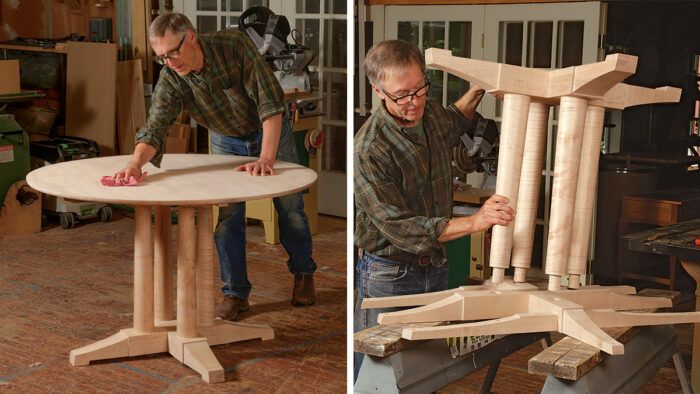
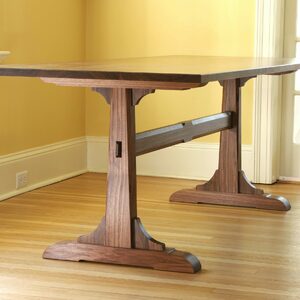
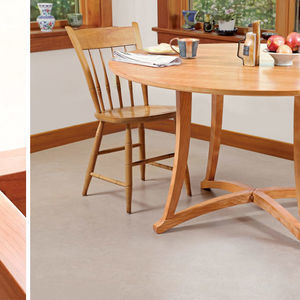
Synopsis: With its cluster of center posts and its cantilevered top, this table makes a great dining table, whether you choose to make a round top or an oval one. Although the parts are hefty, the gentle curves and angles give the design elegance. The posts are turned, the upper braces and foot braces are shaped on the bandsaw. Half laps and mortises bring the various structures together.
This elemental table is a stripped-down version of a breakfast table I built, which had a drop leaf and a telescoping base. The original was a rewarding build, and the final product inspired this simpler version. I love the new table’s direct aesthetic. A standout for me is the substantial visual feel of the cluster of posts and the cantilevered top. Gentle curves throughout keep the piece from looking too clunky. There’s room to vary the details on the design too. While this top is circular, the table can be successful with a slightly oval top as well.
Patterns and story sticks
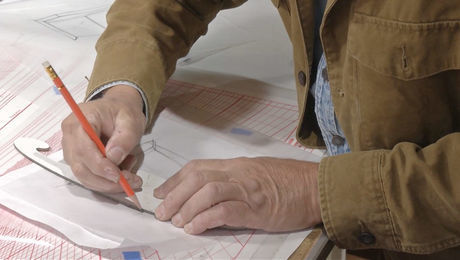
As always, I created a full-size drawing for this table. I recommend taking the time for this, as the drawing process gives the maker a more complete idea of how parts work together and the potential issues and pitfalls. Most importantly, erasing a misdrawn line is always easier than starting over in wood. The drawing also functions as the source for patterns and story sticks, which are necessary for this work. I frequently use 1/16-in.-thick pasteboard or 1/4-in.-thick hardboard or wood for patterns that I trace around, like for the feet. If I use the pattern at the lathe, I always choose wood because of its stiffness and readability. I make sure all my patterns contain relevant joinery information as well.
Turn the posts
This design calls for 16/4 stock for the turnings and the bottom braces. I’m using curly maple for this project, a choice that strongly directs me to use full thickness stock rather than laminating thinner boards because matching curly figure in a laminated glue-up is a nightmare. And with glued-up stock you will likely cut through the glueline when you shape the foot. If 16/4 stock is not available, gluing up 8/4 stock is your best bet. If that’s the case, consider straight-grained wood to ease achieving a good grain match, paying close attention to where the boards meet at the glue joint. You’ll want 8/4 stock for the upper braces and 4/4 stock for the top.
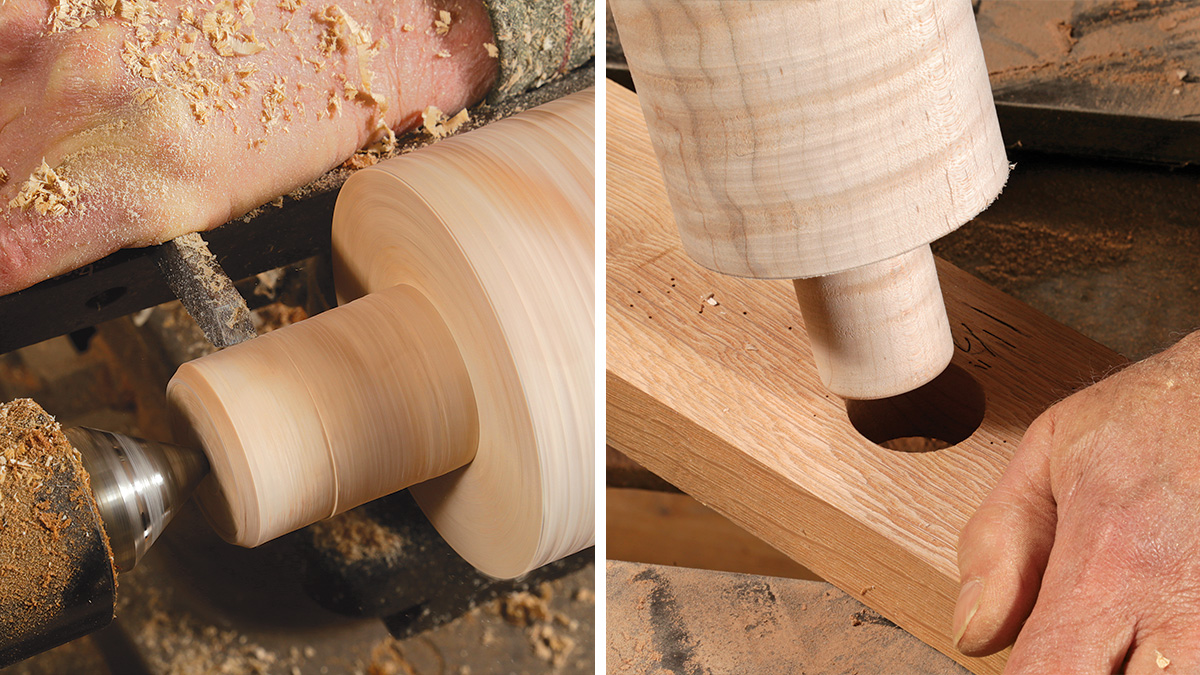
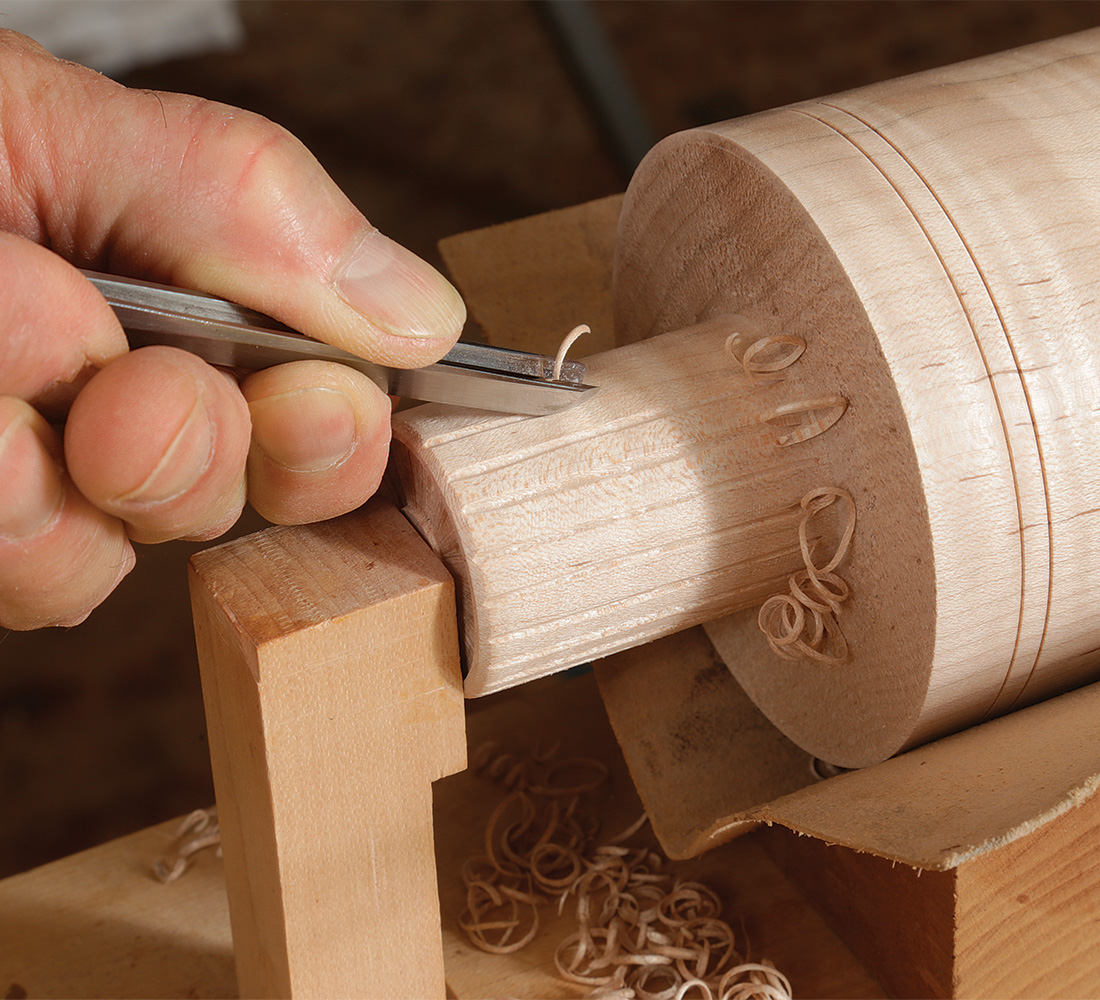
After milling the material, go to the lathe to turn the post blanks to 3-1/2-in.-dia. cylinders. Using the pattern, lay out the tenons, then turn them. I use a test hole drilled into scrap to check the fit. A good, slop-free fit is important here because these posts will be doing a lot of work. Finish the tenons by lightly grooving them with a V-tool, which will help alleviate glue pressure during assembly.
Once I form the tenons, I turn the post to a taper, add the four decorative score marks, and finish-sand.
From Fine Woodworking #294
To view the entire article, please click the View PDF button below.
 |
Michael Fortune’s Drawing Tricks |
 |
How to Glue-Up Joints: Different Woods Need Different Clamping Pressure |
 |
Pedestal Dining Table: Glue-Up, Part I |






Log in or create an account to post a comment.
Sign up Log in