Making a shiplapped back
Mike Pekovich shares a few tips for adding this simple and stylish feature to your furniture.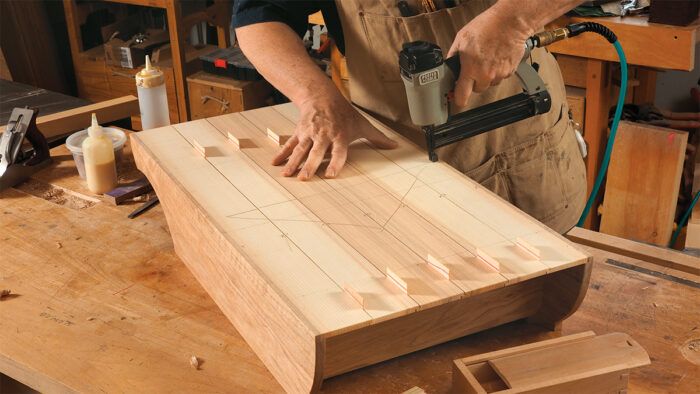
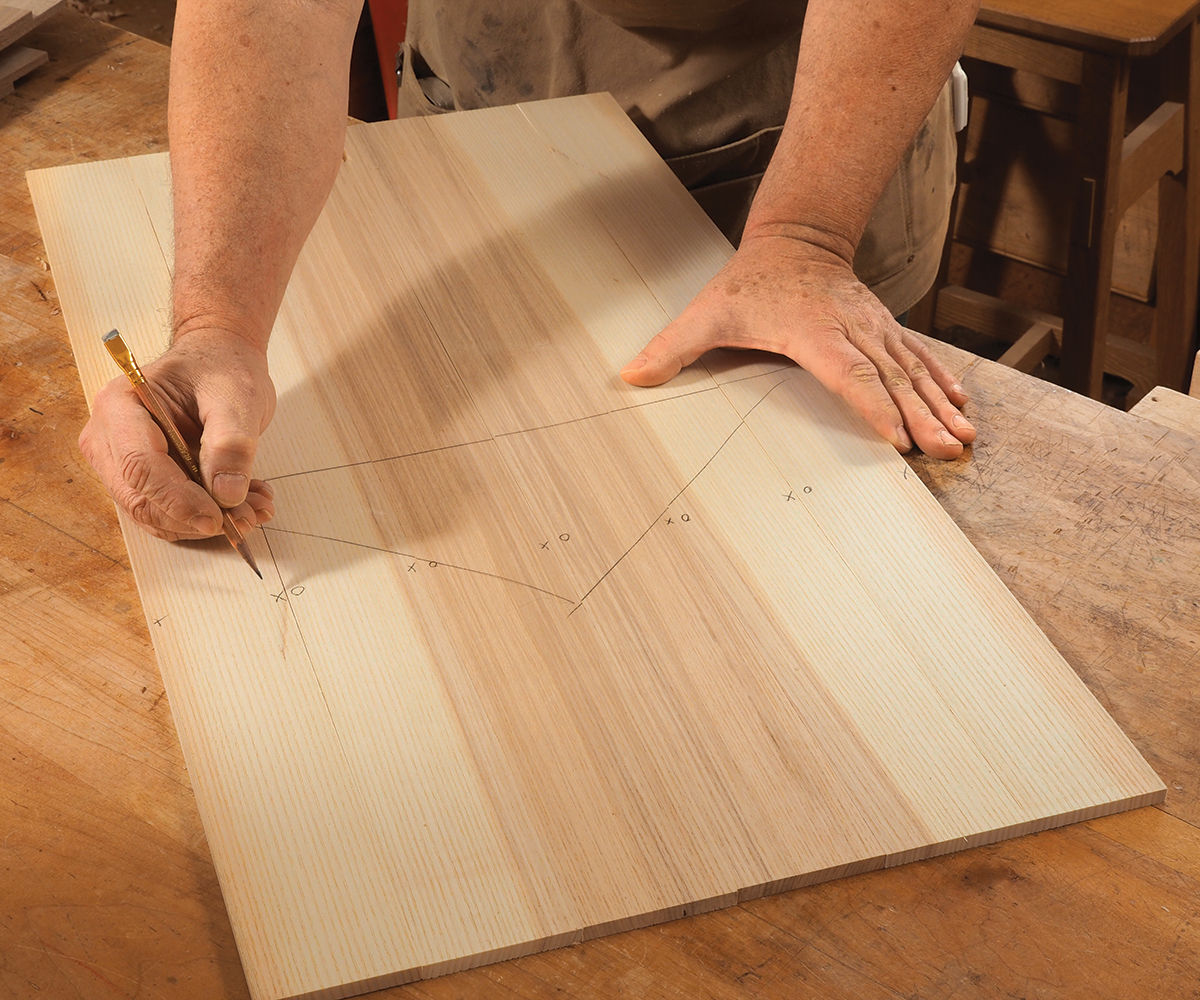
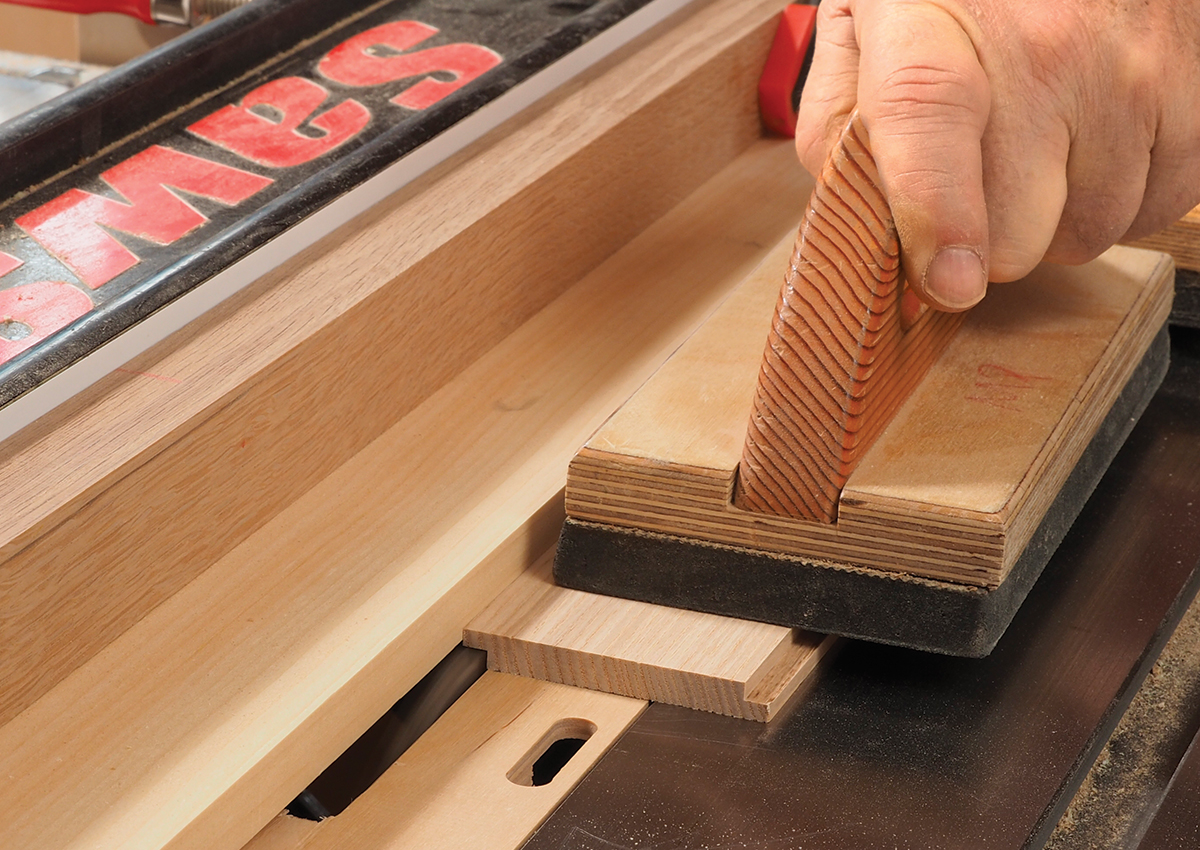
A shiplapped back consists of slats tacked or screwed to the back of the case. To allow room for seasonal movement, each board is rabbeted to overlap the adjoining one. As simple as it is, here are a couple of tips that can help you end up with a nice case back. The first challenge is calculating the width of the boards. You’ll need to account for the width of the opening, the number of boards, the amount of overlap between each board, and finally the desired gap between the boards. It’s a lot to keep track of, so I make a full-size drawing to ensure the numbers add up. Even then, I leave the end slats a little wide and then trim them to fit. Next, arrange the slats and mark a triangle across their backs. Now you can mark the rabbet locations on the edges of the slats. You’ll need a pair of rabbets at each joint, one on the front face of one piece and the other on the rear face of its mate. It can get a little confusing, so I mark an “O” on every edge that needs a rabbet, and an “X” on those that don’t ( Figure 1). This reduces the head scratching at the tablesaw. I use a pair of push pads to ensure a rabbet of even depth along the length of the slat (Figure 2). The end slats play an important role in strengthening the case by tying the sides to the shelves, so I glue them as well as nailing them in place. The center slats are nailed at each shelf, using shims between them to maintain even spacing (Figure 3). For larger cases, I’d opt for screws instead of nails.
More by Mike Pekovich
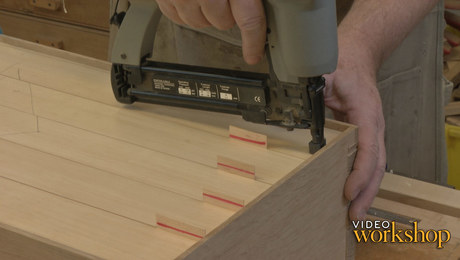 |
Ep 16: Shiplapped back boards |
 |
Three Planes for Cutting Rabbets |
 |
Tips and Tricks for Handplaning |
Fine Woodworking Recommended Products

Blum Drawer Front Adjuster Marking Template





Log in or create an account to post a comment.
Sign up Log in