Video: Straw marquetry
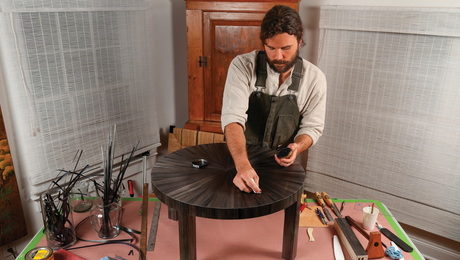
Gerard Williams takes you step by step through the process of preparing and veneering straw marquetry.Straw marquetry is a masterful veneering technique that has been used for centuries to embellish furniture. After it has been split, dried, and flattened, rye or wheat straw is traditionally applied to wood surfaces with various tools to create unique patterns. Here, Gerard Williams skillfully demonstrates the process of applying straw marquetry, step by step.
Using a thumbnail or a very thin knife, the straw must first be split from one end to the other, then soaked thoroughly and dried overnight. To ensure that the straw is dry enough, open it slightly and slide your thumb along the length of the strip to produce a cracking sound. It’s vital that all the straw pieces are completely dried through, otherwise they will fold outward after you continue to work with them.
A veneer hammer is ideal for flattening the strips. With the right amount of pressure, the straw fibers will compress and lay flat when applied to the substrate. Press firmly on both sides repeatedly until the strip becomes a ribbon.
Though this is a lengthy and methodical process, the strips must be flattened and veneered one by one. Fortunately, the process will become increasingly efficient with each carefully placed strip. For such a striking visual style, this process actually proves to be much more tactile, reliant on the narrow strips slotting together. If you can’t feel the strips locking into place as you apply them, chances are the end piece will be inaccurate. For that reason, this repeated step is perhaps the most meticulous, but the end product is worth it.
More by Gerard Williams
 |
A guide to straw marquetry |
 |
Video: Marquetry in motion |
 |
The art of marquetry |




Comments
What type of glue is used?
Log in or create an account to post a comment.
Sign up Log in