A rogue Arts and Crafts finish
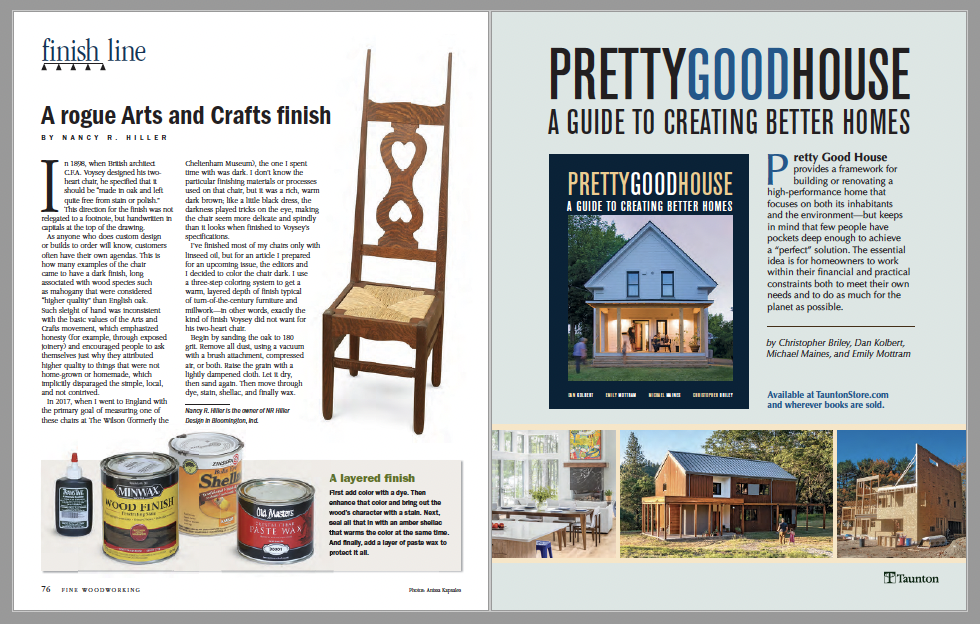
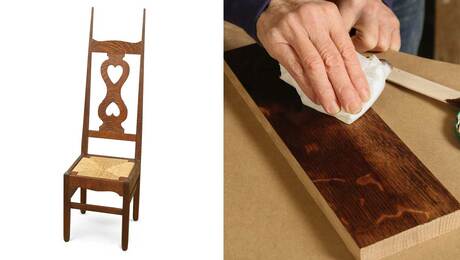
This rich, dark-brown finish is the one often found when you see this Arts and Crafts chair in collections.
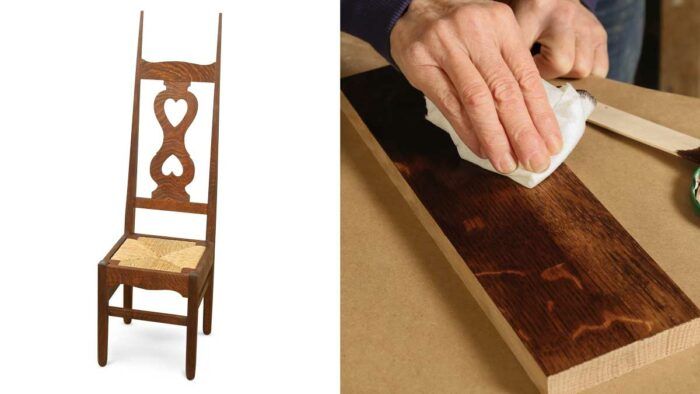
Synopsis: Though not the finish intended by C.F.A. Voysey when he designed his two-heart chair, this rich, dark-brown finish is the one often found when you see this Arts and Crafts chair in collections. So when Nancy Hiller made the chair for an upcoming article, she used this finish. It requires a three-step coloring system to get its warm, layered appearance.
In 1898, when British architect C.F.A. Voysey designed his two-heart chair, he specified that it should be “made in oak and left quite free from stain or polish.” This direction for the finish was not relegated to a footnote, but handwritten in capitals at the top of the drawing.
As anyone who does custom design or builds to order will know, customers often have their own agendas. This is how many examples of the chair came to have a dark finish, long associated with wood species such as mahogany that were considered “higher quality” than English oak. Such sleight of hand was inconsistent with the basic values of the Arts and Crafts movement, which emphasized honesty (for example, through exposed joinery) and encouraged people to ask themselves just why they attributed higher quality to things that were not home-grown or homemade, which implicitly disparaged the simple, local, and not contrived.
In 2017, when I went to England with the primary goal of measuring one of these chairs at The Wilson (formerly the Cheltenham Museum), the one I spent time with was dark. I don’t know the particular finishing materials or processes used on that chair, but it was a rich, warm dark brown; like a little black dress, the darkness played tricks on the eye, making the chair seem more delicate and spindly than it looks when finished to Voysey’s specifications.
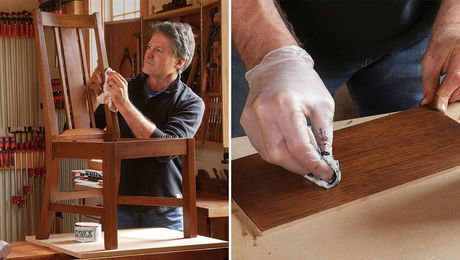
I’ve finished most of my chairs only with linseed oil, but for an article I prepared for an upcoming issue, the editors and I decided to color the chair dark. I use a three-step coloring system to get a warm, layered depth of finish typical of turn-of-the-century furniture and millwork—in other words, exactly the kind of finish Voysey did not want for his two-heart chair.
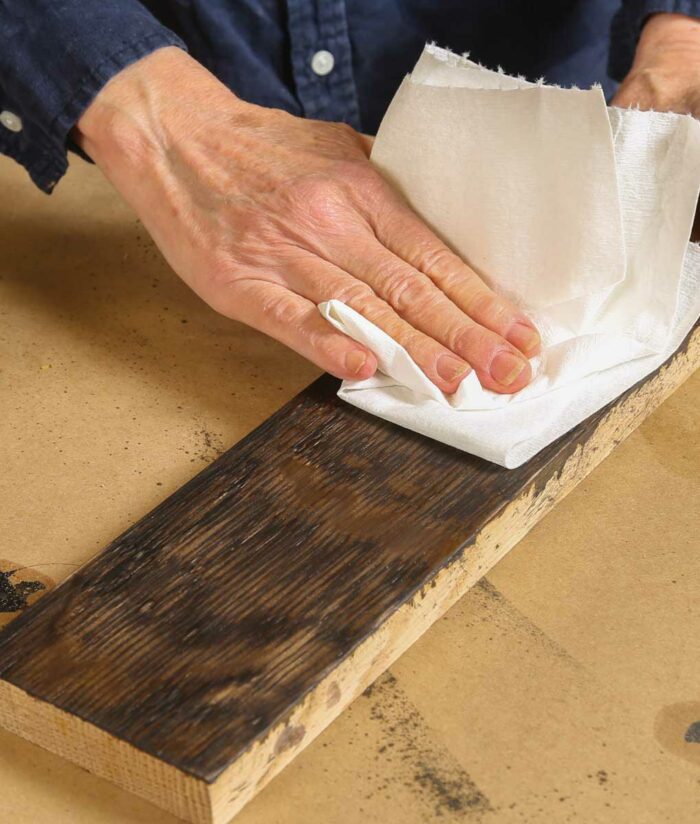
Begin by sanding the oak to 180 grit. Remove all dust, using a vacuum with a brush attachment, compressed air, or both. Raise the grain with a lightly dampened cloth. Let it dry, then sand again. Then move through dye, stain, shellac, and finally wax.
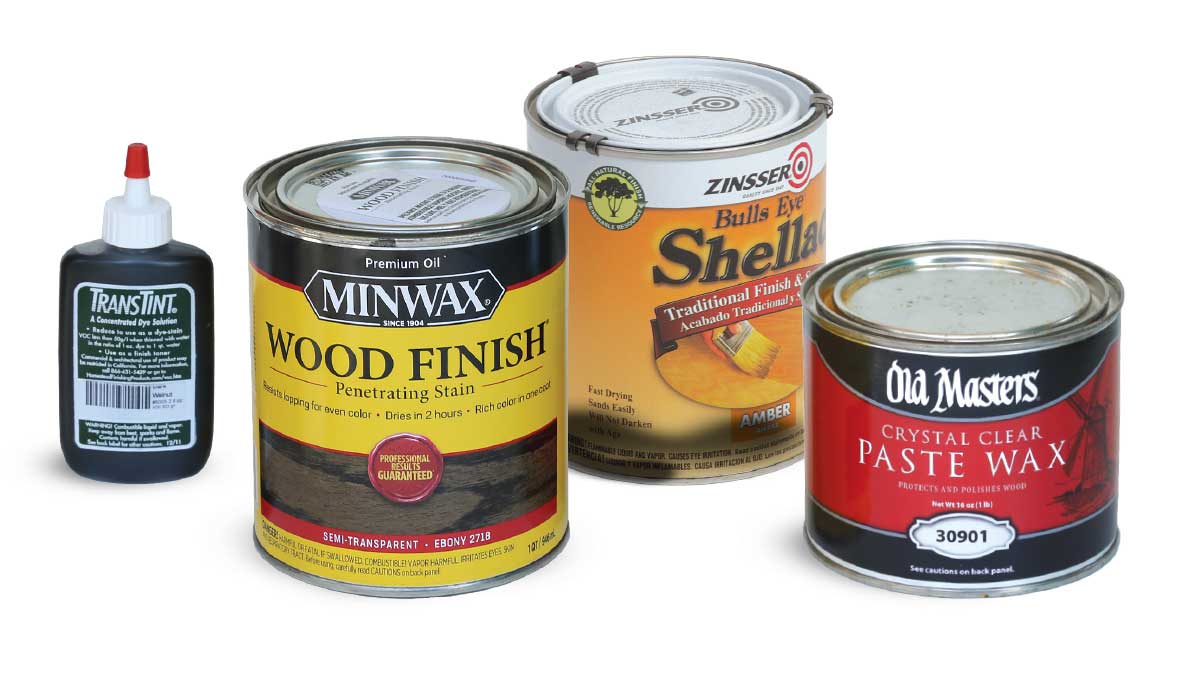
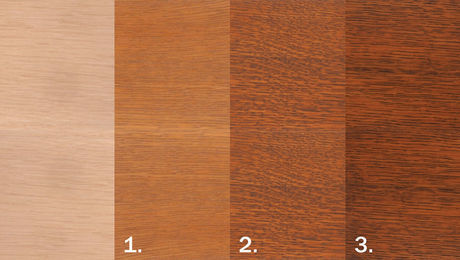
A layered finish
First add color with a dye. Then enhance that color and bring out the wood’s character with a stain. Next, seal all that in with an amber shellac that warms the color at the same time. And finally, add a layer of paste wax to protect it all. |
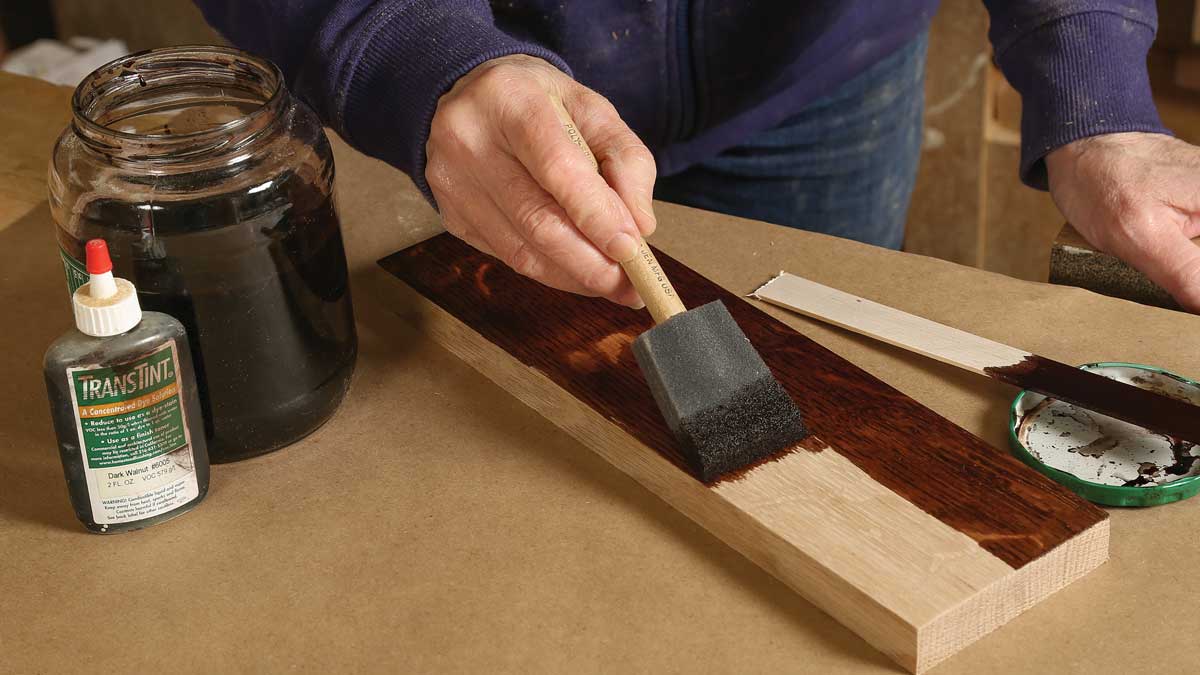
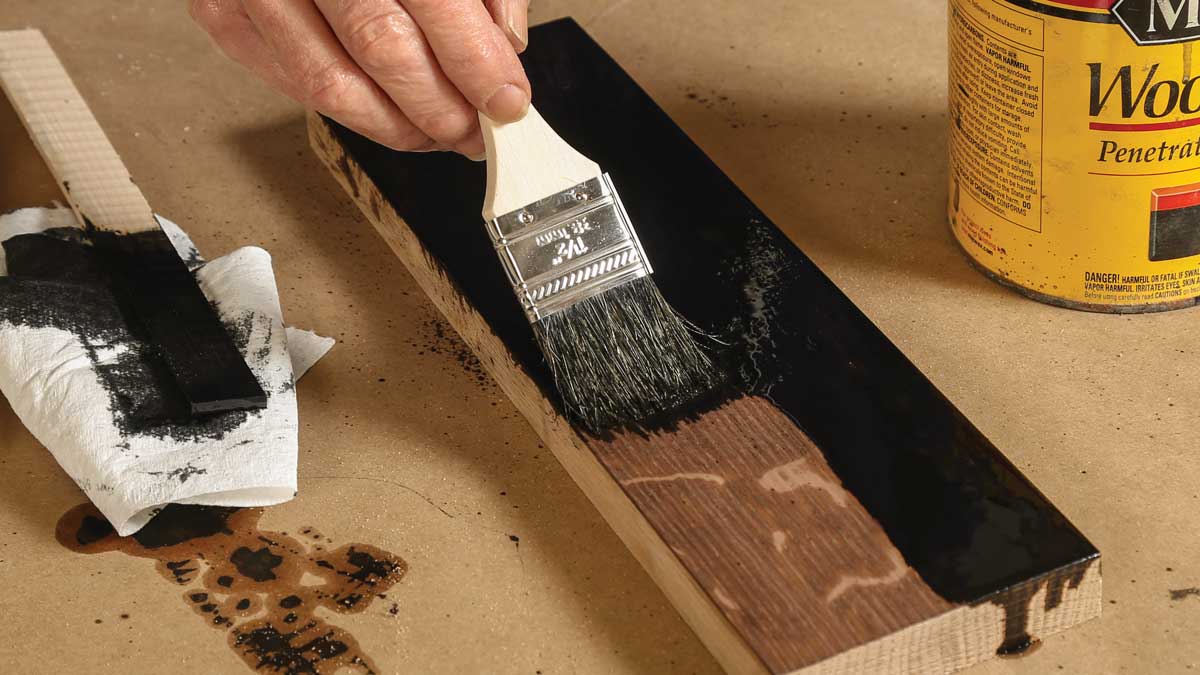
Boost color and grain
Starting with a dye instead of stain pops the grain. The dye darkens uniformly, coloring the medullary rays along with the rest of the wood.
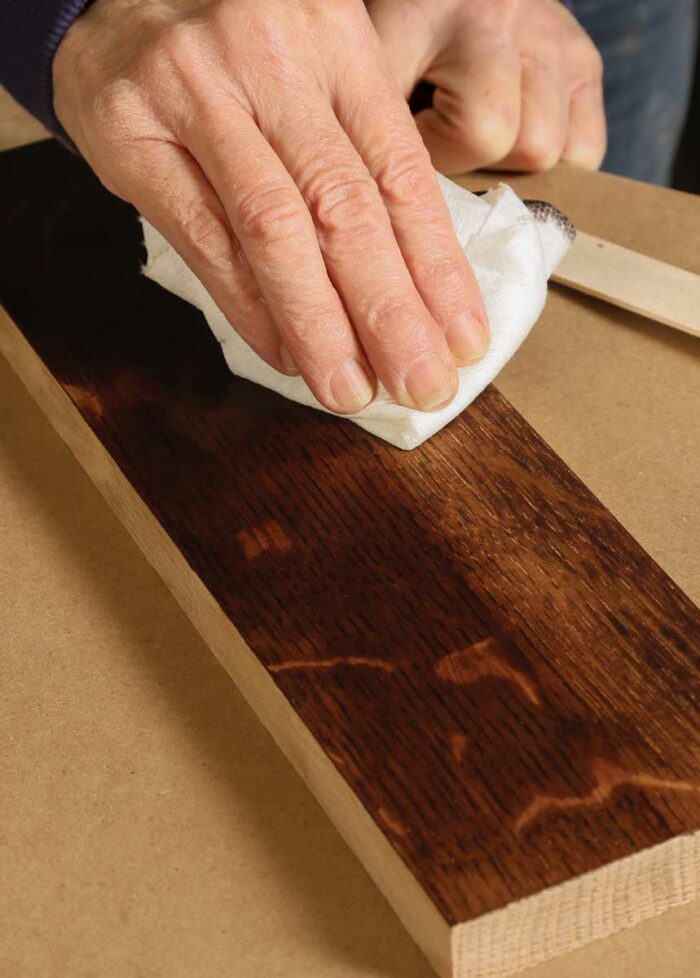
Round out the color with stain
Staining over the dye adds color and dimension, and further defines the grain. Because the oil-based stain will not color the medullary rays, using it after the dye makes the now-dyed rays stand out even more.

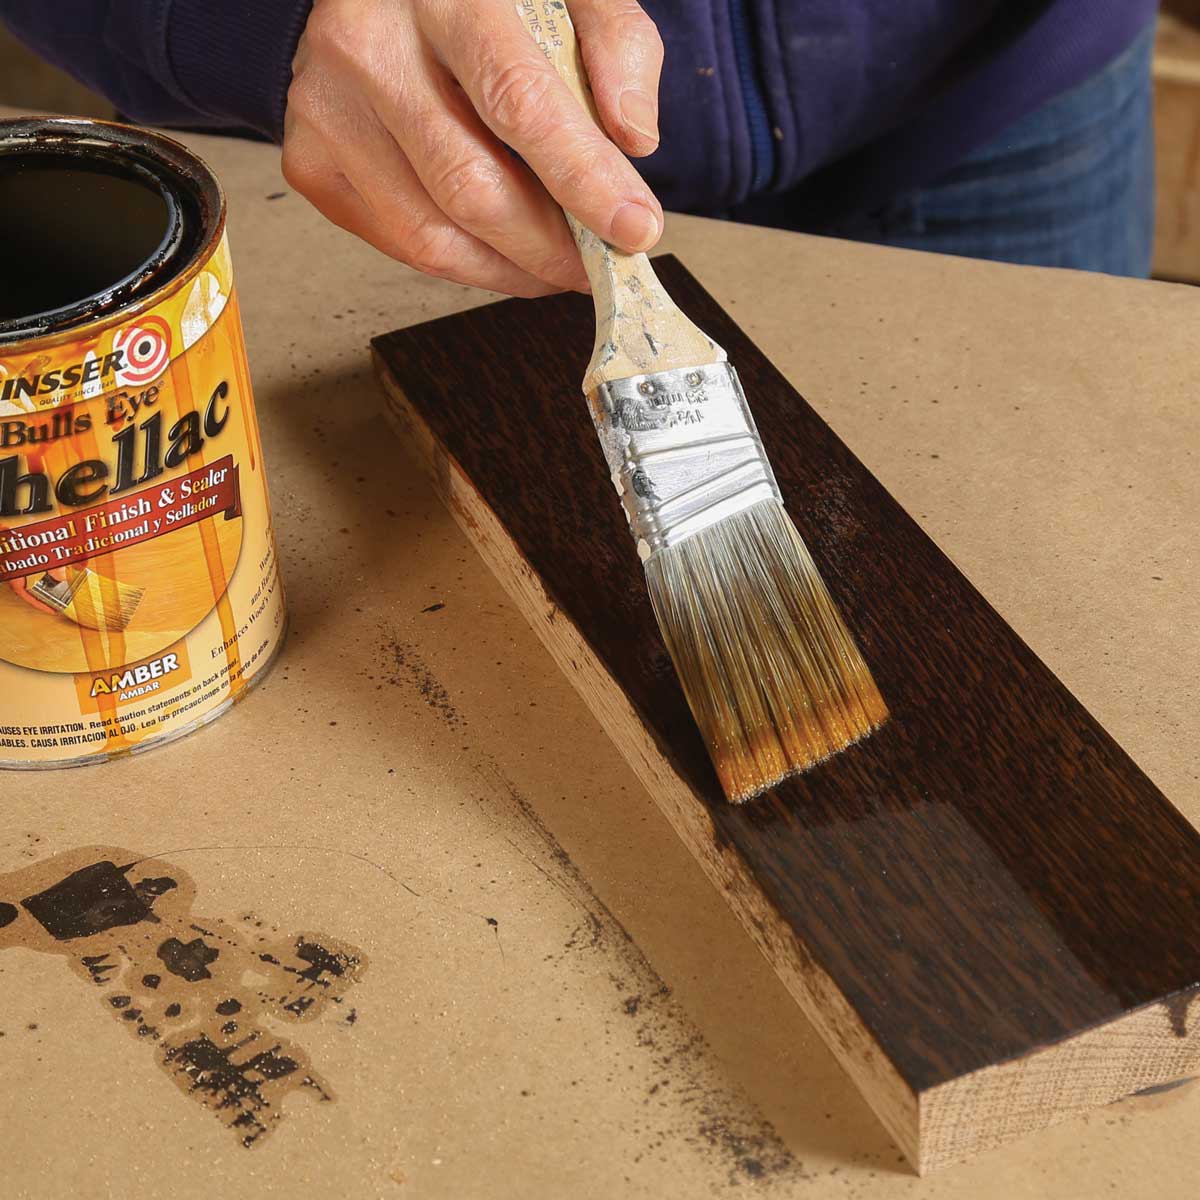
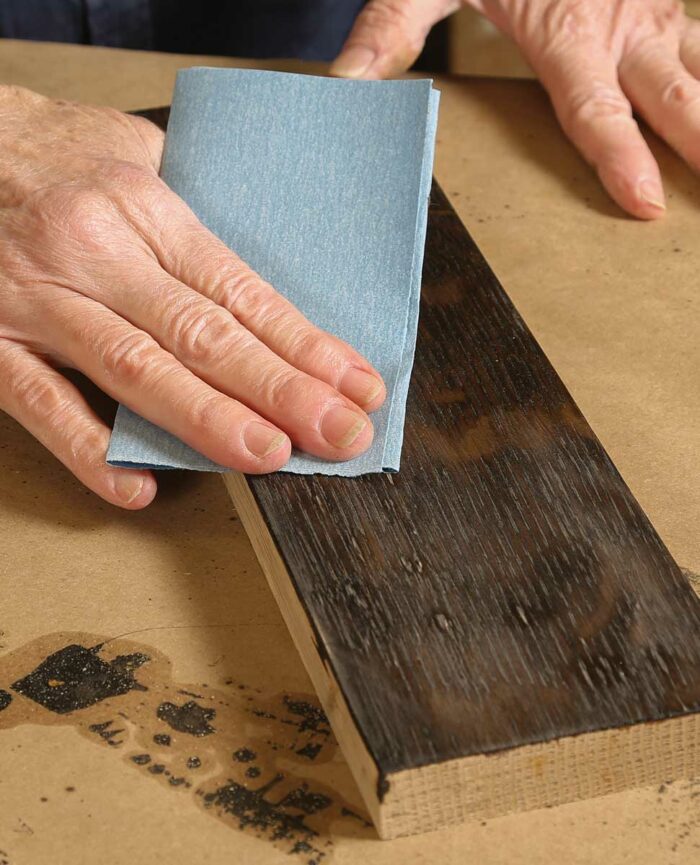
Seal and protect
Amber shellac brightens everything while adding a sheer layer of color, as well as a protective topcoat. One coat is enough. Hiller is not looking for a built-up finish, but a protective layer of brightness and warmth.
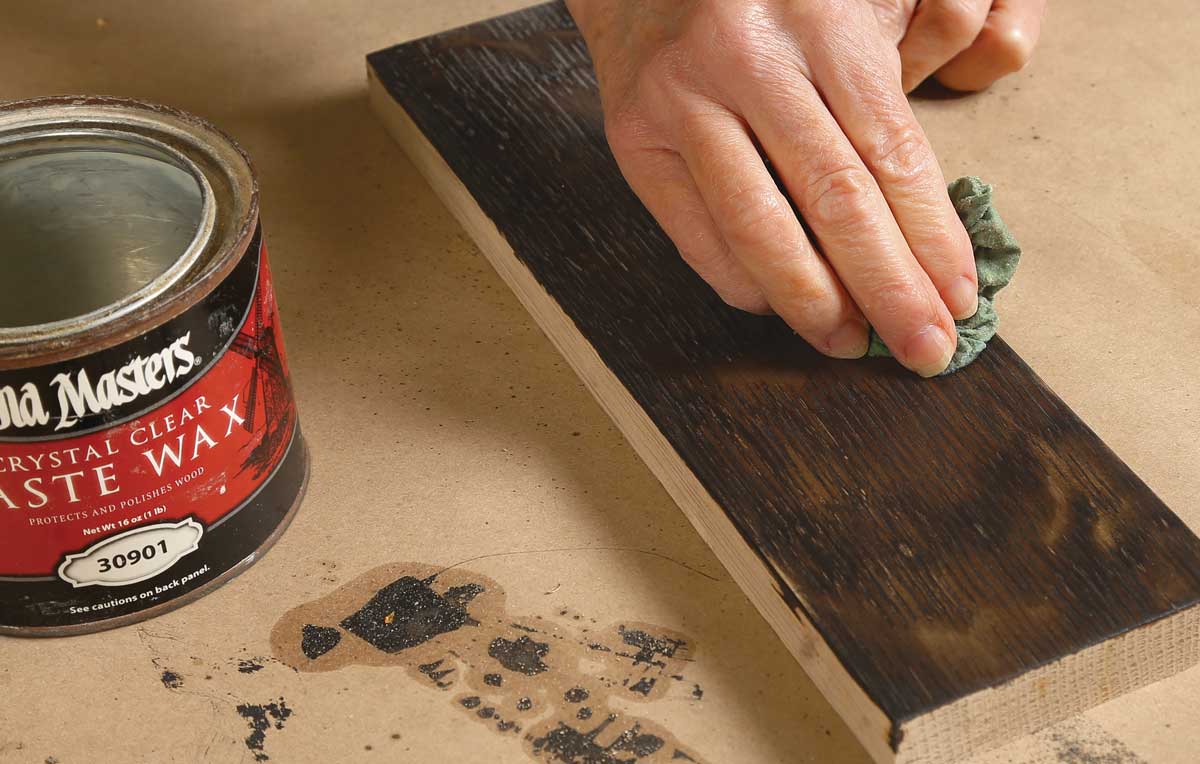
Add extra protection
Paste wax dries to a hard but very thin finish, giving added protection and a silky smoothness to the touch.
From Fine Woodworking #298
To view the entire article, please click the View PDF button below.
 |
Finish Recipe: A Warm Finish for White Oak |
 |
Tom McLaughlin’s Arts and Crafts Finish |
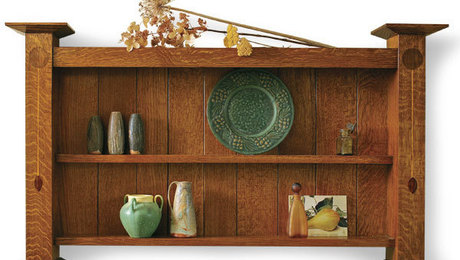 |
Assemble An Arts and Crafts Wall Shelf |


Log in or create an account to post a comment.
Sign up Log in