STL272: The end of the end-grain cutting board?
Mike, Anissa, and Ben debate cutting boards and talk about taking box-making skills to the next level, fixing shellac mistakes, and solid-wood door movement.Question 1:
From Michael:
Hey Ben, I was talking with prospective client about a making him a cutting board. I confidently recommend end grain when people ask about cutting boards. But he did some research and showed me this video that debunks the idea that end grain is the superior choice. The video is 3 years old, so maybe you’ve come across it already. If you haven’t, I would love to hear your take on it. Also, there are other very interesting points these kitchen professionals make about cutting boards that I think woodworkers would like to know.
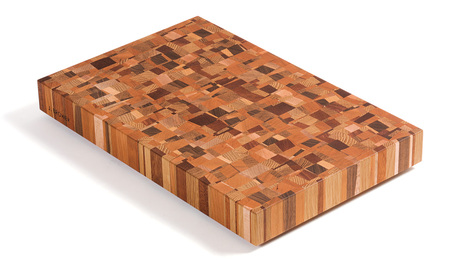 |
Make mosaic cutting boardsSimple, repetitive steps elevate your shop scraps into beautiful, useful kitchen tools |
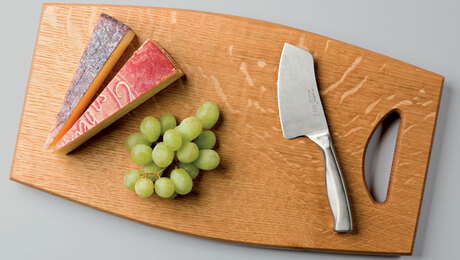 |
Make a Curvy Cutting BoardWith some basic tools you can make a cutting board that stands out in the kitchen. |
Question 2:
From Jarmo (in Germany):
I am working on the desig of a Krenov-style wall cabinet and would like to include a kumiko panel in the solid wood door. (Allthough, I guess, with kumiko it wouldn’t really be Krenov-style any more…)
How should I attach the kumiko and deal with wood movement? The door would be about 14″ wide with a 6″ by 6″ kumiko panel in the middle.
Is the panel small enough, so that I could just glue it in or should I use some kind of frame to make it float inside its opening? Any other ideas?
Huge fan of the show, I love the perfect mix of lighthearted banter and hardcore woodworking info. Keep it up!
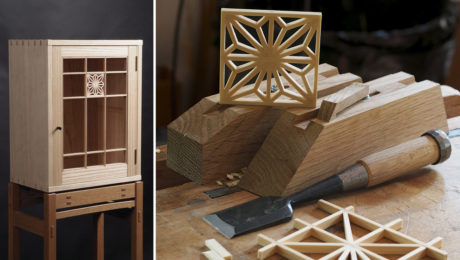 |
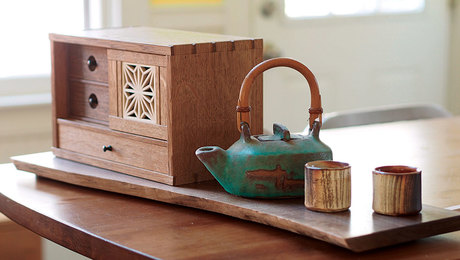
Spice up your work with kumikoLearn how to enhance your furniture with this Japanese latticework technique |
Question 3:
From Bob:
My question is about box making. I have made a lot of stuff over the years but have rarely ventured far away from butt joints, rabbets and an occasional pocket hole joining. I hear you all talk frequently about making boxes which are simple AND can be a challenge so I tried one the other day with rabbet joinery and exposed dowels to dress it slightly. I rabbeted a top to fit and overall I was pleased with the outcome. I did learn from all of you that “sneaking up on a fit” is very acceptable woodworking to prevent stressing out over making that one cut fit perfecting with just one cut. It was a joy.
My question:
What would you suggest as my next step to go a little farther with the corner joinery and top without jumping in over my head? I think the answer is box joints and a hinged top but i would love to hear your suggestions.
Question 4:
From Tom:
Shoptalk team,
I read Mario Rodriguez’s article in Issue 234 (Make Shellac Your Go-To Finish) about how to mix, prep for, and apply shellac. Still, I cant seem to avoid drips, pooling, and brush marks. When I try to remedy these errors with an abrasive pad or razor blade per the article, I still end up with streaks or lumps of shellac in the finished product. I’ve been starting with a freshly mixed 1lb cut wash coat, then a 1 1/2lb cut to build a finish. Any ideas about how to improve my process?
 |
Make Shellac Your Go-To FinishA simple brushed finish produces a stunning satin sheen. |
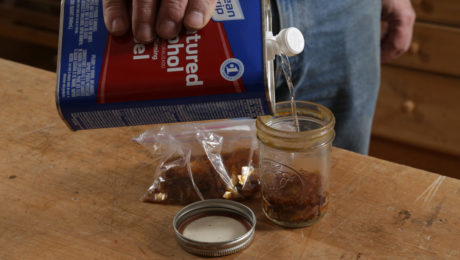 |
Mix Your Own ShellacHow to make a batch of shellac from fresh flakes. |
 |
Fast Shellac FinishHow to build an attractive finish in three easy steps. |
Every two weeks, a team of Fine Woodworking staffers answers questions from readers on Shop Talk Live, Fine Woodworking‘s biweekly podcast. Send your woodworking questions to shoptalk@taunton.com for consideration in the regular broadcast! Our continued existence relies upon listener support. So if you enjoy the show, be sure to leave us a five-star rating and maybe even a nice comment on our iTunes page.


Comments
Really interesting video about cutting boards. I learned a lot there. Thanks for posting!
I loved the video that Ben posted. Concerning Mike's reservations, here are my comments. 1) The video was clear that they tested one size board. It was the beefy board that takes two hands to lift. There was no indication that this was the only board you need. I have one of a similar size and rarely use it. Regarding plastic boards - I hate them. The ones I've seen are flimsy and generally not flat. Mike probably has a better one. Mike seemed to discount the testers since they weren't woodworkers. Huh? Cooks are the users of boards! To me they are an important group to judge boards. If I want to evaluate pickups, I'm going to ask users, not the guys who build them. Someone mentioned onions affecting apples if cut on the same board. I agree that happens. An easy fix is to use one side for the aromatics and the other side for fruits. I have a moat on one side and that is the side I use all the time. When I cut fruits I try to remember to turn it over. (Not always successful) After watching the vid, I was inspired to use some scraps I have to make an edge grain board. 19x14x1" A bit smaller than the boards they tested but a good compromise between strength/size and ease of handling.
So, please post more videos like this. I enjoyed it.
Good discussion re: cutting boards, however CHILI WITH PEANUT BUTTER IS NOT CHILI! Some folks might call it chili, but it is something else.
Comment on the kumiko panel in the solid wood door.... If you are making a kumiko panel that will stay together on it's own, I agree with what Mike said that you could probably ignore the wood movement over those six inches. BUT if you are cutting/making a 6"x6" opening in the solid wood door and then pressing the pieces into that solid wood opening, they are likely to fall out when the wood expands even a little because TINY differences in Kumiko piece lengths will make it a snugger or looser fit...
Hey Ben you mentioned sendig your blades out to be rebored to fit your Inca saw. I have had an Inca saw for years but got to be a hassle to find 20mm blades in all the variety of blades i wanted. My friend was a machinist and use to rebore them for me. He got tired of my requests over the years and gave me a tpaered reamer to do my own. It might surprise you to learn that I was shown to do it by hand no drill press. I sipley carefully aligned the reamer with the existing 5/8 bore and twisted the reamer down through the existing hole. I have done this for dozens of blades over the years with no problem. I occasionally check the run out with the blade on the arbor. It is virtually identical to what I get with an old In ca blade or what I get when I buy a new blade occasionally from Forrest. I was happy to see your comments recently on the inca machine web site There are some very knowledgeable people on the site who are more than willing to supply info or help. Thats the character of the woodworking world.
Log in or create an account to post a comment.
Sign up Log in