Three Arts and Crafts finish recipes
It's OK to use these as a jumping-off point to explore your own delicious blends.There is a contingent of woodworkers who consider finishing recipes to be kind of silly—the argument being that even within a given species, the color and grain of every board is different, so you can’t really expect to be able to duplicate the results seen in photos or in a video. Well, yeah. But we can use them as a starting point. If you want to be able to match an existing finish or even have a perfect match from board to board, you’re going to need to learn color theory and a spectrum of dyeing and staining techniques.
Treat these recipes like you would one from a cookbook. Start here, and add a dash of garlic or amber shellac to taste. In fact, given the fact that every board is different, I decided that it wasn’t necessarily worth the added expense to perfectly duplicate the original materials list used by the original authors. Instead, this is my take on their processes. The important part for me was seeing what each step in these recipes brought to the party, and learning from the different variations. If I were to finish an Arts and Crafts coffee table, I would probably wind up using elements of all three recipes.
What about you? Do you have a favorite finish recipe or a favorite element? Share below in the comments.
Tom McLaughlin’s Arts and Crafts Finish
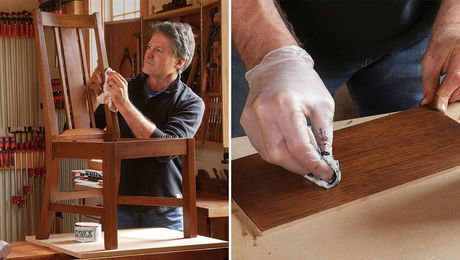 |
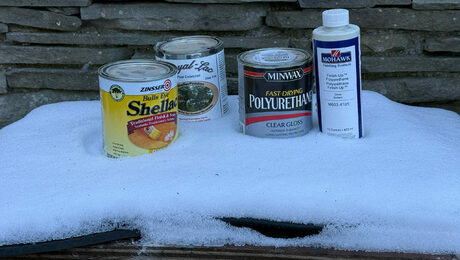
Recipe I used:
|
Nancy Hiller’s Rogue Arts and Crafts Finish
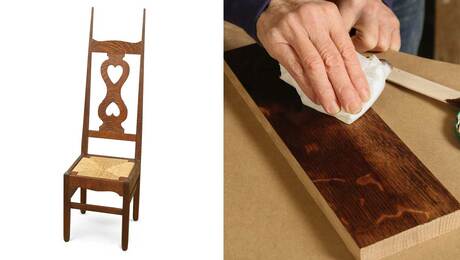 |
Recipe I used:
|
Five Steps to an Arts and Crafts Finish
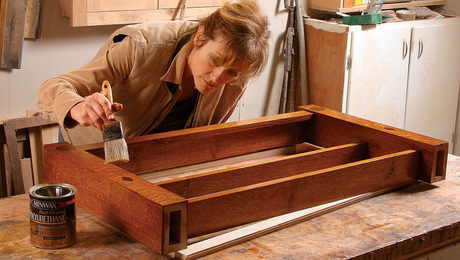 |
Recipe I used:
|




Comments
My wife and I visit many houses/museums with A&C pieces in them plus I used to work for a company which owned Gordon Russell Ltd. So, we see many pieces in several different timbers with different histories to them.
Whilst I’m sure there are a few “that’s just not right” colours/finishes to a piece you’ve made in the A&C style, there are many more which are acceptable to the A&C aficionado. We are currently nearing the end of a large barn conversion ourselves and have so far bought about £20,000 worth of European oak and Red Grandis for everything from flooring, door linings, window surrounds, flooring, doors etc. we are not looking for a single homogenous look to everything but really variations in tint that you would expect from a much older house. The attached photo is of one of many windows that we finished (you may have to forgive the actual window itself as the exterior look was effectively dictated to us by the Conservation Officer on our local Council who knew little about the vernacular styles) using European oak. We couldn’t afford to buy only quartersawn oak as this fetches a huge premium over here in the UK but bought so much that we have been able to select the “best” boards or veneered sheet for the most prominent places. The finish you see was achieved very simply - little of the alchemy that others use - with Rubio Monocoat in smoked oak. I’ve fumed a lot of oak over the years and will never properly fume again but that fuming produced a wide variety of colours dependant on the timber, the strength of the ammonia and the time left to fume. The colour you see on the photo is a very good match for some of the oak that I’ve got that I lightly fumed. Very happy with that but I will try process #3 just to see how that works in our situation.
Thanks Ben. To date, I've mostly used just shellac. Now I am trying some different oils. Seeing three recipes in one place side by side is helpful. No doubt in the near future I will try some of these just to see how it looks relative to what I've been commonly using to date. Out of curiosity, do you know anything about the color fastness of Transtint dyes? I know they are a big name in the industry and likely are as good as it gets.
Log in or create an account to post a comment.
Sign up Log in