Sanding veneer and warning signs to look out for
Slow and steady wins the race.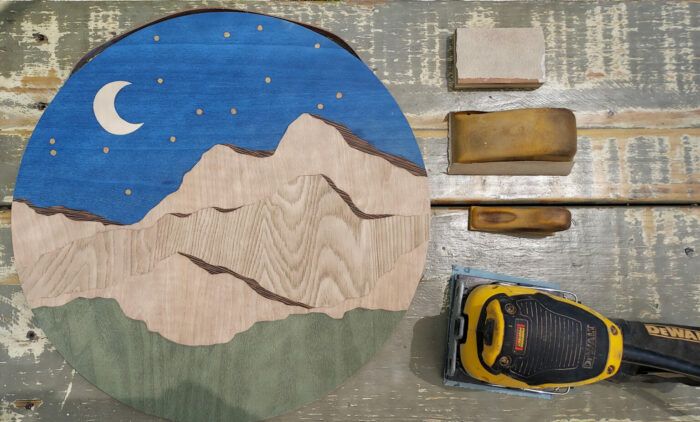
Are you ready to sand? This step can be a bit tricky but as long as you take it slow, everything will work out! This blog will show you some warning signs to keep an eye out for while sanding your veneer masterpiece.
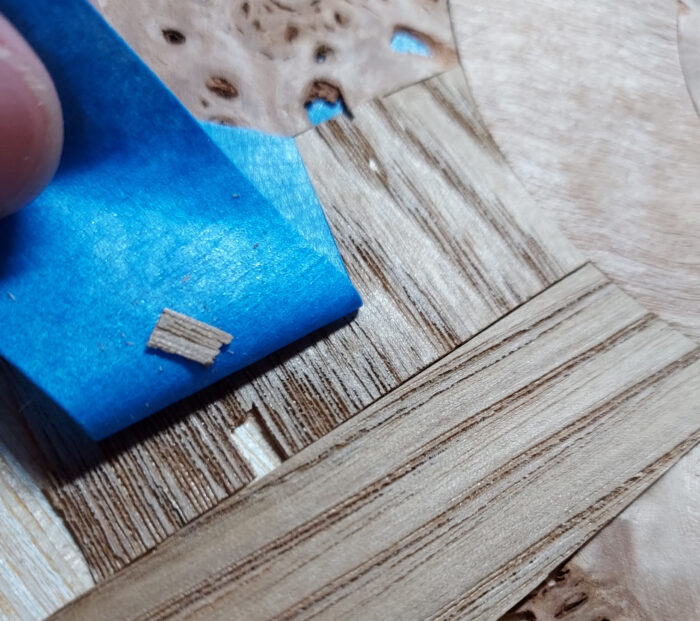
After you take the piece out of the clamps, gently remove the tape off of the front. When pulling the tape off, do not pull too fast or too aggressively because the fibers can be pulled out. If large chunks are pulled out, dab a little glue, press the piece back in place, and tape it down.
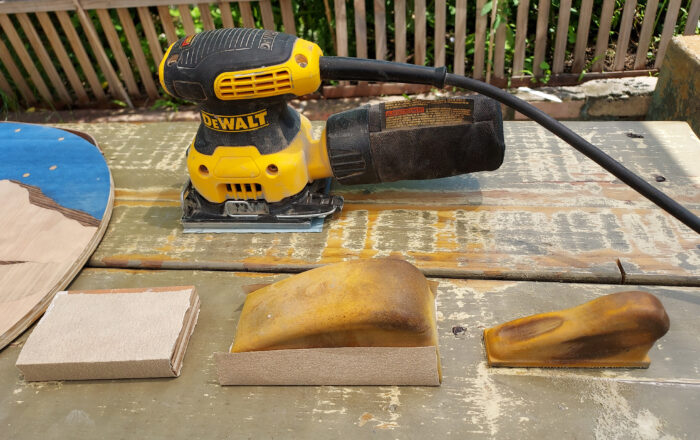
Since veneer is thin, it is possible to sand through it so I start with 120 grit. For larger pieces I use a pad sander but smaller pieces I use a sanding block. The wood grain is going in all different directions so it is not possible to always sand with the grain. As long as you sand lightly the cross scratches wont be obvious. Sand until the glue is removed and then switch to higher grits. I use 120, 220, and then a gray scotch pad.
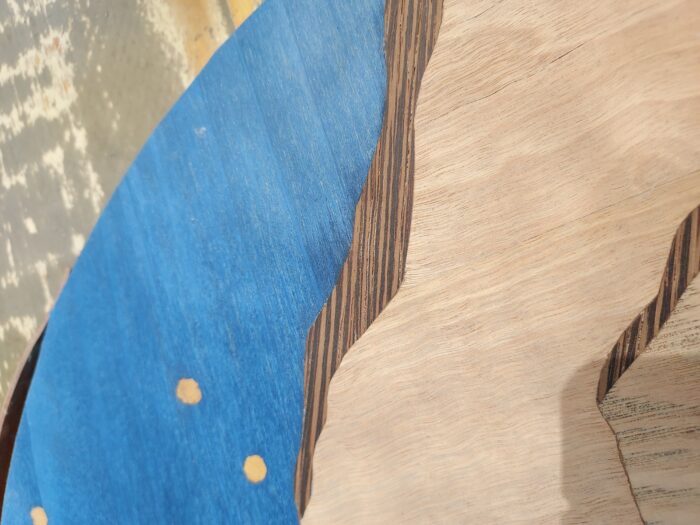
Remember that different species have different characteristics. On this piece the dark brown wenge is thicker and harder than the dyed blue poplar so there is a chance that I can sand through the poplar before the wenge even though the sanding block is flat.
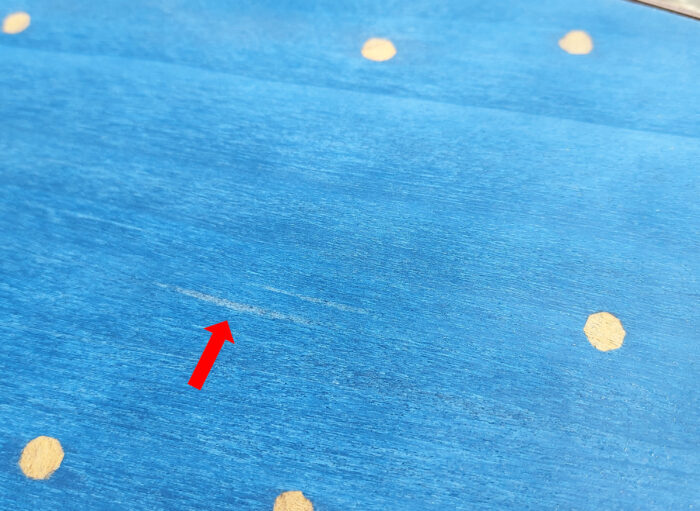
For areas where the fibers were pulled out by the tape, lightly sand by hand going with the grain of the wood until the marks are gone. Don’t sand too hard since the wood is thinner in that area.
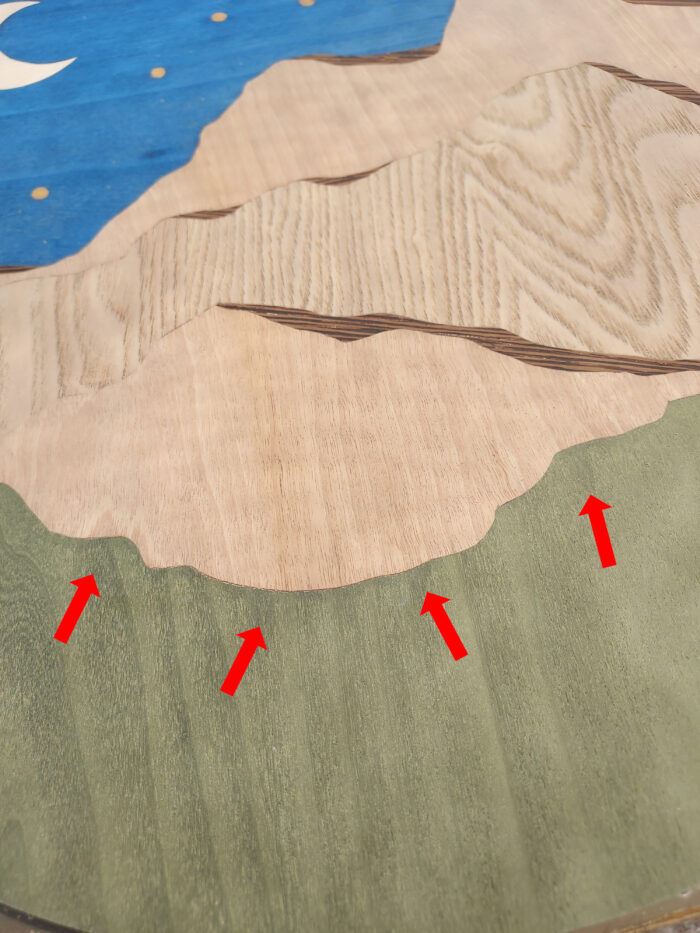
Sand a little and then take a good look at the piece. Here you can see the darker green areas, that is glue that seeped through the pores of the wood and still needs to be sanded.
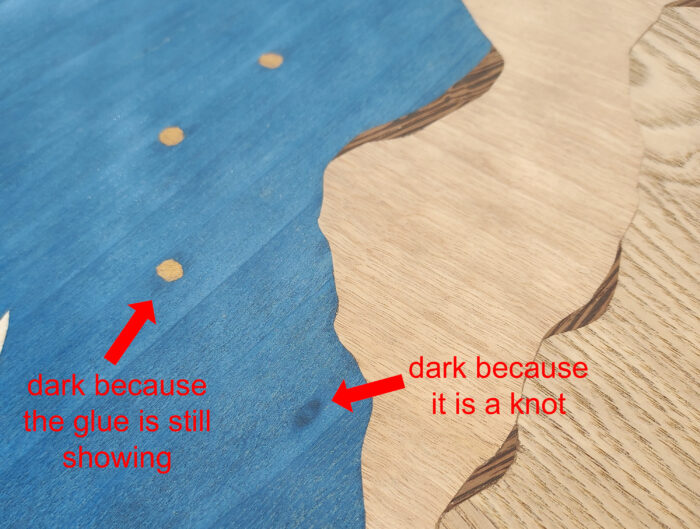
Know what to look for when sanding. A dark spot could just be a knot and does not need anymore sanding. However a dark spot next to a seam could be glue that is not fully sanded yet.
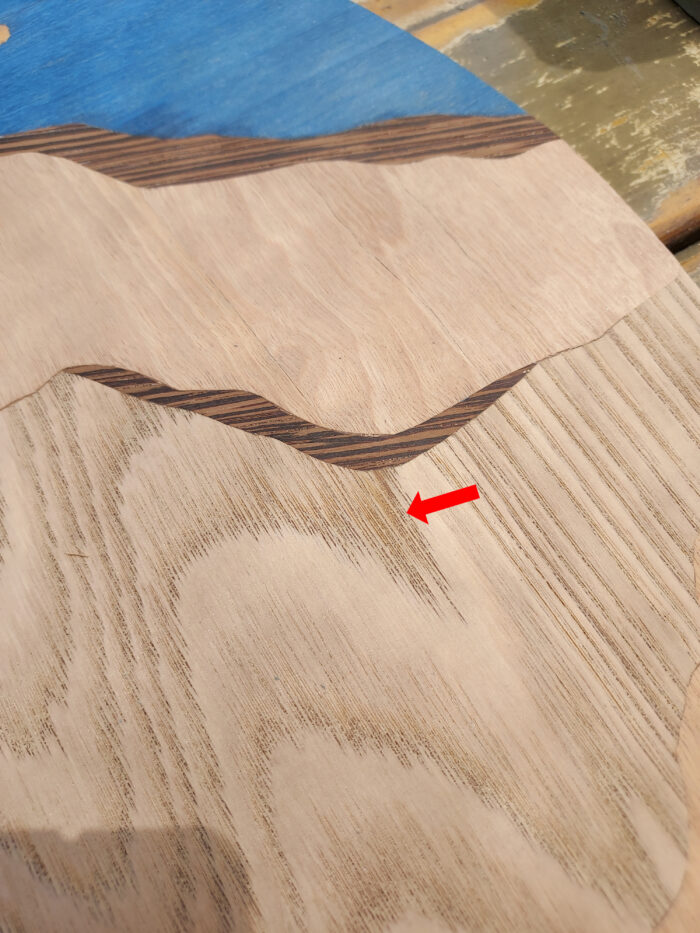
Darker or different color could also mean that the wood is about to be sanded through. The area in this picture is ever so slightly more yellow than the rest of the wood, that is the glue that is about to be exposed. If you see this, do not sand anymore in that area.
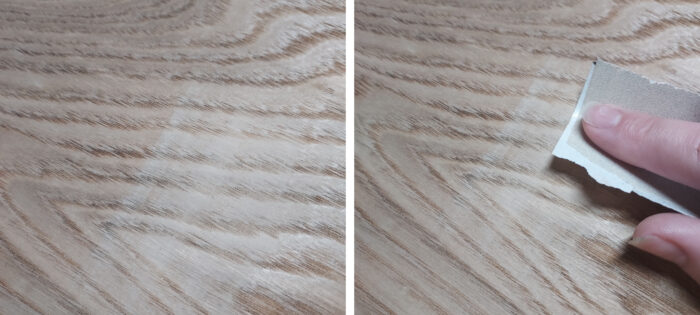
Cross scratches can be obvious on some species of wood but not all. If cross scratches are really visible, you can spot sand with a small piece of 220 grit lightly until smooth.
Go slowly and check your piece often. You’ve got this!
 |
Stress-free veneer glue-up |
 |
Getting started with veneer |
 |
Affordable tools and materials for veneering |
Fine Woodworking Recommended Products

Bahco 6-Inch Card Scraper
Whiteside 9500 Solid Brass Router Inlay Router Bit Set




Log in or create an account to post a comment.
Sign up Log in