Shaker Chest with a side drawer
Manageable size and smart techniques make this a fun and rewarding project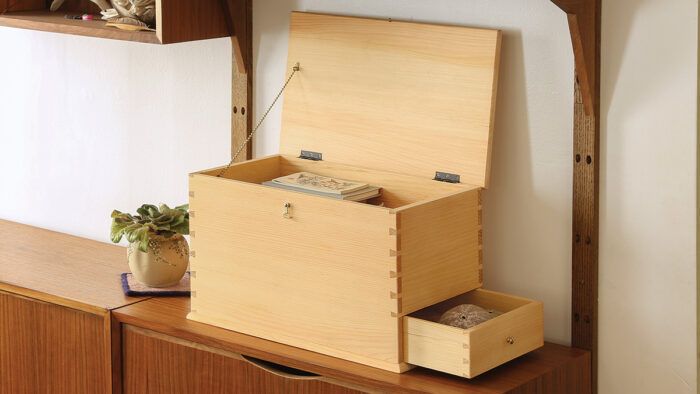
Synopsis: Small in size and full of great details, this pine chest will give you plenty of chances to practice your dovetails. There’s a full-length drawer on the side for storage, and a false bottom that separates the drawer from the main part of the chest. You can use the dimensions offered, or change the size of the chest to suit yourself.
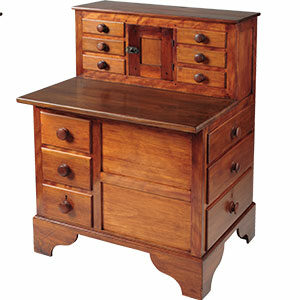
This small pine chest with a drawer can be used for storing all kinds of treasures. The size and craftsmanship make this a fun project. It offers plenty of chances to practice your dovetails, and the fact that it is made of pine means it won’t break the bank. The full-length drawer is useful for jewelry, photos, and other collectibles. You can follow the original faithfully for a perfect reproduction or make minor changes to suit your needs.
Dovetails first, then the false bottom
While this chest would look handsome in any species, I prefer clear white pine (like the original) with quartersawn pine for the two bottoms (there’s a false bottom separating the drawer from the main part of the chest). The original piece is likely from the Mt Lebanon, N.Y., community, and made in the early 1800s.
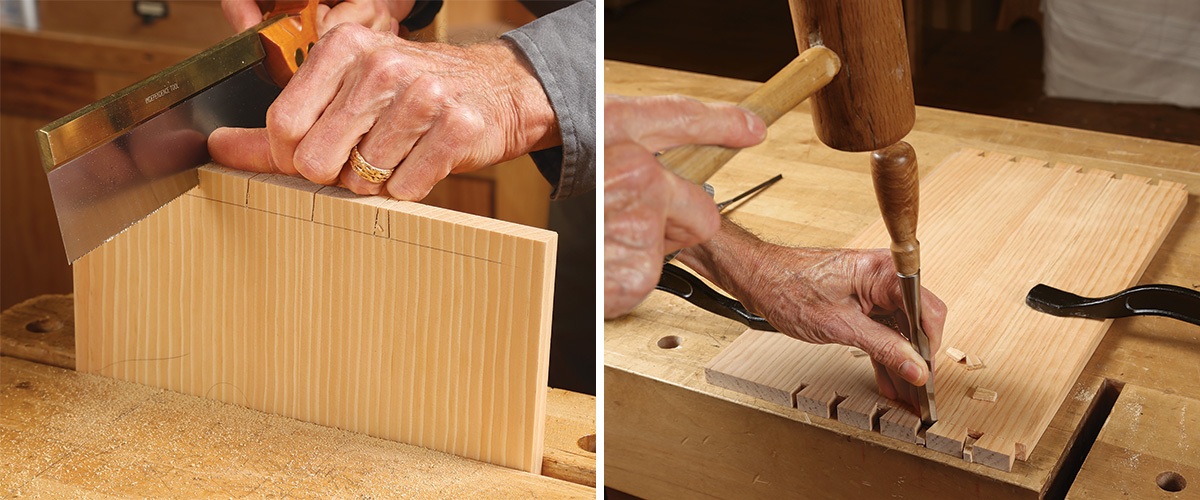
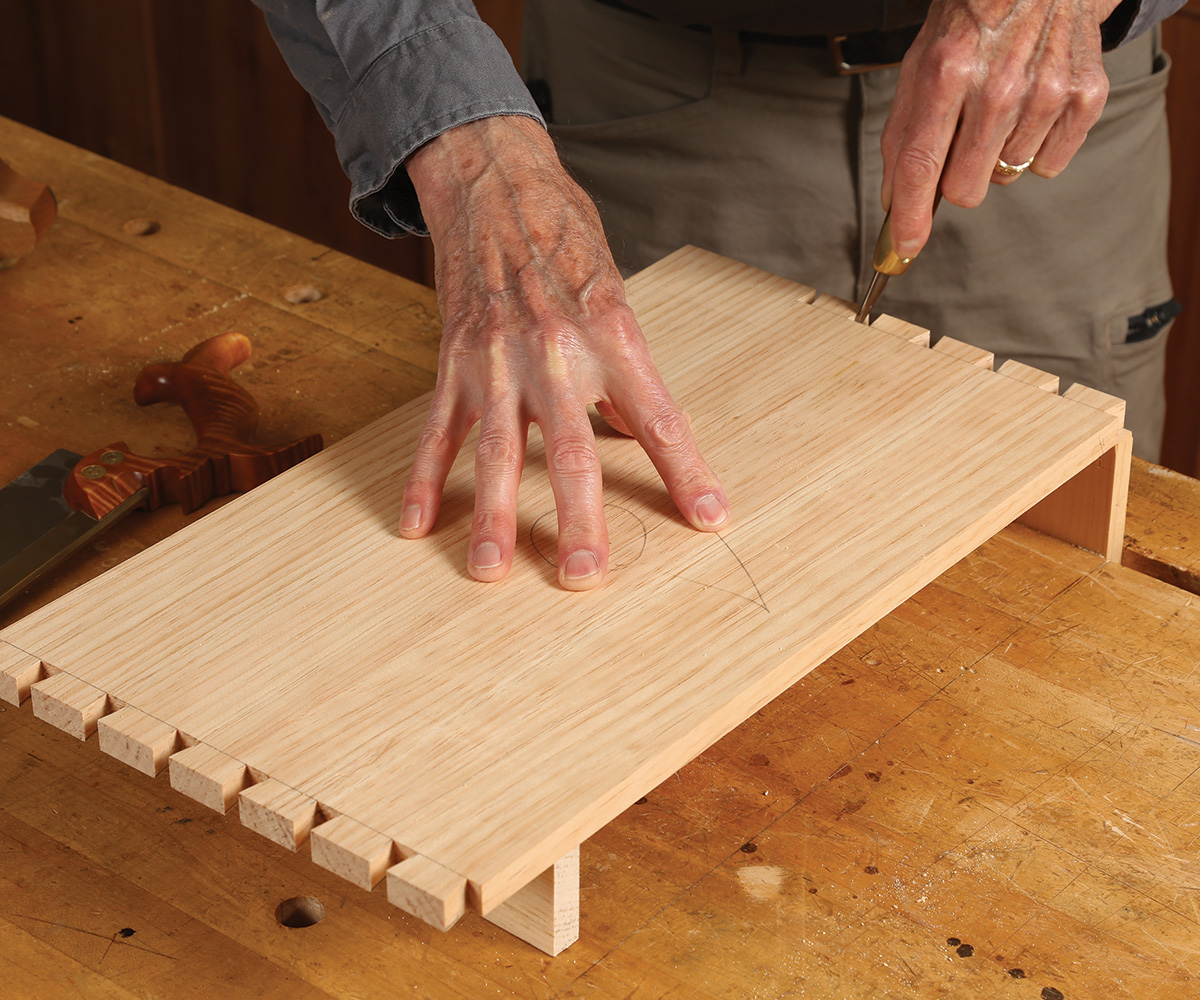
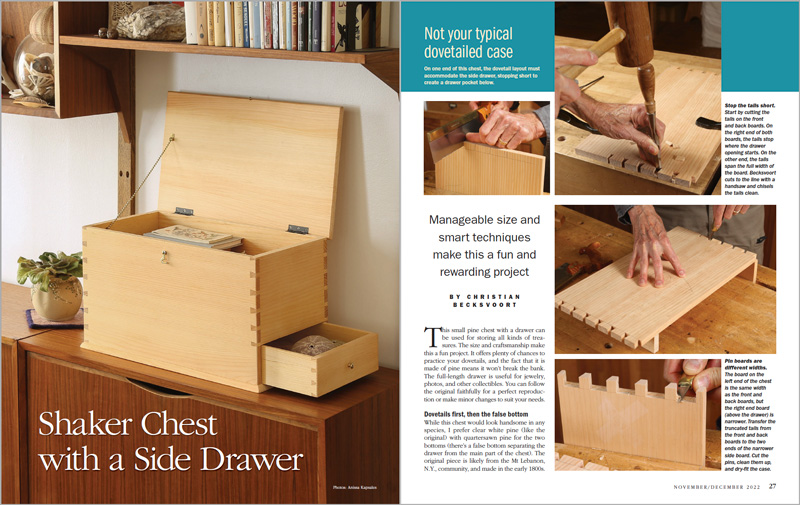
Start by milling the four sides and cutting them to length. Lay out, saw, and chop the tails on the front and back boards. Then transfer the tails onto the end pieces, and saw and chop the pins. Dry-fit the case.
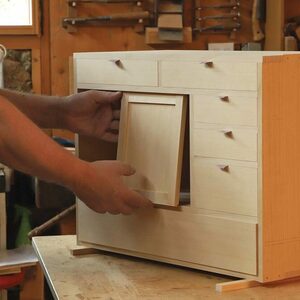
The 3/8-in.-thick false bottom above the drawer sits in grooves. The original chest has through-grooves (and small filler plugs to cover the ends) which can be cut on the table saw or by hand. Typically, I like to go with the original, but stopped cuts look so much cleaner that in this case I decided to veer from the past. You can use a 1⁄4-in. dado set on the table saw, but I think that method requires too much chisel work at both ends of the stopped cut. I prefer to use a router with a 1/4-in. bit. Clamp a start and stop block to the router-table fence where you want the cuts to begin and end, about 1/4 in. from the ends.
Since the false bottom must be supported on all four sides, I located the groove for it 1/8 in. above the drawer opening. The false bottom is 3/8 in. thick, and I ran a 1/8-in. by 1/4-in. rabbet all the way around the underside. So the false bottom fits into the 1/4-in. groove and its underside is flush with the drawer opening. Because it floats in the grooves, the false bottom can be made from flatsawn or riftsawn material as long as you allow a little space for potential movement.
Assemble the chest
Once the interior faces of all the parts have been sanded or planed, and the false bottom has been cut to size and rabbeted, the carcase can be glued. Dry-fit all the pieces together to make sure everything works as it should before adding any glue. While the glue dries, mill the lid and the bottom board and cut them to size. The bottom must be quartersawn because it gets glued directly to the chest without allowance for wood movement. With Eastern white pine, this works fine.
Contributing editor Christian Becksvoort makes furniture in New Gloucester, Maine.
Photos: Anissa Kapsales
From Fine Woodworking #299
To view the entire article, please click the View PDF button below.
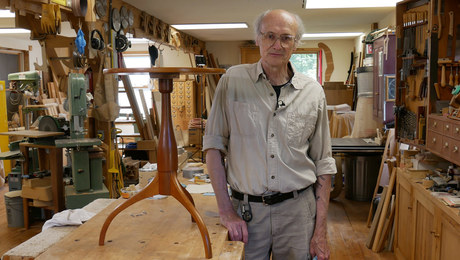 |
Shaker Candle StandWatch contributing editor Christian Becksvoort build the stand from start to finish. |
 |
Chris Becksvoort, the dovetail master at workJust another dovetail video? Not really, when you can watch Christian Becksvoort dovetail a drawer packed into a 7-minute edit |
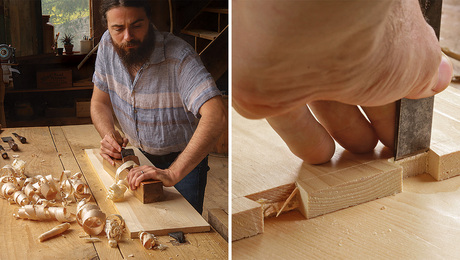 |
For the Love of PineThe wood that makes you feel superhuman |






Log in or create an account to post a comment.
Sign up Log in