Build a folding card table
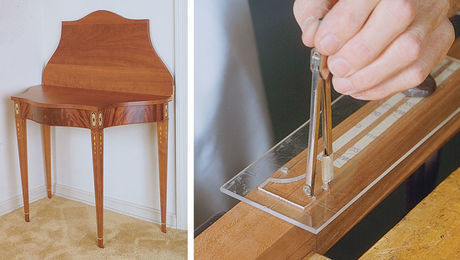
This top design, dating back to the Federal period, pivots 90° and folds open to double the work area.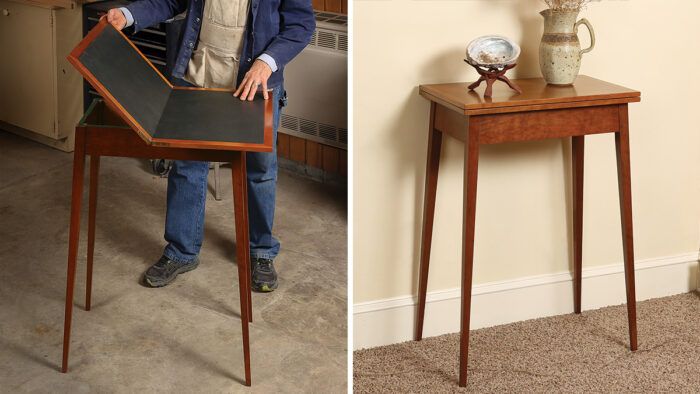
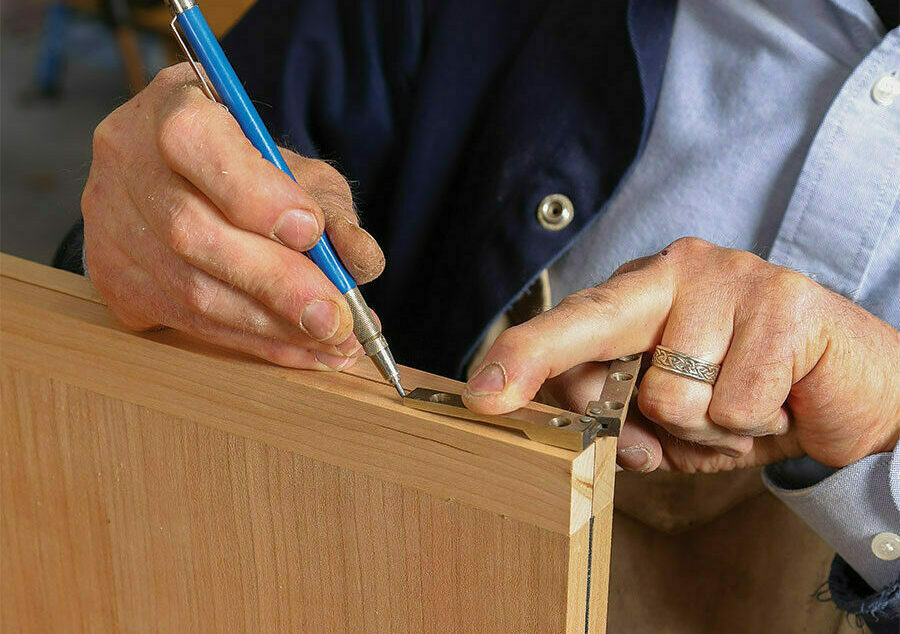
Synopsis: This top design, dating back to the Federal period, pivots 90° and folds open to double the work area. This way of making a table eliminates the need for fly rails or elaborate support mechanisms, and it can be adapted to tables of many different sizes. The base is a simple design, and the top is made of two leaves, joined with hinges. Installing the hinges and pivot point may seem complicated, but Steve Latta explains it using a simple method.
During the Federal period, some card tables and even dining tables had a unique design that allowed the top to pivot 90° and then fold open, doubling its surface area. Building a table this way eliminated the need for fly rails or other elaborate support mechanisms. The design is pure simplicity, and I thought it appropriate for a certificate table that I made for my Quaker meeting. In the Quaker faith, the wedding couple signs their names to a marriage certificate that states their commitment to each other. All members in attendance sign the certificate as well in support of the union. I made a second version of the table for my home, and it has proven to be one of the most versatile pieces I live with. Near the front door, in the smaller position, it serves as an entryway table, holding keys and mail. Opened larger, it offers drinks and hors d’oeuvres. I can easily see changing the dimensions to make coffee tables or end tables with the same technique.
The base and top are basic in design
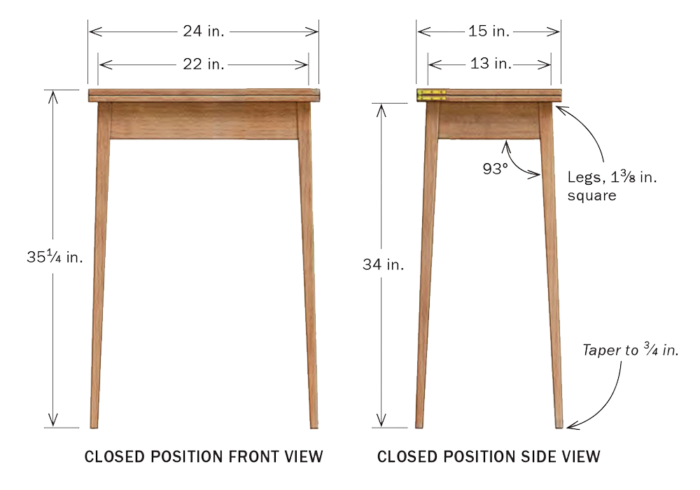
The base for the table is nothing more than four splayed legs connected to tenoned aprons. When closed, the top measures 15 in. by 24 in., has a 1-in. overhang on all sides, and displays a veneered surface. When rotated and opened, the top doubles in size to 24 in. by 30 in., overhanging the sides by 5-1 ⁄ 2 in. and the ends by 4 in., and is covered in leather, providing a great surface for signing the certificate. The folding top is made of two plywood leaves. I veneer one side of each leaf, and then, in a separate step, I glue a single piece of leather across the other side of both leaves. Then I frame the top with solid lipping and attach it to the base of the table.
Straightforward base |
Add a frame and hinges
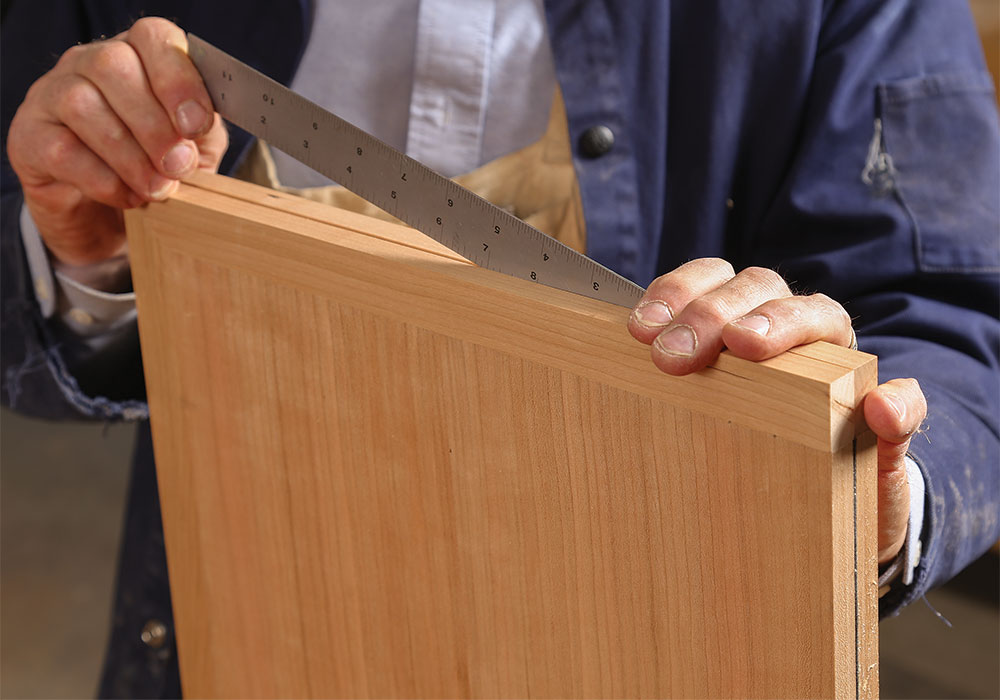
Once the two leaves are surfaced, you can apply the edging. The three exposed sides of each leaf get covered with a 1-in. strip of cherry mitered at the outer corners. Adding biscuits along the joint helps with alignment and slippage. The edging can be flushed on the veneered side of the leaf but I do my best to avoid taking that risk with the leather, since there is no easy touch-up to a gouge in the leather surface.
Contributing editor Steve Latta teaches woodworking at Thaddeus Stevens College in Lancaster, Pa.
Photos: Anissa Kapsales; drawings: John Hartman.
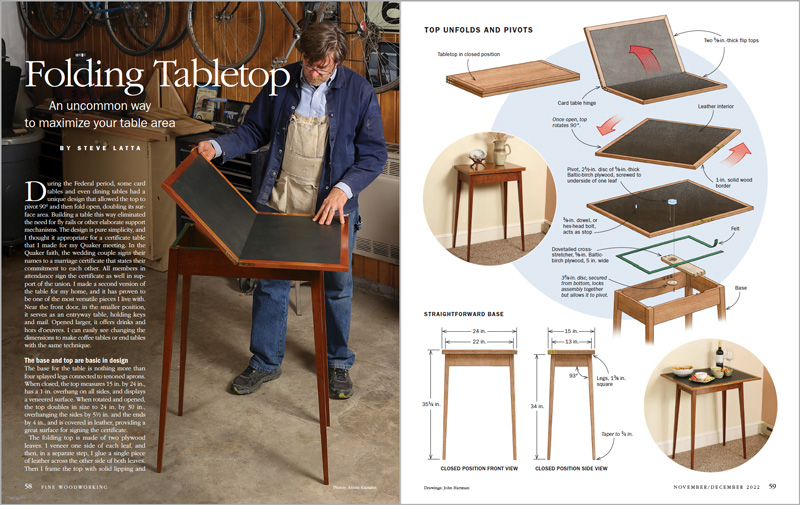
To view the entire article, please click the View PDF button below.
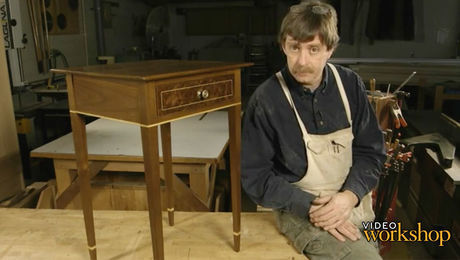 |
Video: How to make a federal side table |
 |
Expanding table looks great open or closed |
 |
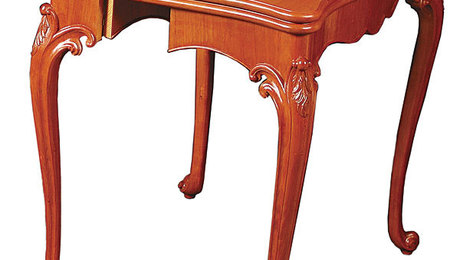
From the archive: Building a gate-leg card table |





Comments
In Steve Latta's article on the pivoting card table, he mentions mounting a hex-head bolt on the underside of the top to serve as a stop. A hex-head bolt has six sharp corners which will ding the apron and/or cross-stretcher. I'm sure what he meant was a socket-head bolt (for Allen wrench), and this is in fact what is shown in the photo.
The folding card table, a classic Federal-era design, blends elegance with practicality. At Lakdi.com, we embrace this tradition by crafting stylish, space-saving furniture that suits modern needs. Explore our collection for timeless designs with a contemporary touch! #Lakdi #Furniture
Log in or create an account to post a comment.
Sign up Log in