Offset turning fundamentals
Mount the workpiece off-center to create elliptical and triangular parts on the lathe.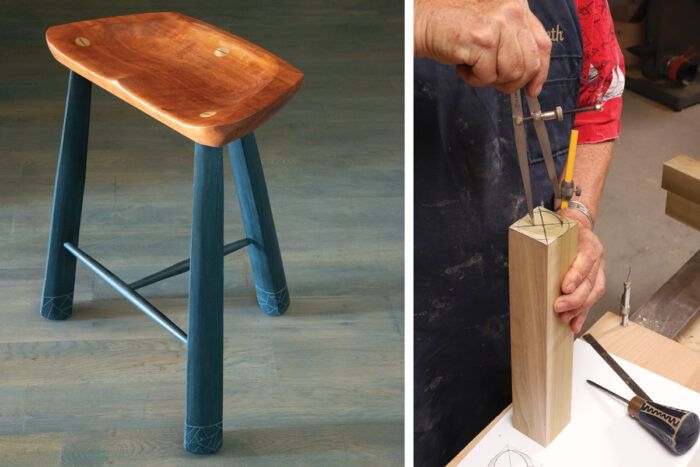
Synopsis: When you mount the workpiece off-center so that you can cut only a portion of the profile on each rotation, you can shape parts on the lathe in almost any geometry you can draw. You can make elliptical forms, such as legs, and even tapered ellipses. You can turn a triangular shape. Once you have grasped the basics of layout for this powerful technique, the possibilities are impressive.
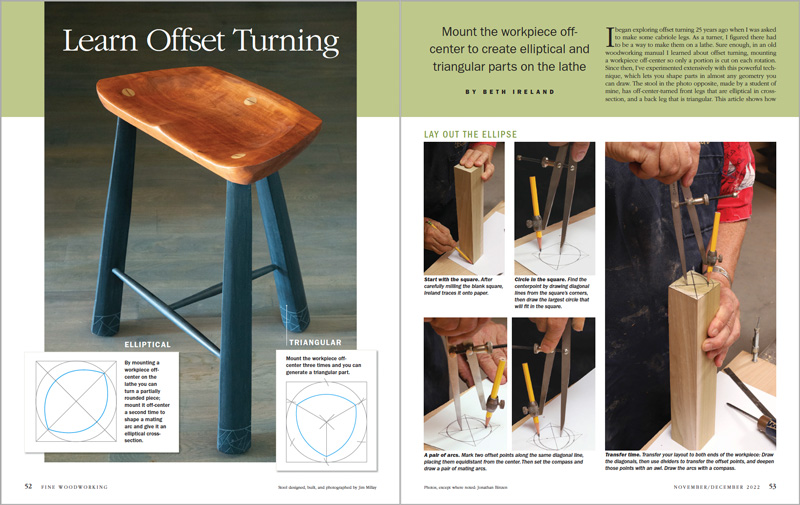
I began exploring offset turning 25 years ago when I was asked to make some cabriole legs. As a turner, I figured there had to be a way to make them on a lathe. Sure enough, in an old woodworking manual I learned about offset turning, mounting a workpiece off-center so only a portion is cut on each rotation. Since then, I’ve experimented extensively with this powerful technique, which lets you shape parts in almost any geometry you can draw. The stool in the photo opposite, made by a student of mine, has off-center-turned front legs that are elliptical in cross-section, and a back leg that is triangular. This article shows how to turn elliptical and triangular parts and also tapered versions of them. With this technique, there’s no telling what you can make; another student of mine carved an Inuit bear using offset turning!
Layout is foundational in offset turning
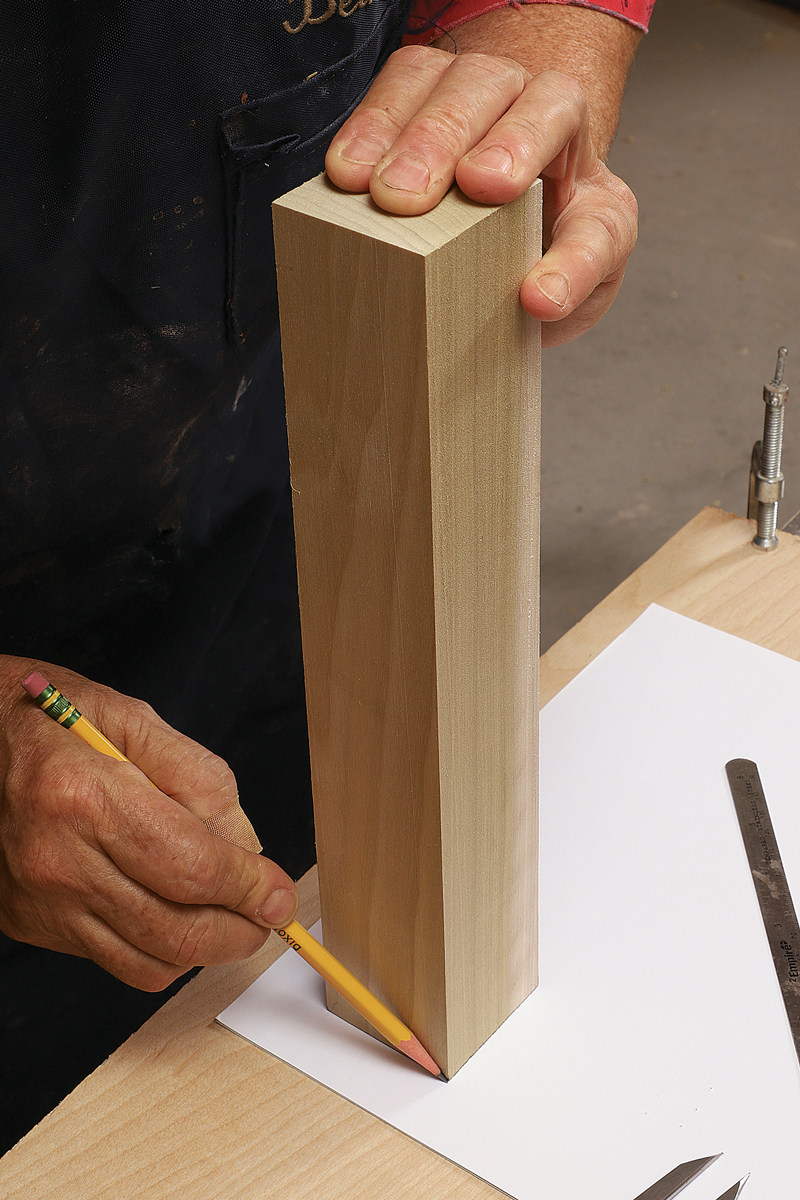
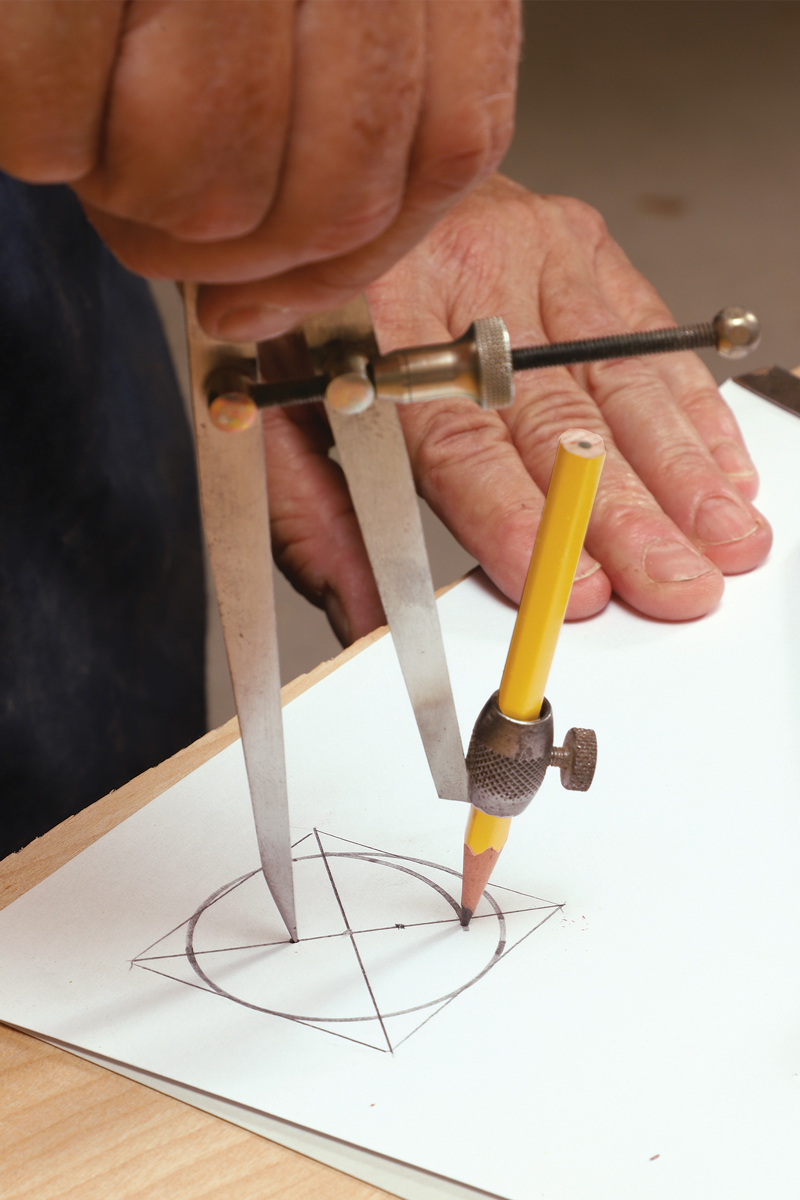
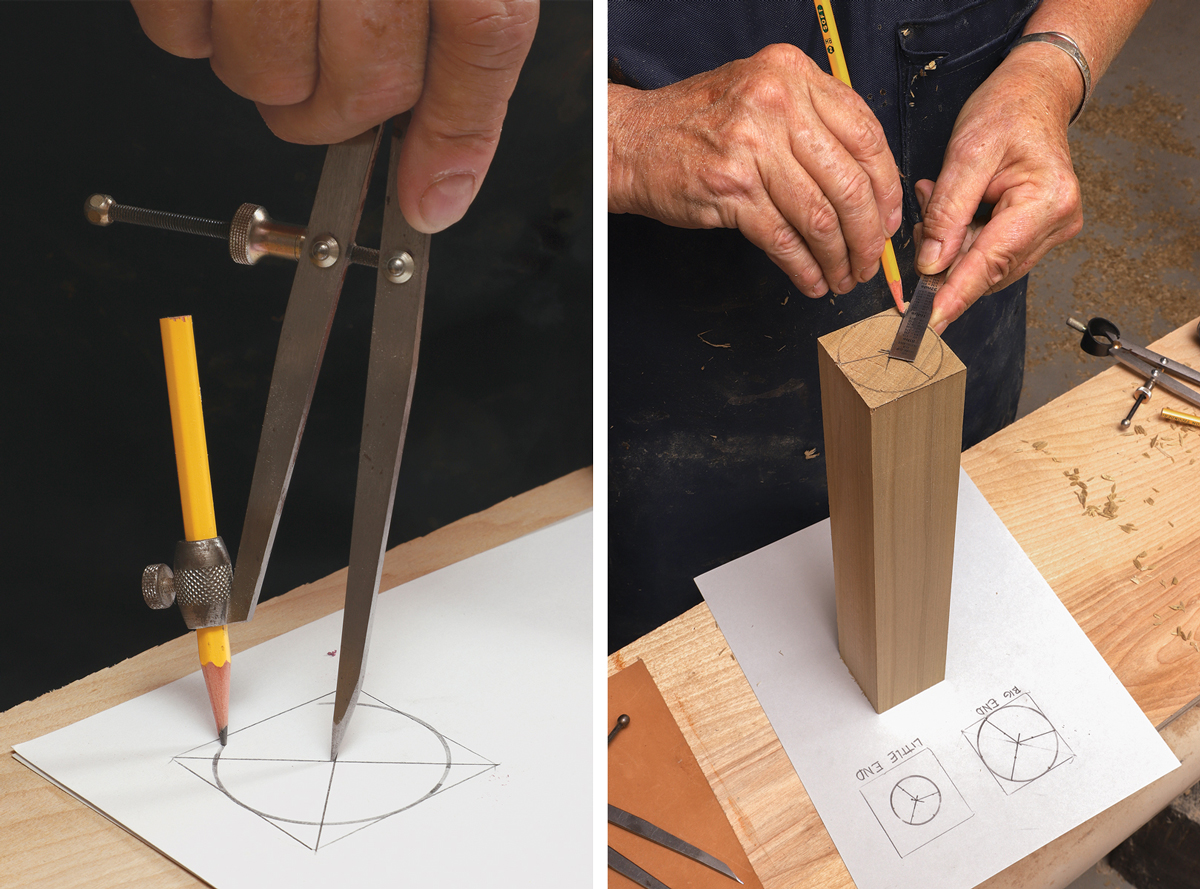
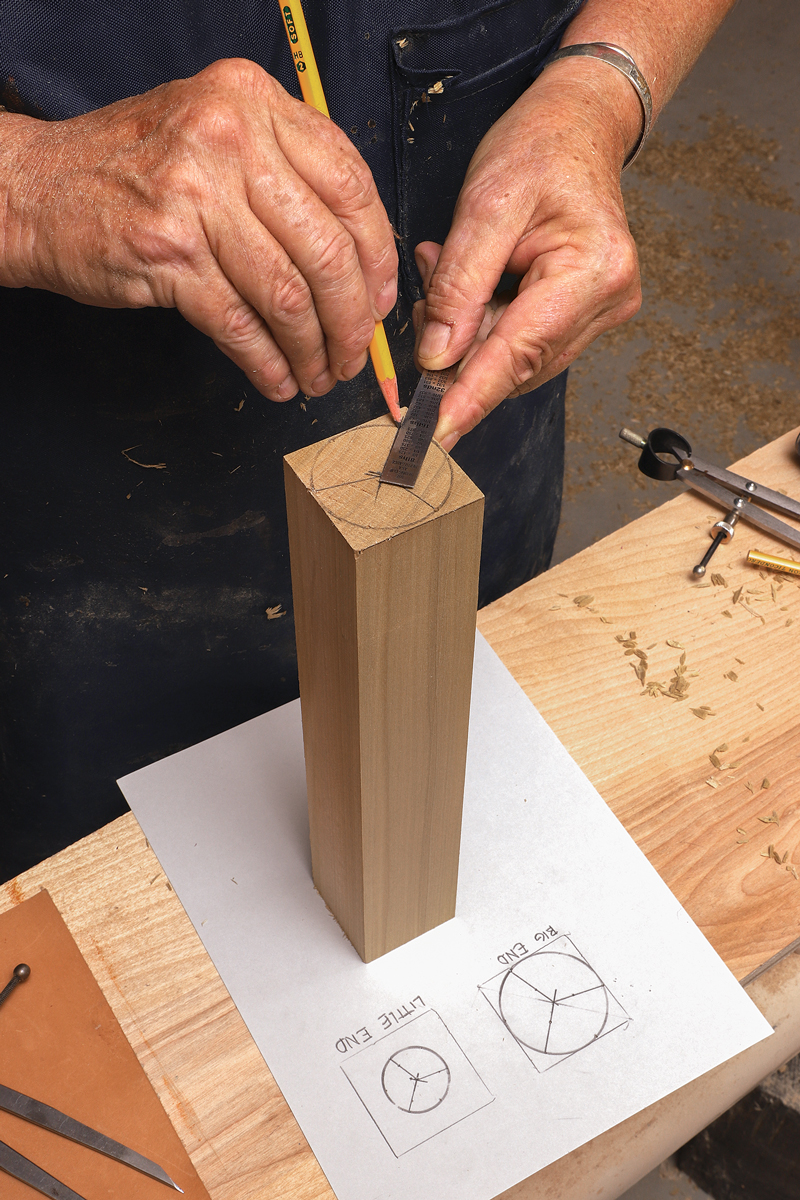
Start an ellipse by laying it out on paper. You won’t be making a true ellipse, rather two mating arcs. After tracing your square workpiece, draw lines from corner to corner of the square and draw a circle within the square. Place both offset points along one of the diagonal lines, equidistant from the center. The closer to the center you place the offset points, the rounder the resulting ellipse; the farther from the center, the skinnier the ellipse. With the layout finished, transfer it to both ends of the workpiece.
An ellipse on the lathe
You could mount your square blank off-center and begin cutting the ellipse right away, but it simplifies things to first mount the blank on its centerpoints and turn it to a cylinder. Then stop the lathe and rotate the piece by hand until the diagonal layout line that doesn’t have the offset points on it aligns with the top edge of the tool rest. Now use the tool rest as a straightedge and draw a line from one end of the cylinder to the other. Draw another line on the opposite side of the cylinder.
Remount the workpiece using one of the pairs of offset points. Turn the cylinder by hand (it will now rotate eccentrically) and adjust the tool rest so there is never less than a 1⁄8-in. gap between it and the work. On the side of the cylinder that comes closest to the tool rest, draw a series of vertical pencil lines from one horizontal line to the other. These will show as the piece is spinning. When they disappear and you reach the horizontal lines, the first arc is finished. Remount the workpiece on the second pair of offset points and repeat the process.
What I’ve described here is the simplest type of offset arrangement. There’s much more to explore. Leaving one end centered while the other end is offset, you can create a piece that transitions from round at one end to elliptical at the other. I use offset turning to create necks for guitars, legs for furniture, and a wide range of vessels and boxes. The possibilities are endless.
Turning a triangle
Offset turning a triangle is actually easier than turning an ellipse, though the layout is a little more complex. On paper, draw a circle that represents the biggest cylinder you can get from the blank. Divide the circle into three equal sections. You can do this by keeping the compass set to the circle’s radius. Stick the point of the compass anywhere on the circle and make a short pencil mark across it; move the compass point to the crossmark and continue on around the circle.
To view the entire article, please click the View PDF button below.
 |
Shop Class: Offset Turning with Beth Ireland |
 |
Spindle turning basics |
 |
Turn a Pad-Foot Leg |
Fine Woodworking Recommended Products
CrushGrind Pepper Mill Mechanism










Log in or create an account to post a comment.
Sign up Log in