How to build a Moxon vise
Elevate your workholding with this traditional twin-screw fixture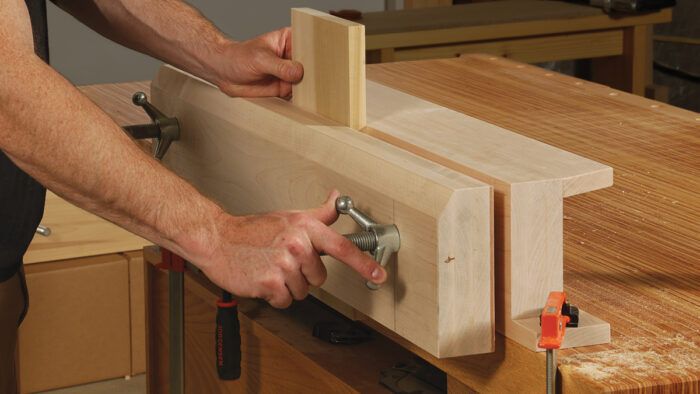
Synopsis: Moxon vises are great for holding your work, whether you want to grip narrow rails for tenoning or case sides for dovetailing, or other joinery tasks. It’s a traditional fixture that stores out of the way when you don’t need it but is easy to set up when you do. Mike Farrington builds a version with laminated, padded jaws, sturdy bushings and screws, and off-the-shelf hardware. Details like the shelf, clamping cleat, and leather lining make this vise a keeper.
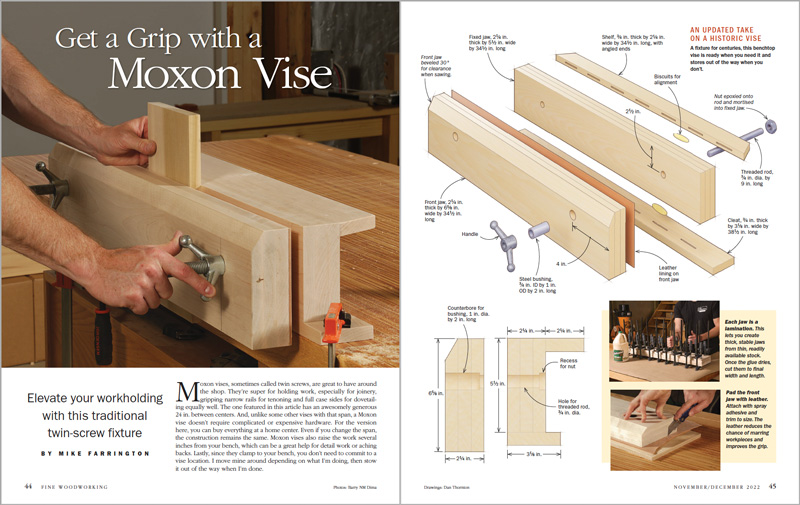
Moxon vises, sometimes called twin screws, are great to have around the shop. They’re super for holding work, especially for joinery, gripping narrow rails for tenoning and full case sides for dovetailing equally well. The one featured in this article has an awesomely generous 24 in. between centers. And, unlike some other vises with that span, a Moxon vise doesn’t require complicated or expensive hardware. For the version here, you can buy everything at a home center. Even if you change the span, the construction remains the same. Moxon vises also raise the work several inches from your bench, which can be a great help for detail work or aching backs. Lastly, since they clamp to your bench, you don’t need to commit to a vise location. I move mine around depending on what I’m doing, then stow it out of the way when I’m done.
I’ve made a number of these—in different sizes, in softwood and hardwood, with higher- and lower-end hardware. They all work well, and they all follow this design.
Thick, laminated jaws
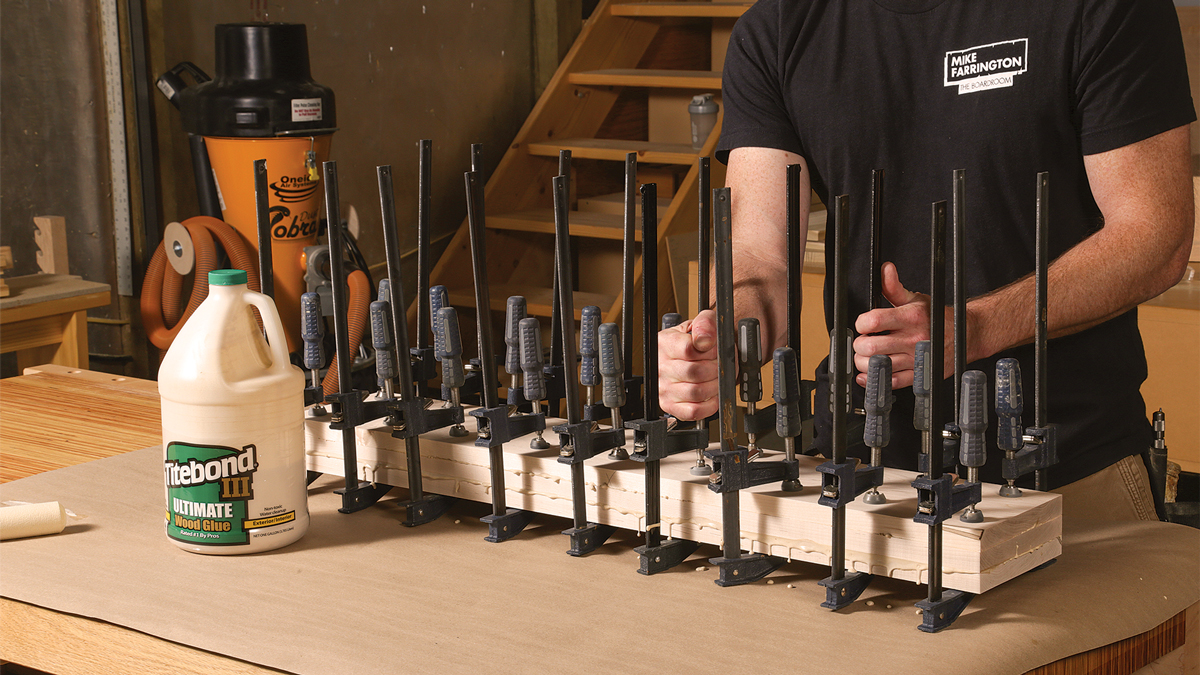
This build starts with the jaws. I laminate three pieces of 4/4 stock for each jaw. To help with stability, I mill the boards in two stages. First, I do the minimum to get the six boards parallel and glue them up while they’re a little wide and long. After they sit for a few days, I lightly joint the face, then plane just enough to bring the opposite face parallel.
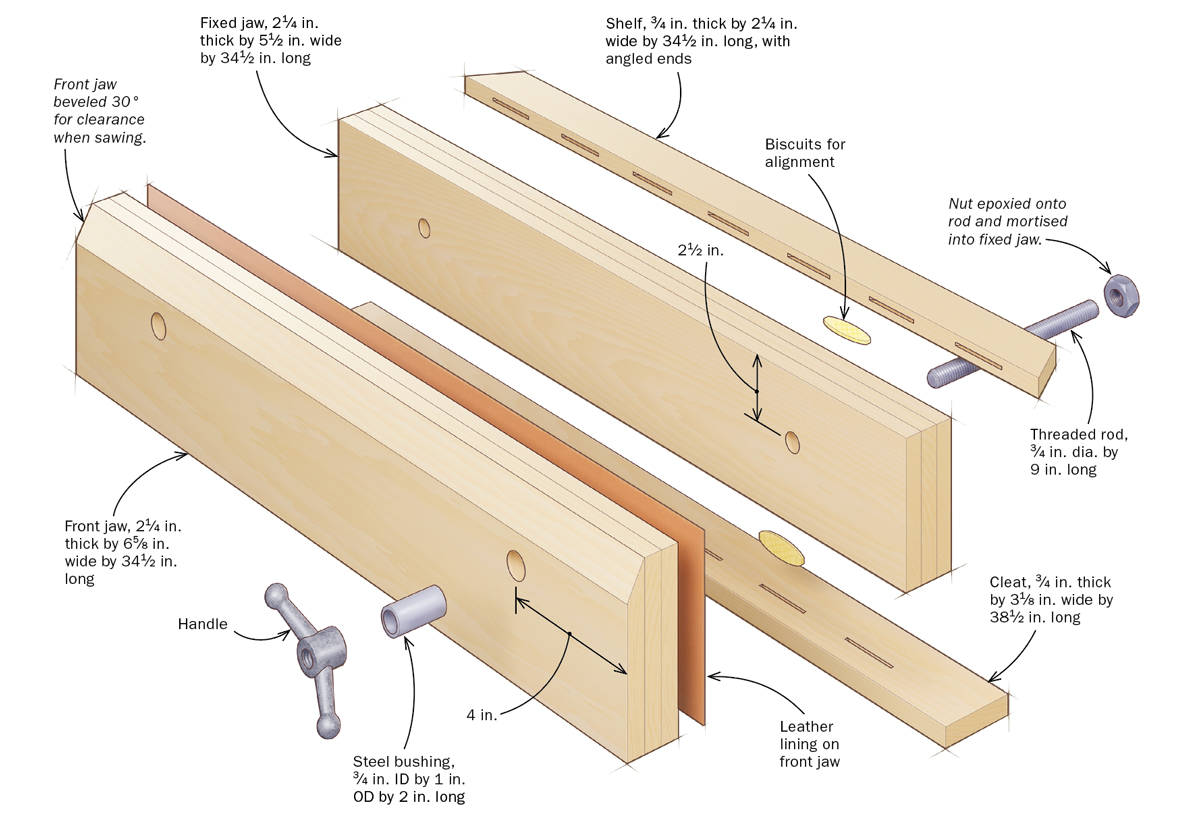
After that, I cut to width and length. I recommend making the movable jaw wider than the fixed one. With the vise cinched shut, the overhanging jaw registers against the workbench, leaving the fixed jaw’s face coplanar with the front edge of the bench, adding bearing surface between the jaws.
Carefully drilled holes
With the jaws complete, you can drill for the bushings and screws. The bushings prevent the jaws from racking much, going a long way toward ensuring even clamping pressure across workpieces. They also let the movable jaw travel more easily and extend its life, since there’s no wood running on metal.
Drilling these holes is the most important step in the project because their accuracy has a direct impact on how well your vise works. Fortunately, I have a pretty neat way to ensure that the holes line up.
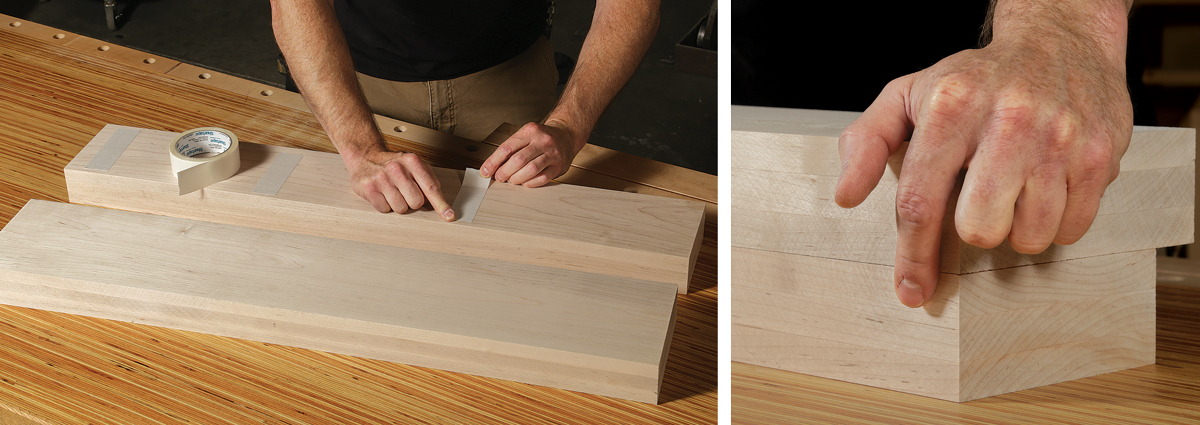
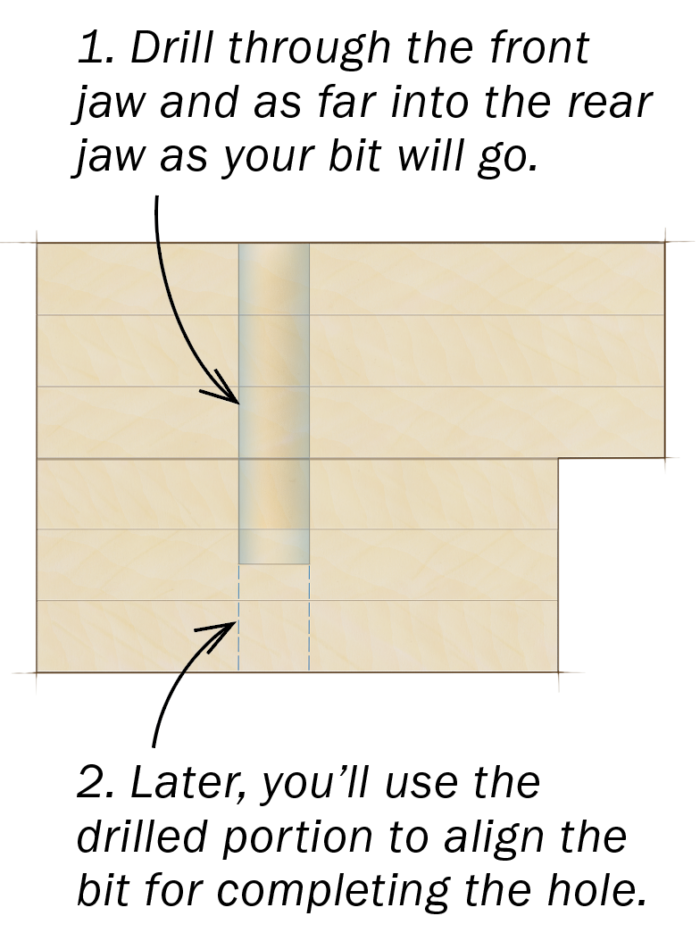
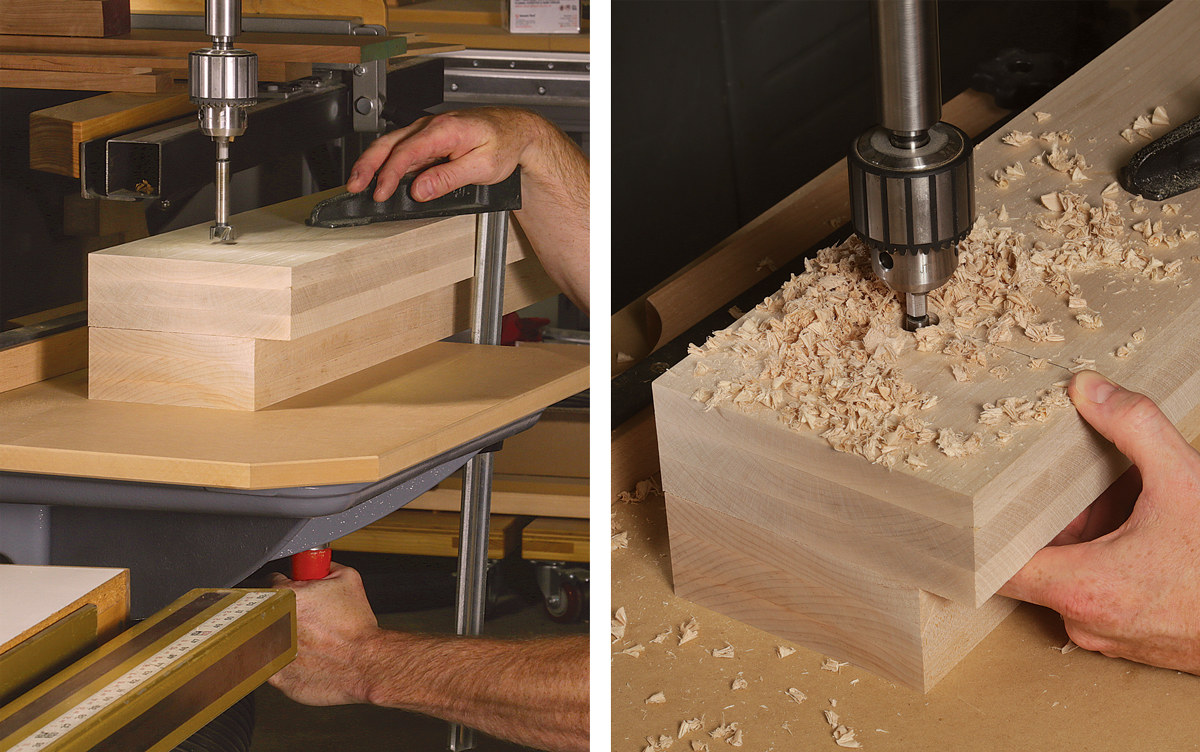
To start, secure the two jaws together using double-sided tape, making sure the tops are flush. Mark the hole locations and clamp the taped jaws to your drill-press table. The movable jaw should face up. First drill the 3⁄4-in.-dia. hole for the screw as deep as possible. If you can drill through both jaws, great; that’s the best-case scenario. If not, just be certain the bit goes through the movable jaw and imprints the inside face of the fixed jaw, allowing you to drill through it accurately later.
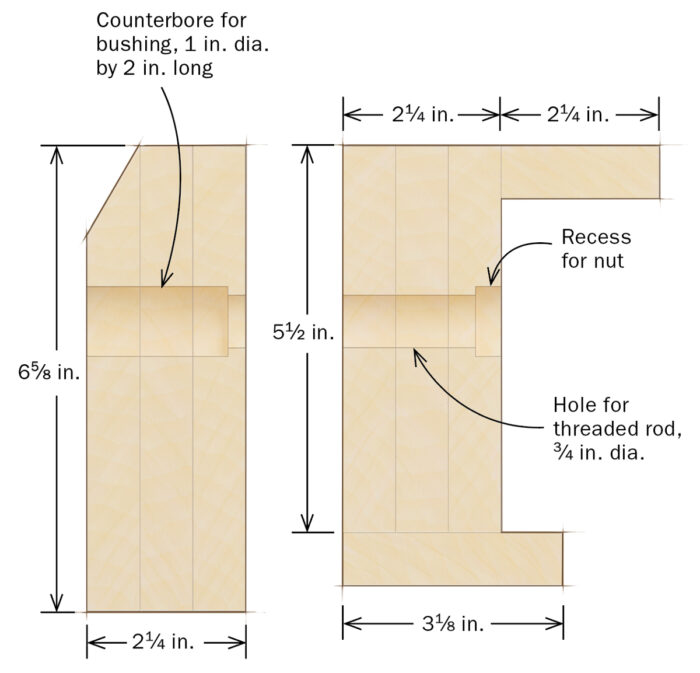
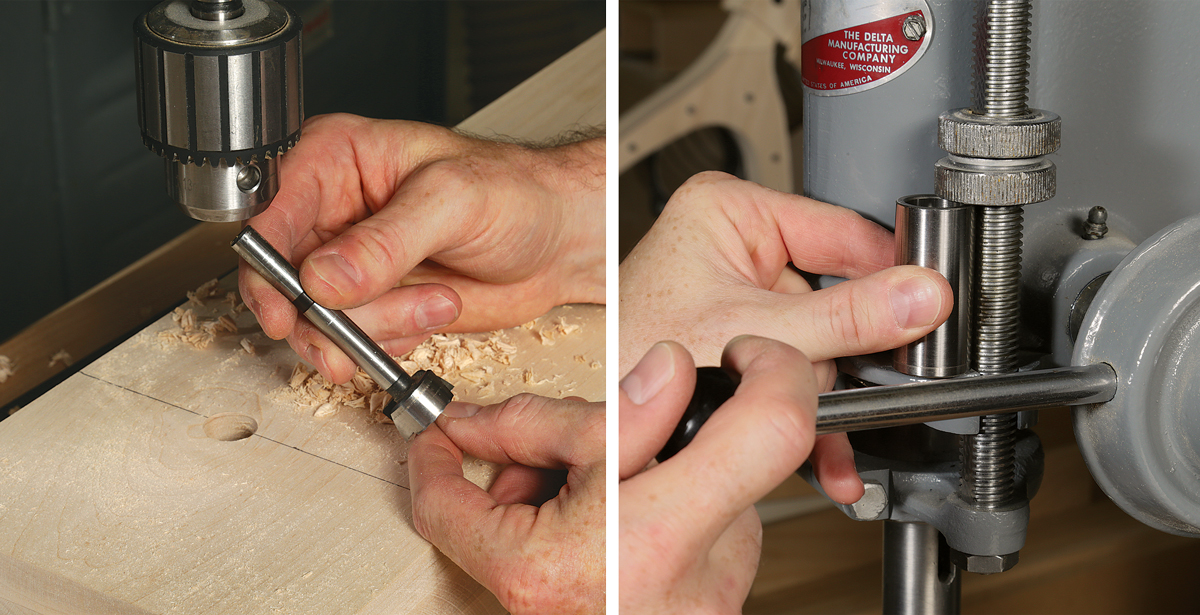
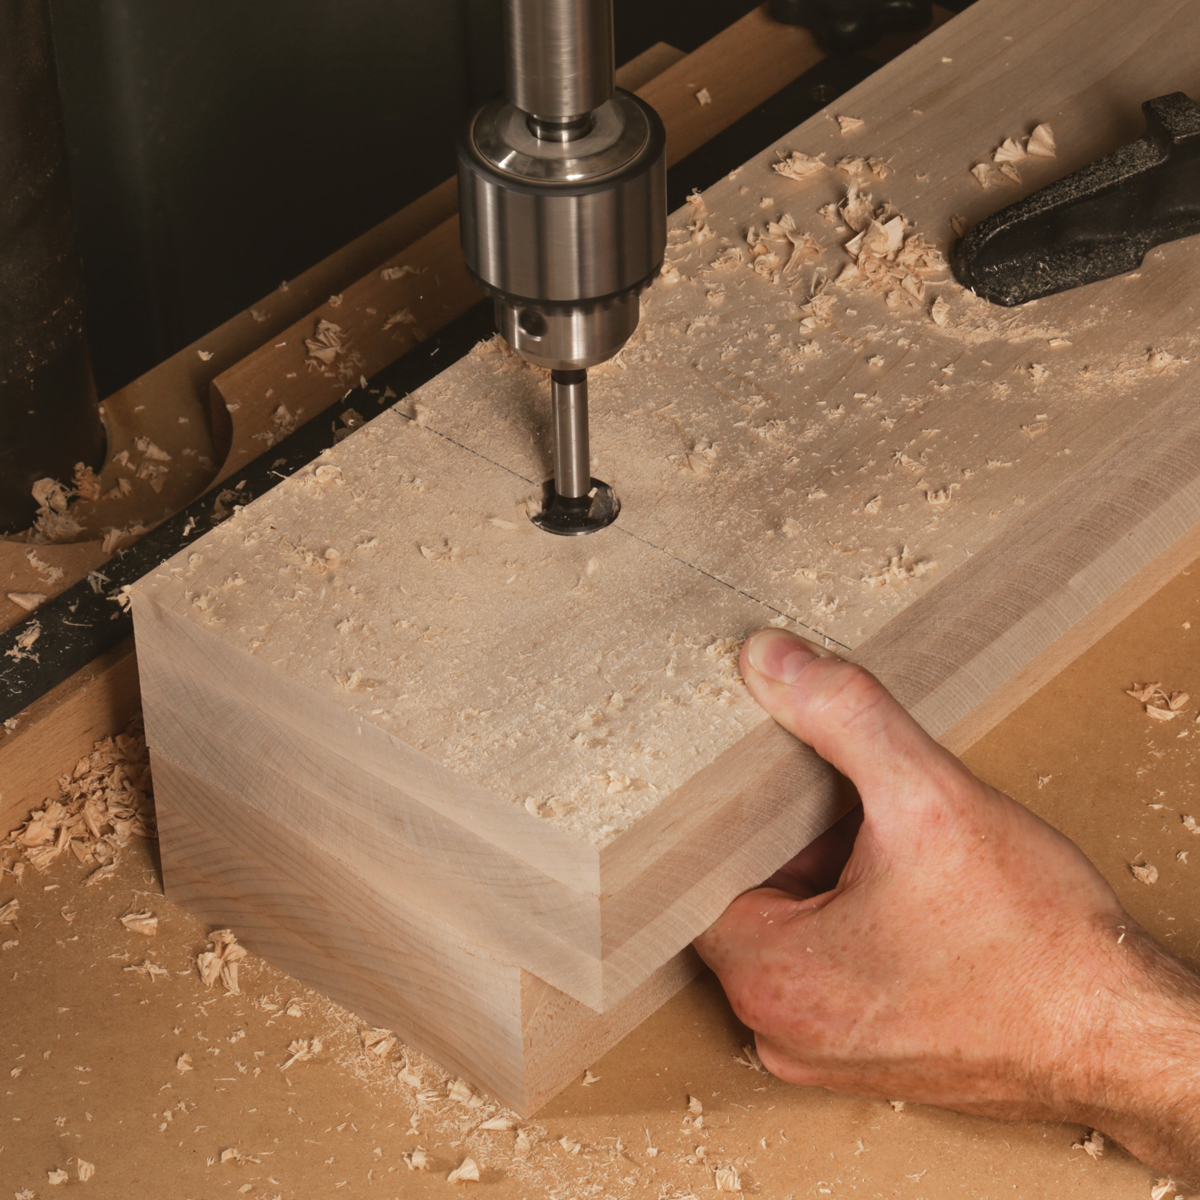
Now drill the movable jaw for the bushing. Without unclamping the jaws or adjusting the table, chuck a Forstner bit that matches the outside diameter of the bushing and drill. Make test holes to verify that your bit allows for a press fit. Depending on the length of the bushing, this can be a stepped hole, or it can go through the movable jaw. Leaving the jaws clamped while changing drill bits will ensure that the two holes are concentric.
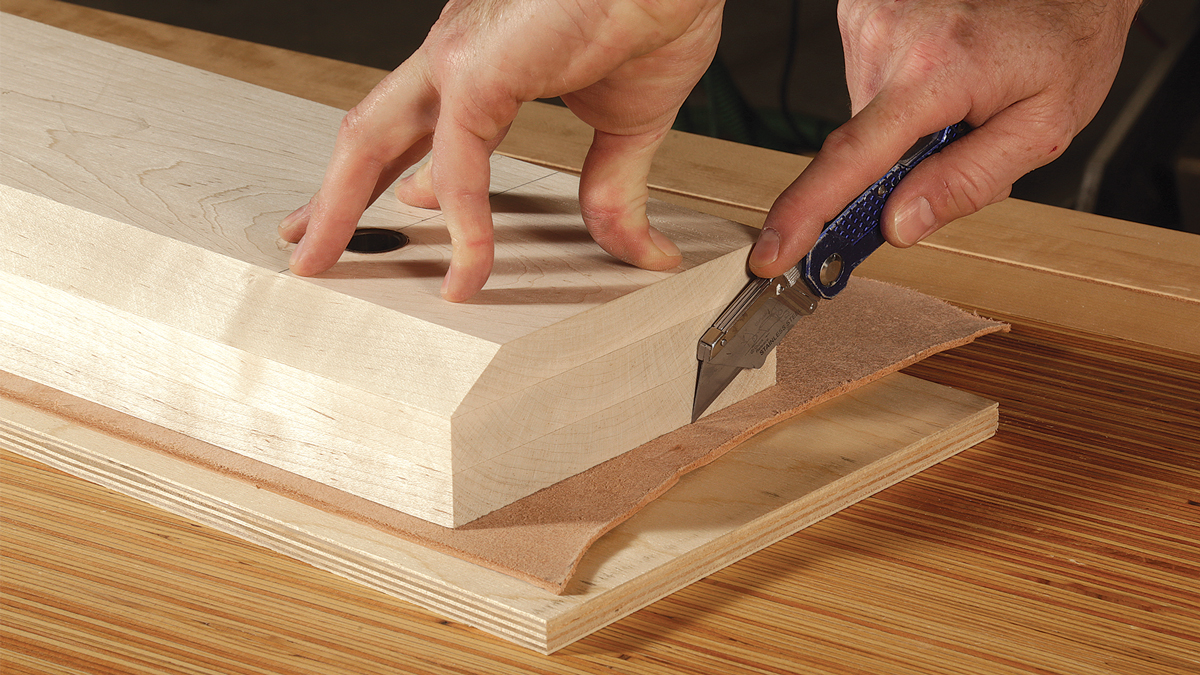
Finish at the drill press by prying the two jaws apart and drilling the 3⁄4-in. hole through the fixed jaw. From there, head to the tablesaw to bevel the front of the movable jaw. Clipping off this corner lets you angle your handsaw without obstruction when you’re cutting half-blind dovetails.
Add the hardware
I used off-the-shelf hardware for this vise. It works fine, and it’s inexpensive and readily available. I’ve used Acme-threaded stuff in the past, which is a nice upgrade if you can afford it. Either way, the steps are pretty similar.
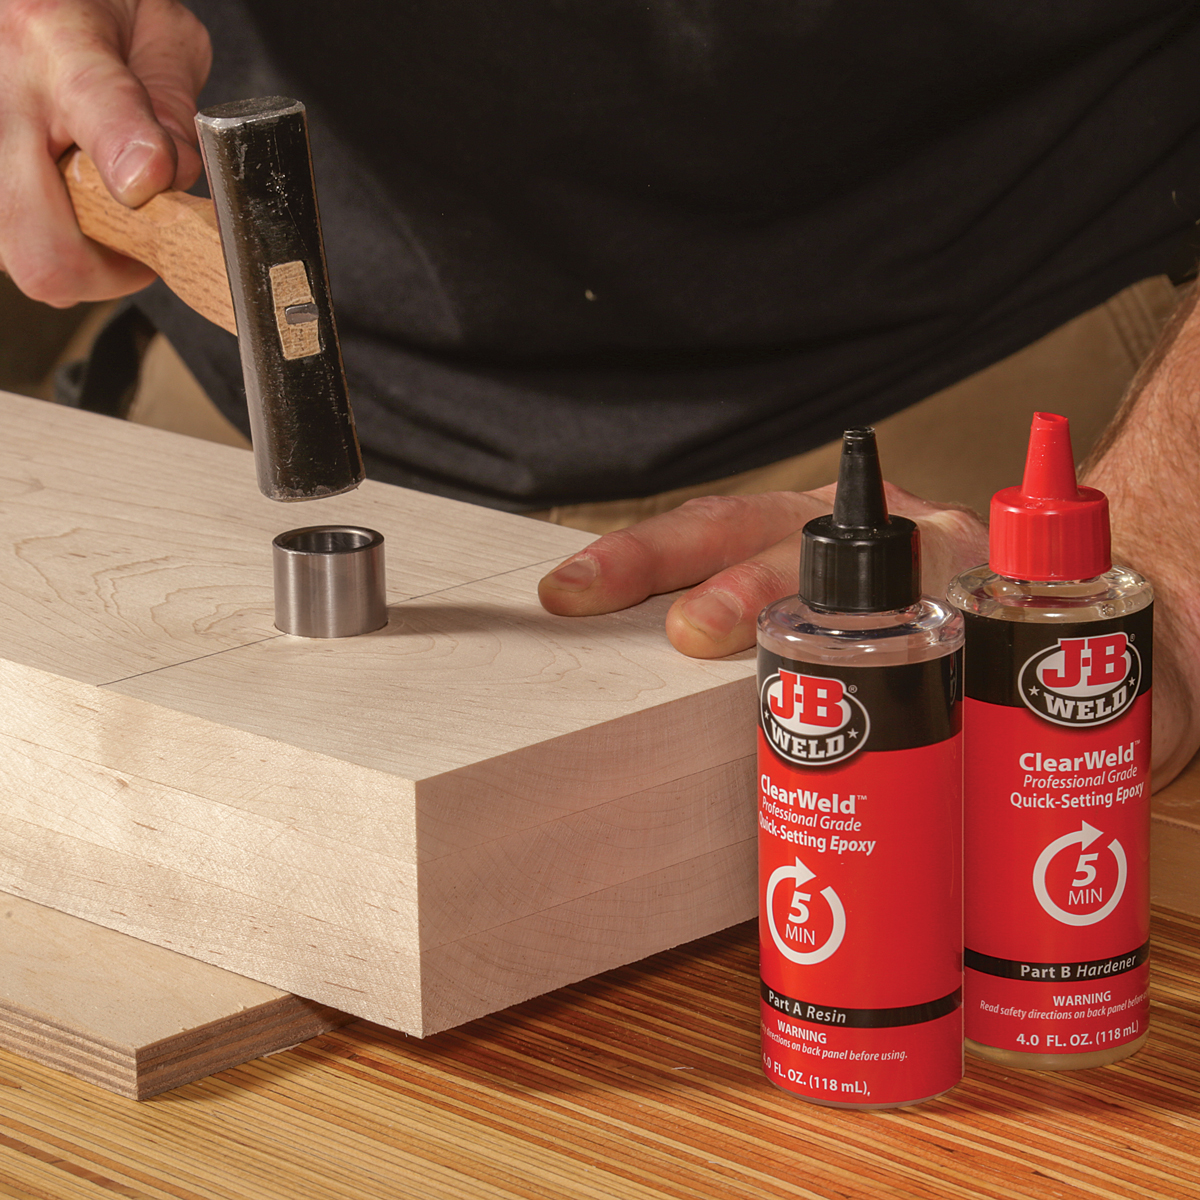
Installing the bushing is easy. Since it should fit tightly into the hole anyway, I spread just a pea-size dab of epoxy around the bushing before hammering it into place, paying attention to squeeze-out.
I also epoxy a nut onto the end of each threaded rod after cutting them to length. To trap the screw in the jaw, I mortise the nut into the back of the fixed jaw. I mark the nut’s thickness on the back of my mortise chisel for a rough depth gauge.
Mike Farrington is a FWW ambassador in Aurora, Colo.
To view the entire article, please click the View PDF button below.
Note: On the fourth page, lefthand photo caption in this PDF, the third sentence should read “This larger hole should go only into the movable jaw, not the fixed one”, as it appears in the online version above.
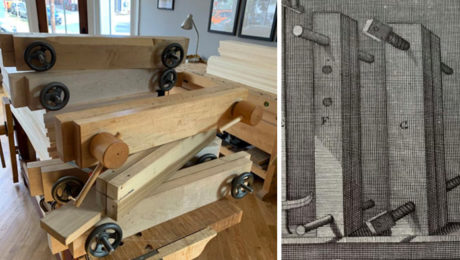 |
Twin screws for everyone! |
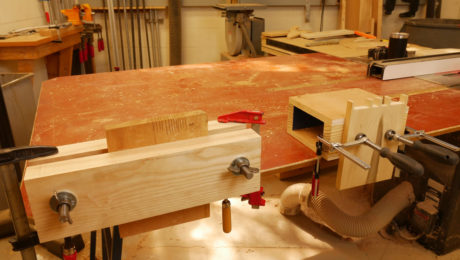 |
Two DIY Woodworking Vises |
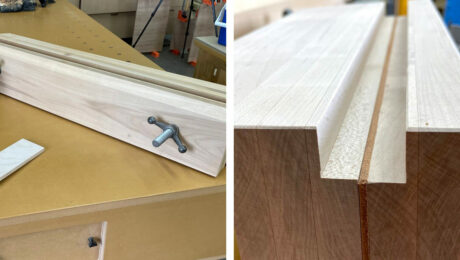 |
Rabbet for a Moxon vise |

 From
From 


Comments
I built one using a short barbell from a weight lifting set for the hardware. One barbell has two ends with acme screws. Cost about $20 from Amazon. Less if you find it at a garage sale. Just some imagination and judicious use of an angle grinder and epoxy.
Several years ago I did a plan for a Moxon-style vise using a dumbbell screw. At the time he got the screw from Wallyworld for less than $8 and used the knobs that came with it. Here's the first page from that plan.
https://flic.kr/p/2nRyXTk
Source for the handle? Looking at on-line suppliers, I could not find the same or similar shaped handle.
MSC Direct.
Would Baltic Birch plywood work for the vise?
Baltic Birch would work great.
While I understand the benefit of the steel bushings specified in this plan, they remove one valuable and unique feature of the Moxon vice design: the ability to clamp securely a non-square workpiece.
The traditional Moxon design uses oval holes on the front jaw, so that it can pivot some to a non-square position. That feature seems more than worth the trade off of faster wear of the holes in the front jaw.
If one can afford them, I also prefer cast iron wheel handles rather than the specified two-arm handles.
I do appreciate the author’s suggestion of using a relatively short shelf on the back of the fixed jaw, combined with an outrigger to support longer workpieces. That provides greater flexibility for the vice, and also makes it easier to handle and store than a vice with a fixed table of greater size (e.g. 12’ depth, as is often recommended.)
I've searched high and low for the handle, but can't find this one anywhere. Would rather not use a plastic thru hole knob. I've looked all of MSC and can't find the one in this article. Any ideas or help would be appreciated.
https://www.mscdirect.com/product/details/00317644
Many thanks, Ben! "speed handle" were the magic words it seems.
FYI. I think I just searched "3/4 handle".
Log in or create an account to post a comment.
Sign up Log in