Safe, accurate handheld routing
Tips for getting the most from this essential power tool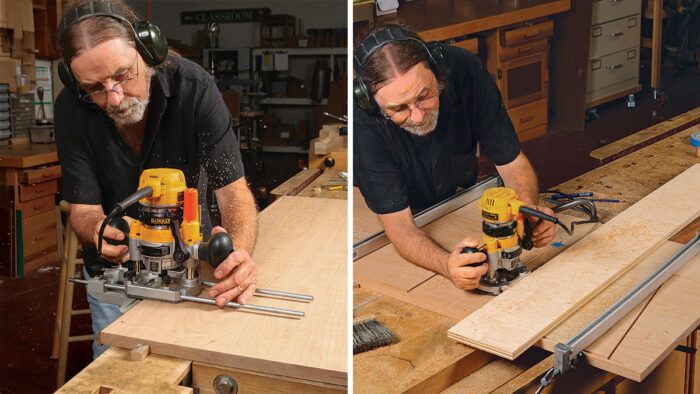
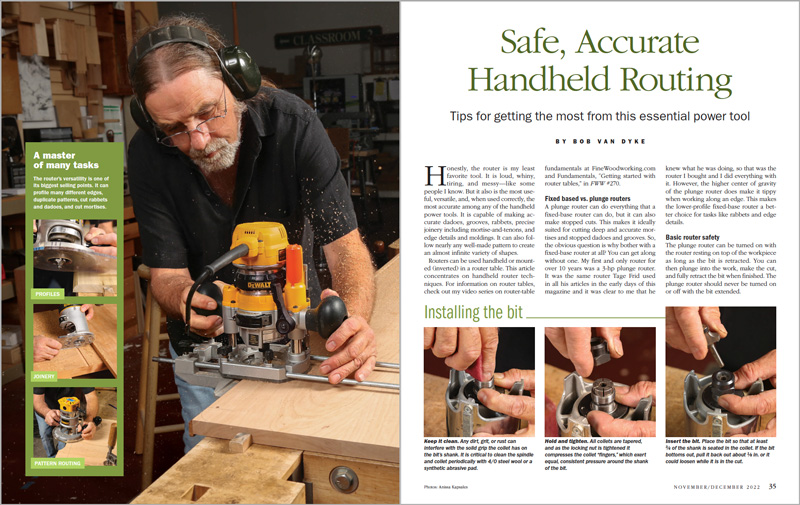
Synopsis: A router’s versatility is one of its biggest selling points. With it, you can profile many different edges, duplicate patterns, cut rabbets and dadoes, and cut mortises. Here, Bob Van Dyke covers plunge vs. fixed-base routers, router safety, bit size and why it matters, and the importance of using the proper feed rate.
Honestly, the router is my least favorite tool. It is loud, whiny, tiring, and messy—like some people I know. But it also is the most useful, versatile, and, when used correctly, the most accurate among any of the handheld power tools. It is capable of making accurate dadoes, grooves, rabbets, precise joinery including mortise-and-tenons, and edge details and moldings. It can also follow nearly any well-made pattern to create an almost infinite variety of shapes.
Routers can be used handheld or mounted (inverted) in a router table. This article concentrates on handheld router techniques. For information on router tables, check out my video series on router-table fundamentals and Fundamentals, “Getting started with router tables,” in FWW #270.
Fixed based vs. plunge routers
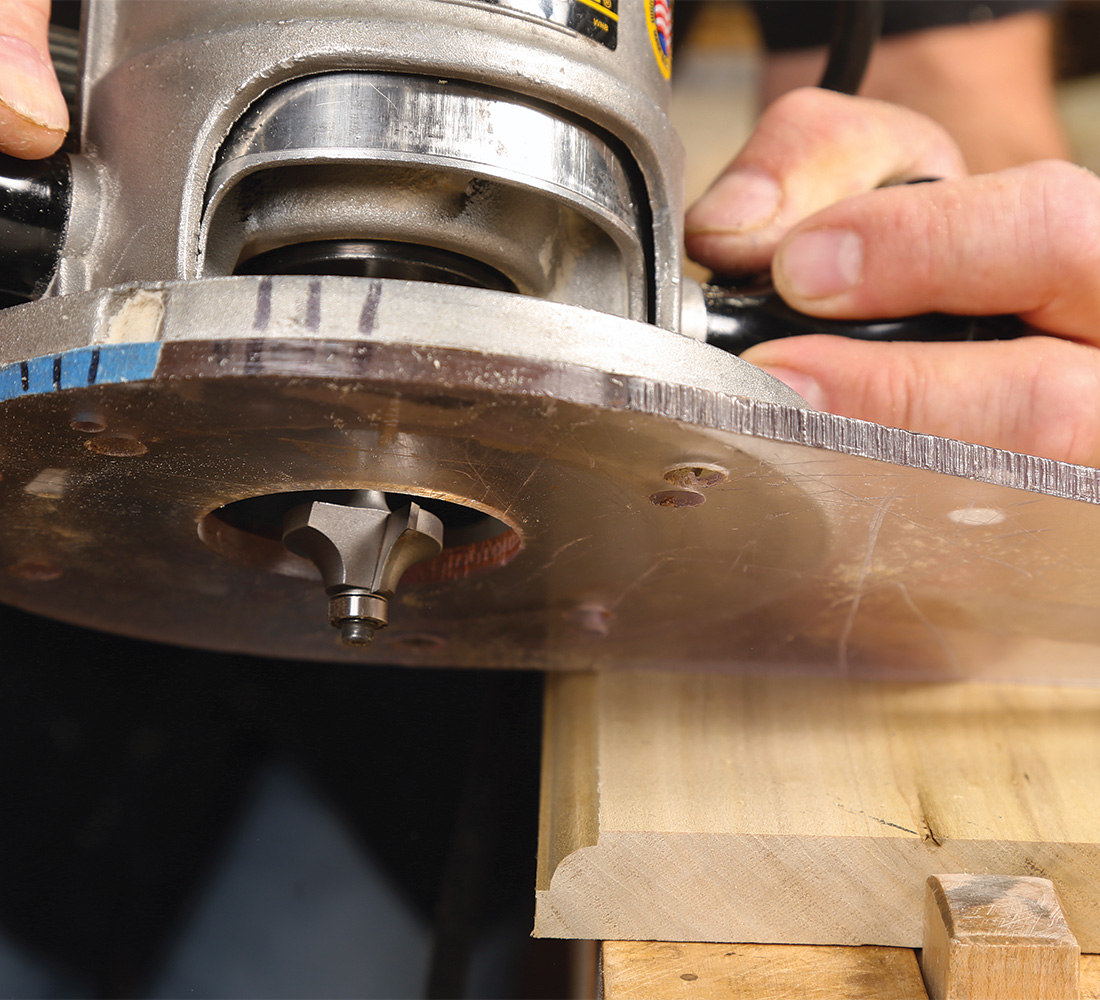
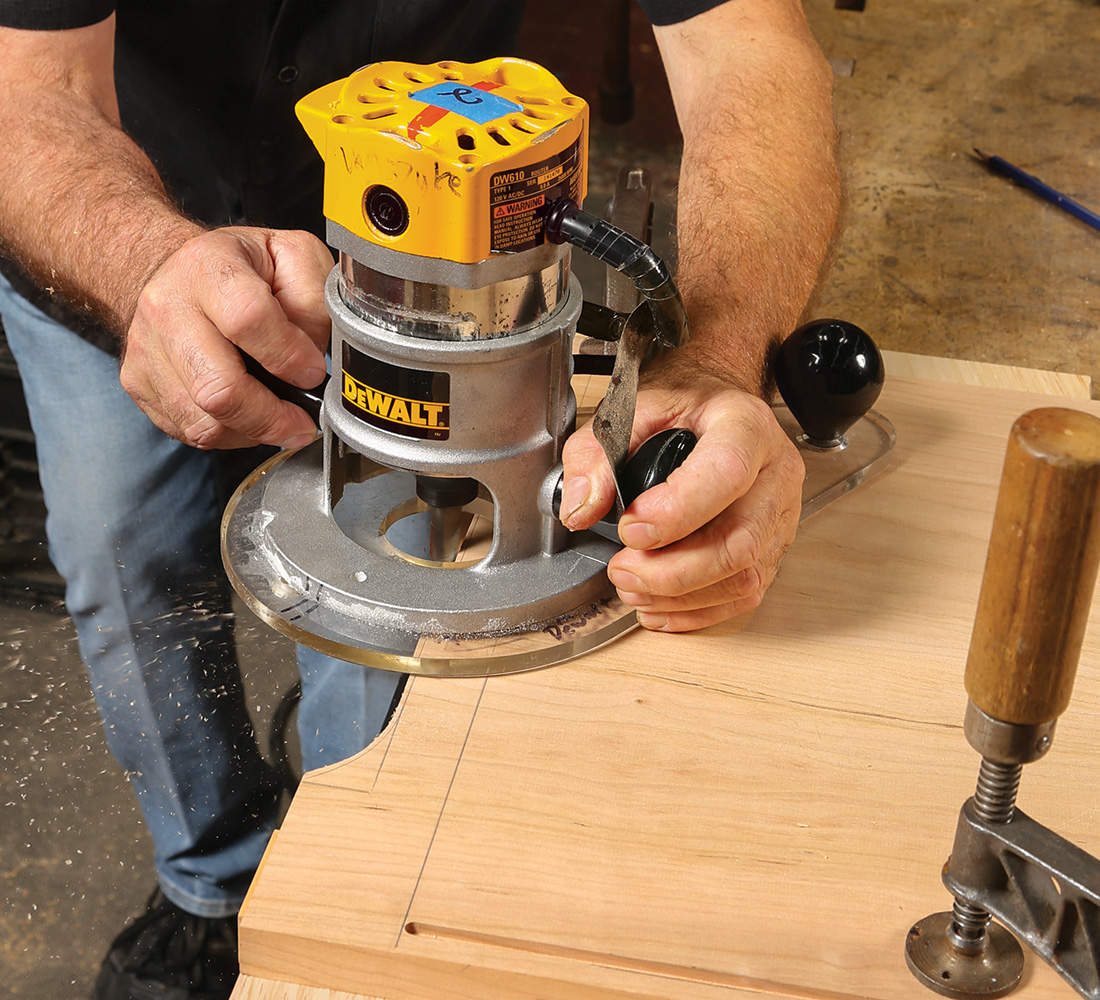
A plunge router can do everything that a fixed-base router can do, but it can also make stopped cuts. This makes it ideally suited for cutting deep and accurate mortises and stopped dadoes and grooves. So, the obvious question is why bother with a fixed-base router at all? You can get along without one. My first and only router for over 10 years was a 3-hp plunge router. It was the same router Tage Frid used in all his articles in the early days of this magazine and it was clear to me that he knew what he was doing, so that was the router I bought and I did everything with it. However, the higher center of gravity of the plunge router does make it tippy when working along an edge. This makes the lower-profile fixed-base router a better choice for tasks like rabbets and edge details.
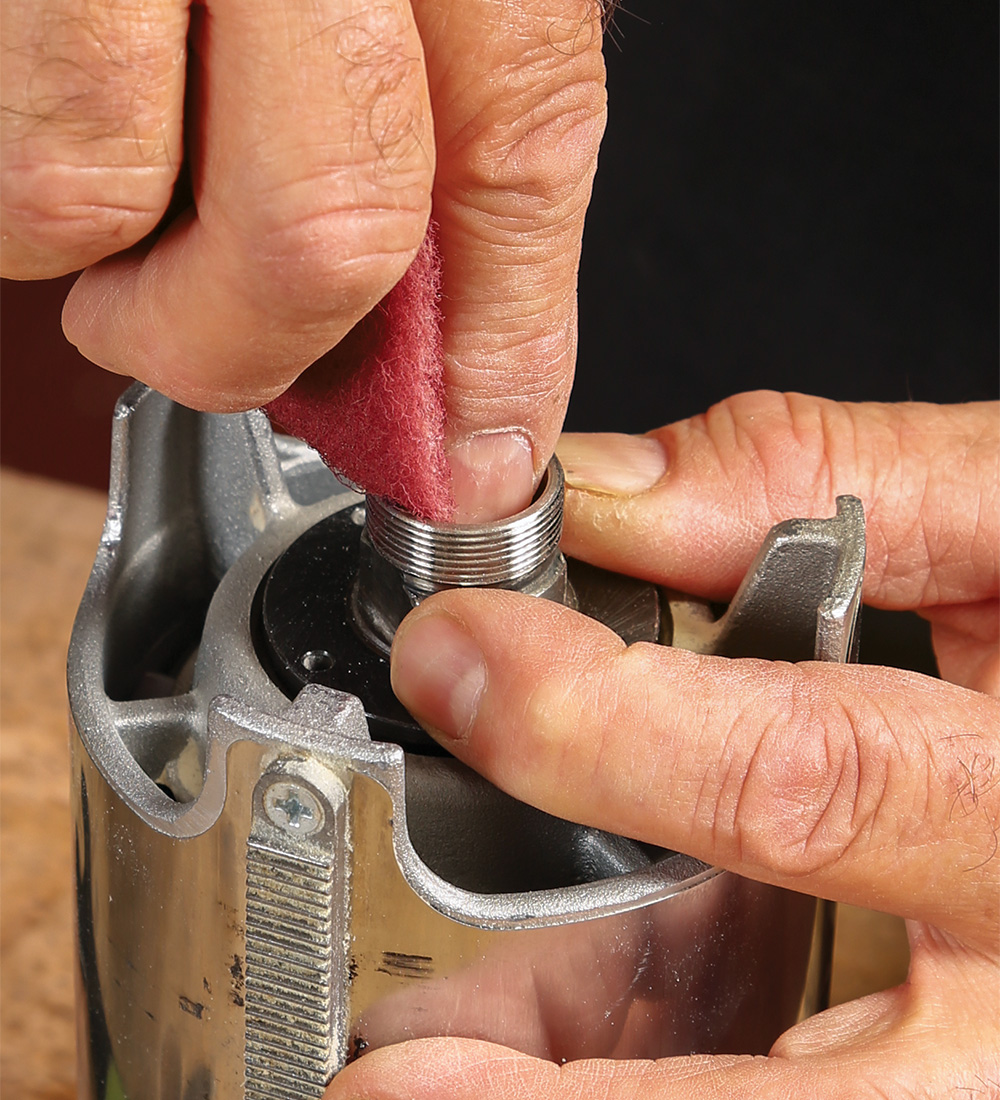
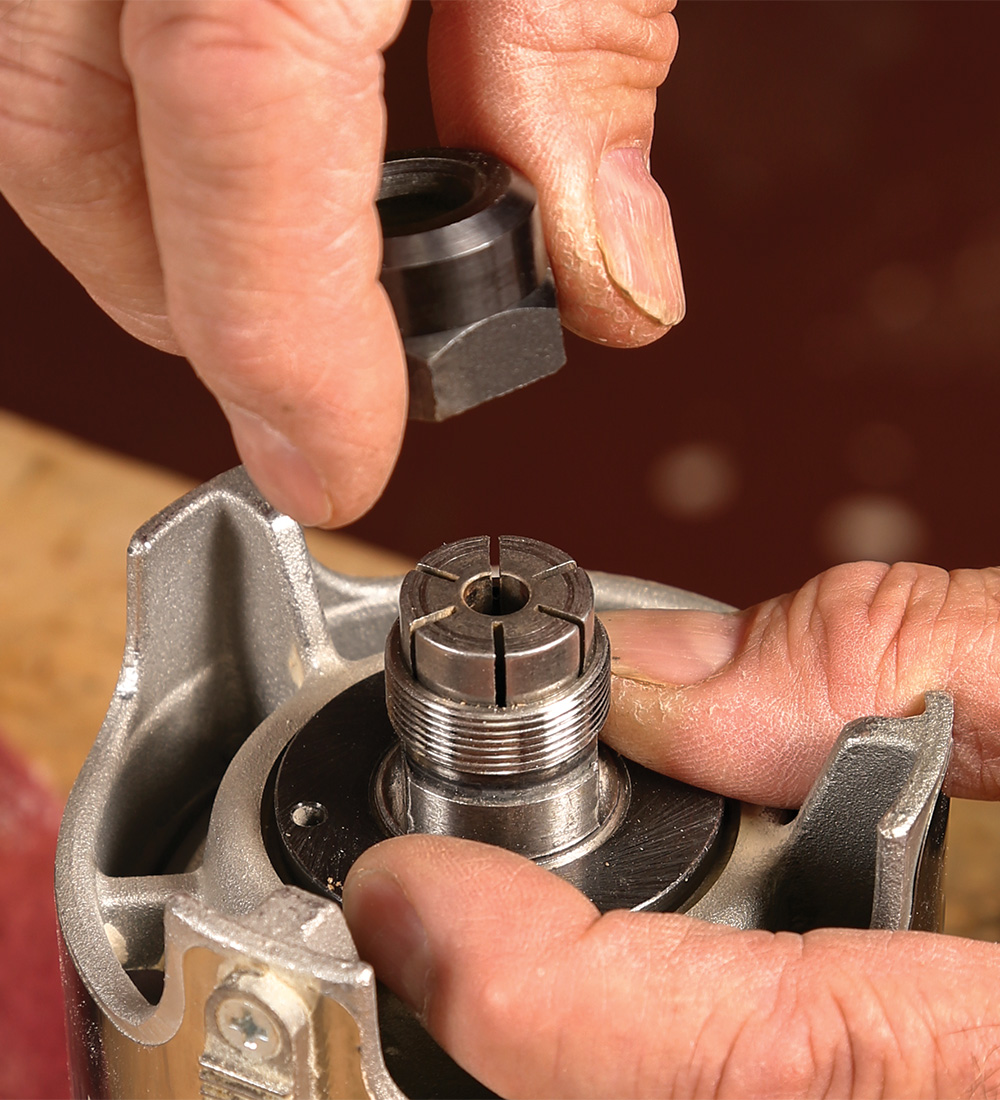
Basic router safety
 |
 |
The plunge router can be turned on with the router resting on top of the workpiece as long as the bit is retracted. You can then plunge into the work, make the cut, and fully retract the bit when finished. The plunge router should never be turned on or off with the bit extended.
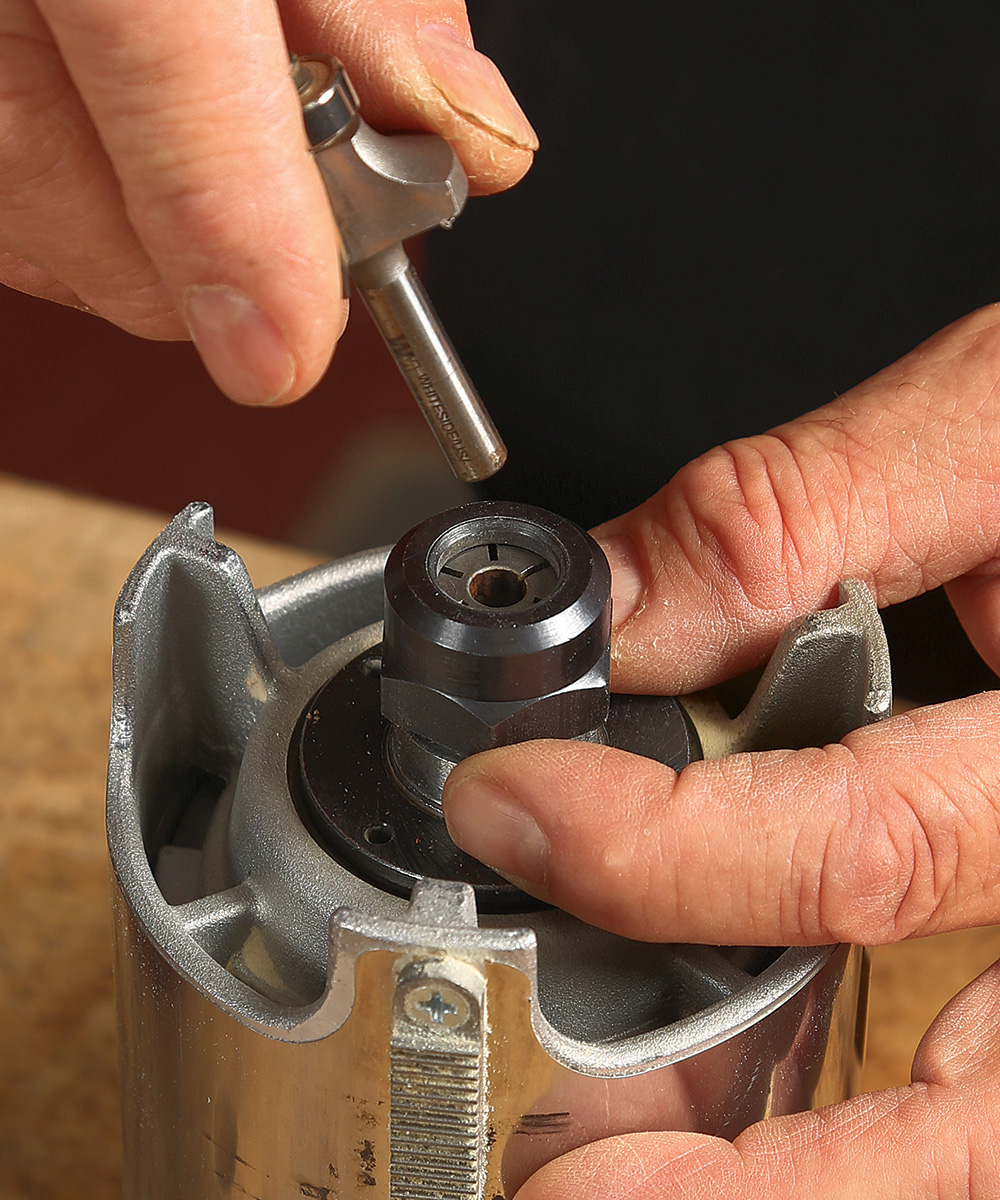
The depth of cut on the fixed-base router is fully established before you turn it on. When turning it on, make sure you have a secure grip, and that the router is resting on the surface of the wood with the bit well out of contact with the workpiece.
Router sizes
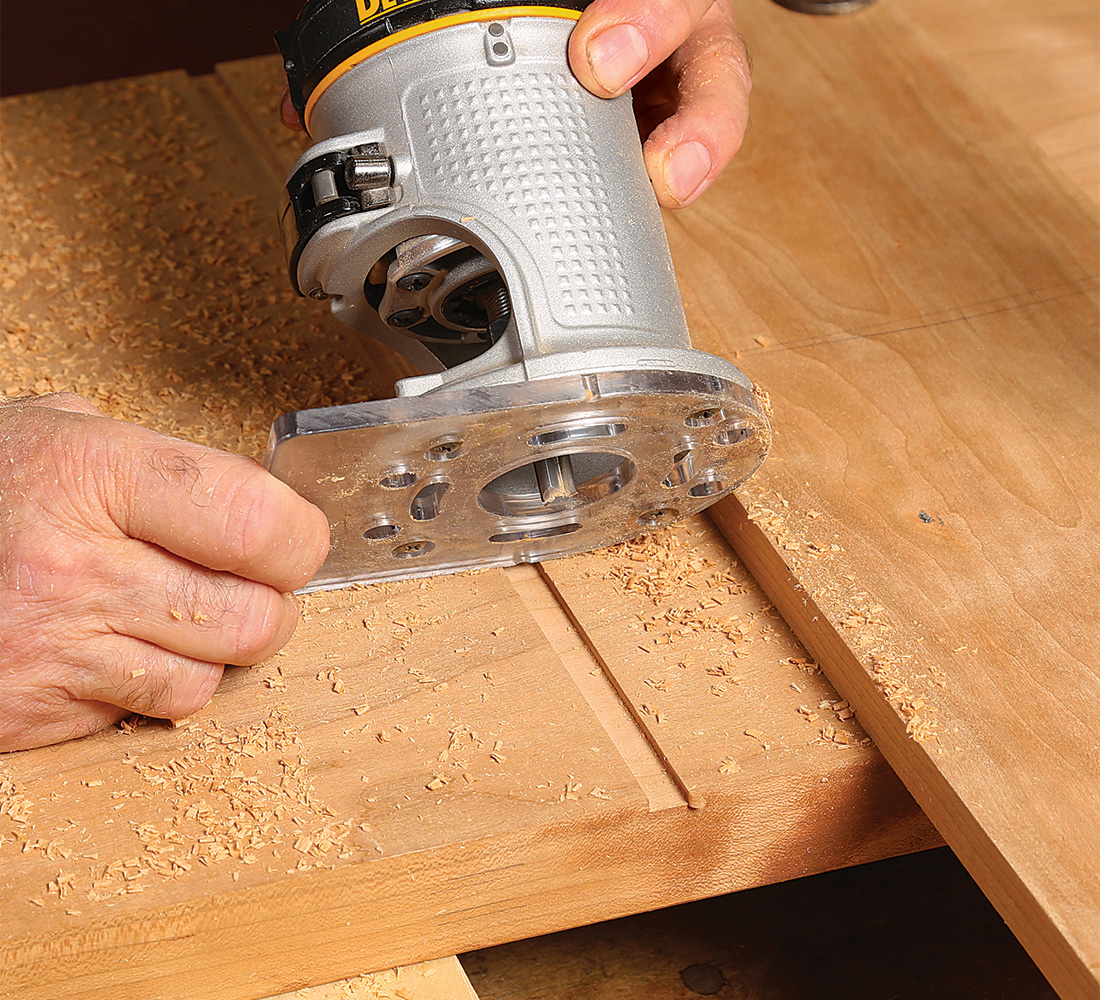
A variety of motor sizes are available, from under 1 hp up to 3-1⁄4 hp. But because most routing tasks are not demanding enough to require the power of a 3-hp router, the bigger routers are way more power, weight, noise, and vibration than you typically need. When that much power is needed you will usually have more success using a large router in a well-fitted router table. On the other hand, extremely small routers like laminate or “trim” routers, while incredibly valuable and useful tools, are often too small for many everyday routing tasks.
Medium-sized routers, 1-1/2 to 1-3/4 hp, will handle all but the heaviest jobs and this is what I recommend as a first router. The good news is that most manufacturers offer their mid-size routers as a “kit” which includes a single motor with both a plunge and a fixed base, giving you the best of both worlds for a lot less money than buying two individual routers.
Contributing editor Bob Van Dyke runs the Connecticut Valley School of Woodworking.
Photos: Anissa Kapsales
To view the entire article, please click the View PDF button below.
 |
Handheld routing |
 |
How to master the plunge router |
 |
Jigs for routing perfect curves |
Fine Woodworking Recommended Products

Craftsman Random Orbit Sander
Makita SP6000J1 Track Saw
Bosch 12V Trim Router






Log in or create an account to post a comment.
Sign up Log in