How to build old-fashioned carriage doors
Add character and convenience to your garage woodshop.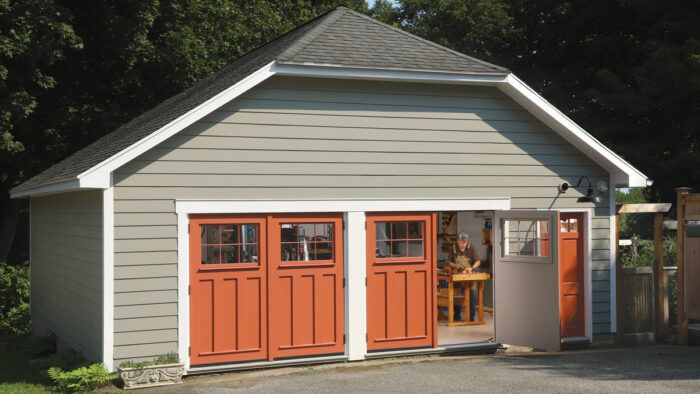
Synopsis: Moving into a new house with a two-car garage, John Hartman knew he wanted to replace the traditional doors with swing-out carriage doors. He designed doors with large windows, made from a sandwich of plywood and MDO. A framework made of solid wood gives the appearance of a frame-and-panel door.
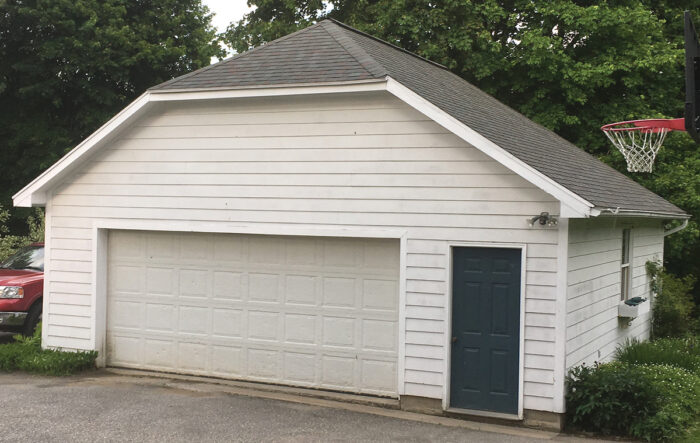
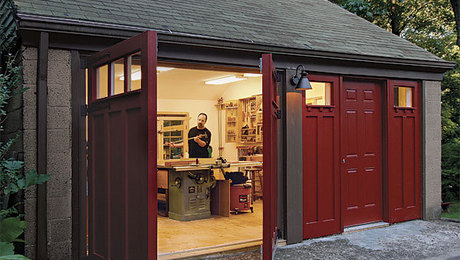
My wife and I recently spent a year looking for our new home in the Pioneer Valley area of central Massachusetts. One of the items on our wish list was a garage for my new woodshop. Driving to house-hunting appointments, we noticed that a few of the older garages still had their original swing-out carriage doors, and we thought they looked far better than modern overhead doors. We knew that if we found a house with a suitable garage, we would replace the ubiquitous roll-up doors with traditional swing-outs. We found just such a place, and when we moved into our new home, I got started planning the transformation of the two-car garage into my woodshop. Once I had decided the tool, electrical, and dust-collection layouts, I turned my attention to the design of the front facade and the new doors.
The building had an entry door on the right and a 16-ft.-wide overhead garage door on the left. I decided to divide the long doorway in half with a pillar, creating openings for two pairs of carriage doors. I only really needed one set, and I could have closed in half of the opening with a wall, but I wanted the building to look like a garage from the street.
The doors are a sandwich
I wanted to maximize natural light in the shop, so I designed the doors with large windows. I found six-light basement sash that were stock items and would provide plenty of light. I considered making the windows myself but chose not to as I was looking for ways to simplify the build.
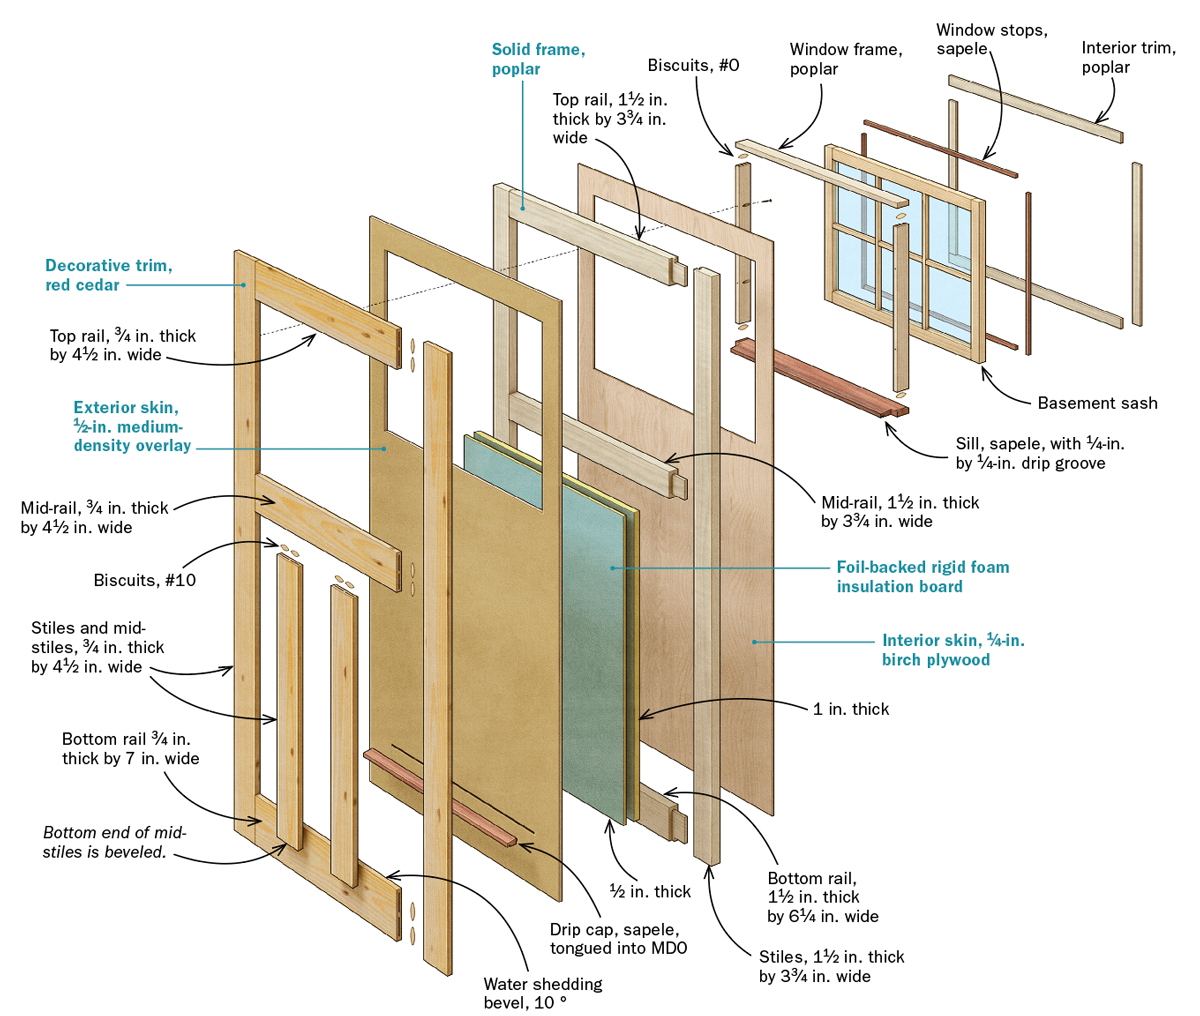
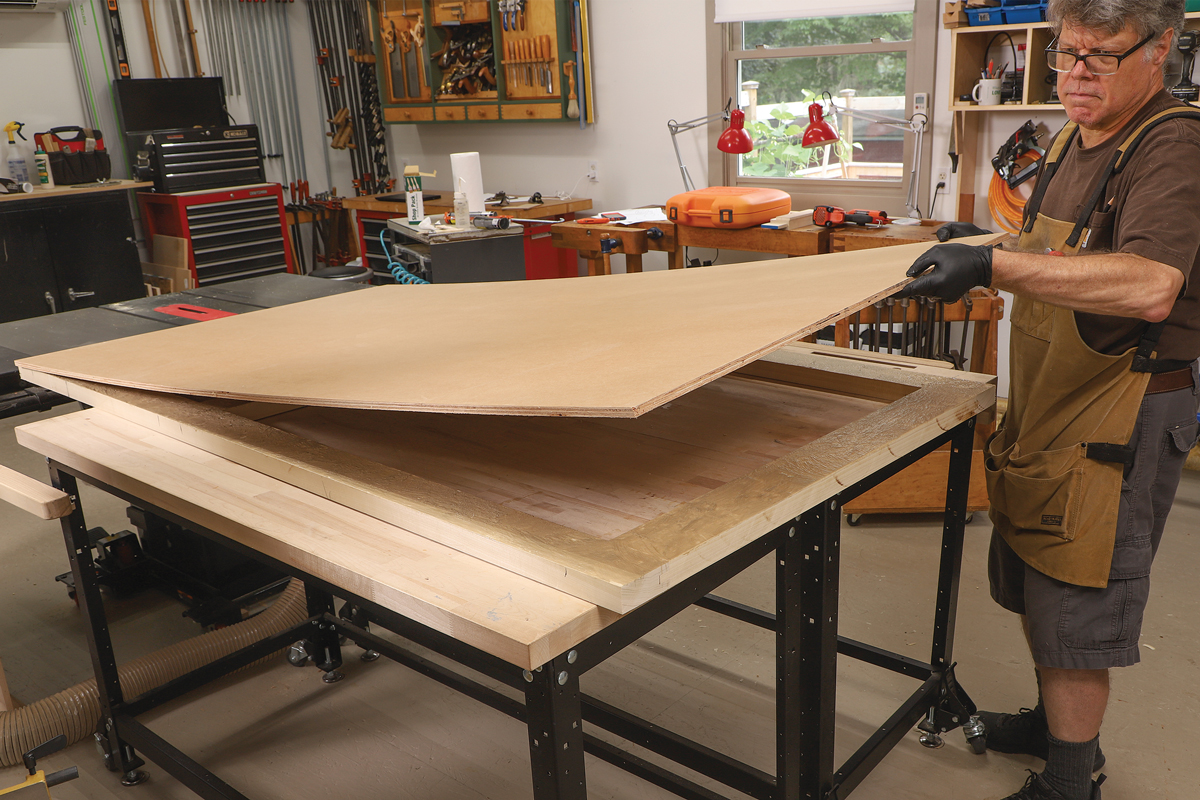
To make the doors as strong, stable, and weatherproof as possible, I built them with a hybrid structure: a stout, mortise-and-tenoned solid-wood frame skinned with plywood. I skinned the outer face of the frame with 1⁄2-in. medium density overlay (MDO), which has an exterior-rated plywood core covered on both sides with a thin veneer of smooth, resin-impregnated paper. MDO, which is used for concrete forms and outdoor signs, is rated highly for exterior use and holds paint extremely well.
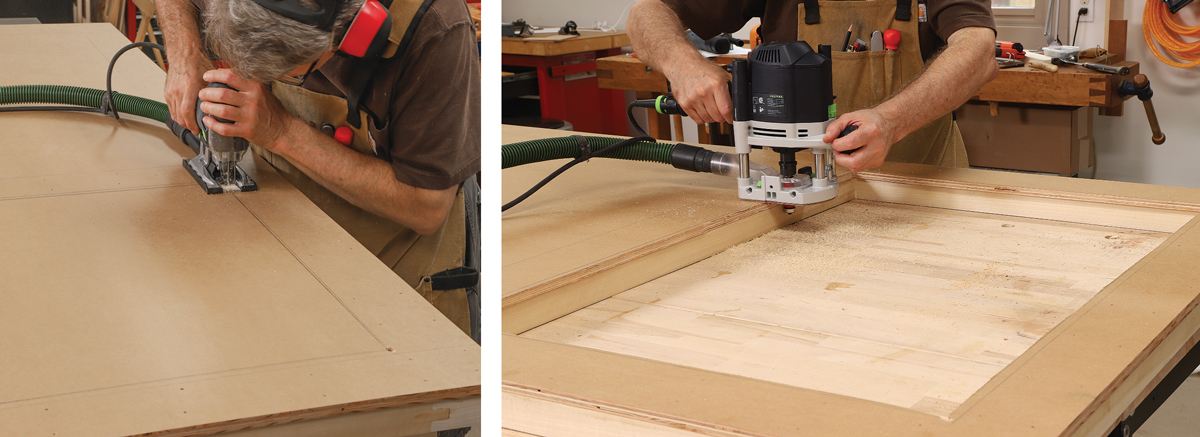
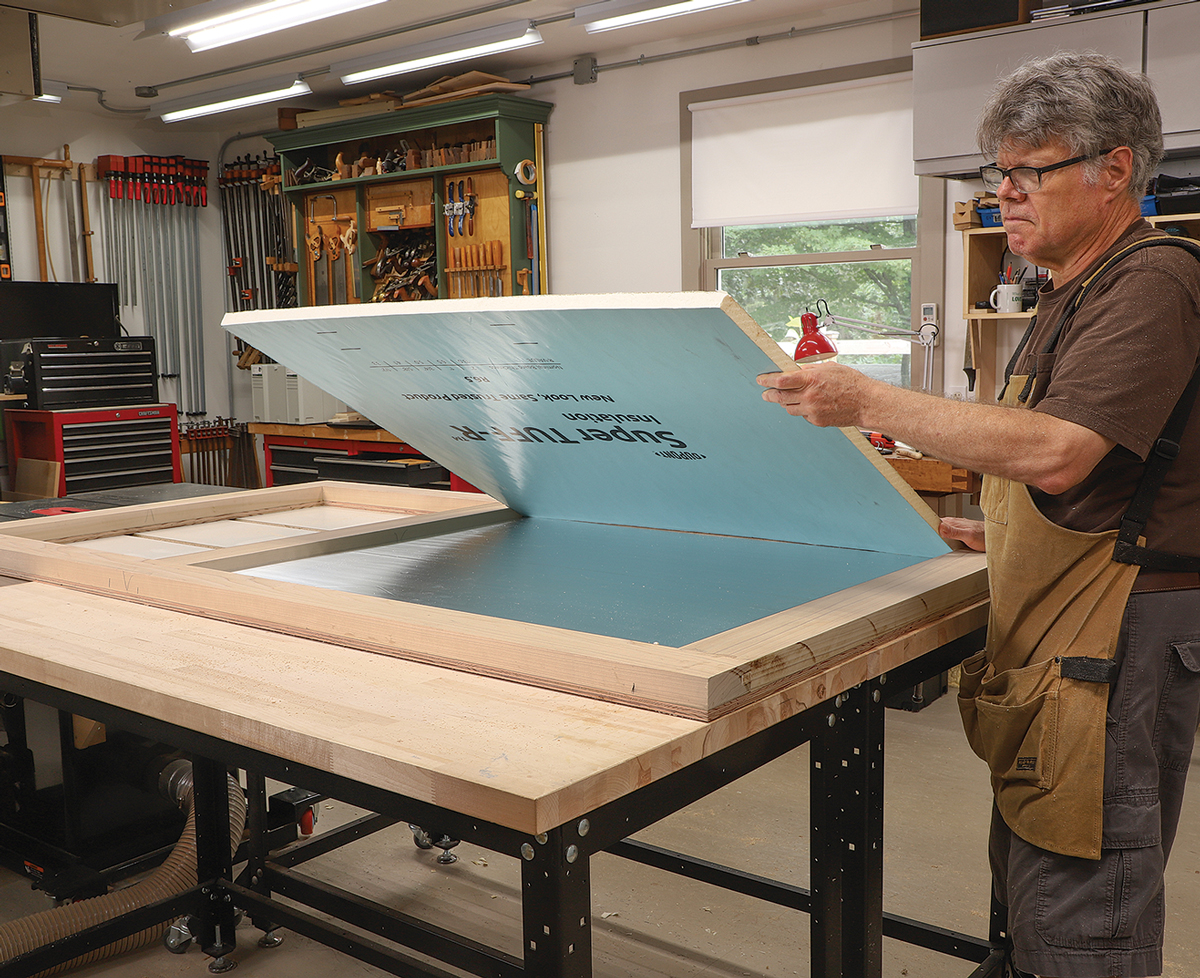
To attach the MDO sheet to the poplar frame, I used polyurethane construction adhesive and galvanized finish nails. I roughed out the opening for the window with a handheld jigsaw and trimmed it flush to the frame with a router. I cut foam insulation board to fit snugly in the lower section of the frame, making sure to orient the foil side toward the interior face of the door.
Wanting to minimize the overall thickness and weight of the doors, I skinned the inside face with 1⁄4-in. birch plywood, gluing it on with Titebond III.
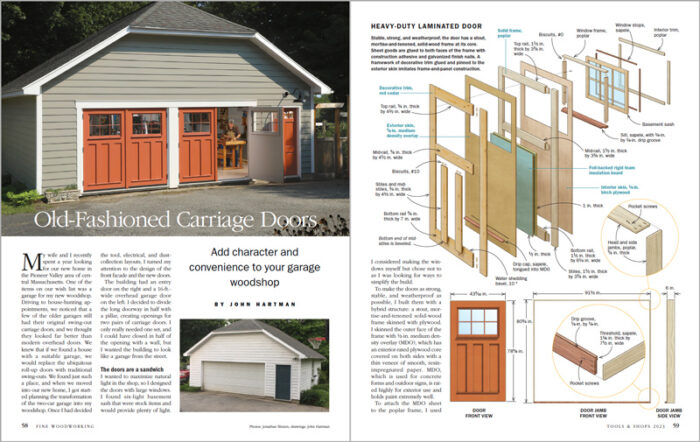
Heavy-duty laminated doorStable, strong, and weatherproof, the door has a stout, mortise-and-tenoned, solid-wood frame at its core. Sheet goods are glued to both faces of the frame with construction adhesive and galvanized finish nails. A framework of decorative trim glued and pinned to the exterior skin imitates frame-and-panel construction. |
Sprucing up the door slab
I added a framework of trim to the outside of my modern door to give the plain slab the appearance of a traditional frame-and-panel door. I made the trim of cedar for its lightness and rot resistance. To cut costs, I used cedar decking from a big box store and milled it down. Western red cedar, even of this poor grade, is stable and holds paint well.
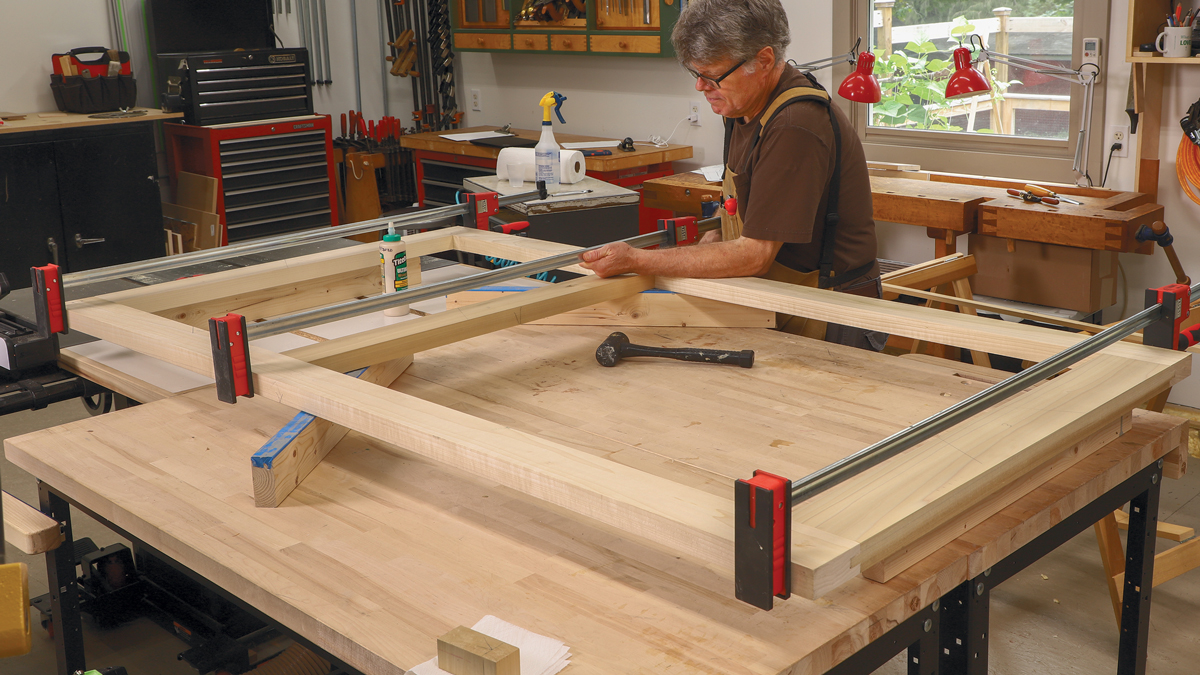
Before attaching the trim to the outer face of the door, I installed the lower drip cap, gluing its tongue into a groove in the MDO. I glued up the trim stiles and rails on a flat surface using Titebond III and #10 biscuits, waited for the glue to cure, and then attached them to the door, again using polyurethane construction adhesive and galvanized finish nails. I finished the trim by fitting and attaching the mid-stiles.
Next I made the frame that the basement window fits into. I joined the frame with #0 biscuits and drilled holes for the pocket screws that would attach the frame to the door.
Painting came next. I filled all the nail holes, painted any knots with Zinsser BIN stain sealer, and applied paintable caulk to all the inside corners. I used an oil-based primer on all surfaces. When the primer dried, I attached the window frames with pocket screws. I top-coated the exterior surfaces and edges of the doors with a high-quality exterior latex paint, leaving the interior of the door to be top-coated after installation.
Build and install the jambs
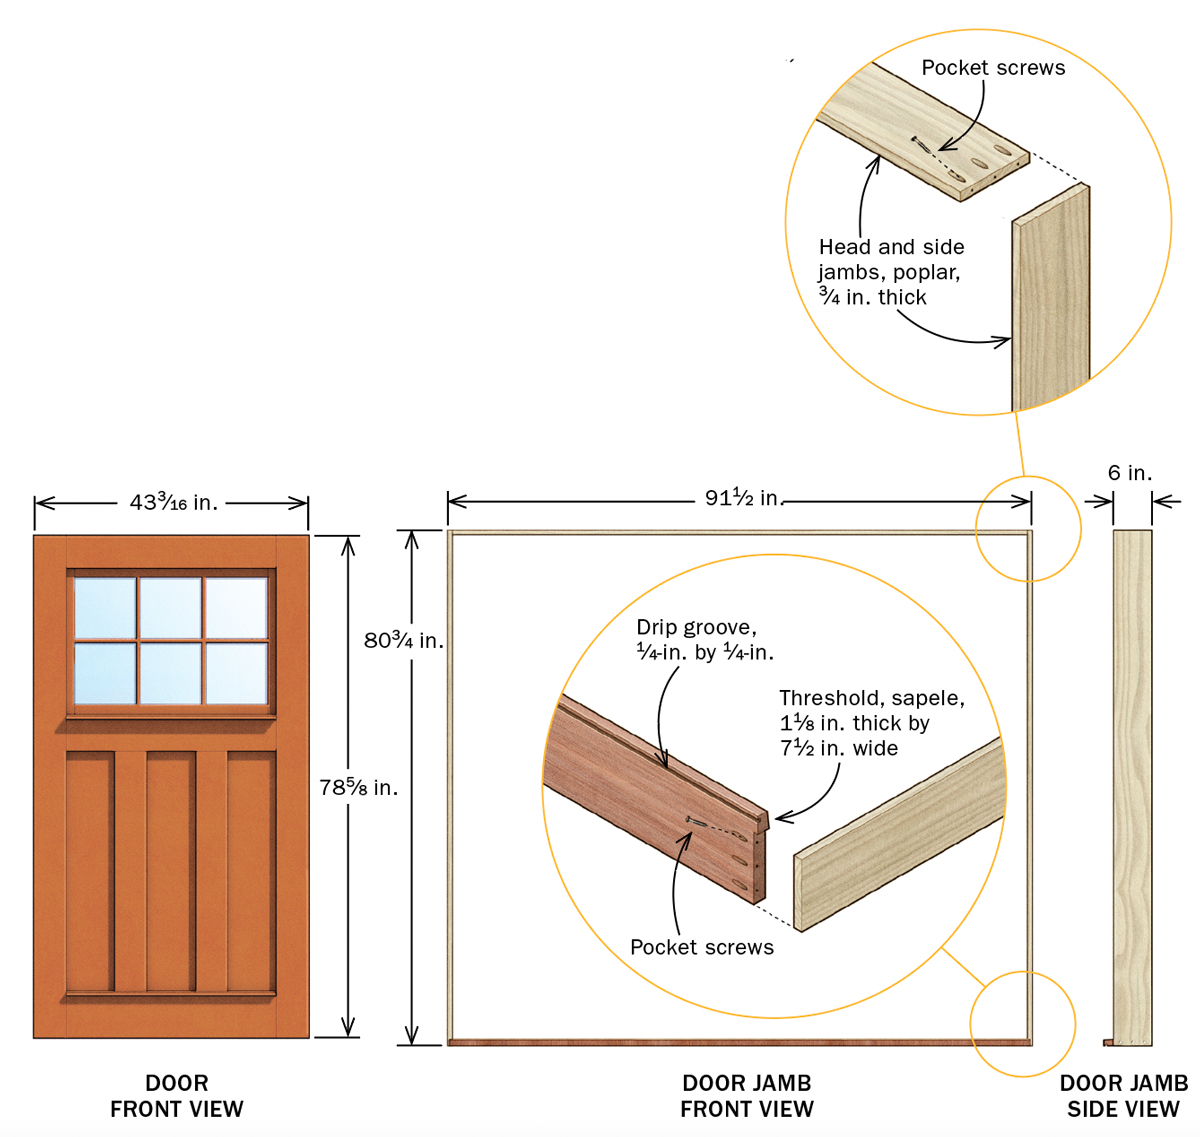
I started work on the door openings by attaching a pressure-treated 2×8 sub sill to the front edge of the floor slab with Tapcon screws. The slab had a slight bevel at the edge, so I used shims to level the sill. I built the center column with 2×6 studs faced with 1⁄2-in. OSB. I used ZIP flashing tape to form the sill pans, taping the top of the sub sill, over its front edge, and partway up the studs. I pressed the tape down firmly with a J-roller.
I made both jambs the same size, measuring both rough openings and using the smaller dimensions. I subtracted ½ in. from the rough opening width and 3⁄8 in. from the height to determine the outside dimension of the jambs. My rough openings were not too badly out of square; if yours are, you may need to make the jambs a little smaller.
 FWW illustrator John Hartman draws (and builds) furniture in West Springfield, Mass.
Photos: Jonathan Binzen; drawings: John Hartman
From Fine Woodworking #300
To view the entire article, please click the View PDF button below.
 |
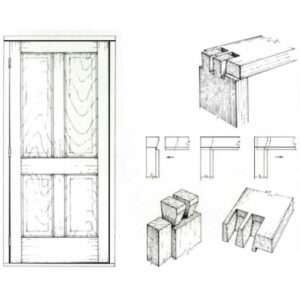
From the archive: Build a houseful of doors |
 |
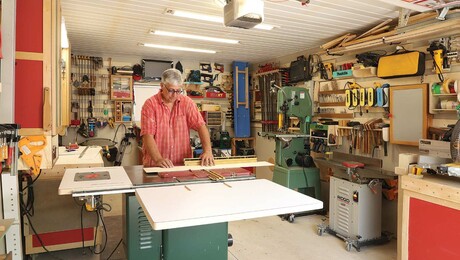
Turn Your Garage Into a Real Workshop |
 |
Door essentials |







Log in or create an account to post a comment.
Sign up Log in