Kim McIntyre’s Light-Filled Dream Shop
Lots of light and inspiring views. Those were the goals of this shop, attached to a Mid-Century home in Washington state.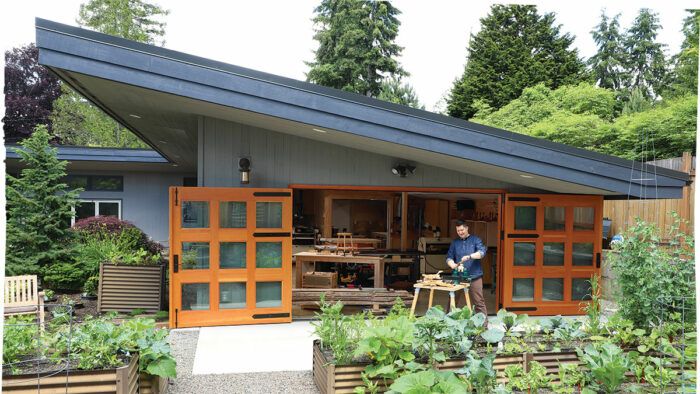
Synopsis: Lots of light and inspiring views. Those were the goals of this shop, attached to a Mid-Century home in Washington state. Six-foot-wide, nine-window doors made of Douglas fir help make that goal a reality. Follow along for a look at the rest of McIntyre’s shop.
I began working wood as a young teenager, helping my dad with his projects and building my own in his shop. In the years since then I’ve worked in a long list of school shops, maker spaces, co-op shops, and friends’ shops. That changed when my spouse and I moved to a house in Bellevue, Wash., several years ago, and got the opportunity to build my dream shop. Our one-story house has Mid-Century Modern vibes, and we built the attached shop and two-car garage in a compatible style, giving them a dramatic shed roof and mimicking the original roughsawn cedar siding on the house.
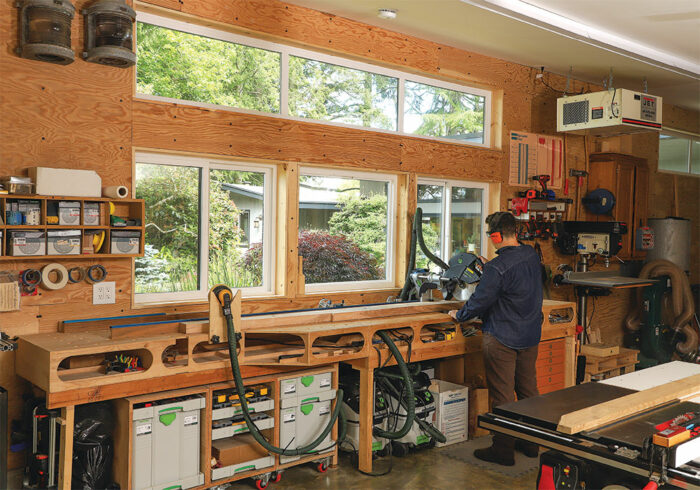
Two of my key goals for the new shop were linked: to bring in a whole lot of daylight and to have inspiring views from the shop. We accomplished them on the back wall by installing glazed carriage doors (built by RealCraft in Gig Harbor, Wash.) and planting our vegetable garden in raised beds beyond. And the shop’s high side wall got a long row of windows that echo the window spacing on the house; they provide lots of light and offer a view of the planted courtyard.
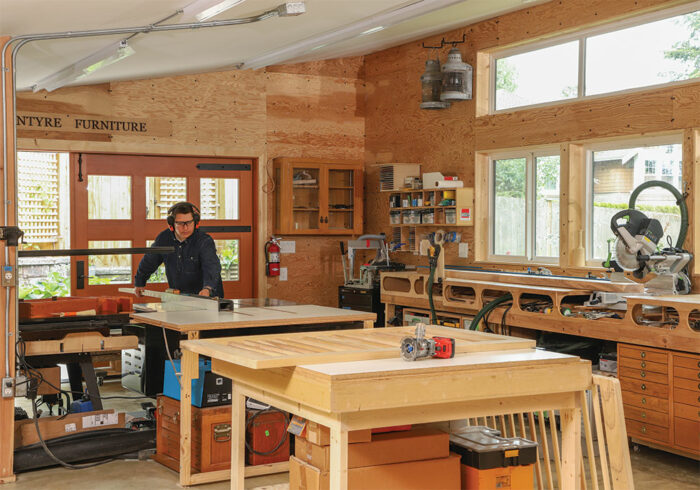
The 6-ft.-wide, nine-window doors are double paned with thick glass to help with climate control and to reduce the noise of my machines in our residential neighborhood. I had ordered paintgrade doors, but when they arrived and I saw all that beautiful vertical grain Douglas fir—the same wood our house is trimmed with—I knew I could not paint these doors. I pivoted and spent the next week applying spar varnish. The southern daylight the carriage doors admit and the ambiance they provide truly make my new shop an inspiring place to work.
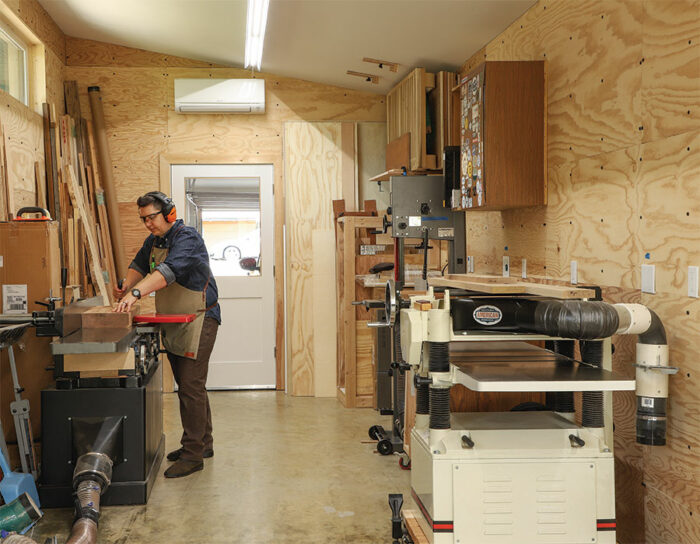
I knew I wanted 10 ft. of head space somewhere in the shop for flipping boards and for storing tall lumber on end. The shed roof gives me a ceiling that slopes from 7 ft. on one side to 10 ft. on the other. I located my machine room and lumber storage on the high side. To supplement the daylight, I had 4-ft.-long LED light strips installed on the ceiling throughout the shop.
I like to keep my machines and shop furniture on wheels, so the floor needed to be seamless and smooth. I had the concrete floor hard troweled when it was poured, though I did not have it polished. I finished it with gloss polyurethane, which adds brightness to the space and makes sweeping easy. The jury is still out on its durability, but I love the color and feel of it. We included an apron of concrete outside the carriage doors, which allows me to roll projects outside to work on them in nice weather. The 5 ⁄ 8-in. crushed gravel beyond the apron is a perfect spot to lay out oily rags to dry; sprinkling gravel on top of the rags keeps them from blowing away.
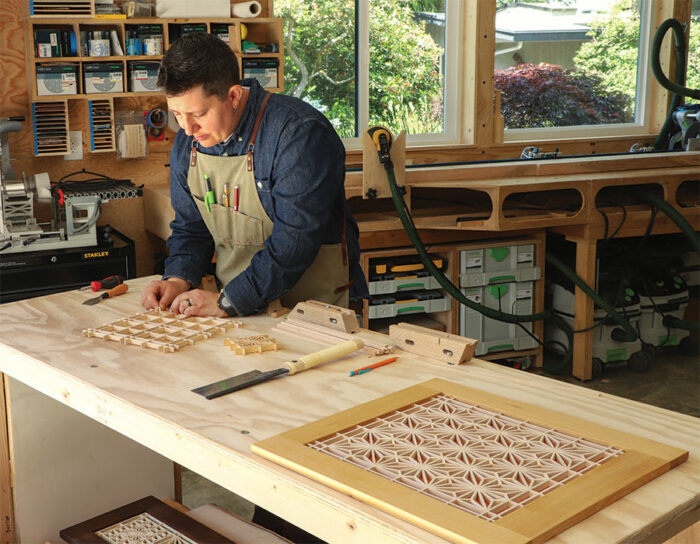
I covered the shop walls with 3 ⁄ 4-in. plywood so I could hang things anywhere I wanted and move and remount them easily. I left a 1 ⁄ 8-in. gap at the floor so if there were a spill it wouldn’t soak into the plywood. I had full sheets hung horizontally and all electrical boxes placed 48-1 ⁄ 8 in. above the floor. All the electrical wiring in the walls is behind half sheets, hung horizontally above the first full sheets. This simplified installation and, if I ever need electrical upgrades, I only have to remove smaller pieces of ply to make changes. All of the receptacles have 12-gauge wiring, so regular outlets can be swapped out for 220-volt outlets if needed.
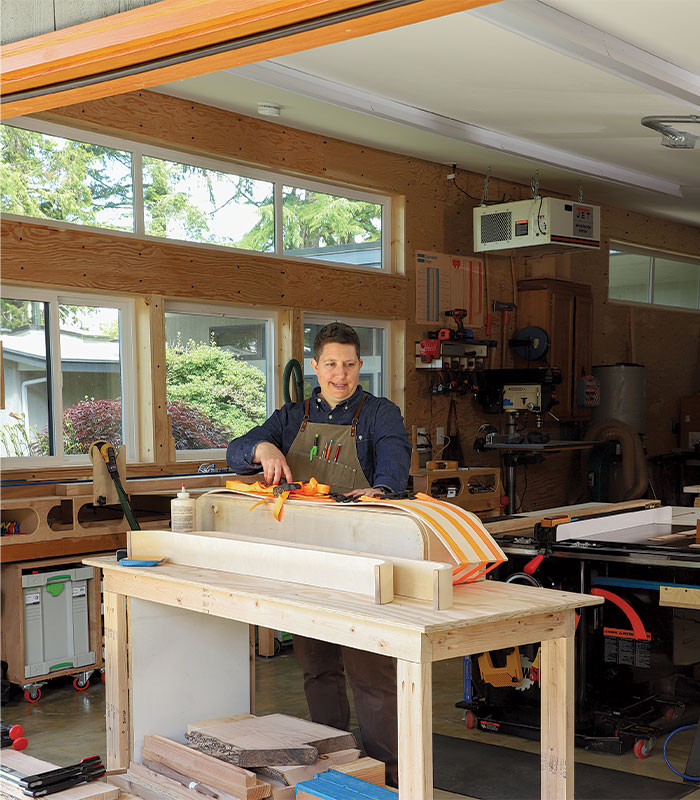
I designed the layout of machinery for my new shop in SketchUp, but I didn’t want to be committed to the arrangement until I had used it for a good while. Instead of setting up a permanent full-shop dust-collection unit, I’m using a 2-hp mobile dust collector. So far, with minor changes, I like the tool layout, but I may simply keep the mobile unit for the long term; it’s quieter and less obtrusive than a big collector, and it can be turned on for a quick cut at the tablesaw without having to be cycled on for 10 minutes, which is a requirement of some units with bigger motors.
In the ceiling of my storage/finishing room, I installed a light-commercial exhaust fan that pulls 300 cfm and is super quiet. I did not install an explosion-proof fan, because I don’t have plans to spray anything flammable.
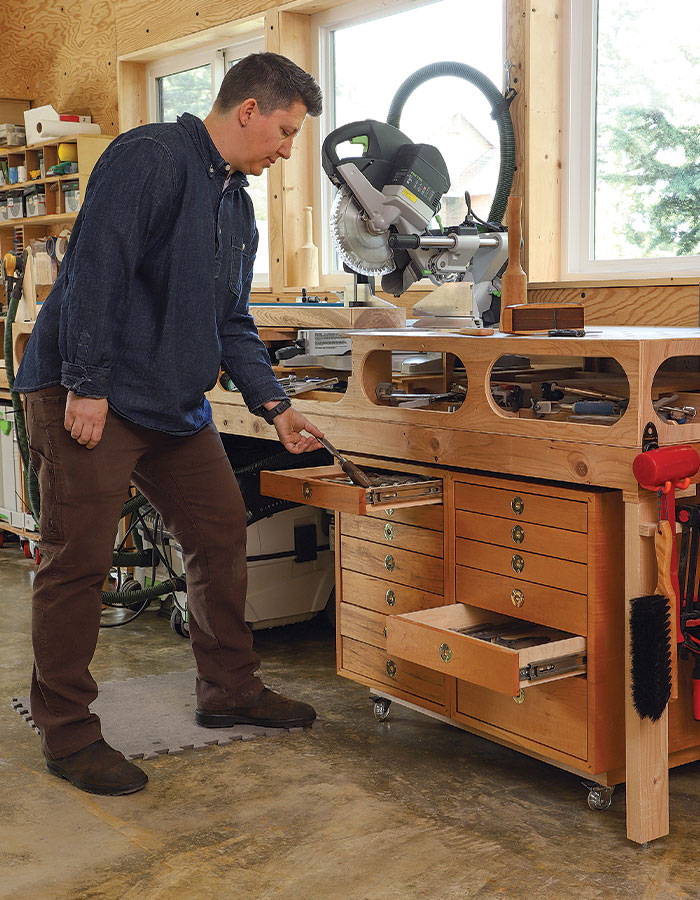
After all these years I have my own shop—inspirational, connected to nature, and well-equipped to make furniture.
– Kim McIntyre works wood in Bellevue, Wash.
Photos: Jonathan Binzen.
From Fine Woodworking #300
 |
Shop Design: A shop in the village |
 |
How to build old-fashioned carriage doors |
 |
Turn your garage into a real workshop |


Comments
FWW Eds.,
This seems to be a worthy installment of "dream shops" that appear annually in the special "Shops and Tools Issue" -- lots light, space and a fantastic roof line. But I feel the article itself is really lacking the usual details that make this a feature I look forward to all year. Specifically, where is the floor plan illustration? Is the shop on its own electrical panel or on main panel in the house? Where is the finishing area she mentions? What is the overall square footage? I get the ply wall panel scheme, but did she drywall and paint the ceiling? Lighting plan? One mini-split?
And, beyond the physical layout questions there is also little we can discern about the author's work flow. I see a chisel in her hand (stored below the chop saw), but no hand-tool style bench anywhere visible. Maybe she's a "disciple of Norm" machine woodworker?
MK
Log in or create an account to post a comment.
Sign up Log in