Shopmade clamping station
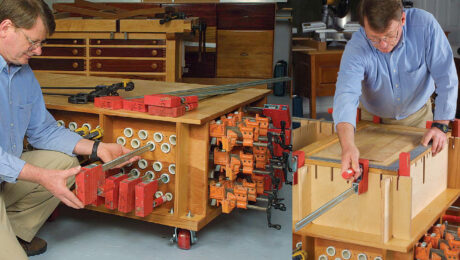
This clamping station by Alan McIvor helps make panel glue-ups foolproof.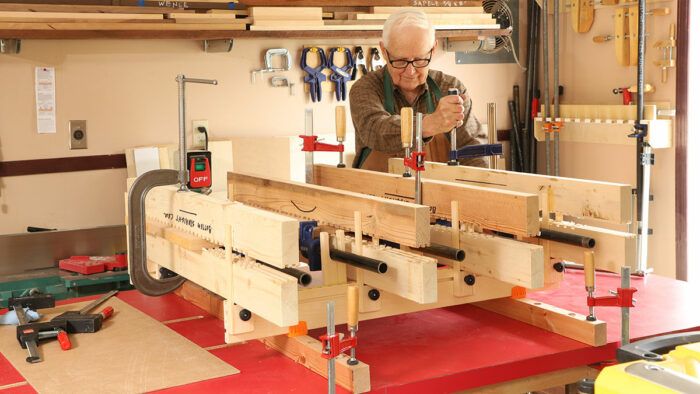
Synopsis: Sometimes, no matter how prepared you are, edge-gluing boards for a tabletop leads to sub-par results. This clamping station by Alan McIvor helps make panel glue-ups foolproof. It can be used on wide, narrow, thick, or thin boards. It is easy to disassemble for storage, and all the parts cost less than $100.
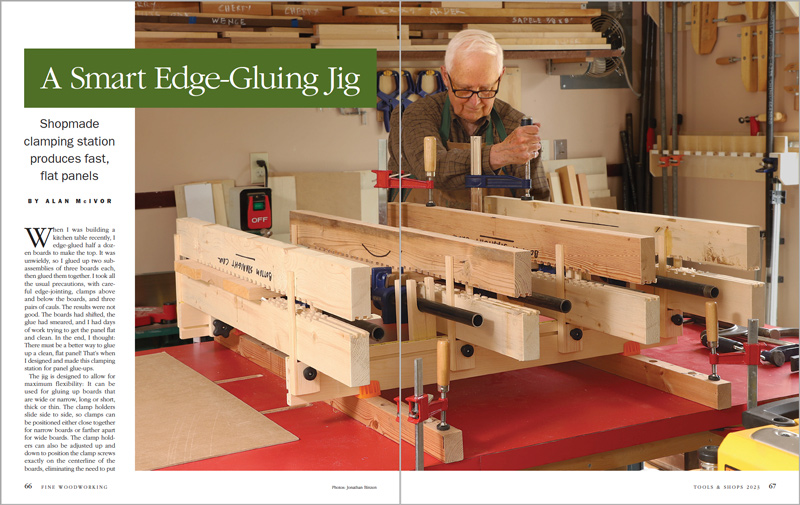
When I was building a kitchen table recently, I edge-glued half a dozen boards to make the top. It was unwieldy, so I glued up two subassemblies of three boards each, then glued them together. I took all the usual precautions, with careful edge-jointing, clamps above and below the boards, and three pairs of cauls. The results were not good. The boards had shifted, the glue had smeared, and I had days
of work trying to get the panel flat and clean. In the end, I thought: There must be a better way to glue up a clean, flat panel! That’s when I designed and made this clamping station for panel glue-ups.
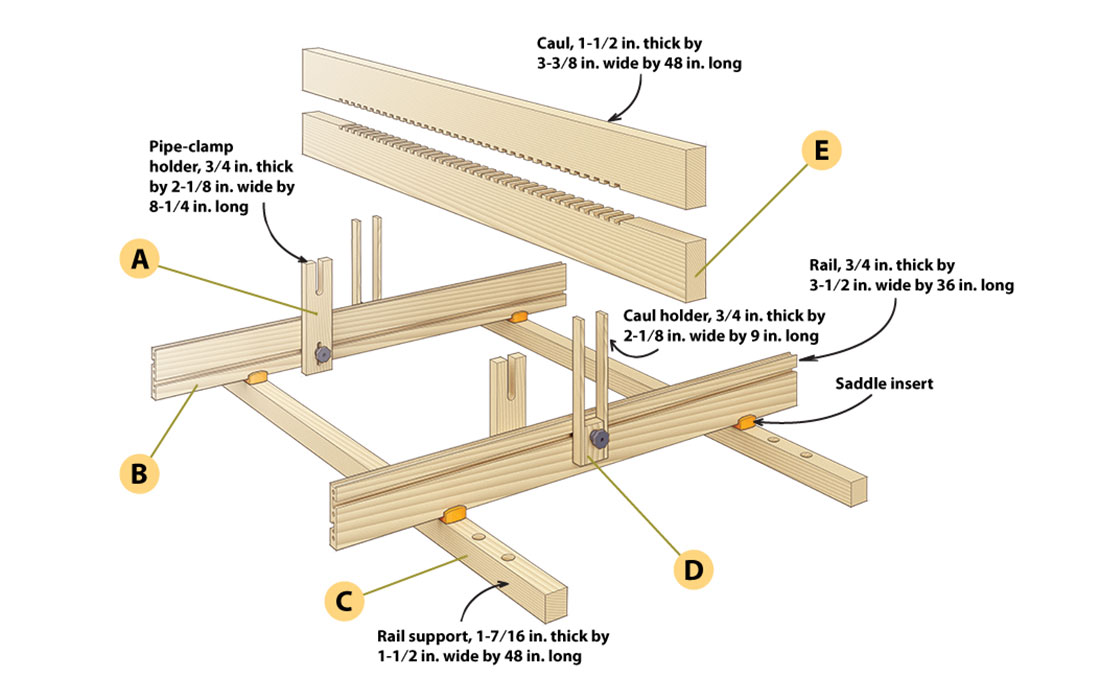
The jig is designed to allow for maximum flexibility: It can be used for gluing up boards that are wide or narrow, long or short, thick or thin. The clamp holders slide side to side, so clamps can be positioned either close together for narrow boards or farther apart for wide boards. The clamp holders can also be adjusted up and down to position the clamp screws exactly on the centerline of the boards, eliminating the need to put alternate clamps below and above the panel. The jig can handle boards ranging from 1 ⁄ 2 in. to 3 in. thick.
Knock-down panel-clamping jig
While capable of clamping large panels, the jig disassembles easily and stores compactly. Made of softwood, it cost less than $100, including hardware.
The setup can be assembled in about 30 minutes and disassembled in about 15 minutes. The disassembled parts take up very little storage space when not in use; I stack the long rails and fit all the other parts in a box that measures about 1 cubic foot. The standard rails I use are 36 in. long; for longer glue-ups I connect them end-to-end to another set of 36-in. rails with dry dowel pins in the end grain. You could make your standard rails any length you think would be most useful.
Making the jig components
Rail supports
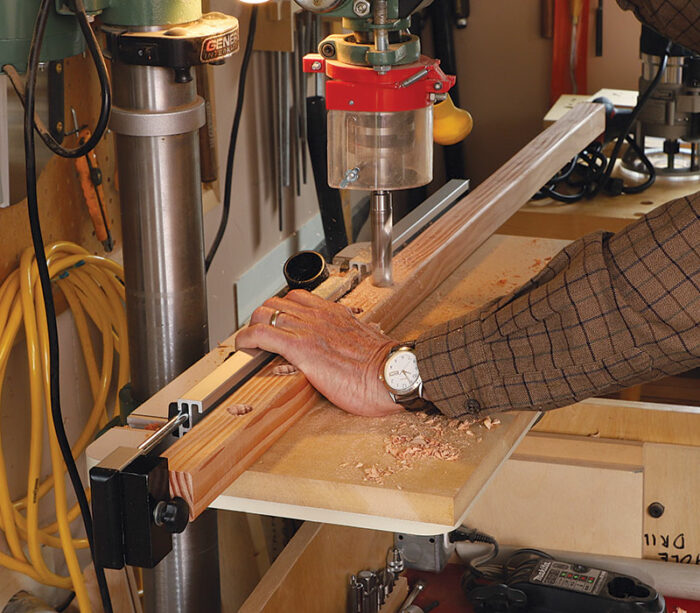
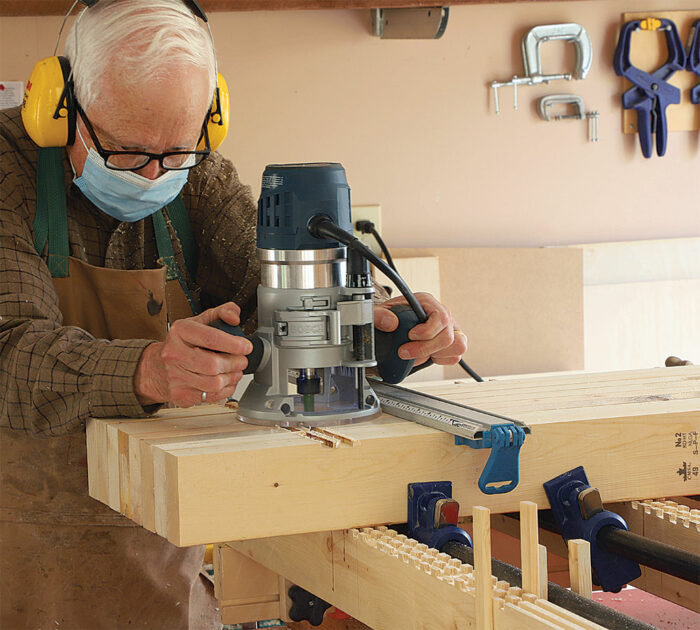
Rails
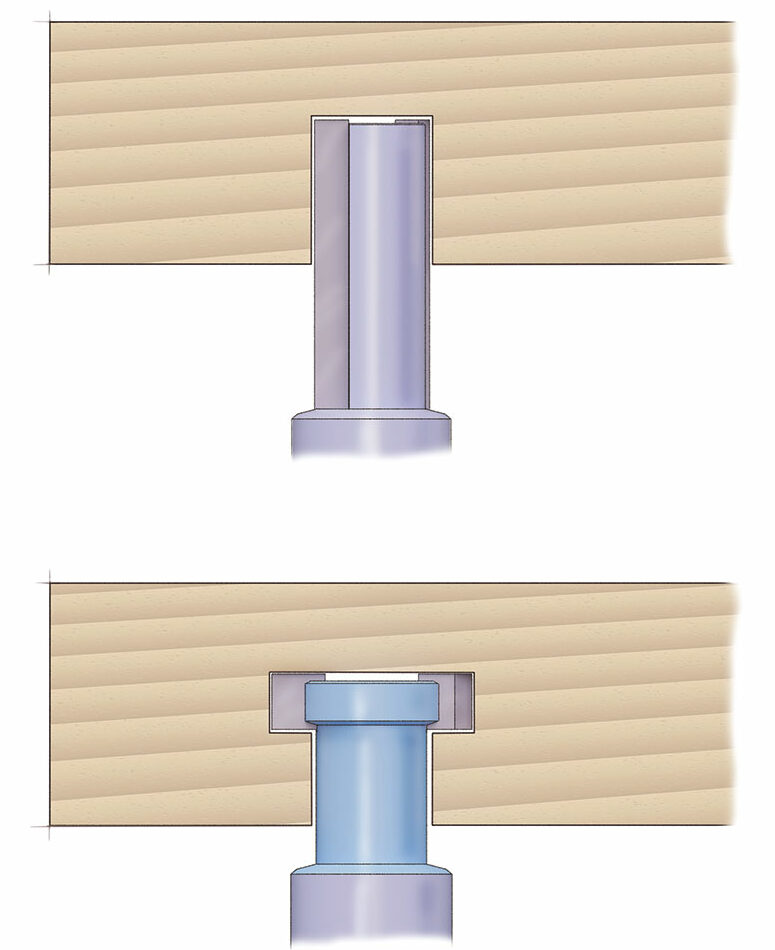
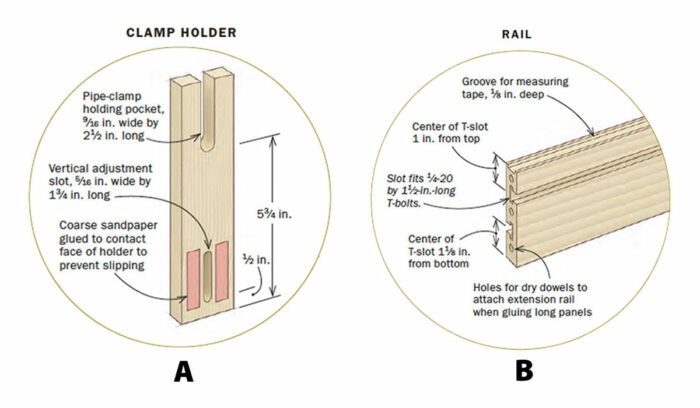
Clamp holders
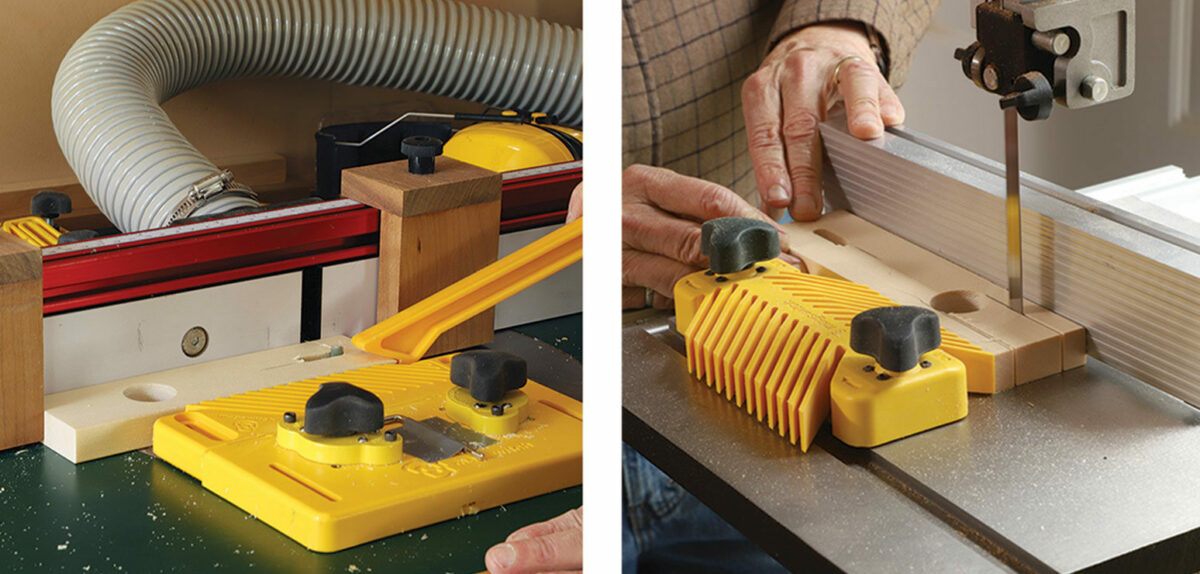
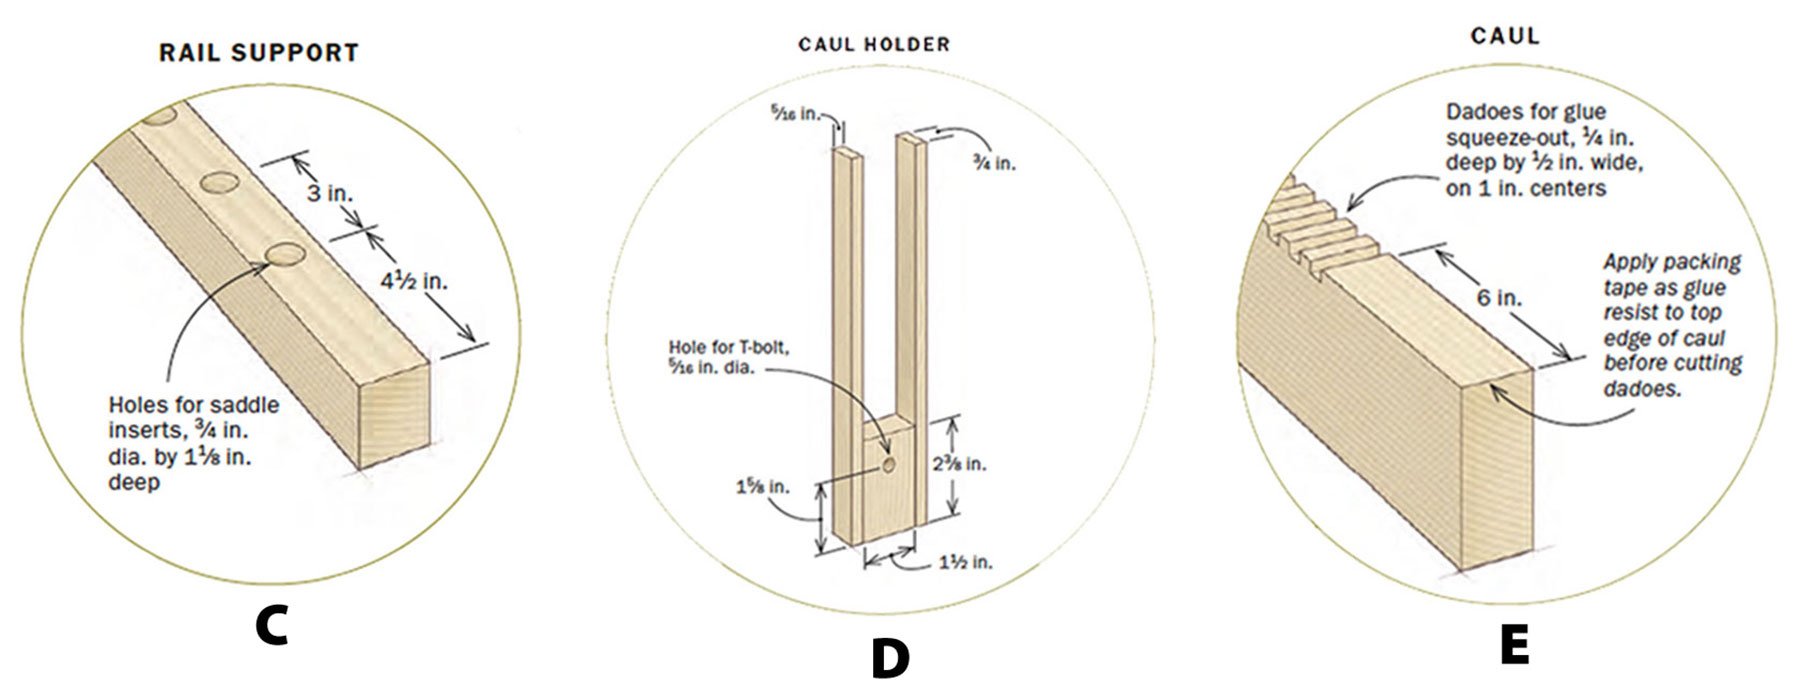
Caul holders
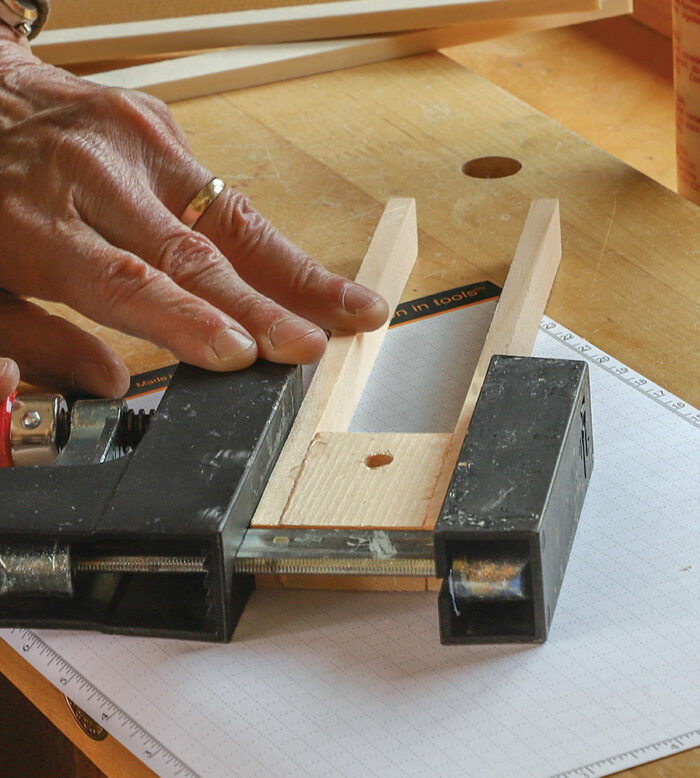
Notched cauls
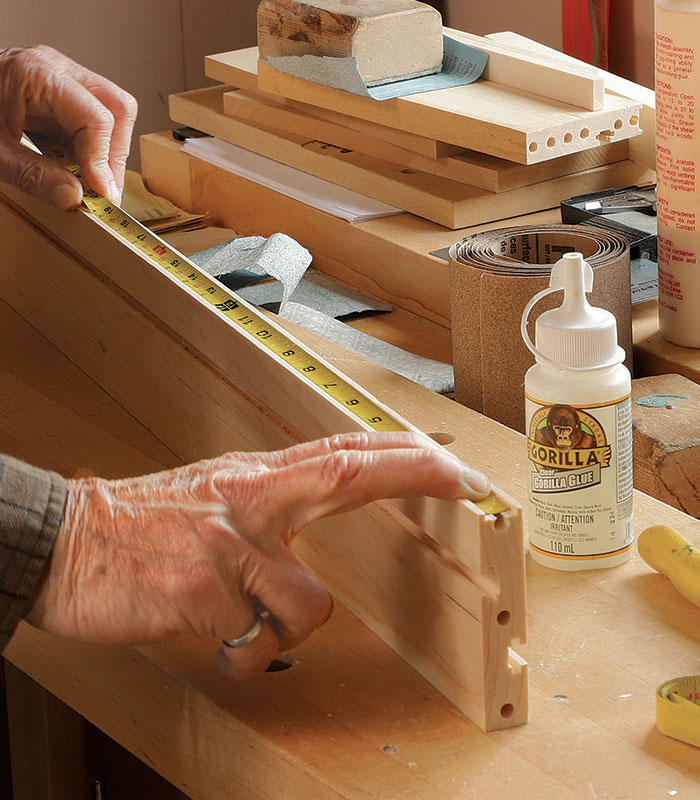
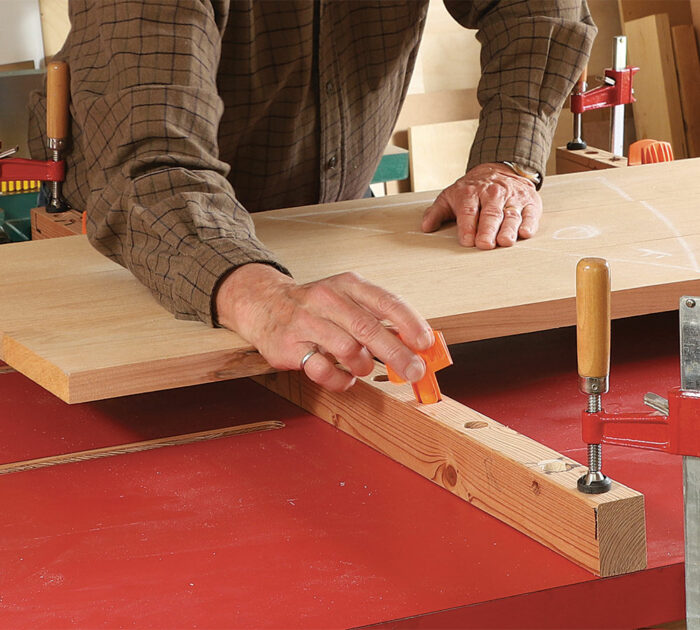
I made the cauls for my jig 3-3 ⁄ 8 in. wide to minimize deflection, so there’s no need to camber them. They are dadoed on the edge that contacts the panel to minimize glue smearing. I shift the cauls to locate dadoes above and below the gluelines. This doesn’t eliminate the need to wax the cauls or add packing tape, but it does allow for easier cleanup.
I made the jig with construction- grade softwoods. That’s fine, but I recommend making the rails out of maple for smooth, long-wearing T-slots. The Tbolts and clamping knobs are available from most woodworking equipment suppliers, and the cost of all the components (excluding the clamps) was less than $100. The design is based on the use of pipe clamps, but the clamp holders could be modified for bar clamps instead.
Assemble the jig and get gluing
To set up the jig, lay out the rail supports about 24 in. apart on a flat and level table or benchtop and clamp them in place. These supports could be clamped to a pair of sawhorses instead; if they are, they should be shimmed so all four corners are level. Also, if you plan to use the jig on sawhorses, I would make the rail supports a bit stouter to minimize deflection.
Setting up the jig
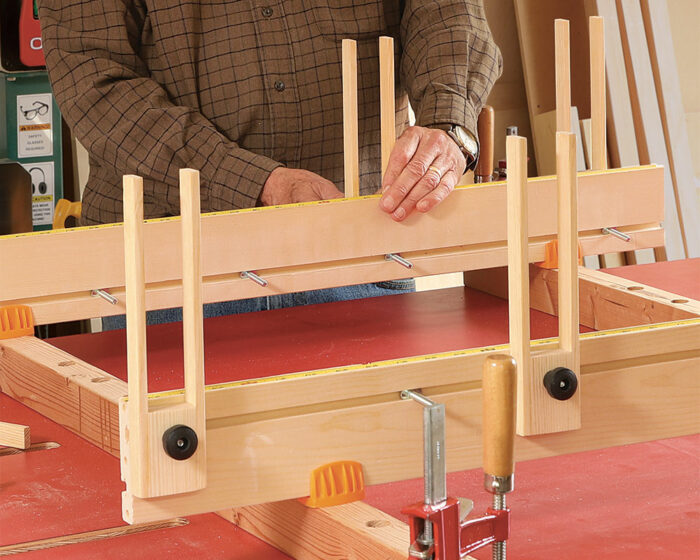
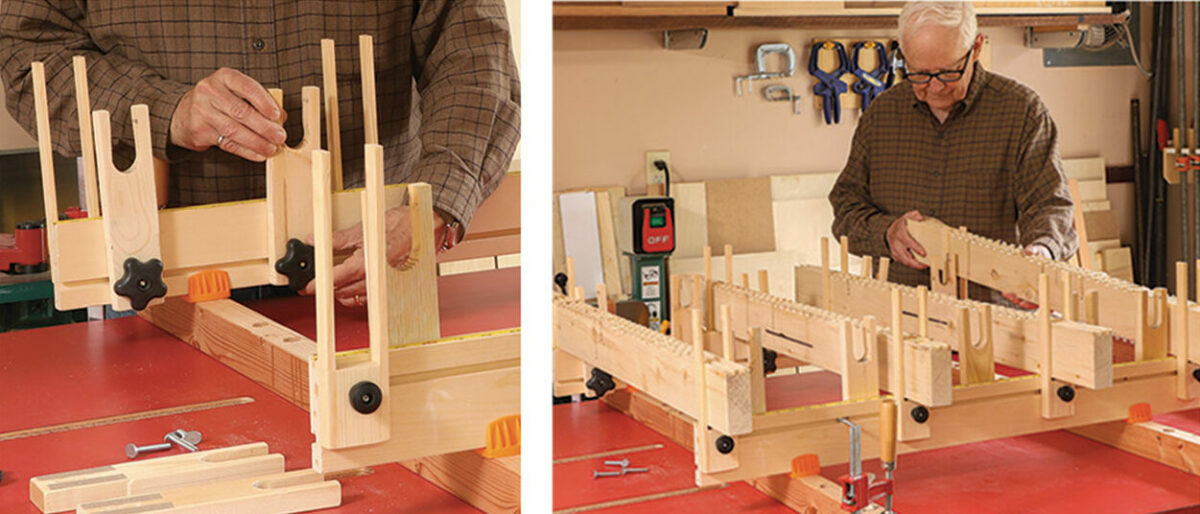
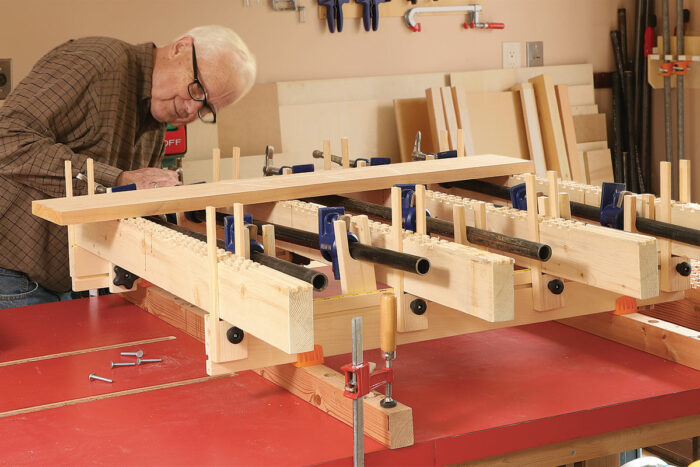
Next, insert plastic saddles into the holes in the rail supports, and set the rails in the saddles. Slide Tbolts into the grooves in the rails and attach the pipe-clamp holders and the caul holders with their respective clamping knobs. I position caul holders at each end of the panel boards I’ll be gluing and put clamp holders close to them. I space other clamp holders between them so the clamps will be on roughly 6-in. or 8-in. centers.
Place the bottom cauls in their holders and adjust the holders so the cauls are square to the rails. Insert pipe clamps into their holders and shift the holders side to side, if need be, so the pipes are square to the rails and equally spaced.
Lay one of the boards you’ll be gluing onto the bottom cauls and raise or lower the front pipe-clamp holders so the clamp screw lines up with the center of the board’s thickness. Adjust the rear clamp holders too, so the pipes are level front to back. Then clamp the holders tight to the rails.
Gluing a panel
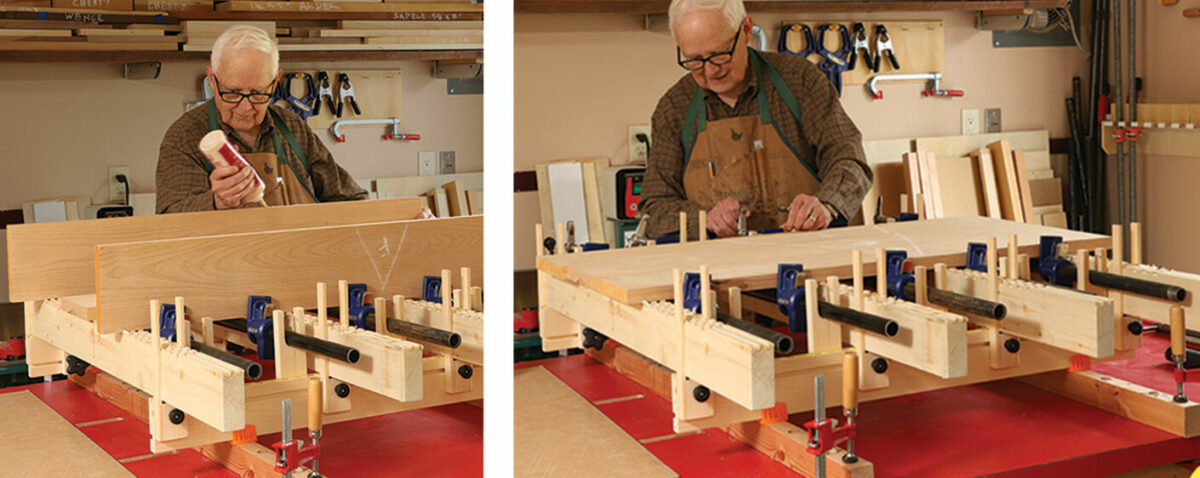
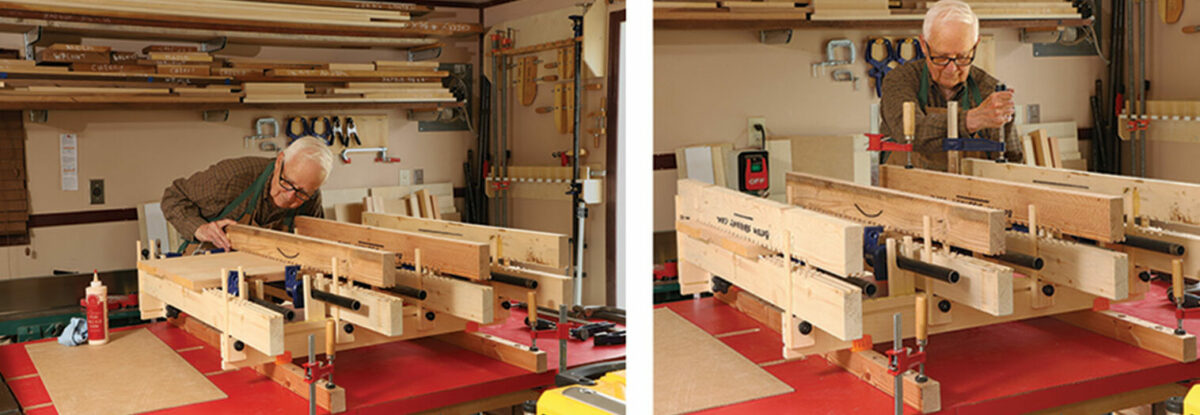
After putting the rest of the boards to be glued onto the jig, slide the bottom cauls fore and aft so their dadoes are located under the edge joints of the glue-up. Depending on the widths of the panel boards, it may not be possible to align all of the gluelines; just align as many as you can. Finally, set the top cauls across the panel boards and be sure there is sufficient space to insert the caul clamps.
Now, if all looks good, you’re ready to roll on the glue and apply some light, uniform pressure with the pipe clamps, starting at the center. Lightly tighten the F-clamps on the cauls, again working from the center to the ends of the panel. Check for panel flatness under the end cauls, and then tighten the pipe clamps all the way, again working from the center out to the ends.
Alan McIvor is a retired pulp and paper engineer and an avid woodworker in Vancouver, B.C., Canada.
Photos: Jonathan Binzen.
Drawings: Dan Thornton.
 |
Pipe clamp tips and tricks |
 |
Video: Jointing boards for dead-flat panel glue-ups |
 |
From the archive: Convertible clamping workstation |
Fine Woodworking Recommended Products
Milescraft 4007 6in Bench Clamp
Glue Bottle
MicroJig Matchfit dovetail clamps





Comments
Does anyone know where to find the saddle inserts?
Log in or create an account to post a comment.
Sign up Log in