Build a versatile shop cart
Brian Boggs's strong and nimble work station sets your materials in motion.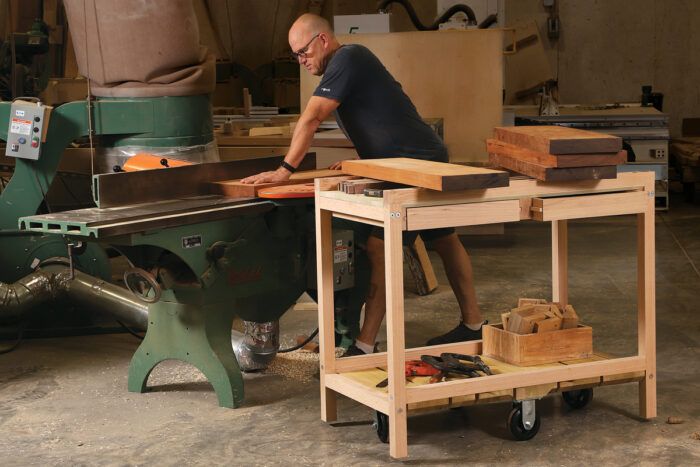
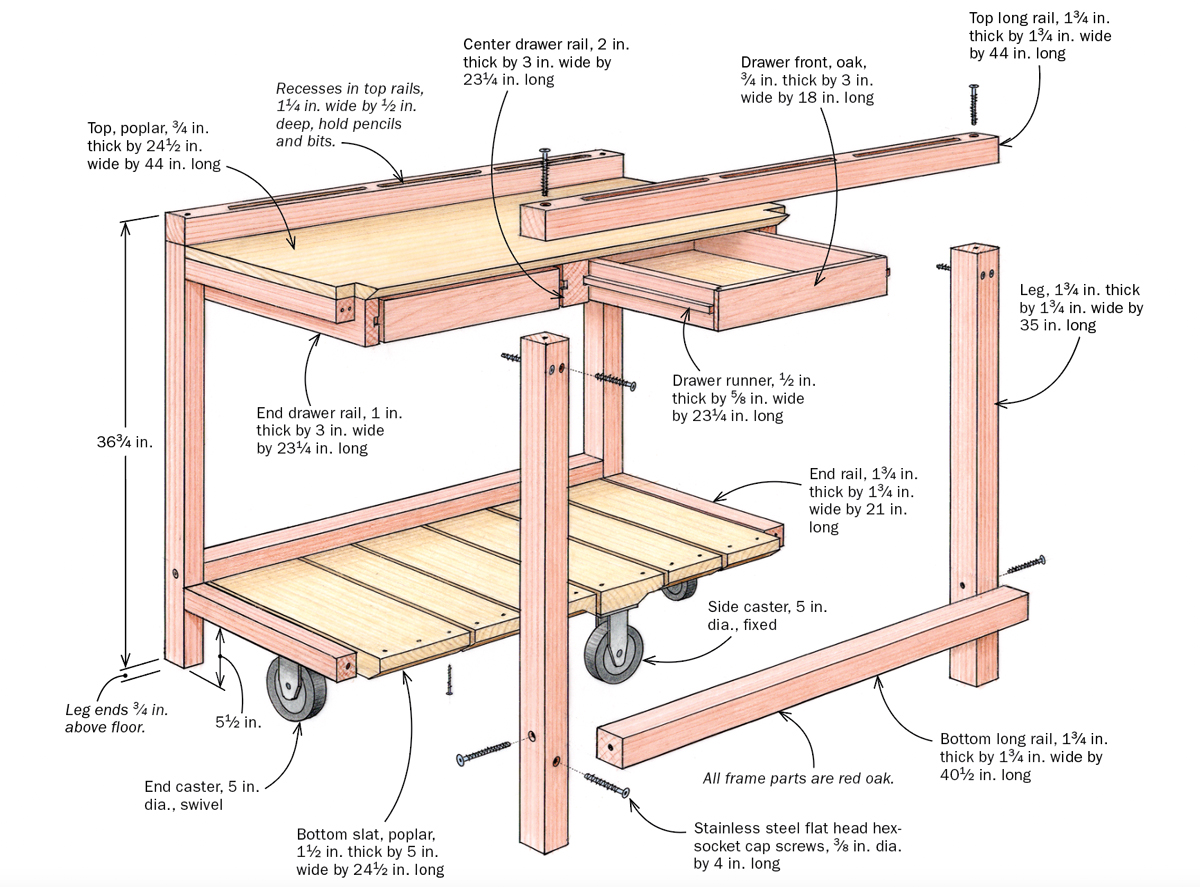
Synopsis: There are a lot of ingenious details to this shop cart. The top is designed to tuck under the long rails, which allows measuring tools, drawings, or a notebook to sit on top while boards can still be stacked across the rails. The ends of the top are open for easier cleaning. The rails have recesses for small items like ear plugs and pencils. The wheel arrangement allows for maximum maneuverability in tight spaces.
A shop cart is a godsend for milling. Holding planks or parts while you’re jointing and planing, it serves like a pair of sawhorses on wheels. Finish jointing and you just roll the stack to the planer, then to the router table or the mortiser. Mine also gets wheeled into the bench room, where space is a lot tighter. In there it gives me multiple levels of storage for the parts and clamps and tools I want right at hand, allowing me to keep the bench clear of clutter. I made my first shop cart 30 years ago, after reading Jim Tolpin’s book Working at Woodworking (1991, The Taunton Press). Since then, I’ve made several others; this is my latest.
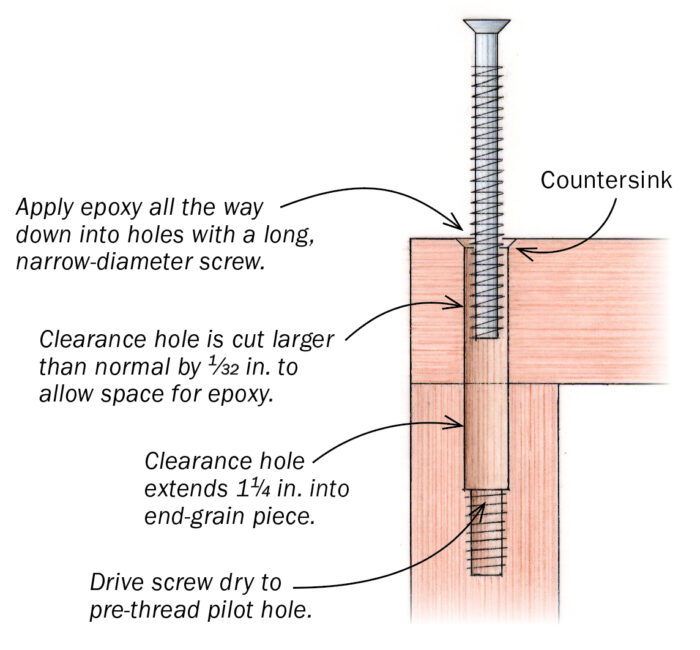
I made my previous cart with double tenons, but this time I decided to join the frame parts with machine screws and epoxy. It’s quicker and very strong. I designed the cart’s top to tuck under the long rails, which lets me place measuring tools, drawings, or a notebook on the top while still stacking boards across the rails. The long rails have recesses routed out that I use for pencils, ear plugs, and other small items. By locating the end rails below the top, I kept the ends of the top open, making it easy to brush it out, a great help in keeping the cart clean.
Two shallow drawers give me quick access to my essential measuring and layout tools, a notebook, and frequently used bits and fasteners. Simply but sturdily made, these drawers, which are side hung on runners, open smoothly and can be accessed from either side of the cart. You could add a spring-loaded stop to keep the drawers centered when they are pushed in, though I haven’t found it necessary.
On both ends of my previous cart I screwed on a crosspiece halfway up the legs; I can lay long parts or planks on those while keeping the bottom surface available for other items. I haven’t added crosspieces to this cart yet, but when I have a free hour, I think I will.
I’ve learned from experience how important wheel selection is. I bought cheap metal wheels for my original cart and always hated them. All four were swivel casters, so it was hard to keep the cart rolling in a straight line. But they worked just well enough that I never got around to changing them.
For this cart, I bought two fixed wheels and two swivel wheels, all 5 in. diameter with rigid rubber tires. Larger-diameter wheels roll a lot better and prevent debris on the floor from stopping the cart in its tracks; with these wheels I can even roll over an extension cord.
Cart frame assemblyEpoxied screw joinery Epoxy gives this joint its long-term strength, but the screw’s threads pull the parts together at glue-up. The shallow pilot hole at the bottom gives purchase to the screw threads. 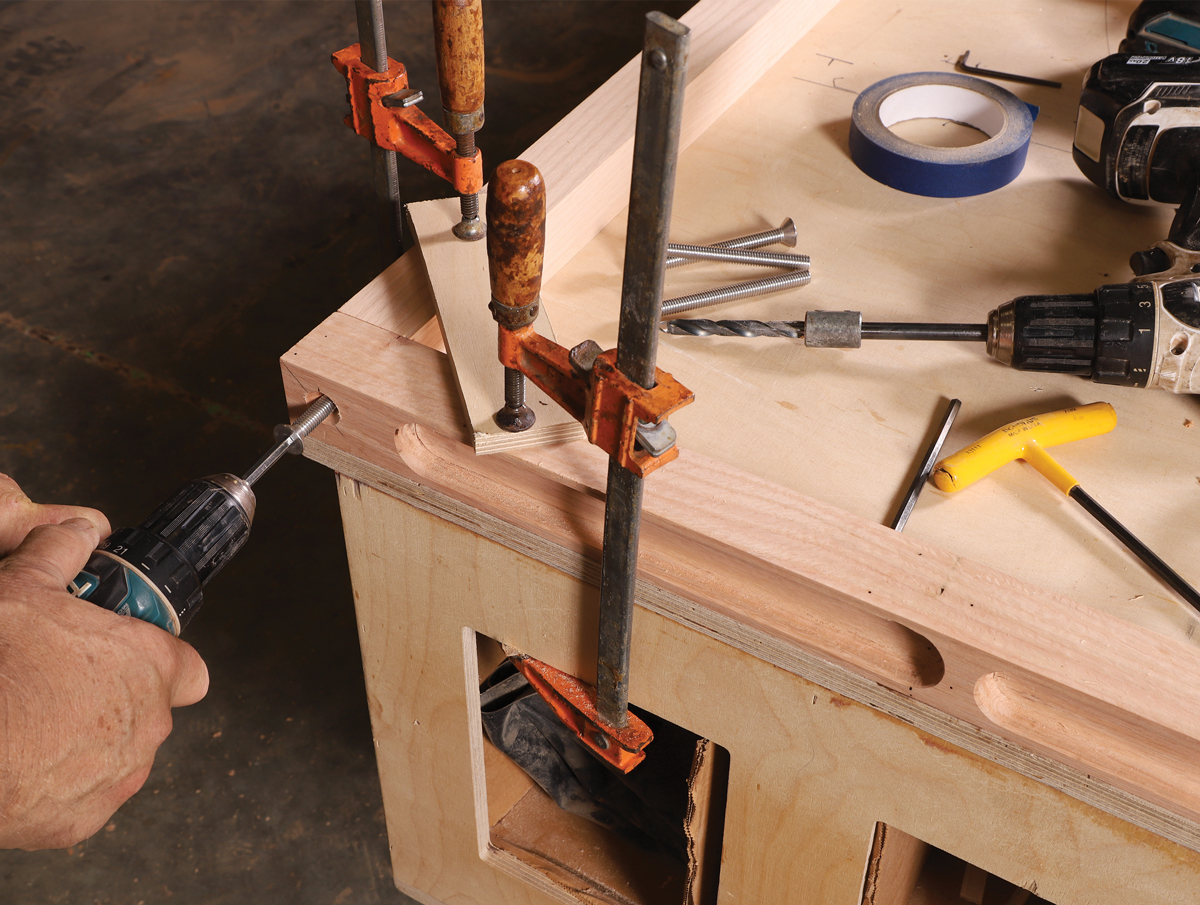 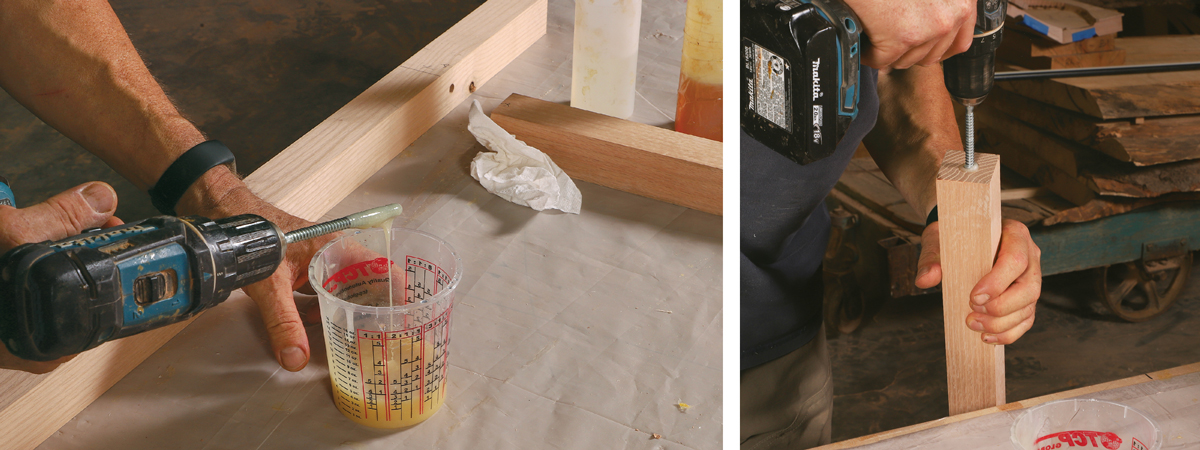 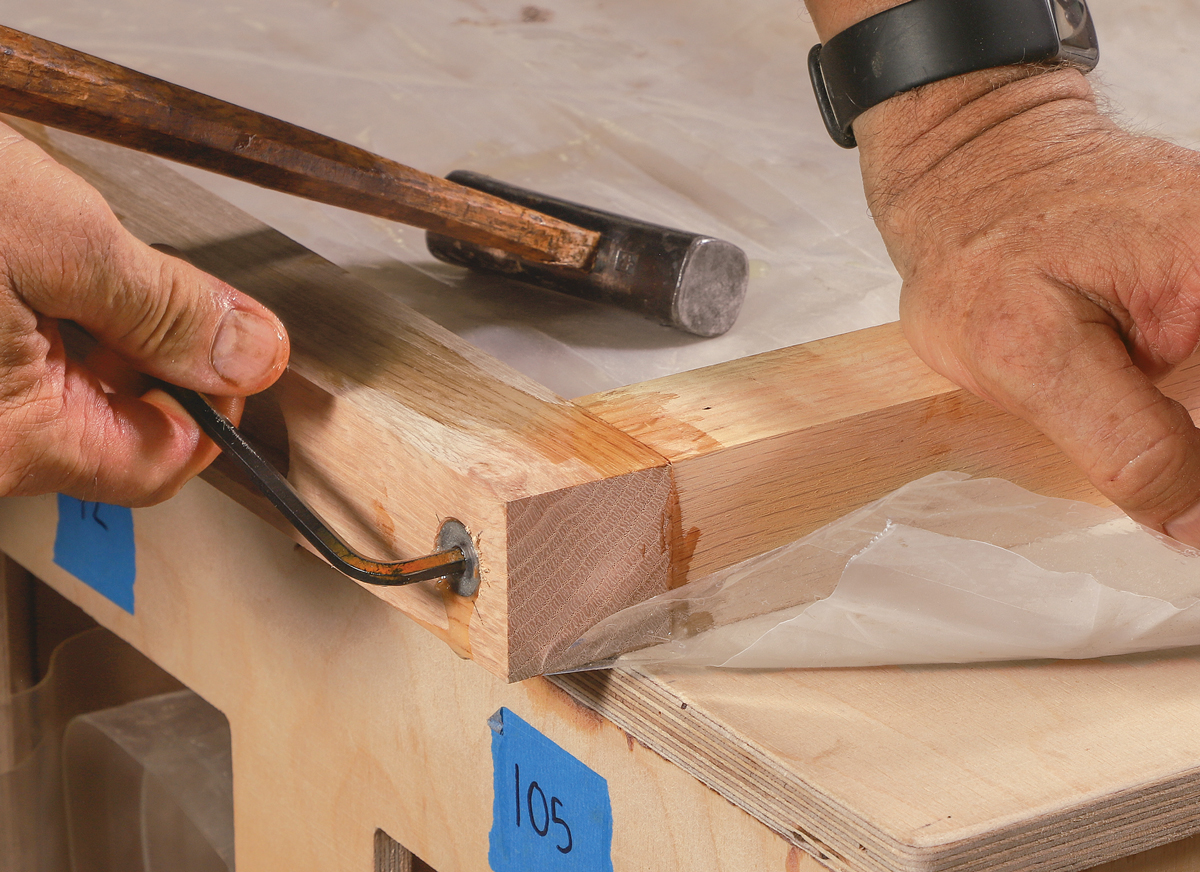 |
The arrangement of the wheels is also important. On most carts the wheels are at the corners and the swivel wheels are both at the same end. For this cart I copied the diamond-shaped wheel pattern of an old dray, locating a fixed wheel at the center of each long side and a swivel wheel at the center of each end. This arrangement allows me to maneuver the cart through tight spaces and make very sharp turns. In fact, the cart can spin 360° without going anywhere. If I want to access something in a drawer from the opposite side, I can spin the cart while standing still. Yet the cart also easily tracks straight. One thing to know about this wheel layout is that if you have a very heavy cantilevered load and it’s off balance, it could conceivably tip the cart and dump your parts. To prevent that from happening, I extended the legs on my cart to within 3⁄4 in. of the floor; if the cart should begin to tip, the legs would stop it.
How big should your cart be? Well of course that depends on the size and arrangement of your shop. I made mine 24 in. by 44 in., but in a small shop that might be too large. I recommend cutting a piece of plywood to the size you imagine your cart’s top to be and placing that on a tall cardboard box. Put this mockup anywhere in the shop you think you might use your cart. You should be able to figure out an appropriate size pretty quickly.
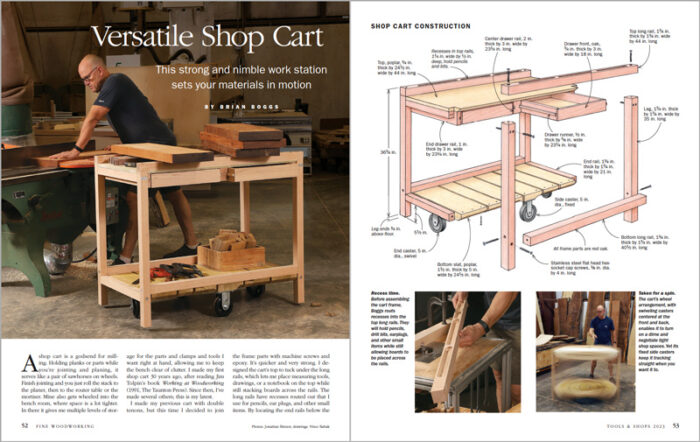 Brian Boggs (brianboggschairmakers.com) rolls his shop cart in Asheville, N.C.
To view the entire article, please click the View PDF button below.
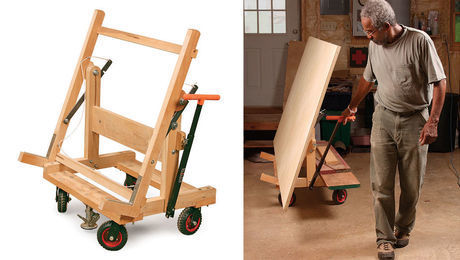 |
Pivoting plywood cart |
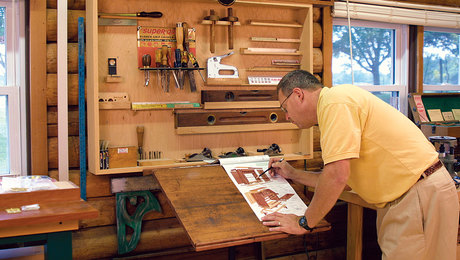 |
Fine-tune your shop |
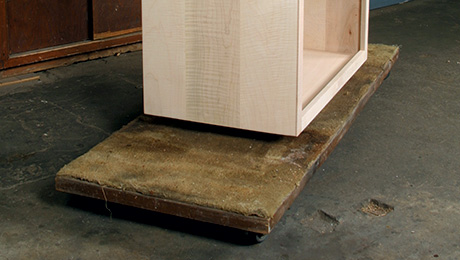 |
Holding and moving work |
Fine Woodworking Recommended Products

Woodriver Rechargeable Desiccant Bag
WoodRiver Router Bit Storage Case






Comments
Loved Brian Boggs' cart in #300. Especially to be reminded of the high center fixed wheel arrangement. I have everything in my shop on wheels, but this is a much better design.
In looking at those drawers, all I could picture was me pulling one out too far and then spending an hour locating and picking up all the parts and pieces! A simple solution are dual stops on the drawers; one for each side of the cart. My design only requires the addition of a thin apron at the top, 3/4" - 1". On one side of the cart there is a notch on the "left" of the apron, on the opposite, the same notch on the "right" side. These notches then correspond with short pieces attached to the drawer that slides through the notch on one side but acts as a stop when it hits the apron on the other side. You could adjust the short piece stops to limit the drawer extension and keep the drawer in the track.
I had a rarely used Mortiser in need of a mobile parking spot, so I made a slightly smaller version of this by ripping 2x4s for the stiles and rails and buying the machine screws. I had some scrap cutoffs for the upper and lower surfaces, and some they-are-on-sale-now-and-I-will-need-them-some-day casters laying around, so it went together quickly. My air compressor now lives on the bottom. I didn’t bother with drawers.
Log in or create an account to post a comment.
Sign up Log in