Dashed lines and centerlines
Essential for accurate work, these are easy to create in any style you like.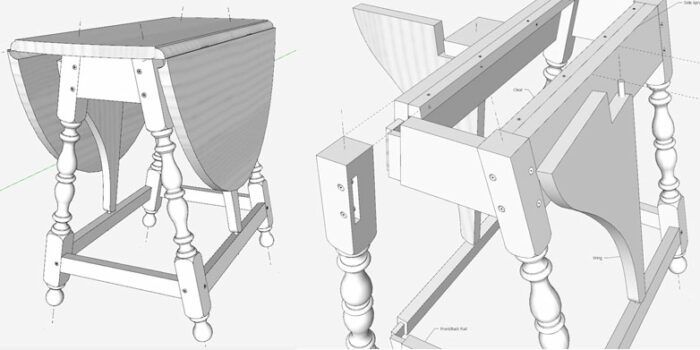
One of my recent projects included lots of angled joinery and turnings. This meant that my drawings would include many centerlines used for accurately placing and connecting components. I decided to take advantage of SketchUp’s capability to show these centerlines in a unique line style.
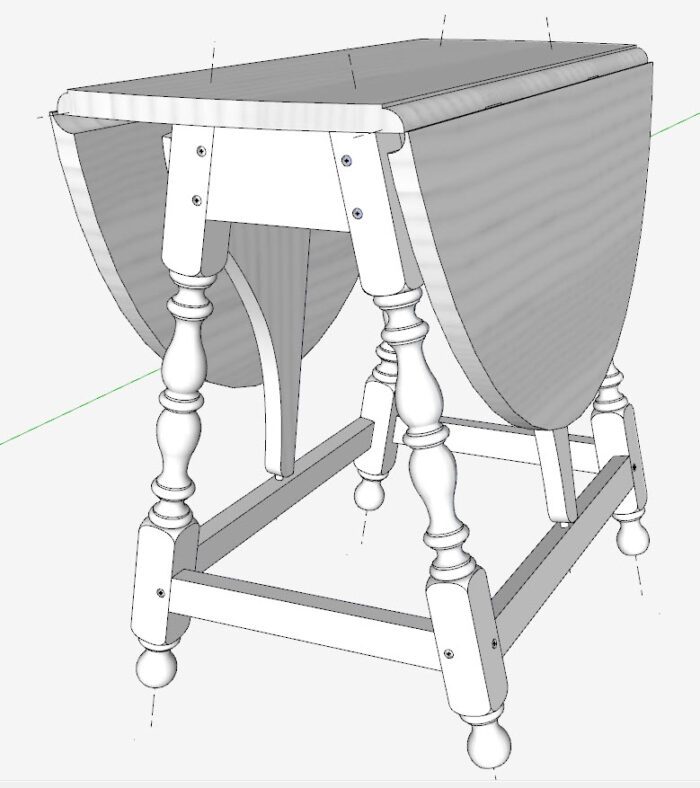
Here is the project: a Butterfly Table from the 17th century. In this assembly view, you can see some of these centerlines, particularly those protruding from the bulbous-turned legs.
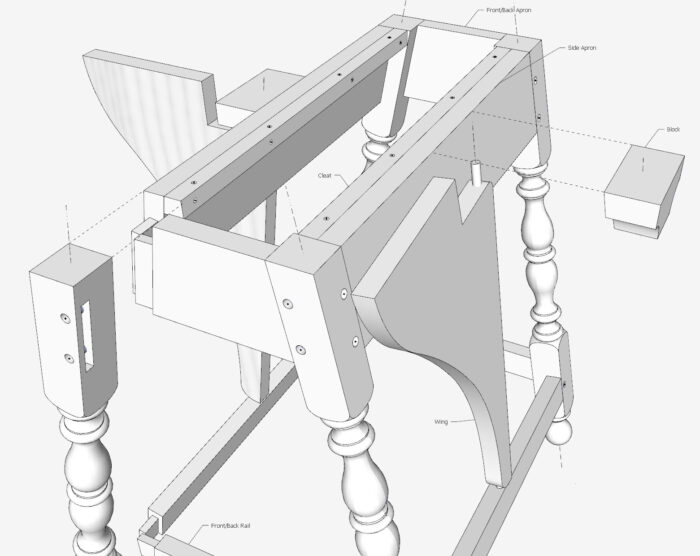
Here is the inside view, where the centerlines are more easily seen. Also, I’ve used some dotted lines for the two components I’ve pulled away from their connections.
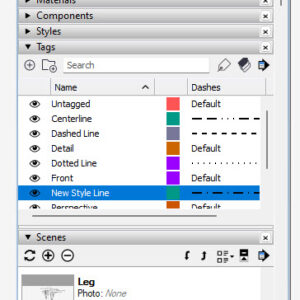
It’s very easy to make solid lines into a specific style. Below is a photo of the Default Tray. Note that I’ve opened the Tags dialog box where you can see where I created specific styles for a Centerline Tag, Dashed Line Tag, and a Dotted Line Tag. When you add a new Tag, for example the New Style Line shown below, you have the option to select a style from a set of styles that are already defined in SketchUp. You simply pick the one style you want from the standard set. I show this in the video below. Also, in that video I show how you apply that Tag to a specific line that is placed in the model.
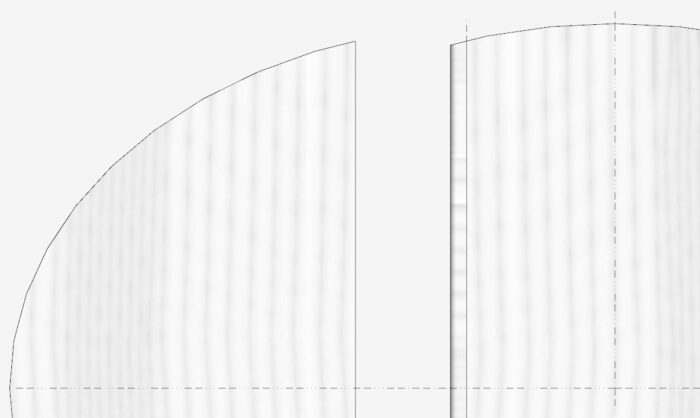
Obviously, there are centerlines in turnings, but I use centerlines in multiple situations. For example, here are centerlines that show up in my full-size templates of the Butterfly’s Top components. Since there is symmetry in these components, I can make half templates to mark out the rough lumber.
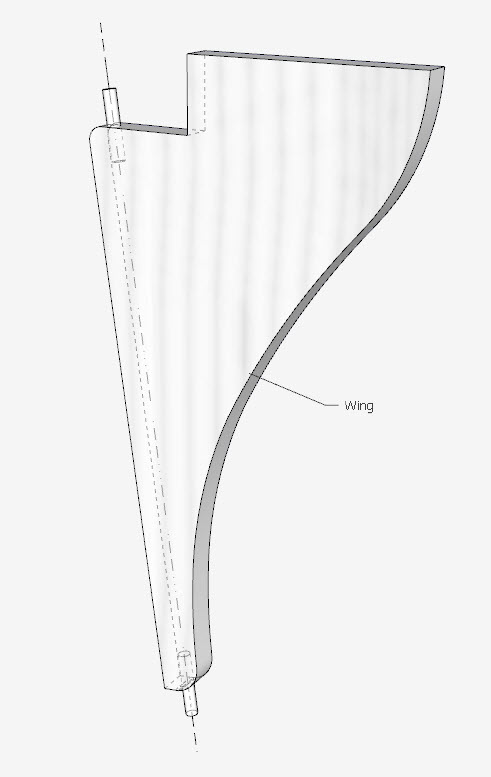
The Wings that support the hinged portion of the Top, swing about a centerline shown here in the Wing Component. That centerline has to exactly match the connected joinery centerlines.
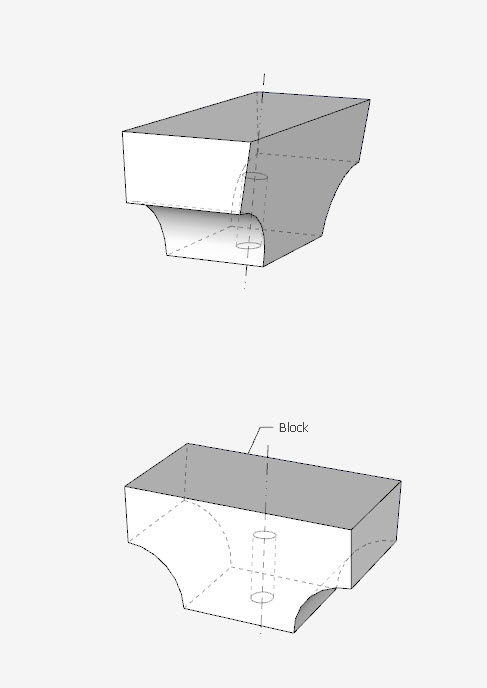
Here is the Block that is fastened to the Side Skirt with a socket and centerline that matches the Wing centerline.
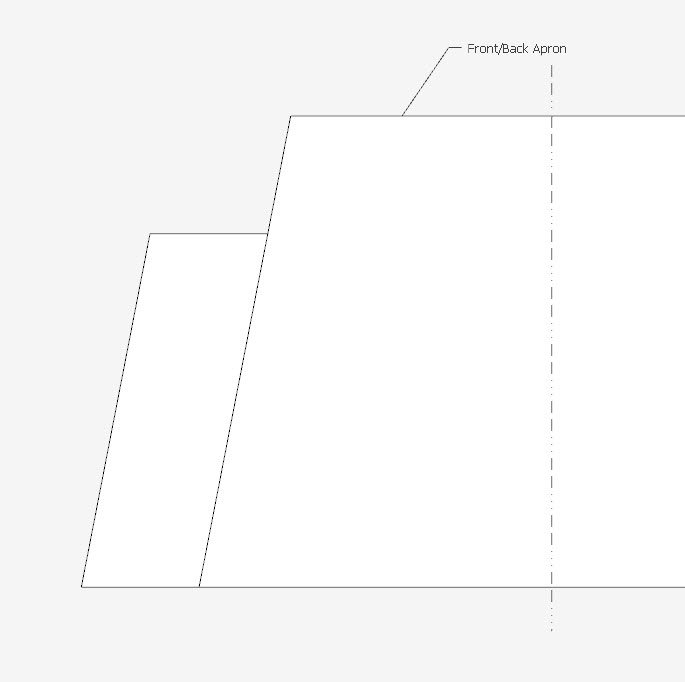
Here is another example of a full-size template. Because of symmetry, I only make a half-template cut at the centerline.
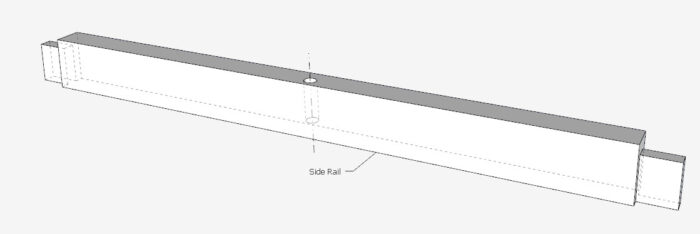
There is an angled socket in the Side Stretcher for the bottom Wing connection.
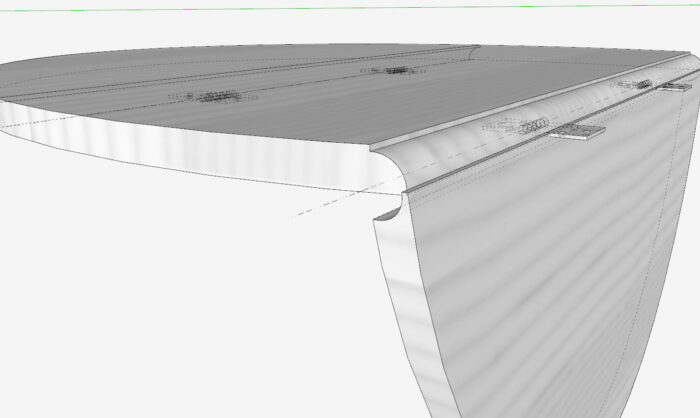
And I have an important centerline embedded in the Rule Joint. The Hinge centers must match with this centerline.
Here is the video showing how these lines are created.
–Tim
 |
Creating a “rule joint” on a 17th-century Butterfly Table |
 |
Displaying alternatives in SketchUp and Layout |
 |
Best photos for SketchUp |
Fine Woodworking Recommended Products
Drafting Tools
Compass

Blackwing Pencils




Comments
Good post Tim.
It's important to note that just as with layers in older versions of SketchUp, tags should only be given to groups and components in the model. The raw geometry, edges and faces, should remain untagged.
Log in or create an account to post a comment.
Sign up Log in