Get started carving
Whether you are looking to add a detail to a box or chair, or embark on a full-fledged woodcarving adventure, your journey begins with knowing the tools you will need.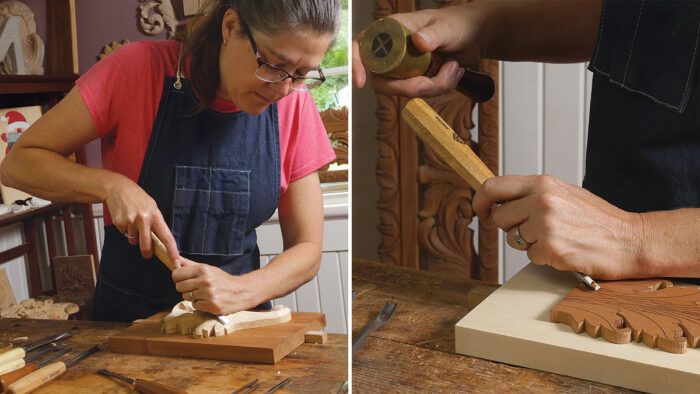
Synopsis: Whether you are looking to add a detail to a box or chair, or embark on a full-fledged woodcarving adventure, your journey begins with knowing the tools you will need. You’re going to need gouges, and to understand the size designations of sweep and blade width. You’ll also need to understand when to use straight vs. fishtail gouges, plus V-tools, and various types of bent gouges for deeper work. Then there are the issues of workholding, type of wood, sharpening, and more.
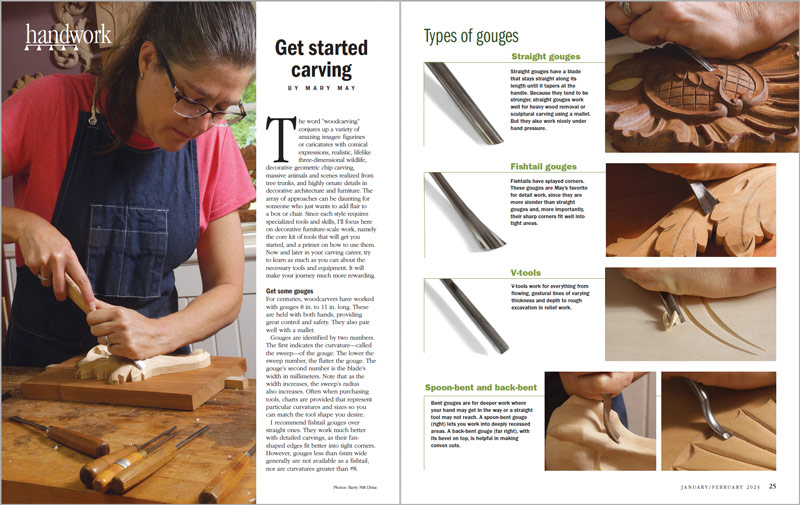
The word “woodcarving” conjures up a variety of amazing images: figurines or caricatures with comical expressions, realistic, lifelike three-dimensional wildlife, decorative geometric chip carving, massive animals and scenes realized from tree trunks, and highly ornate details in decorative architecture and furniture. The array of approaches can be daunting for someone who just wants to add flair to a box or chair. Since each style requires specialized tools and skills, I’ll focus here on decorative furniture-scale work, namely the core kit of tools that will get you started, and a primer on how to use them. Now and later in your carving career, try to learn as much as you can about the necessary tools and equipment. It will make your journey much more rewarding.
Get some gouges
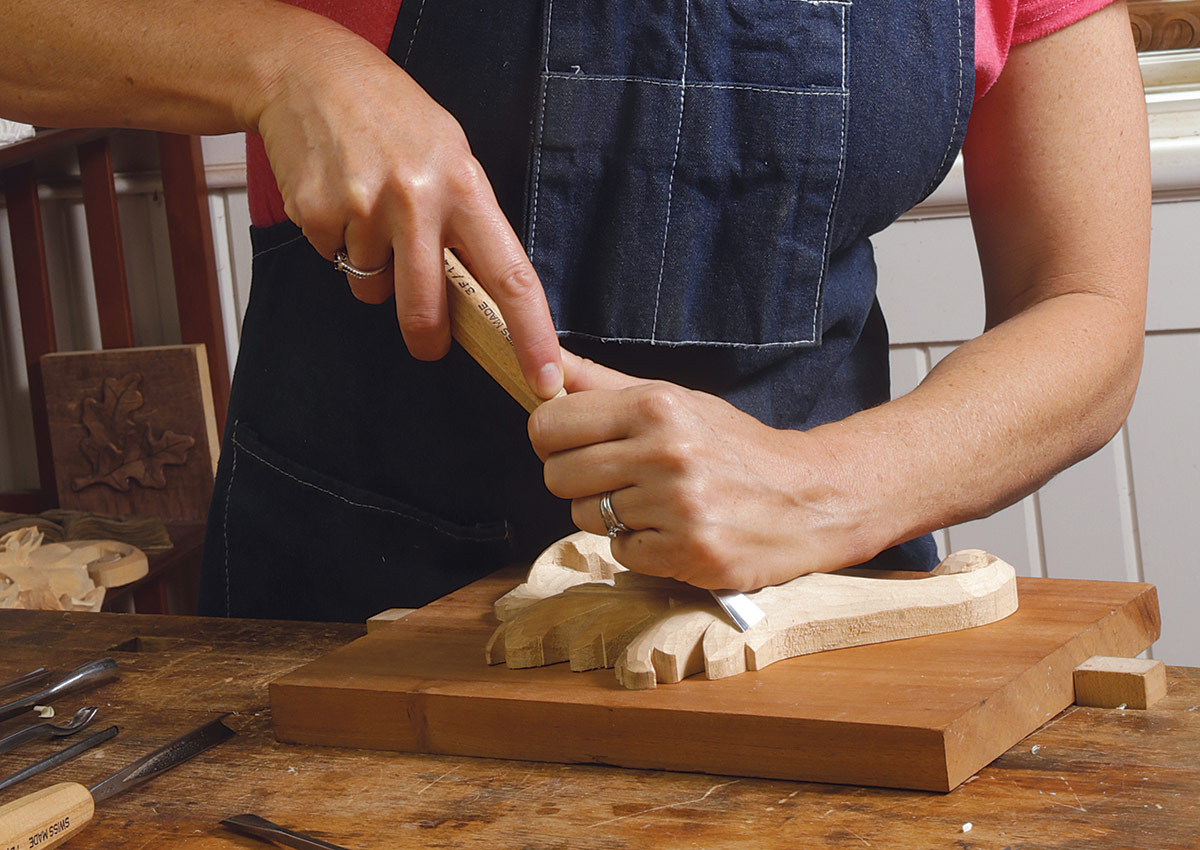
For centuries, woodcarvers have worked with gouges 8 in. to 11 in. long. These are held with both hands, providing great control and safety. They also pair well with a mallet.
Gouges are identified by two numbers. The first indicates the curvature—called the sweep—of the gouge. The lower the sweep number, the flatter the gouge. The gouge’s second number is the blade’s width in millimeters. Note that as the width increases, the sweep’s radius also increases. Often when purchasing tools, charts are provided that represent particular curvatures and sizes so you can match the tool shape you desire.
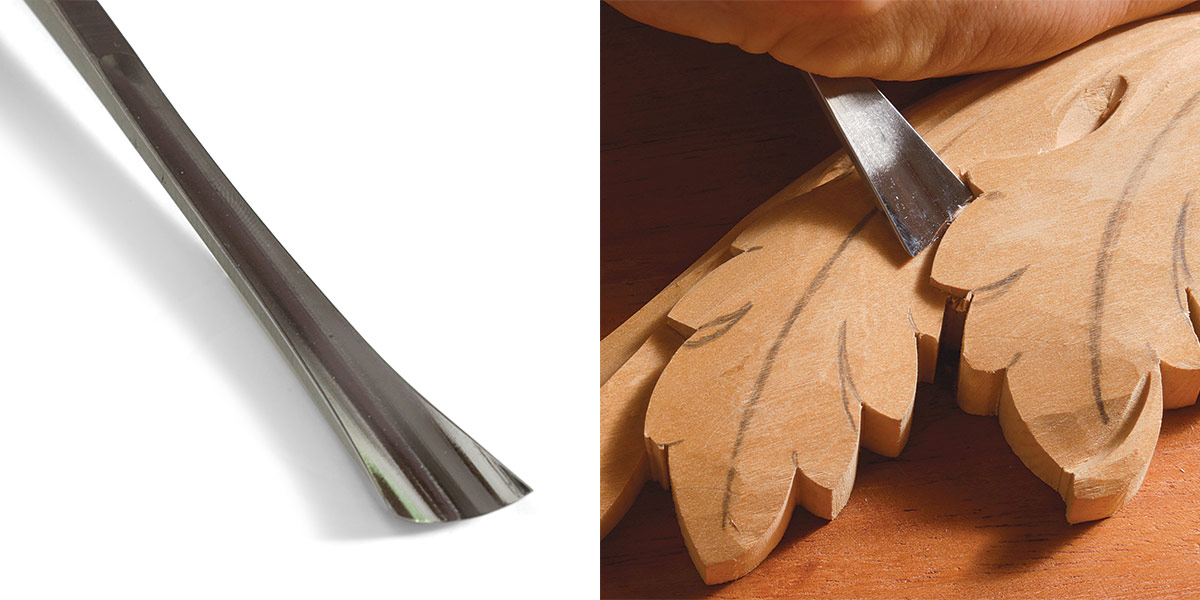
I recommend fishtail gouges over straight ones. They work much better with detailed carvings, as their fan-shaped edges fit better into tight corners. However, gouges less than 6mm wide generally are not available as a fishtail, nor are curvatures greater than #8.
As your skills develop, you may expand into spoon- and back-bent gouges. When you get there, I recommend a #8‑10mm spoon-bent and a #3‑8mm back-bent.
Types of gouges
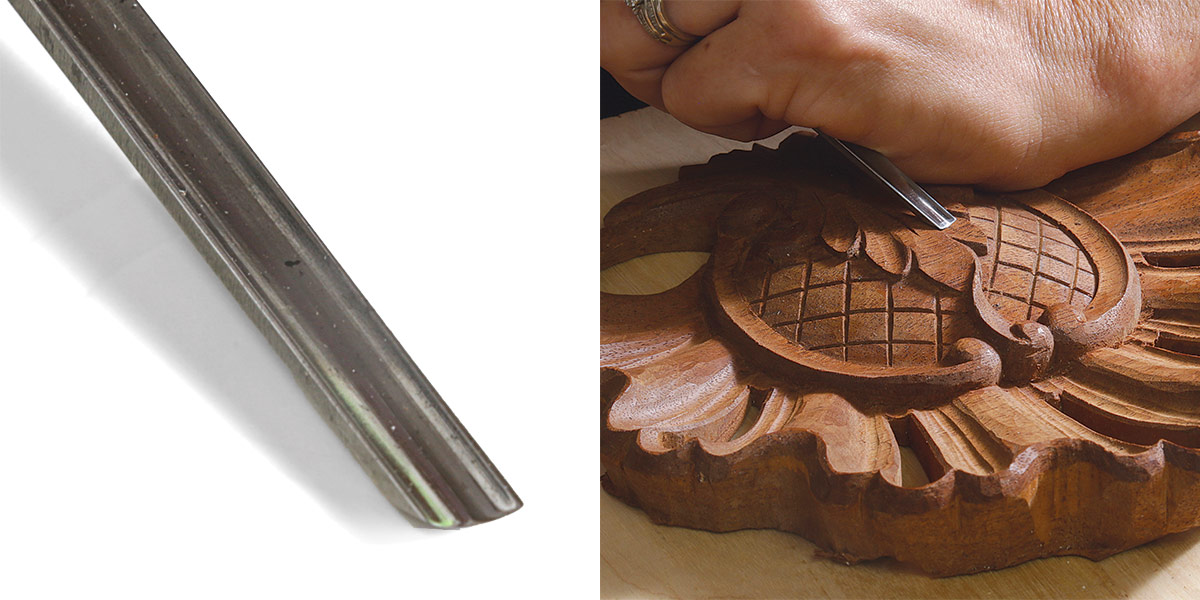
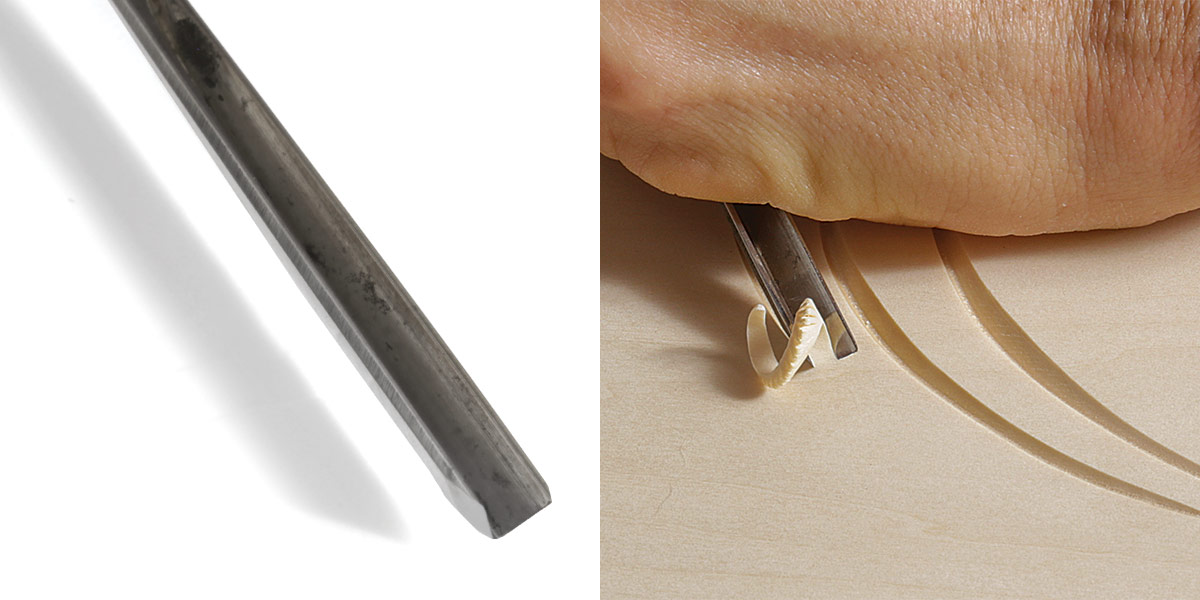
Straight gouges
Straight gouges have a blade that stays straight along its length until it tapers at the handle. Because they tend to be stronger, straight gouges work well for heavy wood removal or sculptural carving using a mallet. But they also work nicely under hand pressure.
Fishtail gouges
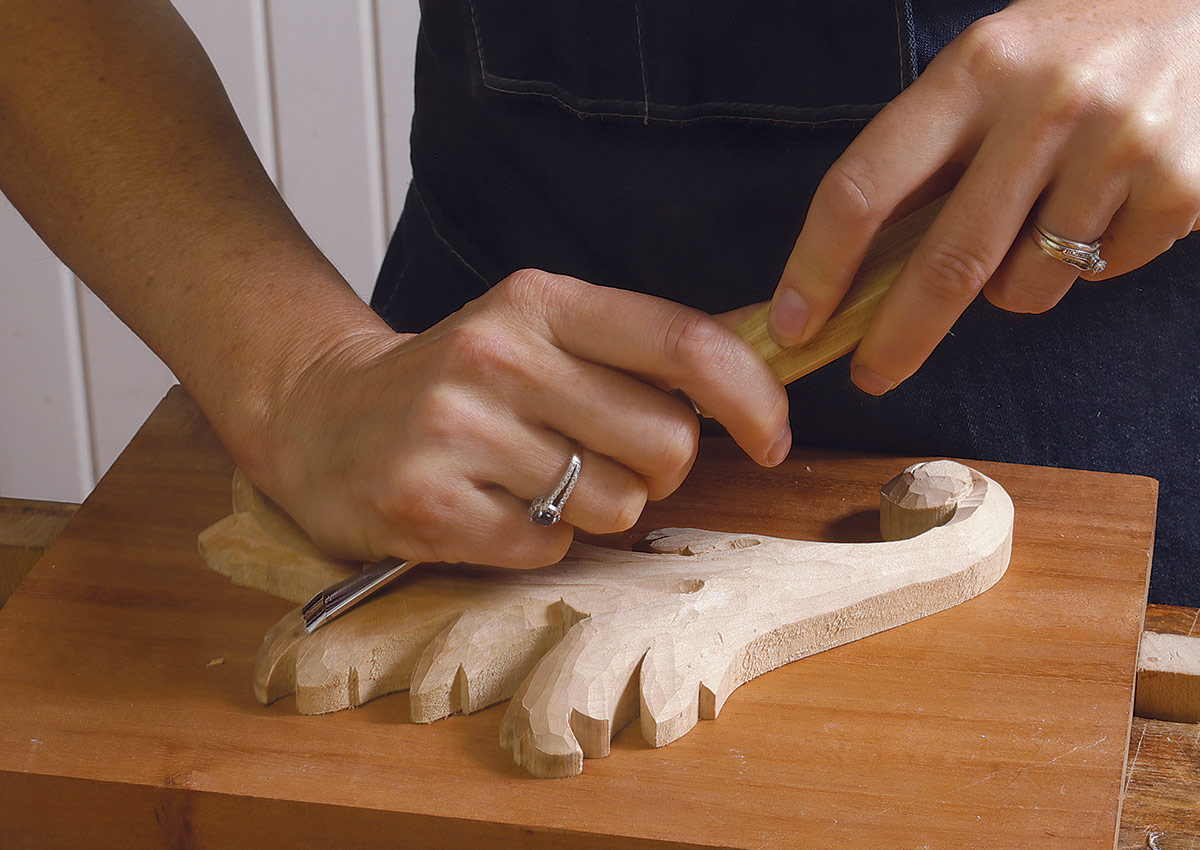
Fishtails have splayed corners. These gouges are May’s favorite for detail work, since they are more slender than straight gouges and, more importantly, their sharp corners fit well into tight areas.
V-tools
V-tools work for everything from flowing, gestural lines of varying thickness and depth to rough excavation in relief work.
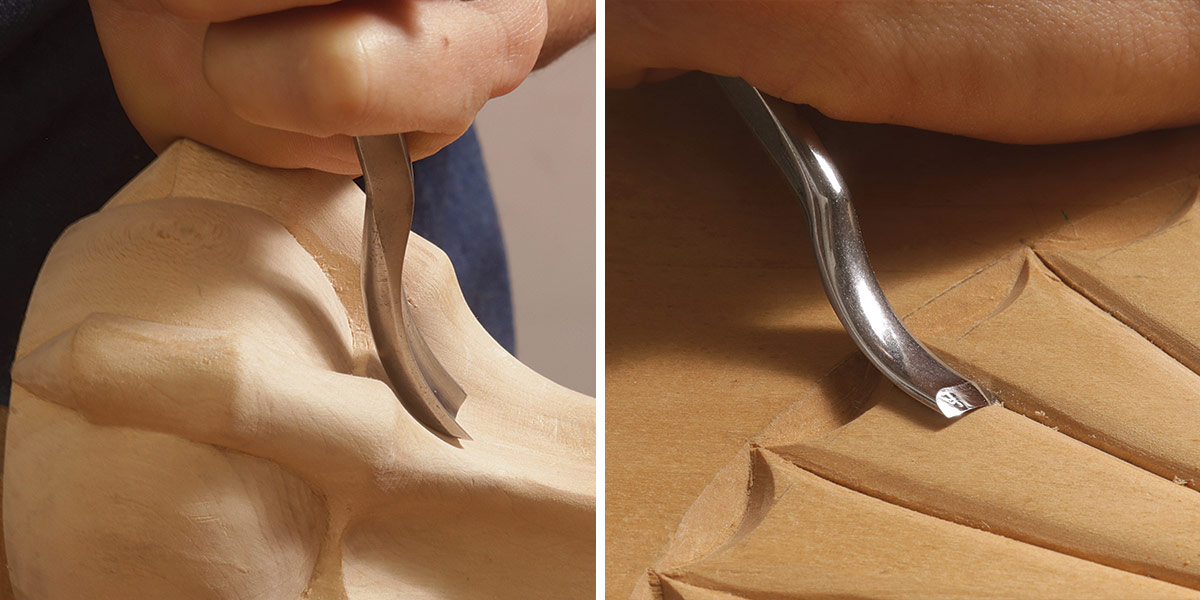
Spoon-bent and back-bent
Bent gouges are for deeper work where your hand may get in the way or a straight tool may not reach. A spoon-bent gouge (left) lets you work into deeply recessed areas. A back-bent gouge (right), with its bevel on top, is helpful in making convex cuts.
With gouges, quality is critical. Budget carving tools will likely nip a budding woodcarver before they even start. Often these gouges have cheap metal that is not properly tempered, or they may be too bulky to carve delicate details. Here’s a test: If it sharpens quickly, it will dull quickly. Seek out these brands that temper their tools specifically for holding a sharp carving edge: Pfeil (aka Swiss Made), Auriou, Stubai, Two Cherries, Hirsch, Dastra, Henry Taylor, Ashley Isles, and, for an antique option, Addis.
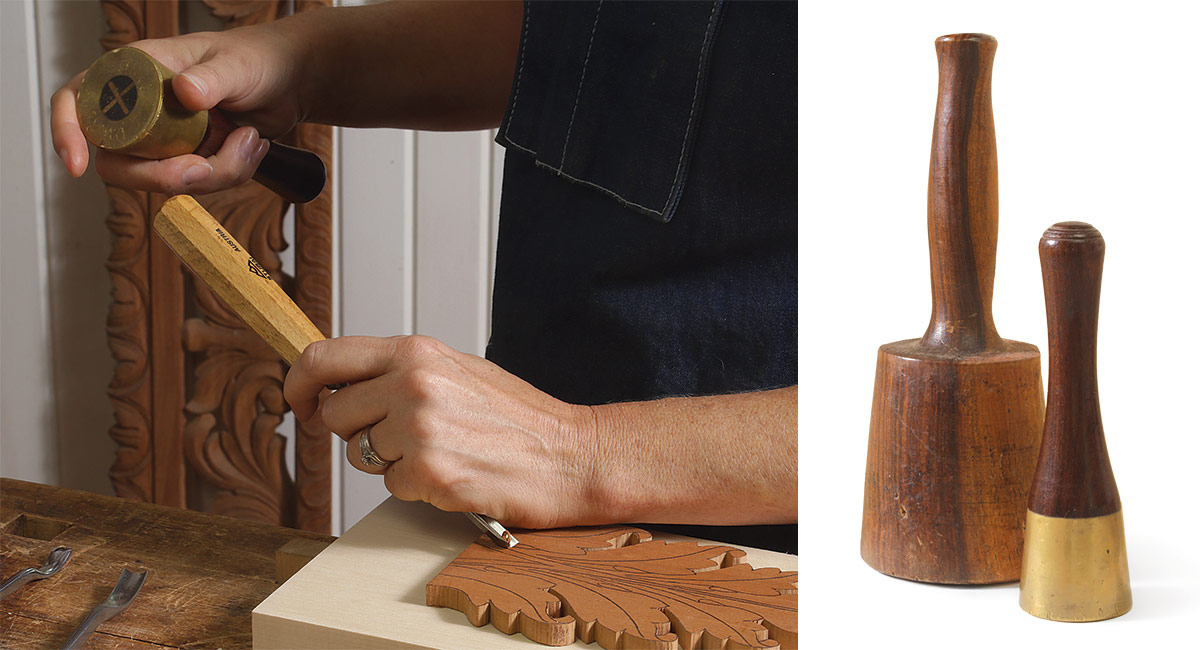
For your mallet, look for a turned one that weighs 1 lb. to 1-1/2 lb., depending on your strength and type of carving. Choose a wooden one for heavy work and a metal one for more delicate taps.
Which wood?
Basswood is ideal for your first carvings. It’s soft, and the grain tends to be even and forgiving, letting you develop your carving cuts without the wood fighting back.
After learning the basics with basswood, I recommend moving on to mahogany, walnut, or cherry—woods more typically used in furniture making. They can be more challenging because more effort and control are needed to push the gouges through the wood. Mallets will likely be needed for roughing out. But the crisp details these woods offer are worth the extra effort.
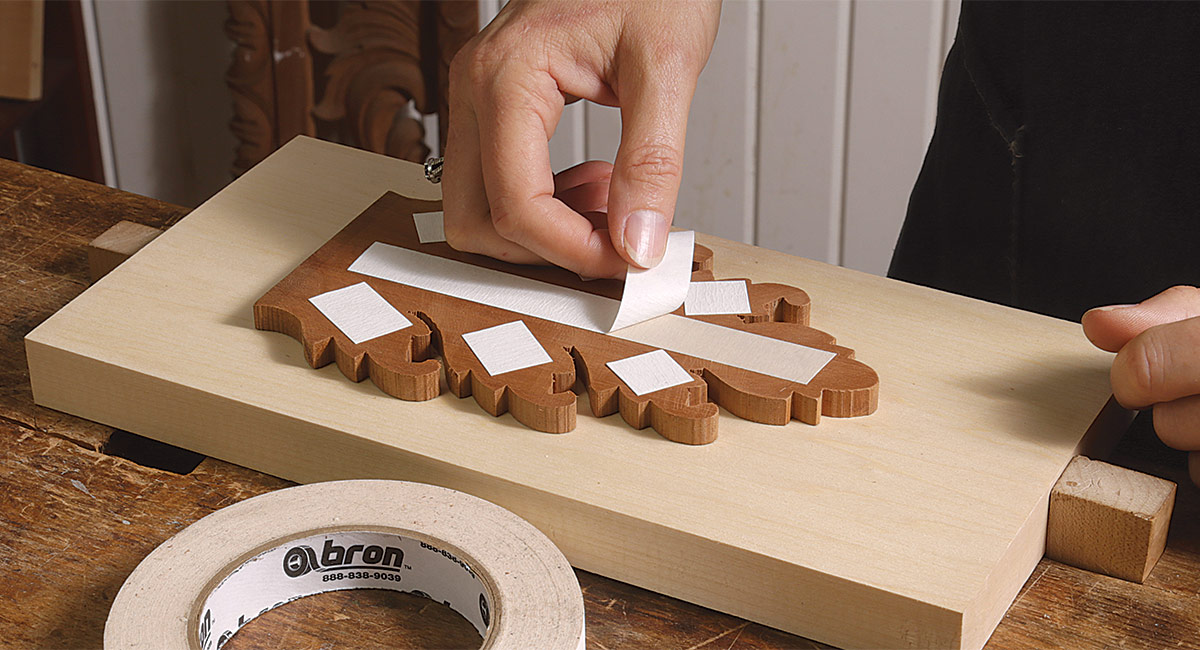
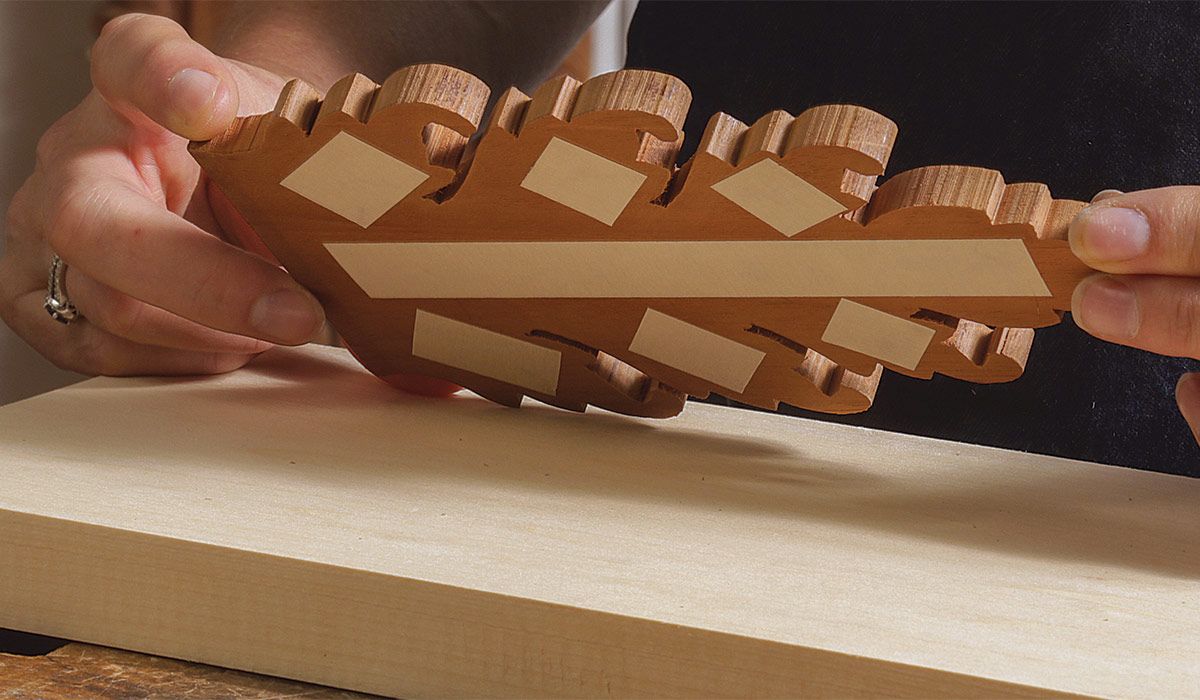
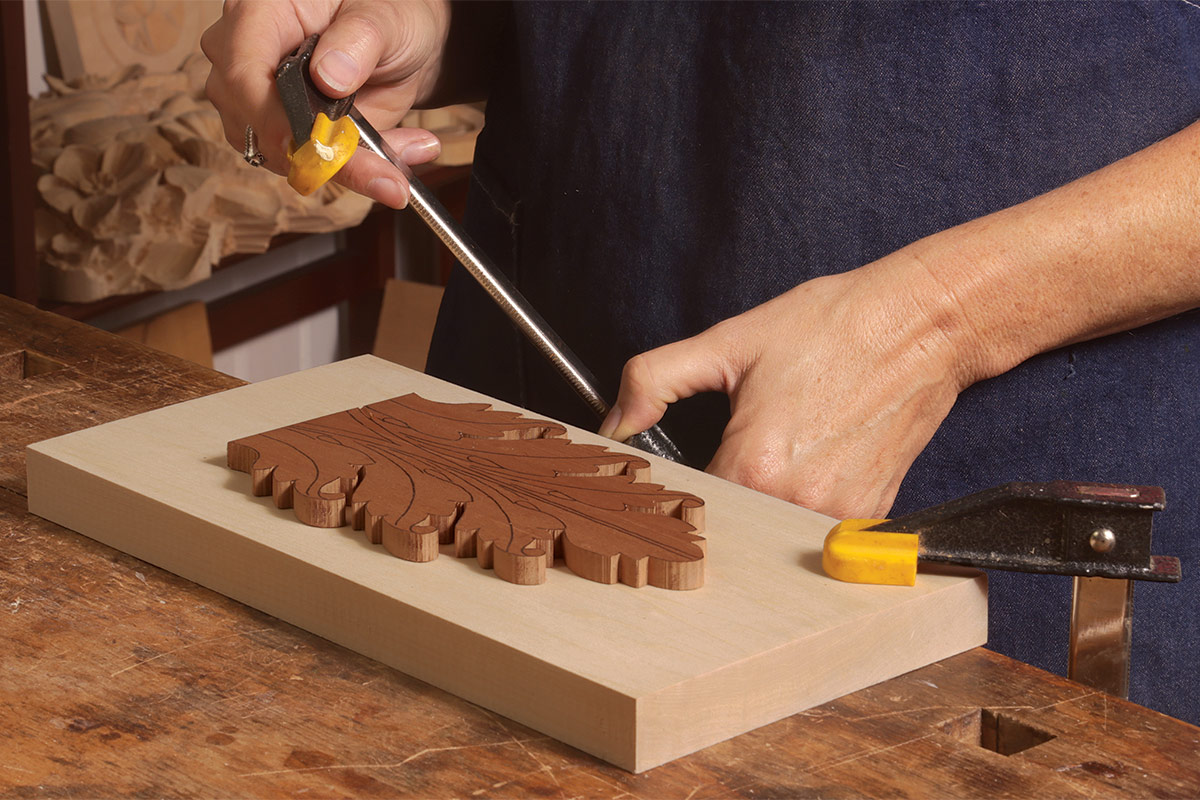
Workholding
Take care of your body
Furniture carving is an incredible skill to hone, but don’t let the calm, quiet work deceive you. Hours spent leaning over a bench with a gouge gripped between your hands can take a toll on your body.
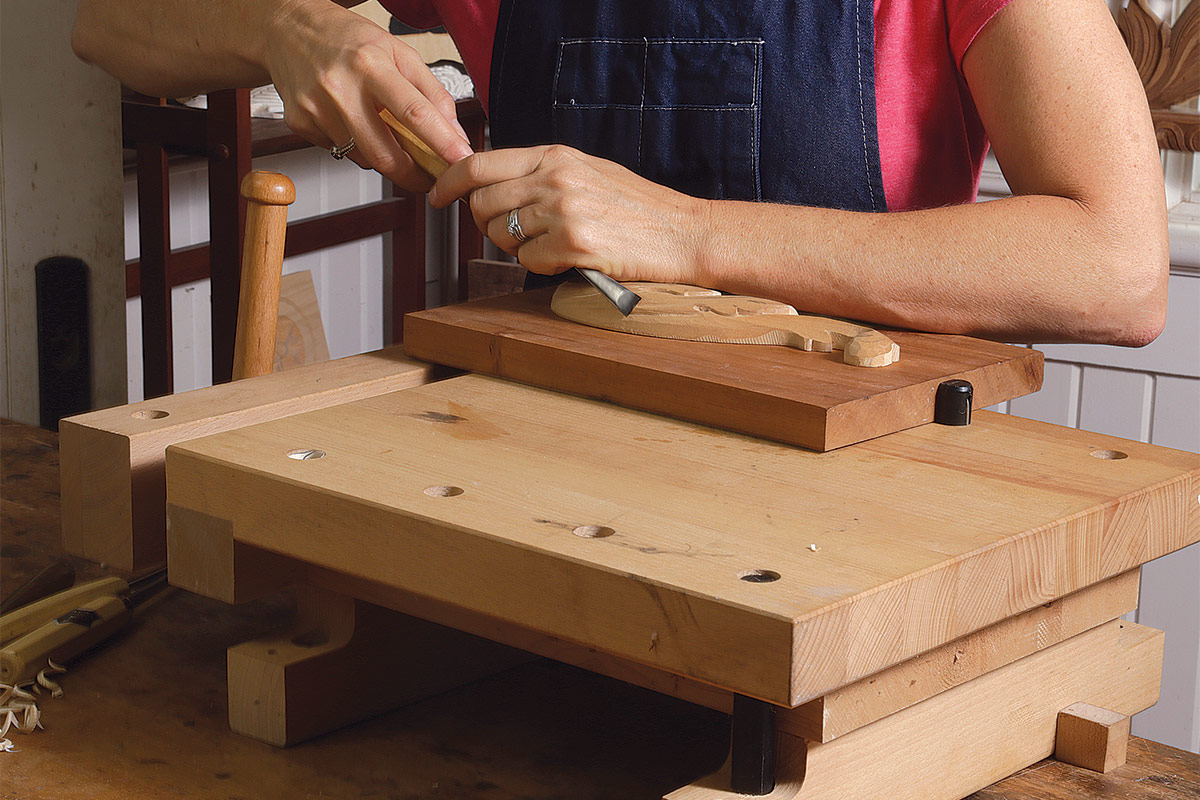
For one, make sure you’re carving at the right height. You want the top of the carving to be about 2 in. below your elbows. At a standard workbench, this likely means raising your work. You can block up your bench or use a mini bench on top of your current bench. Similarly, keep the carving close to your body to avoid leaning over too much.
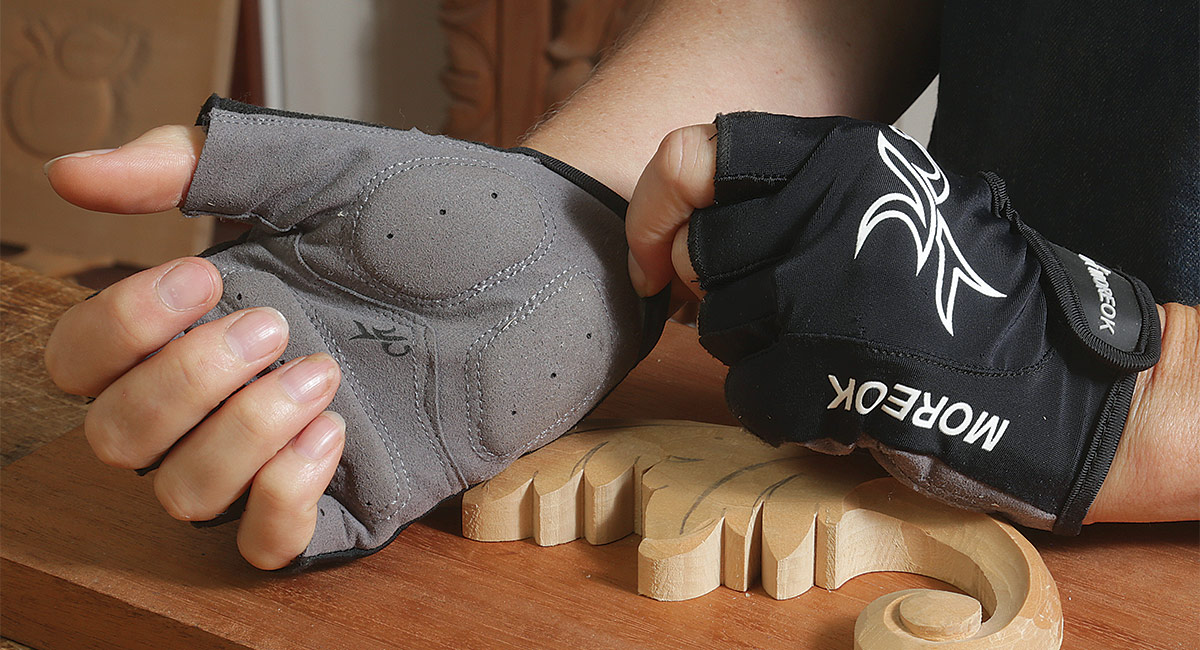
To protect your hands, don a pair of padded, fingerless gloves. They soften the pressure of the gouge handles while still letting you easily assess the carving with your fingertips, which I find tells me more than just my eyes.
Carve with control
Sharpening
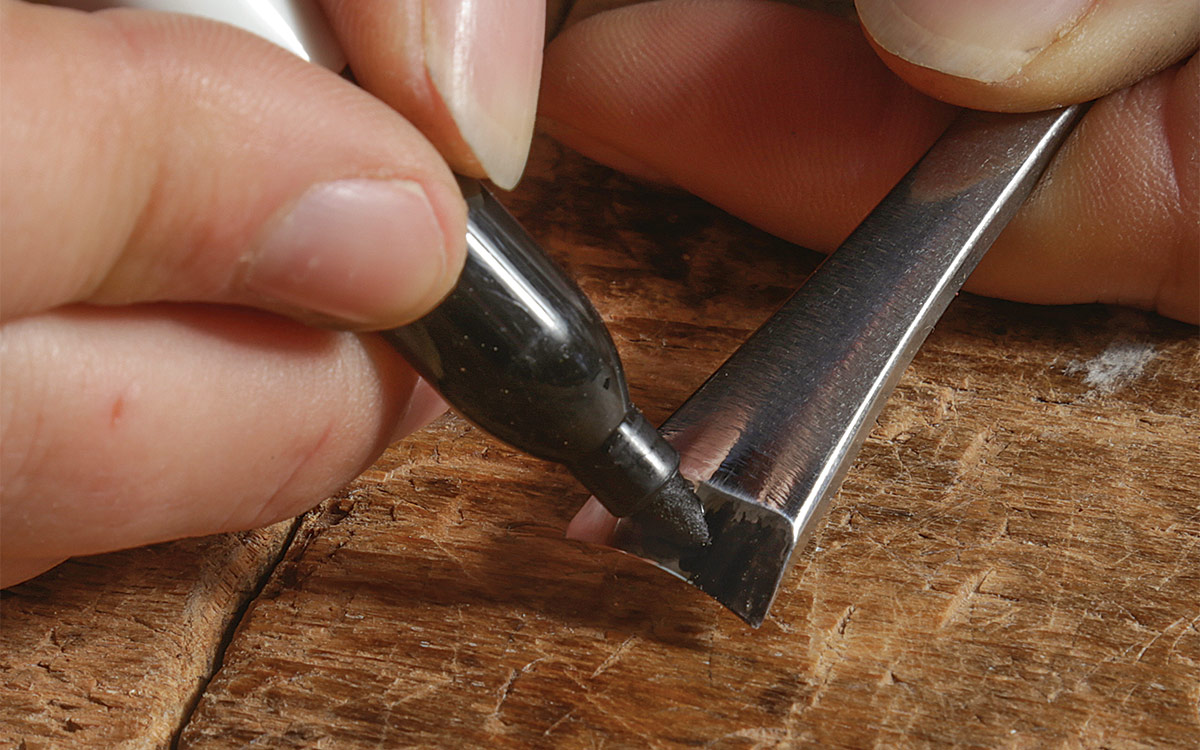
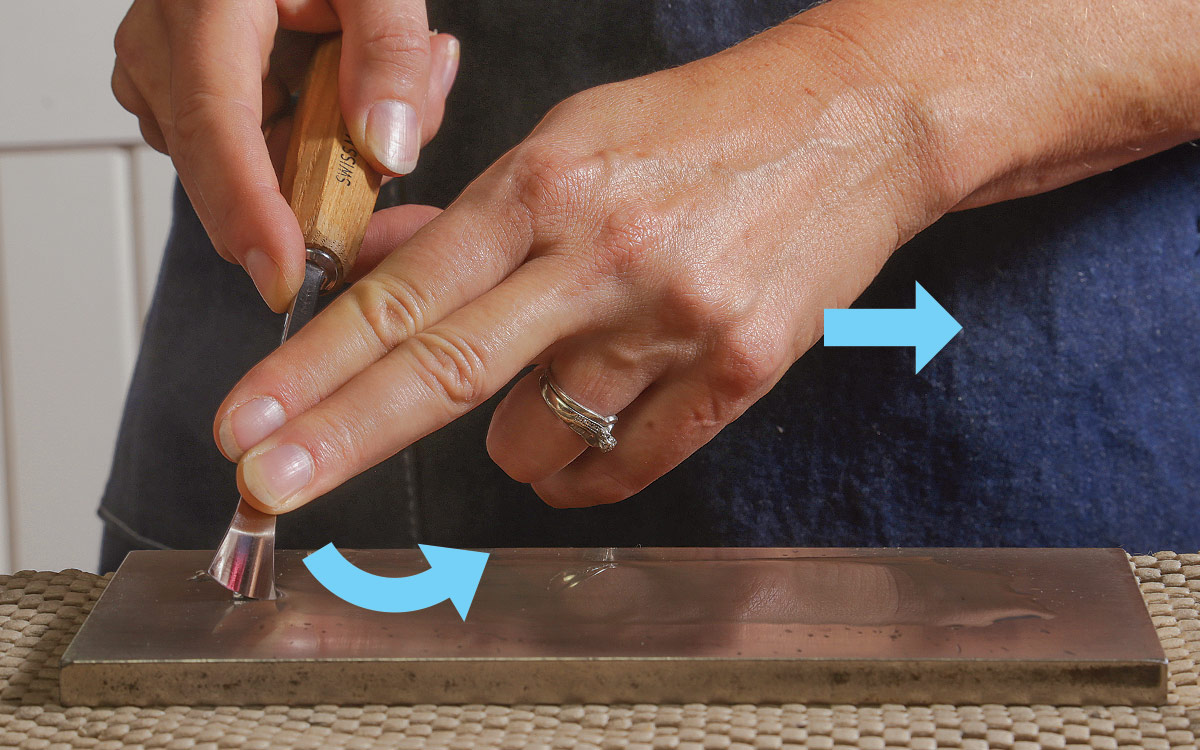
A carved surface is often the final surface, so your tools need to be sharp and stay sharp. I prefer diamond stones lubricated with water for working the bevels. These stones hold up far better to the wear of sharpening gouges, as the motion can rub troughs in softer media.
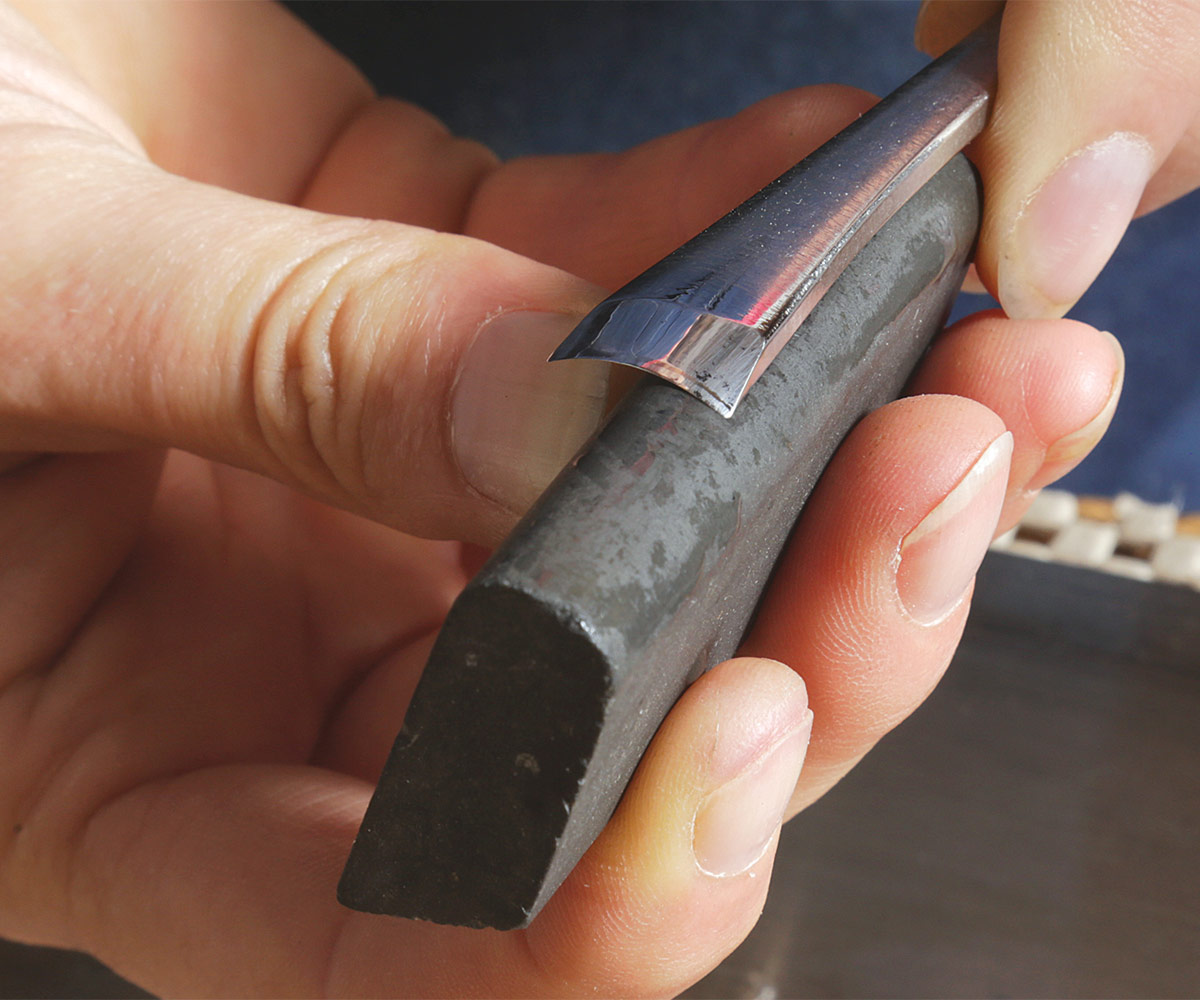
Use a slip stone to polish the gouge’s inside curve. This will likely be an Arkansas stone, but you can use it with water, too, provided it’s not already contaminated with oil. Use only the finest slip stone you can find to avoid changing the curve’s inside geometry.
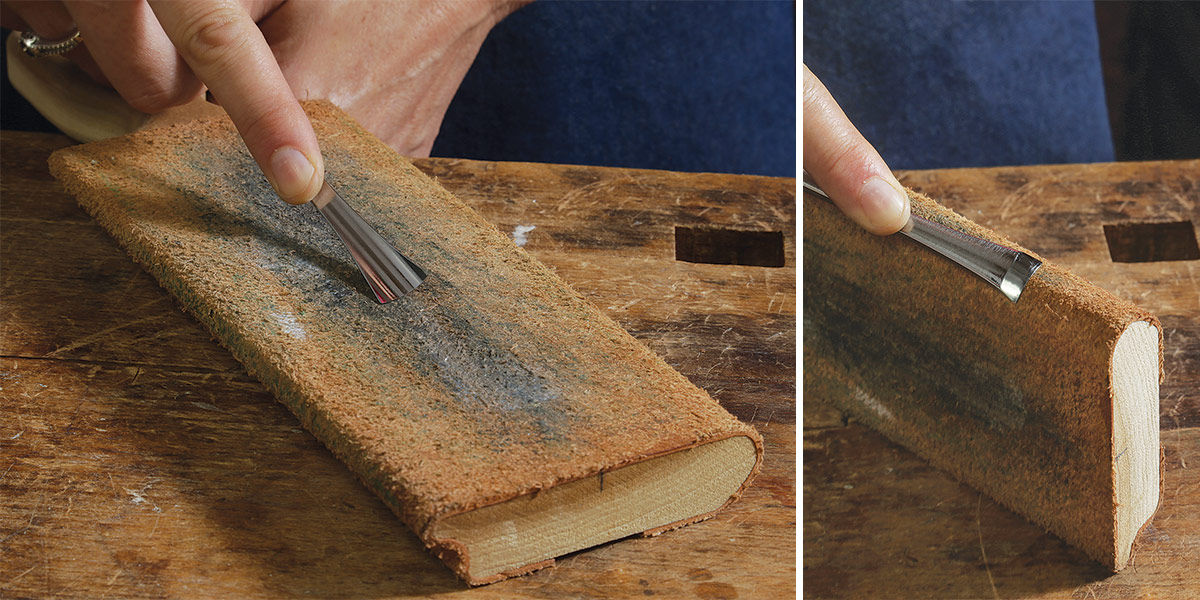
A strop coated with honing compound handles final polishing and, later, touching up the edge while carving. Strop both the bevel and the inside edge.
Get sharp, stay sharp
Mary May runs an online woodworking school out of her shop in Charleston, S.C.
Photos: Barry NM Dima
From Fine Woodworking #301
To view the entire article, please click the View PDF button below.
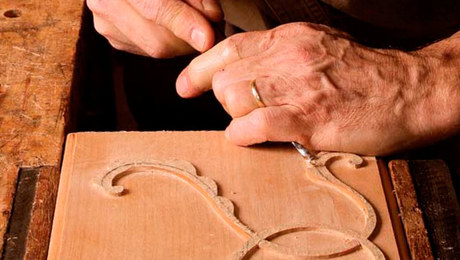 |
Benchmarks: Mary May—Carving really isn’t that scarySo how do you get past that anxiety to venture into the foreign world of curves and decorative carving? Begin by recognizing that for any new skill, no matter how daunting, we all have to start somewhere. |
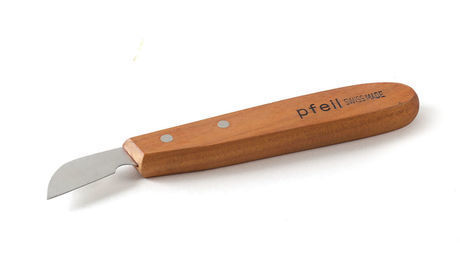 |
How to Sharpen a Chip-Carving Knife |
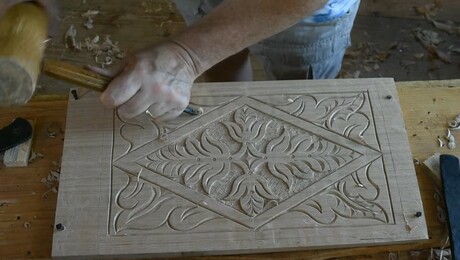 |
A great relief carving for beginners and bosses alike |
Fine Woodworking Recommended Products

Starrett 12-in. combination square
Veritas Micro-Adjust Wheel Marking Gauge
Tite-Mark Marking Gauge





Log in or create an account to post a comment.
Sign up Log in