Making and using squaring sticks
This traditional tool lets you check for square without math or measuring.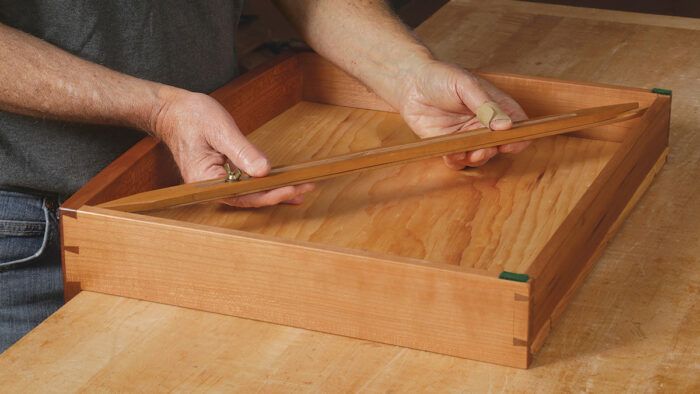
Synopsis: Square joinery is crucial to a successful build. There are a number of ways to check for square, but these expandable sticks by Charles Durfee are reliable and easy to use. With a mating tongue-and-groove and locking wing nut, they are simple to build. The points fit into inside corners, so you can accurately compare diagonals when checking for square, and the locking mechanism helps you be sure nothing slipped while moving from one diagonal to another.
My woodworking career began with building boats, where nothing is square. But as I moved more into making cabinets and furniture, square and flat became the norm—the foundation that the structures depend on. With this new work, I needed to have a reliable method to check for 90°. For small pieces, a square works, but if there’s any curve, bow, or reveal, a square quickly becomes useless. Therein lies the beauty of checking inside diagonals, since equal corner-to-corner dimensions mean a piece is 90° all around.
A measuring tape works to check diagonals, but its shortcomings quickly become apparent when you stab the end into one corner, try to hold up the tape so it doesn’t sag too much, and take your best guess at the measurement from the scale bent to reach into a corner at the other end.
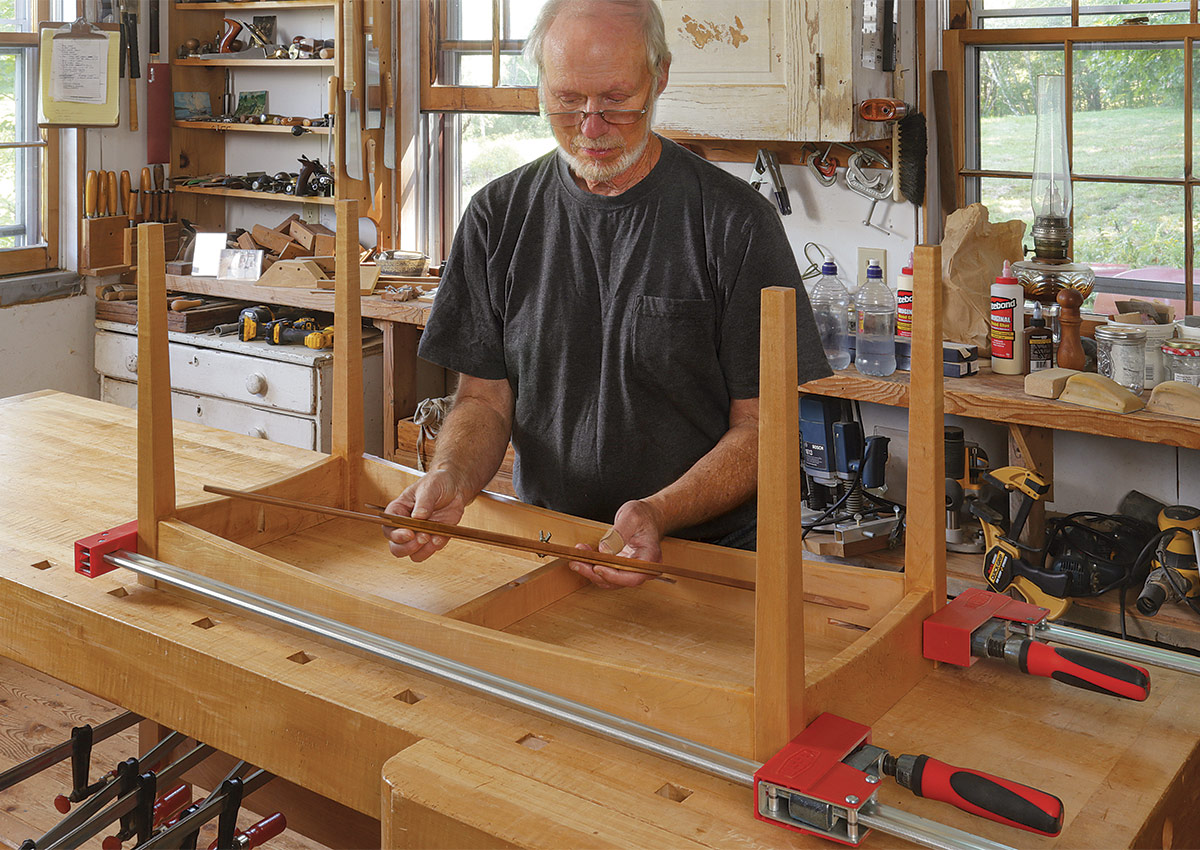
After fighting the tape, there’s the “aha!” moment when you realize something rigid and expandable could do a better job, extending right into the opposite corners without sagging and without numbers.
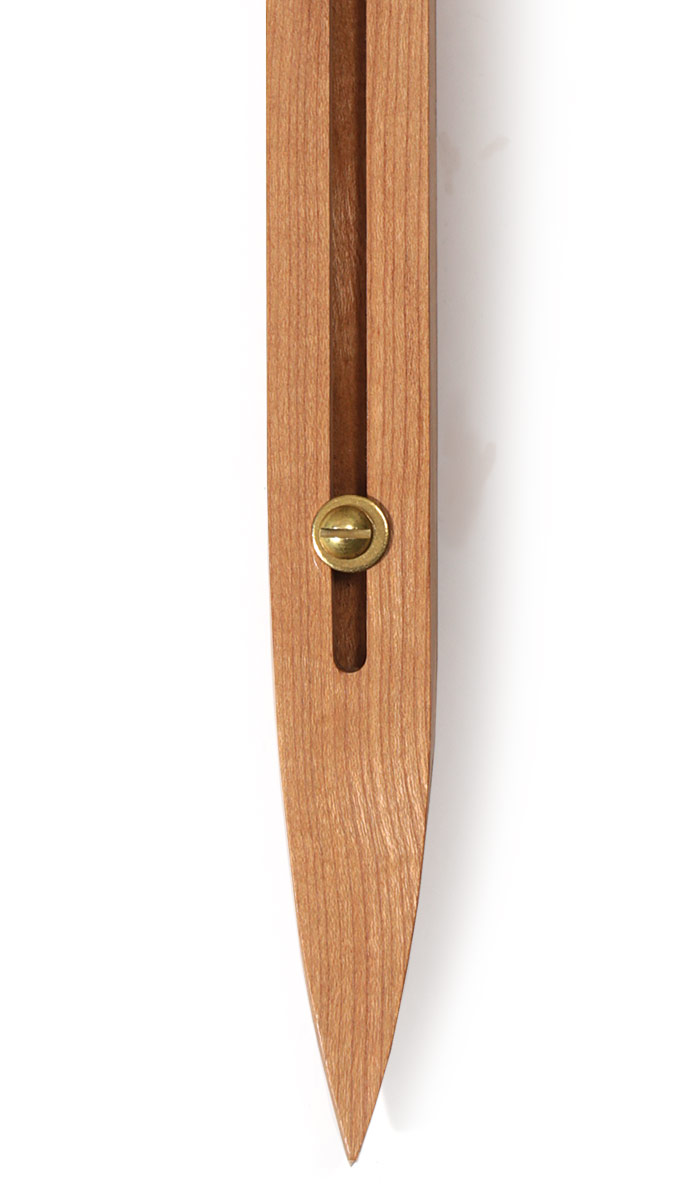
Two sticks clamped together can work, but my version, with its mating tongue-and-groove and locking wing nut, are outsize upgrades considering how little time they take to make. I made two sets over 30 years ago, a long one and a short one (34 in. and 22 in.), and they’ve proved reliable partners in making square furniture large and small. I’ve used them so much I can’t tell what finish I put on them—or if the finish is just patina. The tongue-and-groove allows the two halves to slide back and forth easily and stay in line with each other. The locking mechanism, simply a machine screw with a wing nut and two washers that travels in a slot in the grooved stick, removes any question about whether the sticks slipped while moving from one diagonal to the other. You can also lock in the proper diagonal during a dry run to check for square at the glue-up.
Start with the grooved blank
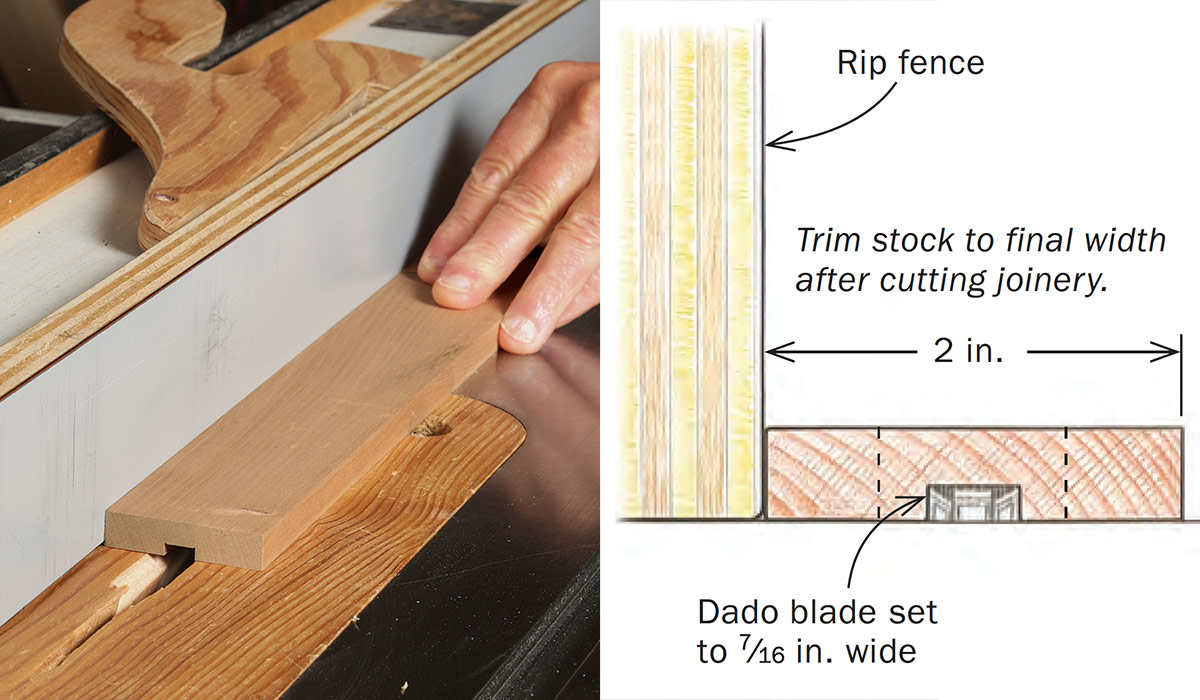
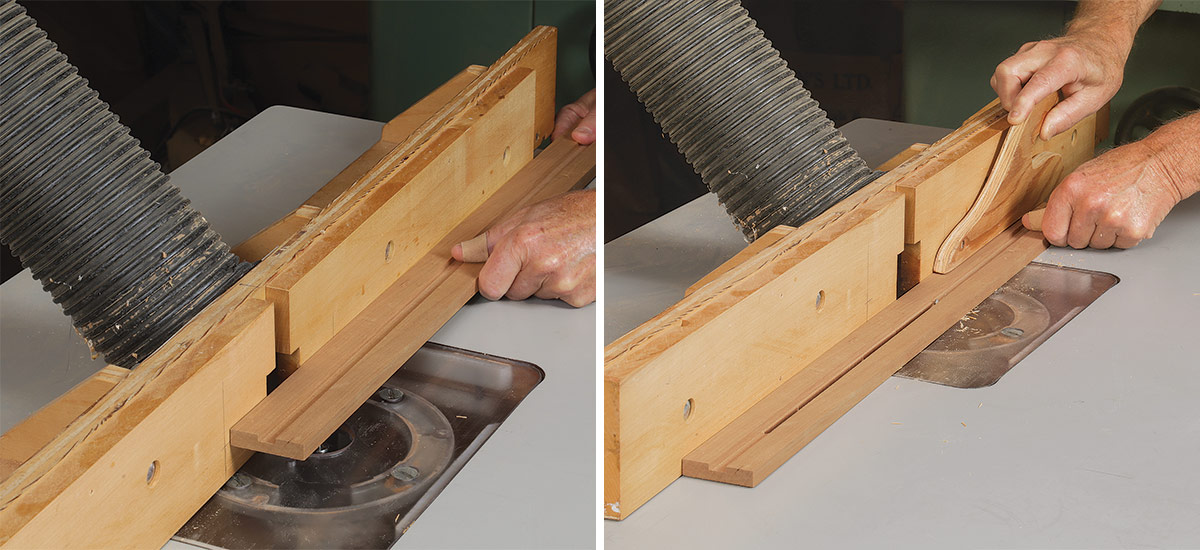
Don’t pick any old scrap for these sticks. Choose a hardwood with straight grain, and rough-mill the pieces oversize before setting them aside at least overnight to release any internal stresses. If there’s any warp, ditch them and mill new stock. Once you find workpieces that behave, joint and mill them to final thickness and length, but two to three times extra wide.
The temporary added width is for safety, at least for the workpiece that gets slotted. Wider stock is easier to control and keeps your fingers away from the cutters. It will also resist flexing when making the slot. If you tried cutting that slot with the piece at final width, it would almost certainly pinch closed around the cutter, a recipe for danger. Keep the to-be-tongued workpiece wide now, too, for efficiency’s sake. Since the two will end up the same width, simply rip them to final dimension at the same time after you cut the slot.
Center the groove and slot as best you can. I use calipers. Doing so isn’t crucial and you’ll likely uncenter them when you rip off the workpiece’s edges. But since the tongue will be centered, having even a centered groove and slot will minimize fitting.
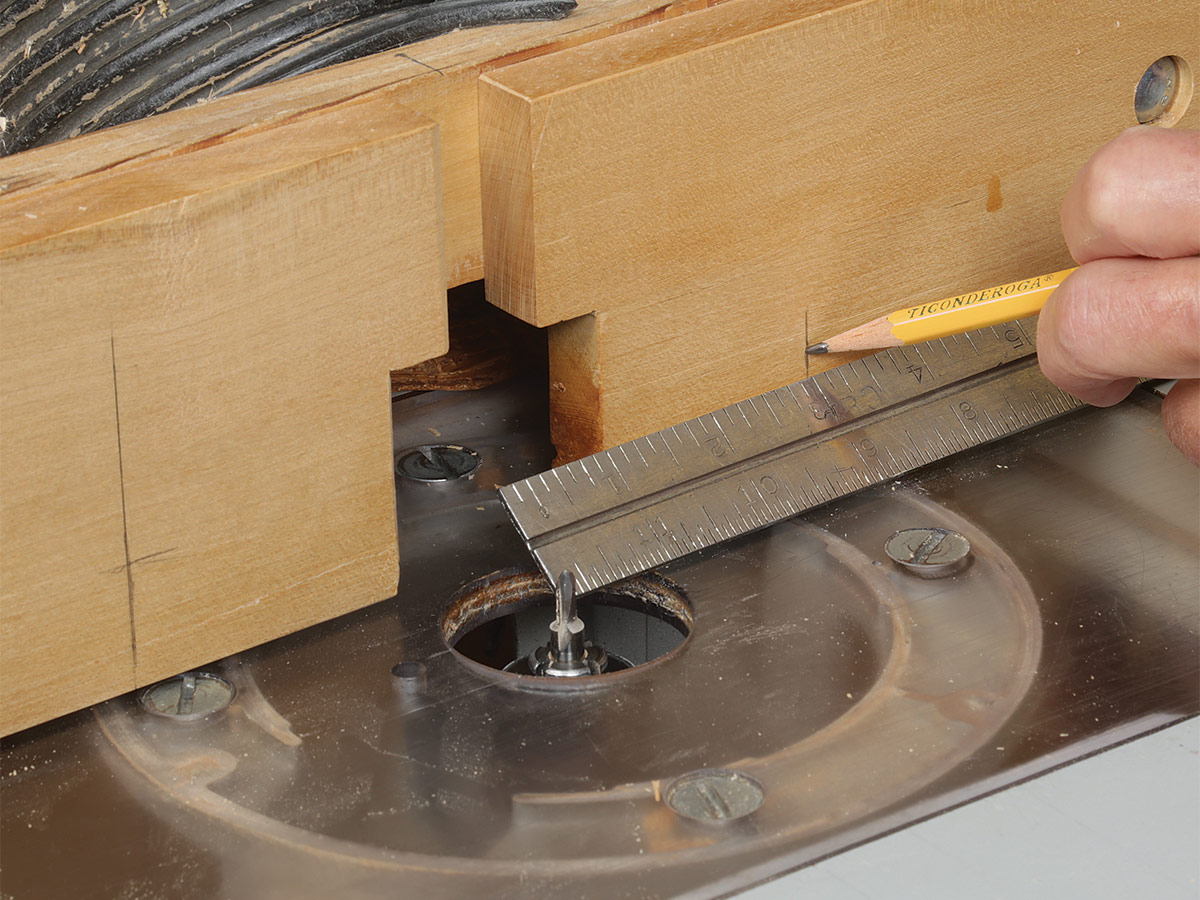
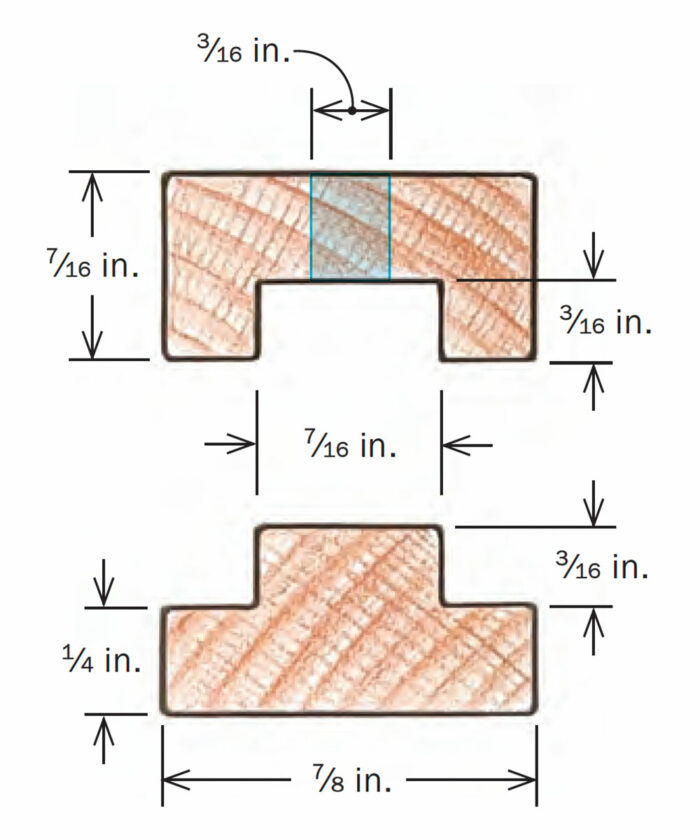
Cut the slot with a router bit the same diameter as the machine screw, 3/16 in. It’s a tight fit off the bit, but a little sanding afterward gives the slot all the clearance the screw needs.
Cut a tongue to match the groove
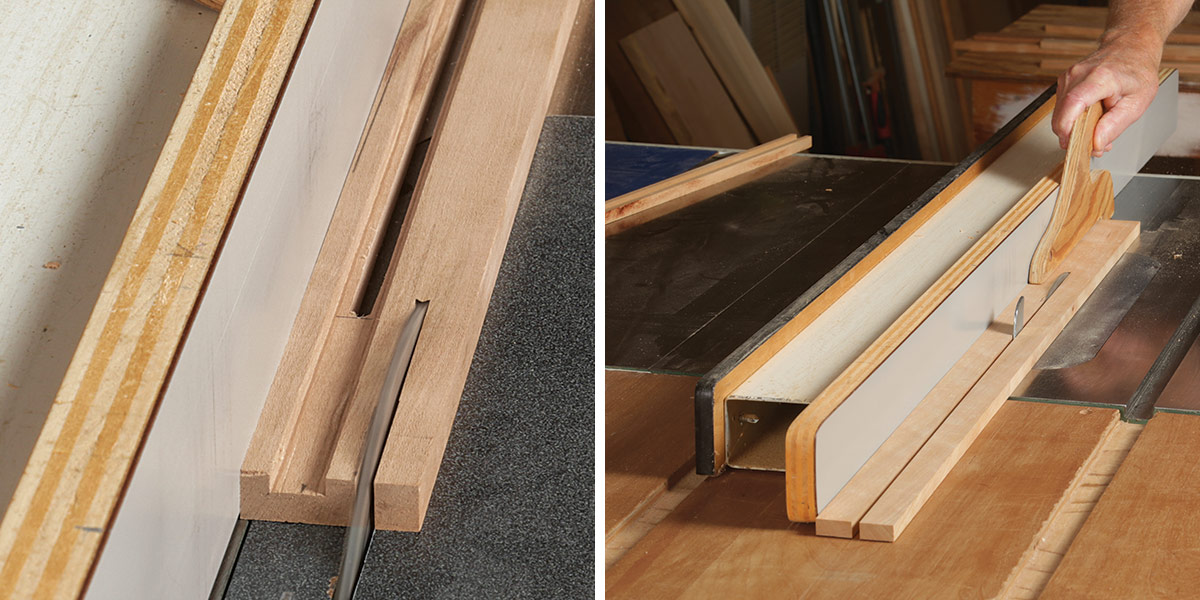
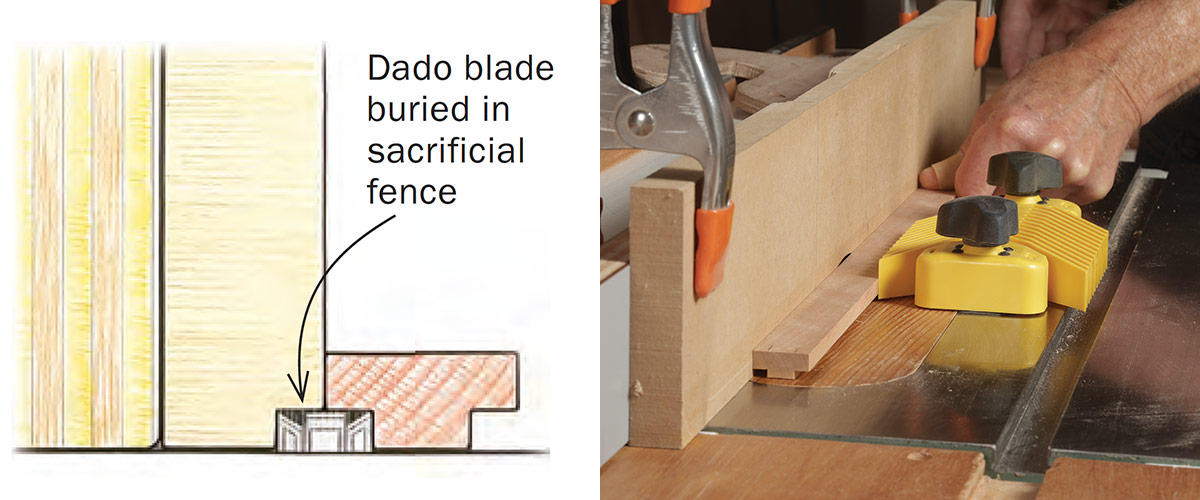
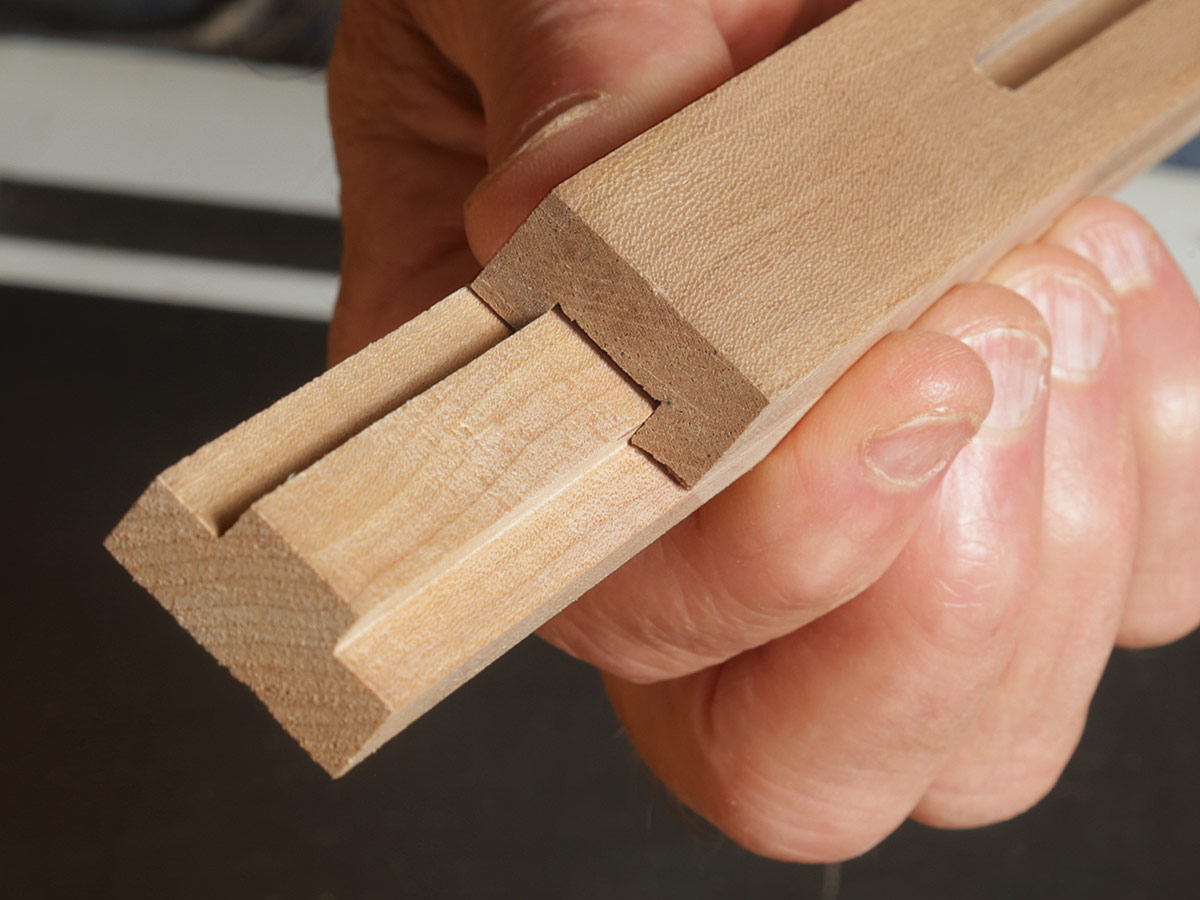
Point the ends and drill for a screw
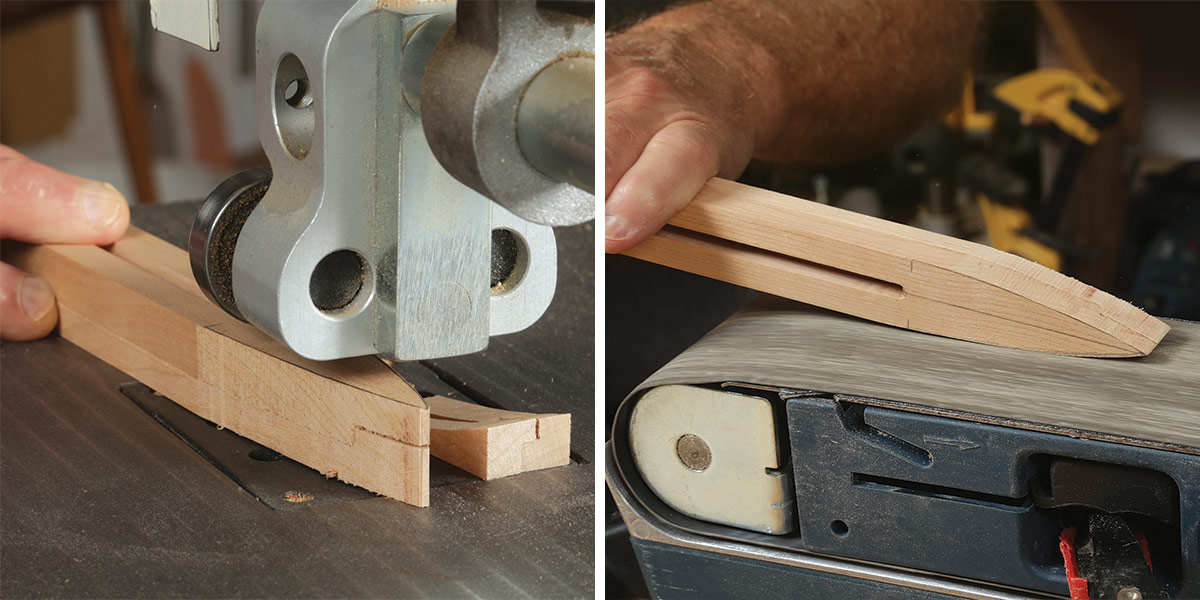
The tongue wants to be just a hair narrower than the groove. It also shouldn’t bottom out, so set the dado stack lower than the depth of the groove. To lay out the points, mark a centerline and then draw a long, slight curve on either side starting 2-3/4 in. from the ends. The shape is less important than the centerline. You just want to remove material so the tips can fit into inside corners. Centering them ensures the sticks’ accuracy. After roughly cutting the shape on the bandsaw, carefully refine it on a belt sander clamped to the bench, working each edge until the point is in the middle. Keep the two halves together during these shaping steps.
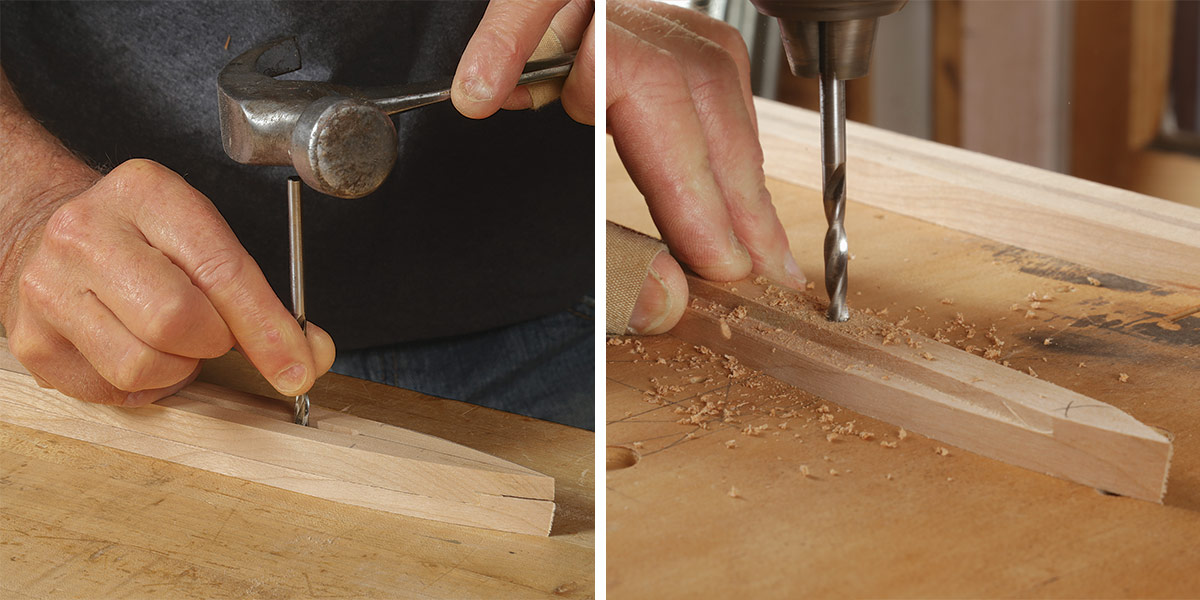
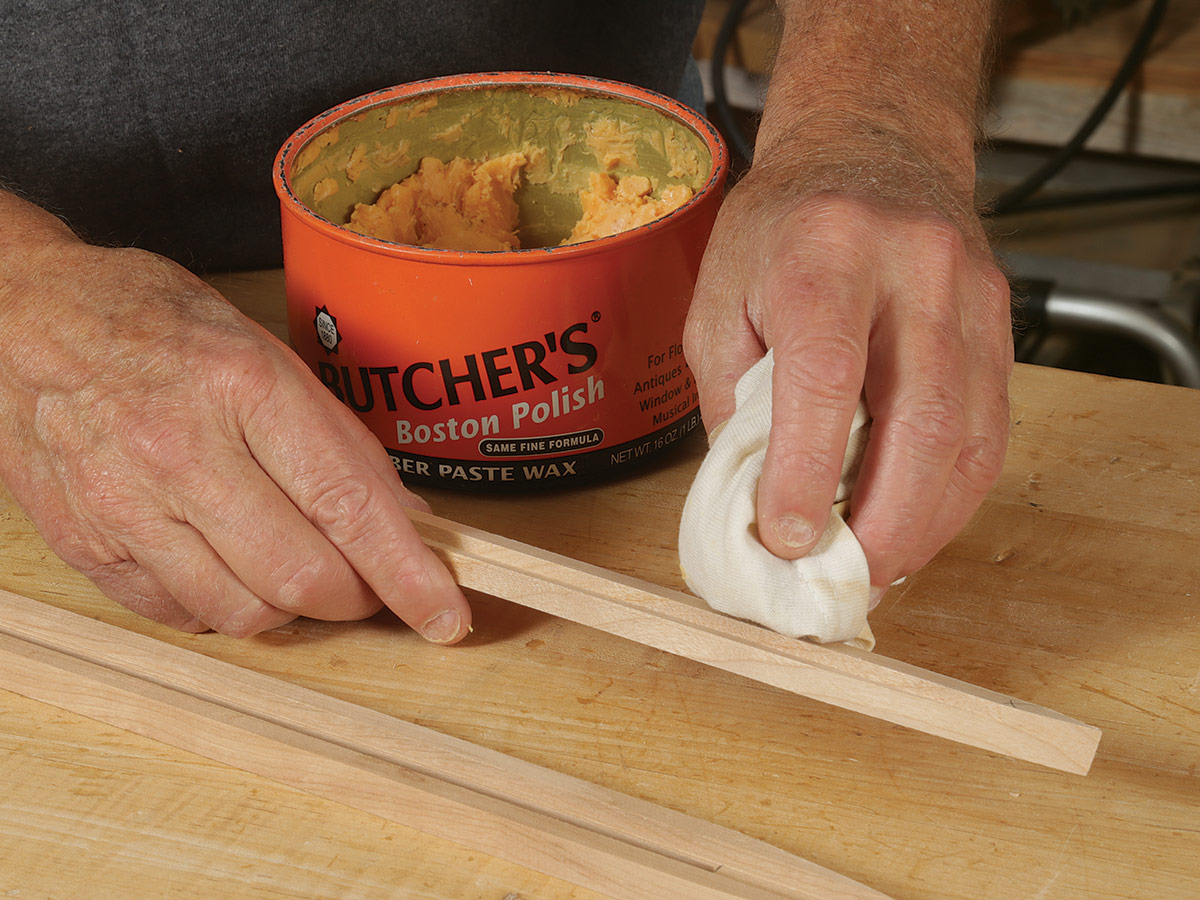
Drill through the tongue piece for the screw, placing the hole 3-1/2 in. from the end of the piece. Do the final sanding, ease the sharp edges, and apply finish—or don’t. Like me, you’ll wonder what’s on them after 30 years of square assemblies.
Charles Durfee is a has been a full-time furniture maker in Woolwich, Maine, for over 40 years.
Photos: Barry NM Dima; drawings: John Tetreault
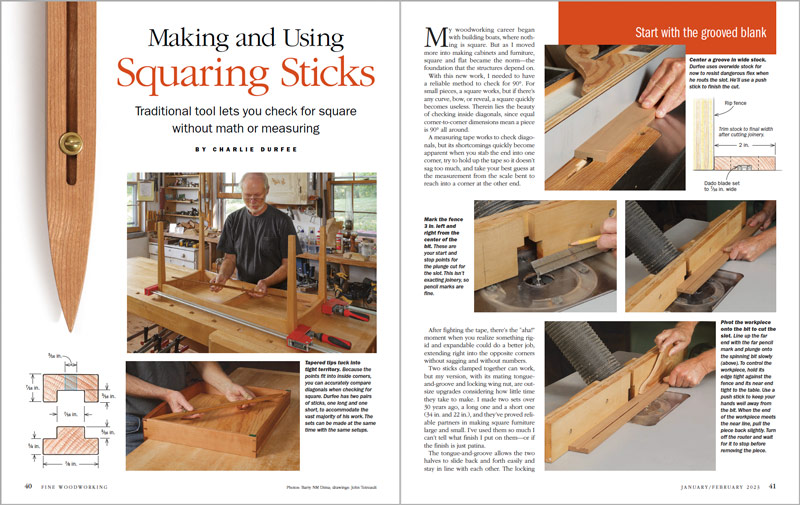
To view the entire article, please click the View PDF button below.
 |
Measuring precision |
 |
17 Tools Every Woodworker Should Have |
 |
Tongue-and-Groove Joints by Hand |
Fine Woodworking Recommended Products

Starrett 4" Double Square

Bahco 6-Inch Card Scraper
Veritas Micro-Adjust Wheel Marking Gauge







Comments
Thanks for this valuable article. I love the elegant and useful results. I think that one comment at the end needs correction.
"To lay out the points, mark a centerline and then draw a long, slight curve on either side starting 23⁄4 in. from the ends. The shape is less important than the centerline. You just want to remove material so the tips can fit into inside corners. Centering them ensures the sticks’ accuracy."
Actually, centering does not affect accuracy. One is fixing the distance between two points and whatever happens in between is irrelevant. So, one can focus on getting a sharp, pleasing shape. A simple bevel on either end also works nicely.
Log in or create an account to post a comment.
Sign up Log in