The power of the center line
This simple technique is like a compass pointing you to more accurate joinery.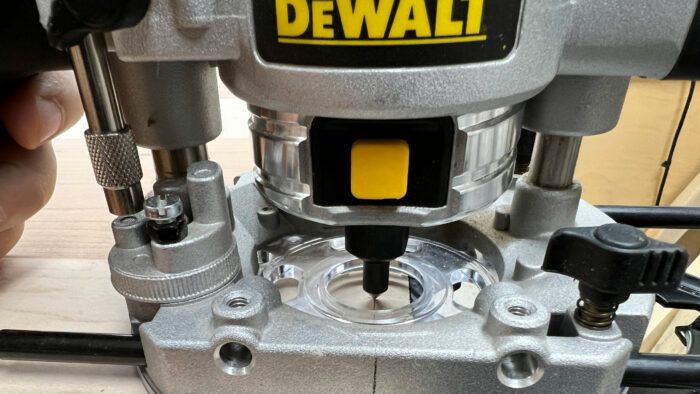
Like anything in woodworking (and life), there are many ways to do a certain task. Laying out joinery is no exception. The tools and techniques I use largely depend on whether I’m working with hand tools or power tools. With hand tools, each joint needs to be fully laid out so that I have lines to work to. In the case of power tools, oftentimes I only need to lay out one joint and use it to set fences and depth stops. However, there is one technique I use that spans both hand- and power-tool joinery, and that’s the center line.
When cutting joinery with hand tools, the center line is my jumping off point. I will lay out the center, then work out from that line to create the joinery. The most common case for this is the mortise-and-tenon joint. Sometimes the center line doesn’t refer to the center of a part but rather the center of the joinery—think about a table leg connecting to an apron. The tenon is often centered on the apron and the mortise is offset, typically to the outside of the leg to create a desired reveal. In either case, I will start with a line that marks the center of the joint. Once I have that line I can use a mortise chisel to do the rest of the layout. By centering the mortise chisel on the center line and lightly striking, I can see how wide the mortise will be and can then mark in the other lines based on that.
When using a router to create a mortise, it can be even easier. I strike a center line, line up the center of the bit, set the fence to the edge, and I’m ready to go. A tough part can be lining up with the center line. Some of my routers have the center line marked on the base in a couple of locations, which makes it easy. The router in the picture didn’t have any center lines so I had to create them. Thankfully the task is fairly easy.
I started by laying out a center line on a board. I installed an inexpensive (sub $10) tool called a center-finding pin into the router. Next I used the router fence to creep up on the line with the pin. Once located and locked in, I took a marking knife and made a mark on the polycarbonate router base. I then used a small square to carry that line up the base. Last, I switched to a fine marker to mark on the metal part of the base.
Now setting up the router to a center line is easy as can be. Line up the line on the base with the layout line, bring the fence up to the edge, lock it in, set your depth, and cut your joint. This is much faster than trying to use the side of a straight bit or using the center-finding pin every time.
In many ways, I would be lost without my center lines when woodworking. I use them for almost every layout task that I have. This is just one example of how well they work. With a bit of thought, I’m sure that you could come up with other scenarios where the center line would be the way to go. I’m not suggesting that this is the best way to lay out and cut joinery, it is simply the way I have come to do it. So if you have never used the center line, give it try!
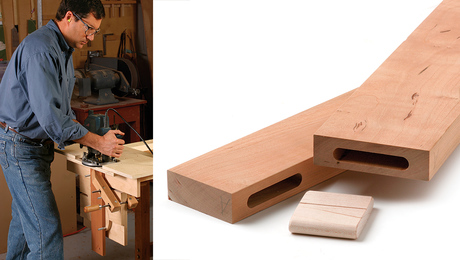 |
Self-centering mortising jig |
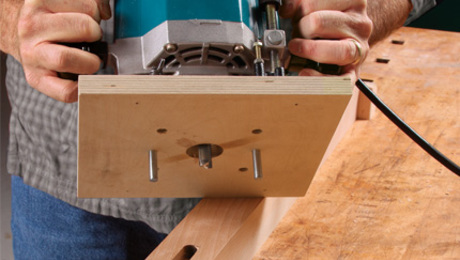 |
Self-centering mortising base for the router |
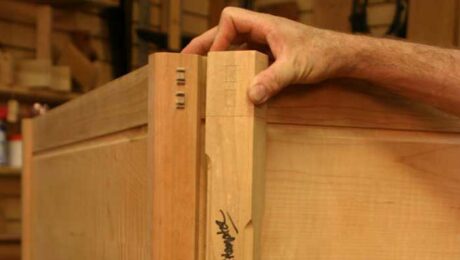 |
Story stick for accurate, repeatable cuts |
Fine Woodworking Recommended Products
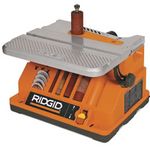
Ridgid EB4424 Oscillating Spindle/Belt Sander

Festool DF 500 Q-Set Domino Joiner

Veritas Precision Square







Comments
+1 for the centerlines. I've even found it useful for getting out of jams when I didn't think ahead. When I ask myself, "Uh oh, how am I going to work with this piece now?" my answer is almost always "a centerline, you silly goose." (When it's not, the answer's probably "start over, you cooked goose."
Log in or create an account to post a comment.
Sign up Log in