Shaker hanging shelf
Hanging shelves were a staple in Shaker homes, created in a range of sizes, materials, and techniques.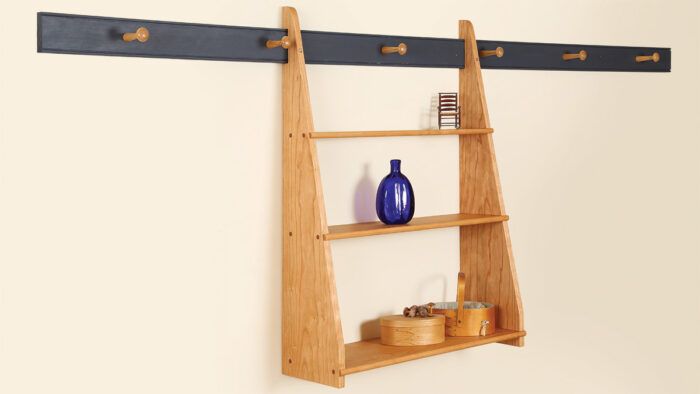
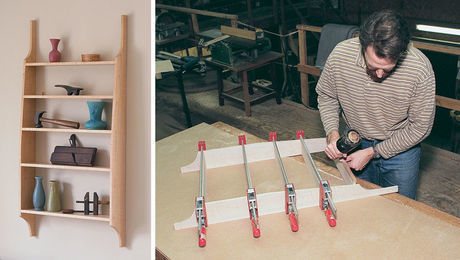
Synopsis: Hanging shelves were a staple in Shaker homes, created in a range of sizes, materials, and techniques. This one takes details from several styles and can be adjusted to meet your needs. Construction is straightforward, with graduated shelves with rounded front edges. It is designed to be held on a Shaker pegboard, following tradition, so construction of the pegboard is covered here, too.
The Shakers made a variety of shelves, including hanging shelves. These are seldom shown in the literature. However, they make a very useful and interesting project, offering a range of options as to size, materials, methods of attaching the horizontal shelves to the sides, and even how to hang them. This shelf is not an exact copy of a Shaker original; rather, it’s a composite of several styles. You can use your wood of choice and adjust the sizes to suit your needs.
My shelf is relatively small; consequently, I mill my stock to 9 ⁄ 16 in. thick instead of a typical 3 ⁄ 4 in. It’s worth mentioning that the shelves are about 1 ⁄ 4 in. deeper than the sides are wide, since they have a profiled front edge that extends across the front of the sides. That’s not necessary, but I think it’s a nice design feature.
Start on the sides
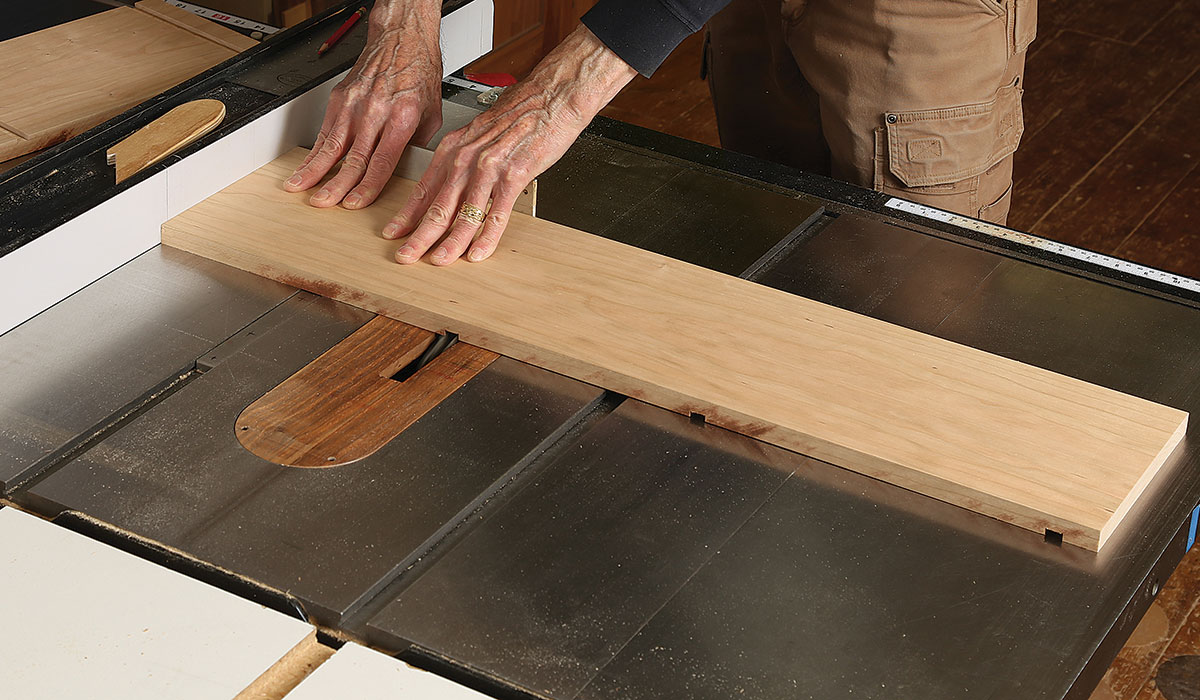
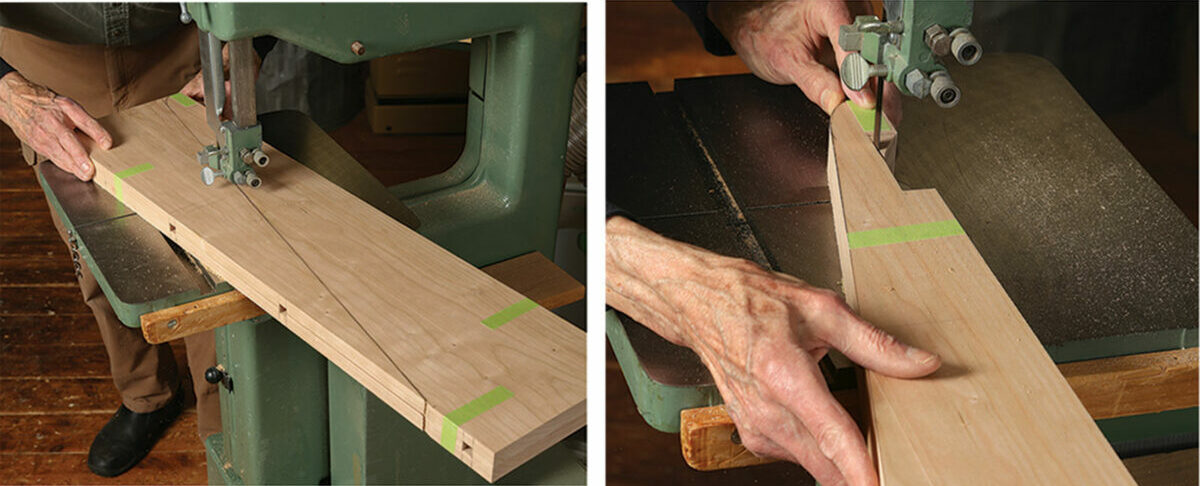
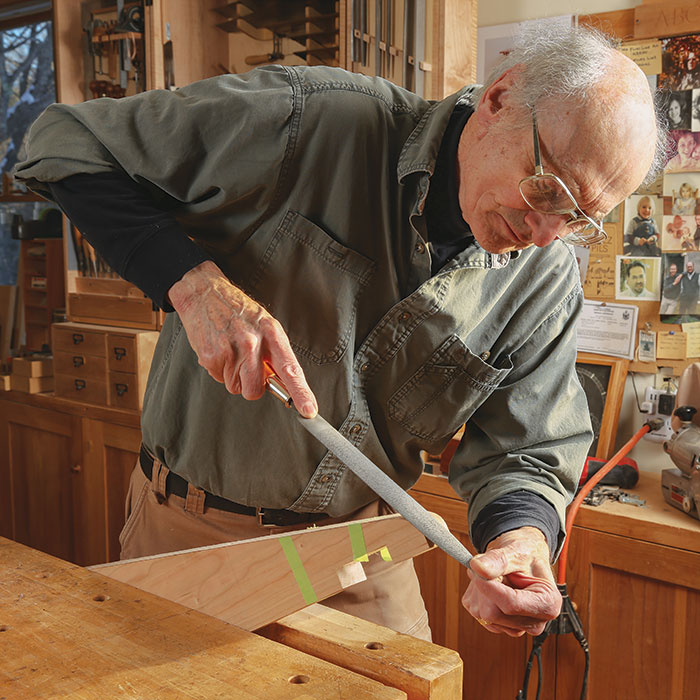
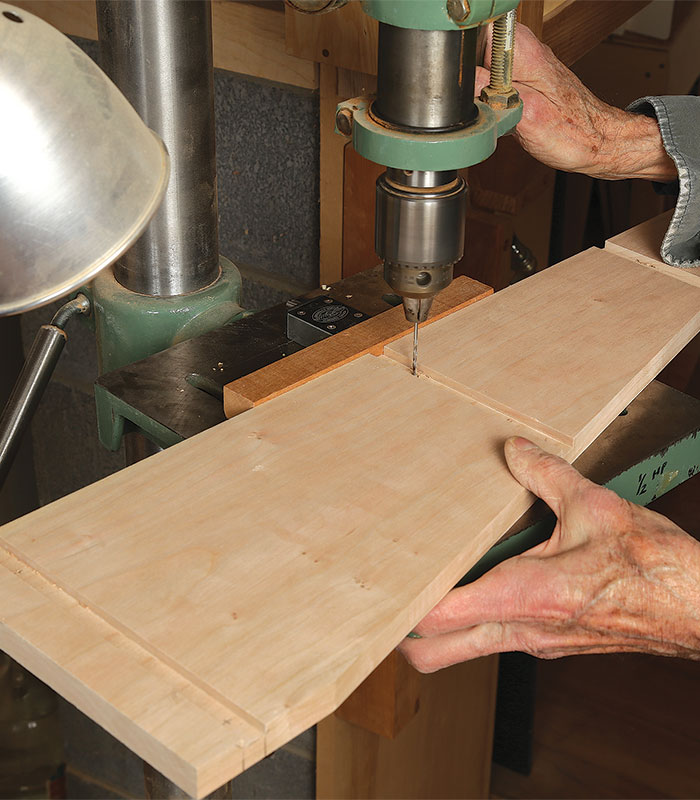
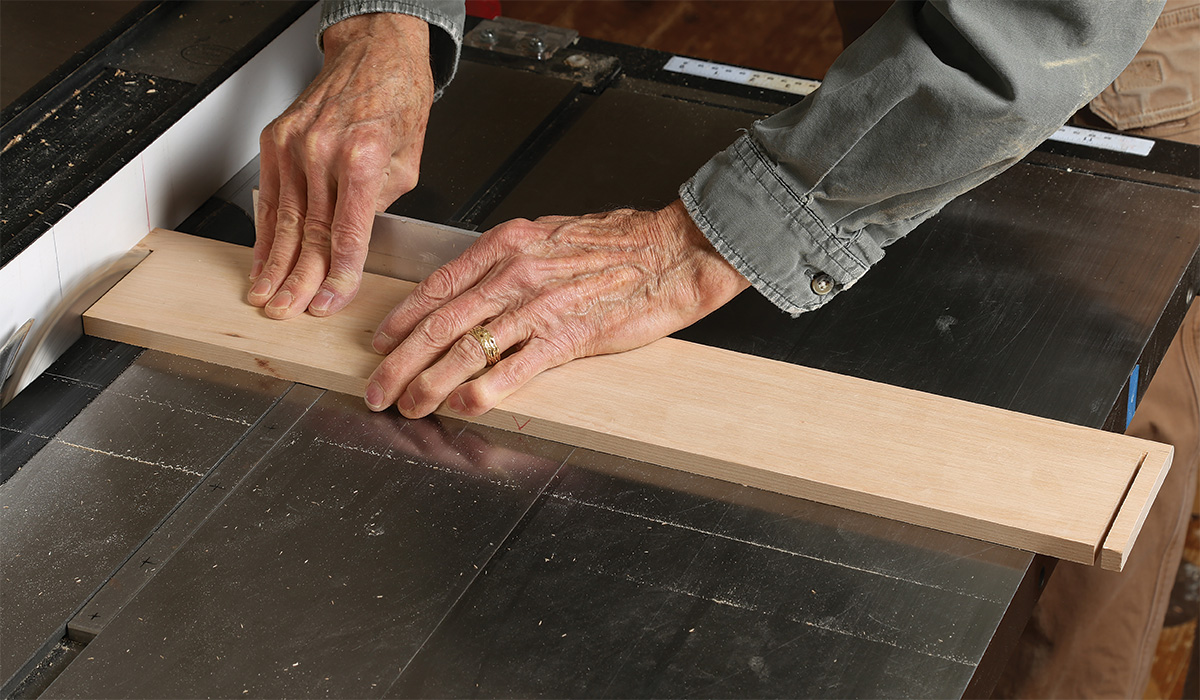
It is much easier to cut the dadoes before you taper the sides. Cut the dadoes on the tablesaw with a dado blade, then tackle the tapers on both sides at the same time. Tape the two sides together, with the dadoes facing each other, and cut the taper on the bandsaw. Clean the saw cut with a block plane, and refine the curve at the top with a file, sandpaper, or spokeshave. Cut a notch into the back of the sides if you plan to hang the shelf from a pegboard.
Get your side work done
The tapered sides set the stage for the graduated shelves and the hanging mechanism.
Round out the shelves
Next, round the front edge of the shelves with a router or block plane. The profile is not quite half-round, but more of a shallow bullnose. Then notch the ends of the shelves so the profiled front edge overlaps the sides.
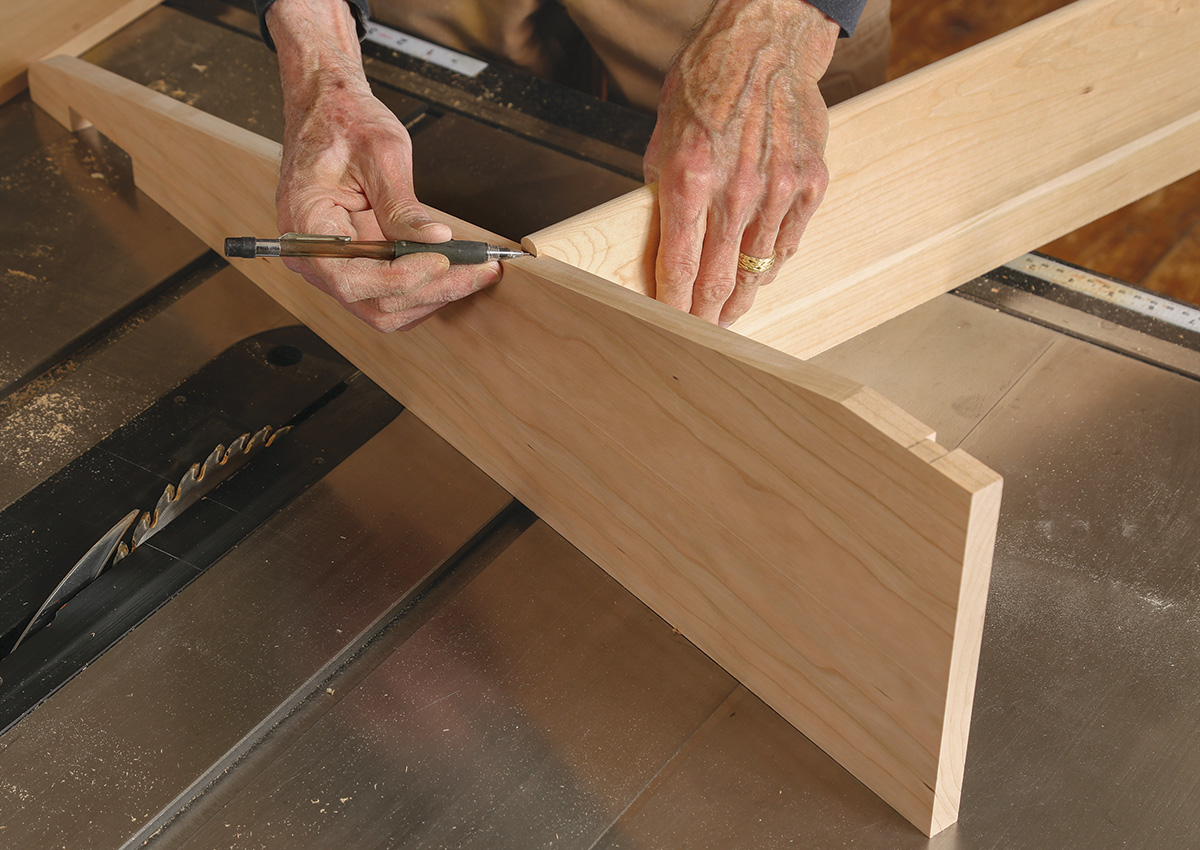
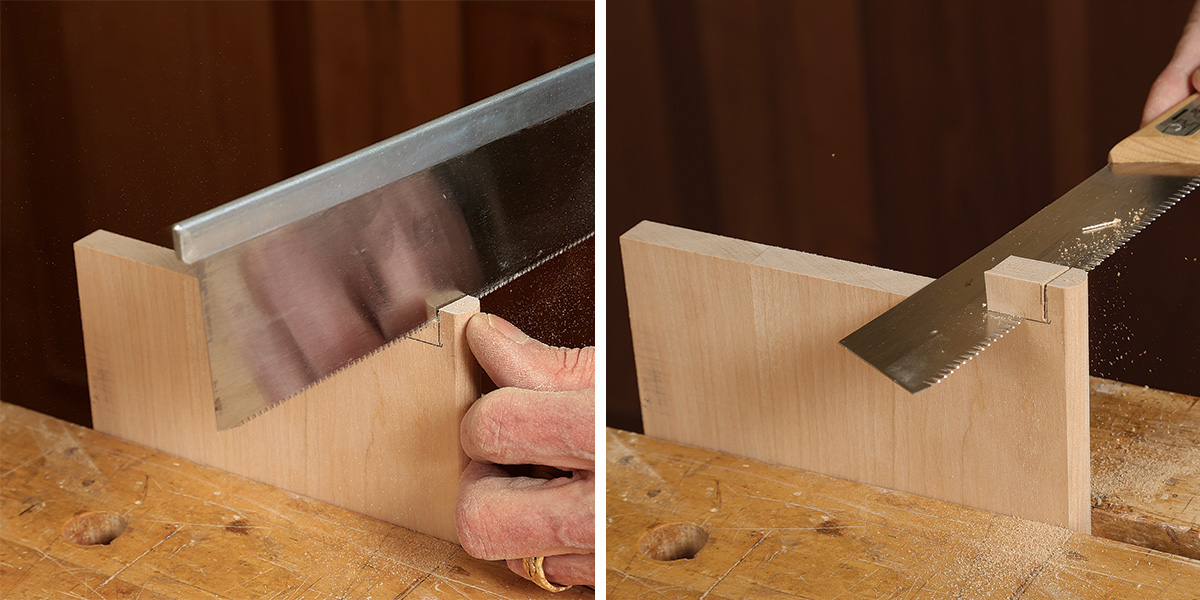
Because the taper on the sides begins a few inches above the bottom shelf, the bottom shelf has a 90° notch, but the upper two shelves get notched at an angle. Mark all the notches directly off the sides. Slide the shelves into their dadoes so that 1⁄4 in. protrudes in the front, and mark the angle of the side taper on the edge of the shelves. On the tablesaw (or handsaw if you’re so inclined), cut 7 ⁄ 16 in. off both ends, to within 1 ⁄ 4 in. of the front. Cut the marked angle with a hand-saw, and clean the intersection of the two cuts with a chisel. Repeat on both ends of all three shelves. Slide the shelves into position, making sure that the back edges are all flush with the sides.
Beyond a basic shelf
The three shelves, each a different depth, are rounded on the front edge and notched at the ends.
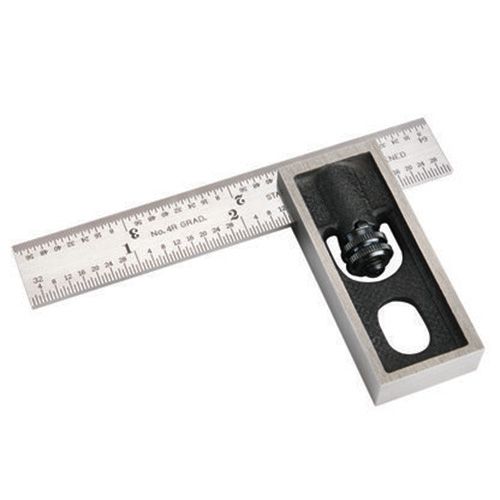
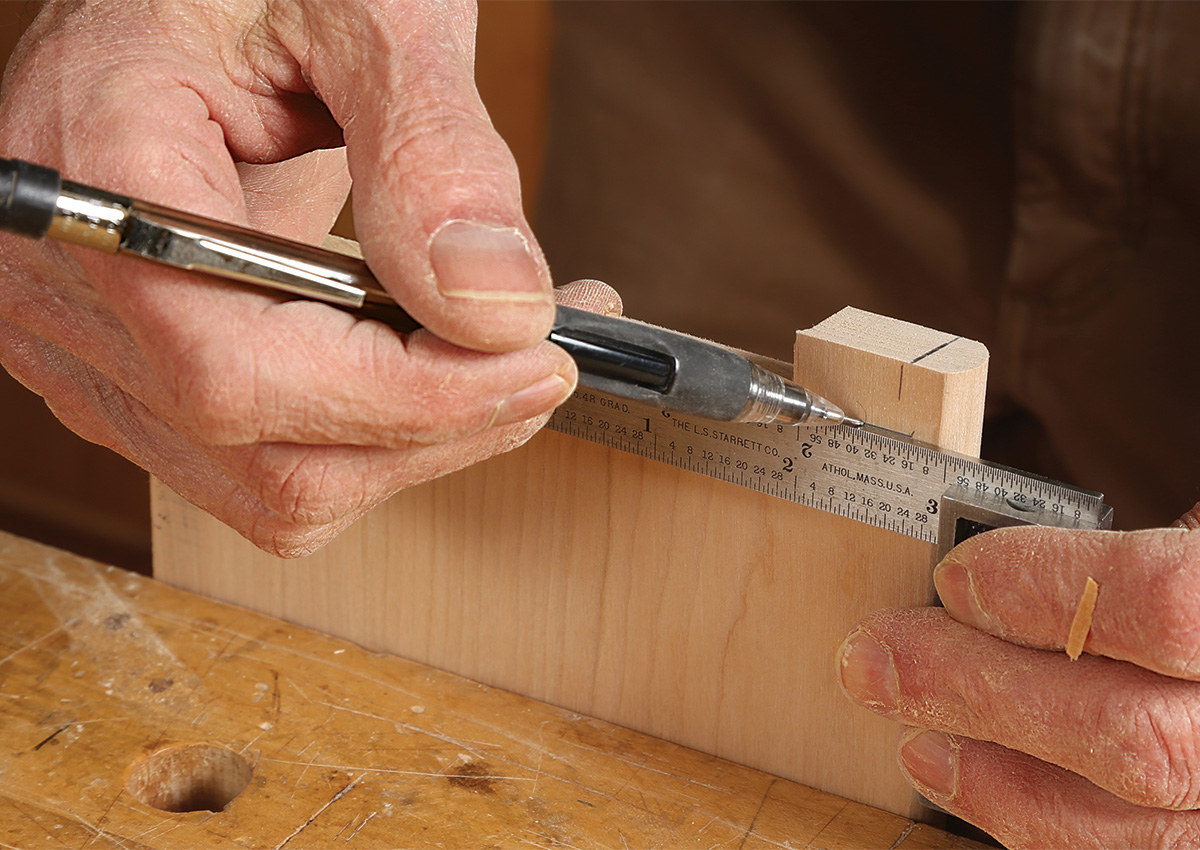
Best Overall 4-in. Double Square
Starrett 4" Double Square
Bring the shelves and sides together
The original Shaker shelves were nailed; mine are glued, screwed, and plugged. With screws and plugs, you can opt for either face-grain plugs of the same wood, or end grain of a different wood. I usually just put a tiny dab of glue at the front overhang of the shelves. Glue in the dado works, too. The screws do most of the holding, so any glue is merely a good backup; just be sure that there is no squeeze-out.
Sand the sides to clean them up whether you’re using plugs, filled nail holes, or dowels. Complete them with the finish of your choice. I use an oil finish.
—Christian Becksvoort is a longtime contributing editor who makes furniture in New Gloucester, Maine.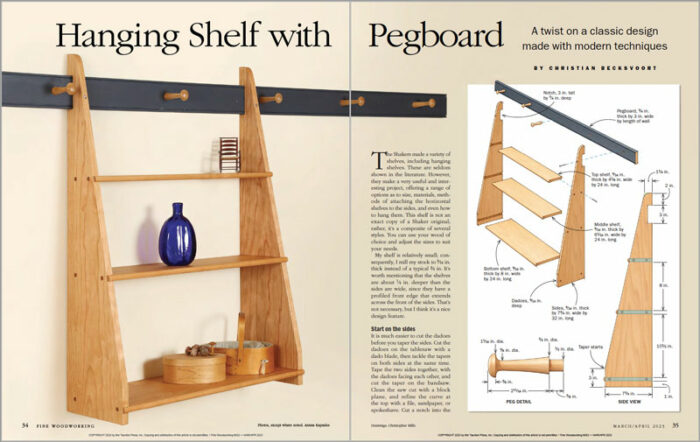
Photos, except where noted: Anissa Kapsales.
 |
The Classic Shaker Style |
 |
Ship-inspired wall shelf |
 |
From the archive: Build a wall shelf |





Log in or create an account to post a comment.
Sign up Log in