How to weave a rush seat
Using pre-twisted rush, which mimics the look of the genuine rush used in the past, David Johnson lays out the process of weaving a traditional rush seat.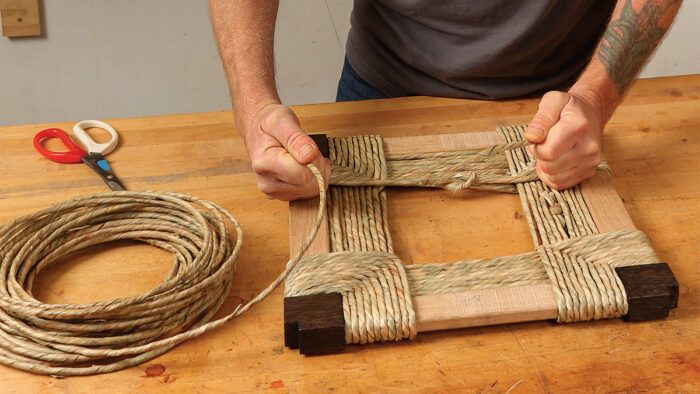
Synopsis: Using pre-twisted rush, which mimics the look of the genuine rush used in the past, David Johnson lays out the process of weaving a traditional rush seat. Soaking, wrapping, stapling, tightening, and working methodically are the keys to success.
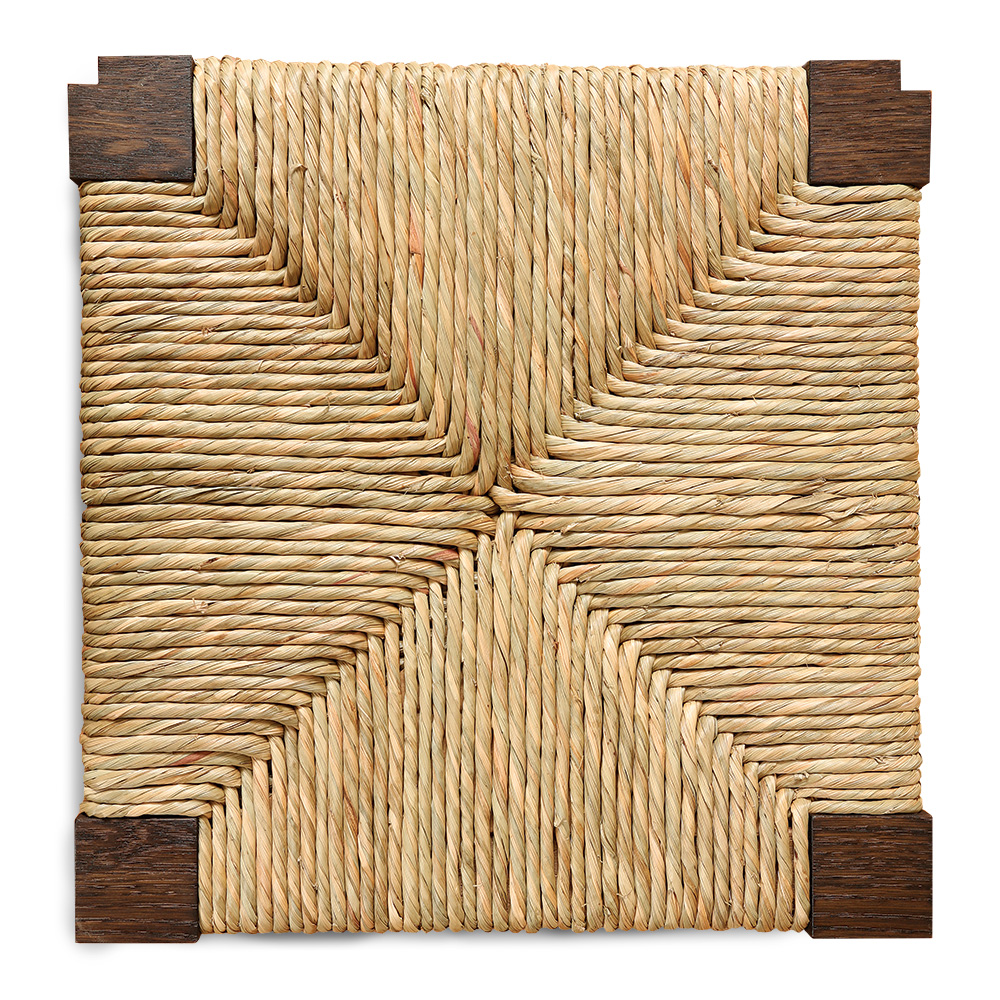
Historically, rush seats have been woven with grasses native to wherever the chairs were produced. Cattails and bulrush were most frequently used and are referred to as “genuine rush.” These days a common substitute is paper fiber, which is easy to work with and source but doesn’t look the same. In between these options is pre-twisted rush, which I’m using here. Unlike genuine rush, it’s commercially available. Although it’s more challenging to work with than paper fiber, the look and feel of it are worth the extra effort.
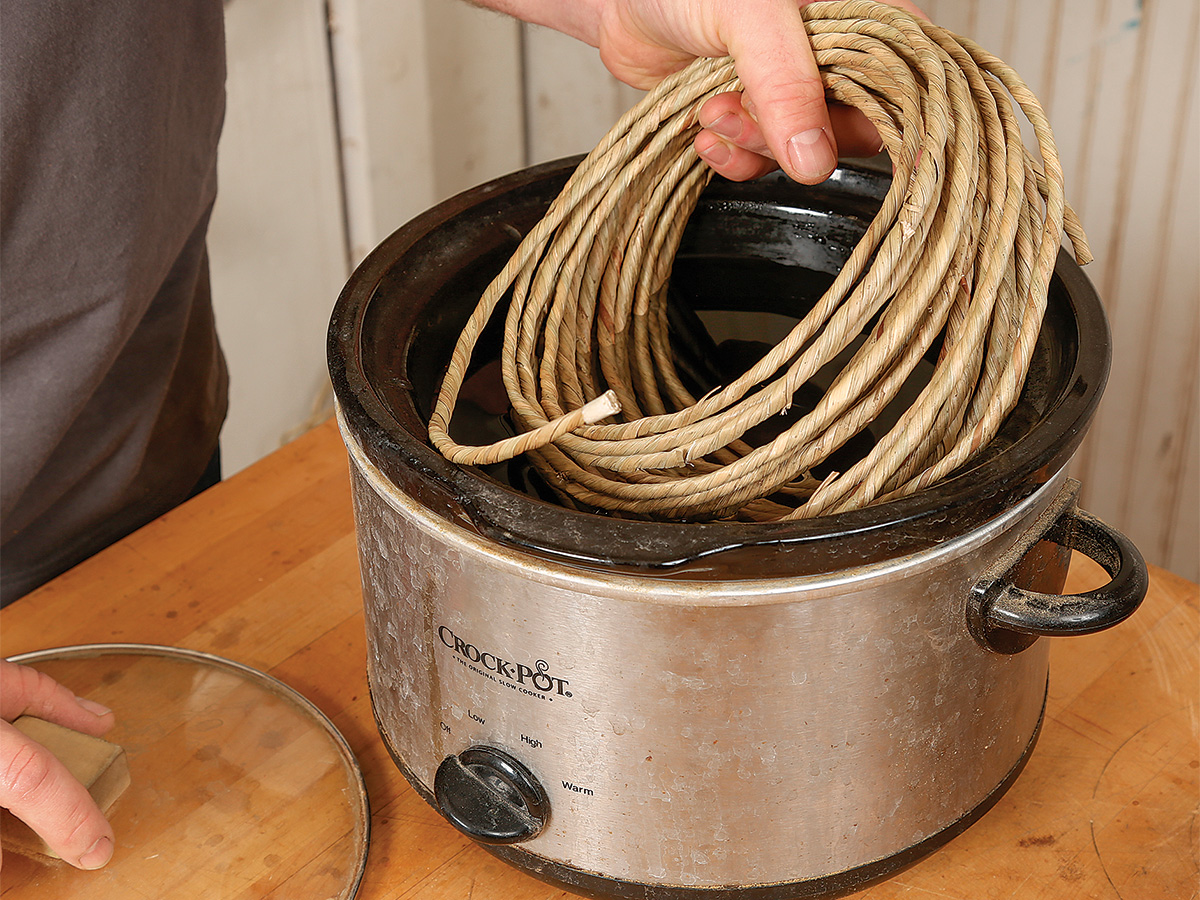
Pre-twisted rush is made from seagrass and mimics the look of genuine rush. It’s available in 2-lb. coils in various thicknesses. The seat shown here is small and only required one coil in size #5, which measures on average 3/16 in. to 1/4 in. thick. The rush wants to unravel, so handle it with care and tape cut ends to keep them neat. I like to work with no more than 50 ft. at a time; for me, that is a handful as I pull it off the coil. Soak the rush for 5 to 10 minutes in warm water to make it more pliable and easier to work with. Soaking for too long or at too hot a temperature will cause discoloration, and the rush will want to come untwisted.
Part of the simplicity of weaving this particular seat, for Nancy Hiller’s “Voysey Two-Heart Chair” (FWW #301), is that it is a square, which eliminates two steps—squaring the seat and weaving a bridge. I’ll show you how to deal with those a little later, but for now I’m focusing on a square seat to give you the basic process.
Soak and staple
There’s nothing too technical about beginning this weave. Soak, staple, and start wrapping.
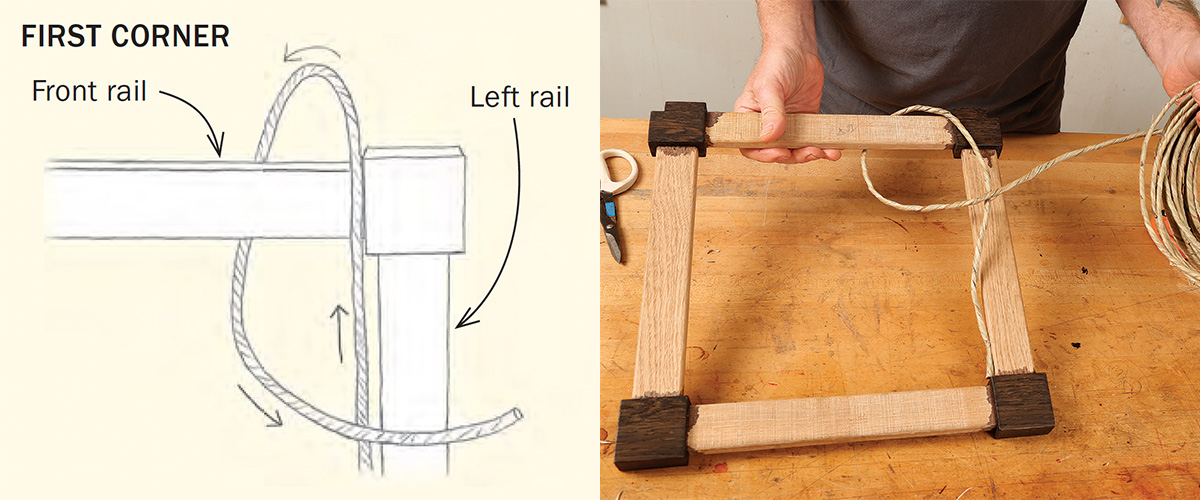
Two corners at a time
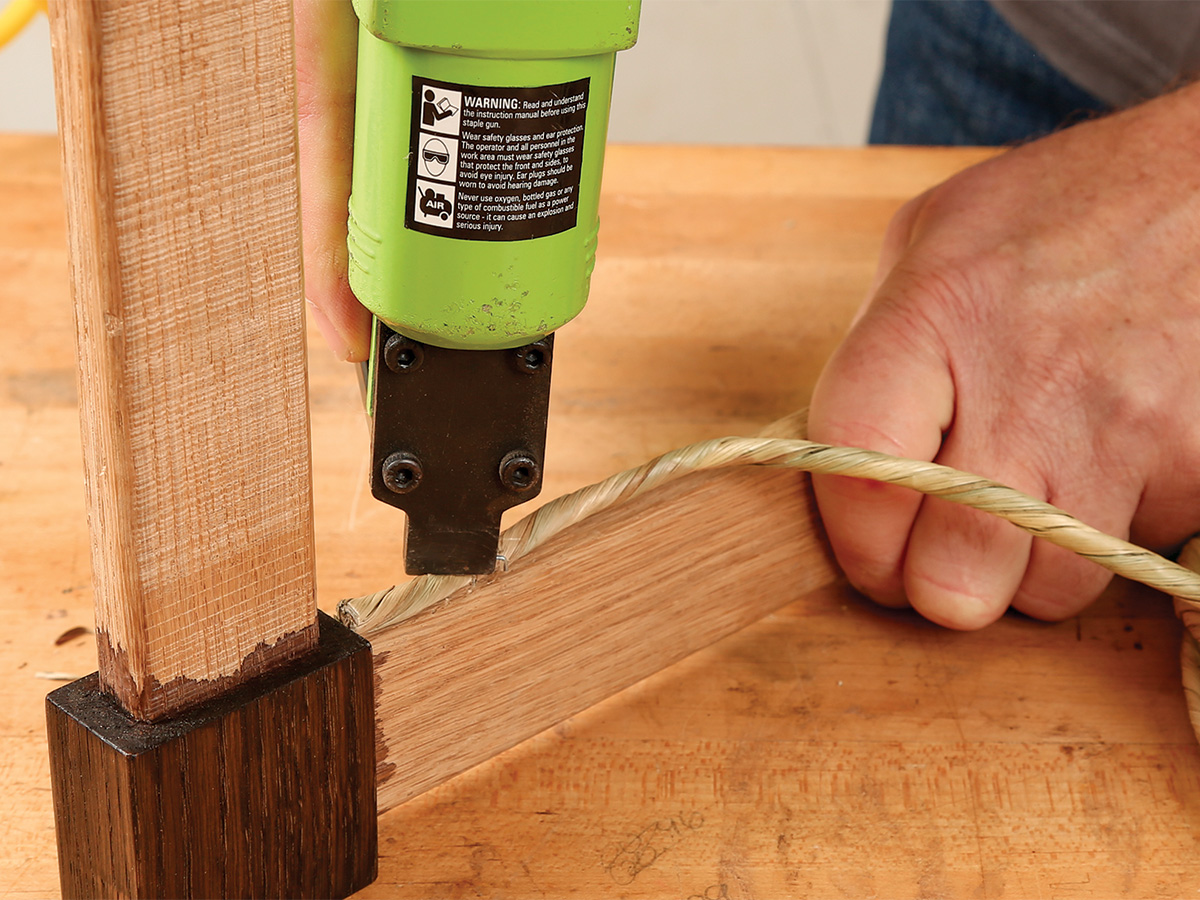
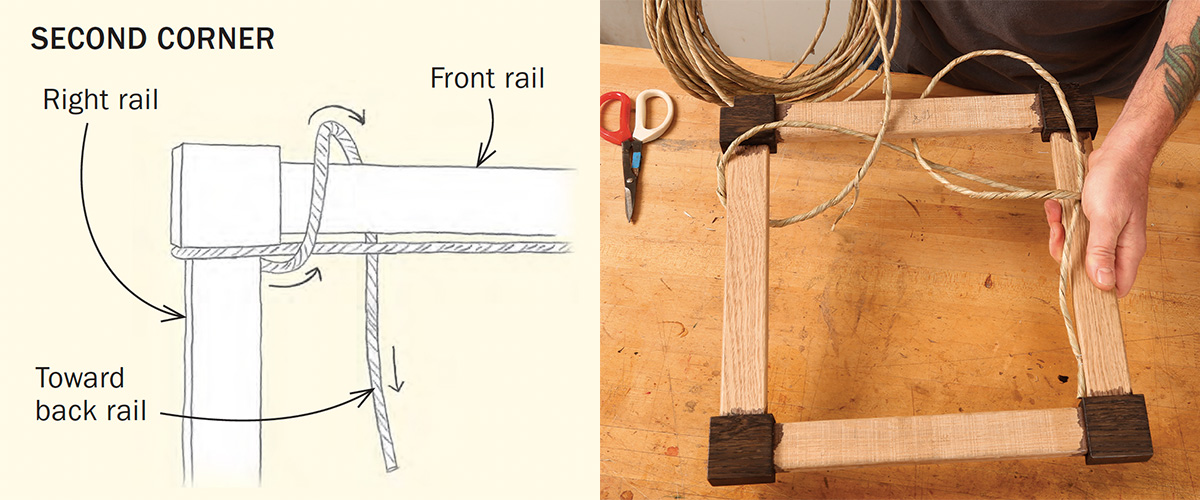
To make it easy on yourself, work two corners at a time, establishing the pattern loosely and then going back to tighten it. Facing the seat, staple the rush on the inside of the left rail near the back leg. Bring the rush toward you, over the front rail, and around it. Pull the rush up inside the seat frame, make a 90° turn over itself, and wrap over the top of the left rail, around it, and then across the seat to the right rail. Do this all again—over the right rail and around, up through the middle of the seat and 90° over itself, then wrap over the front rail and across the seat to the back.
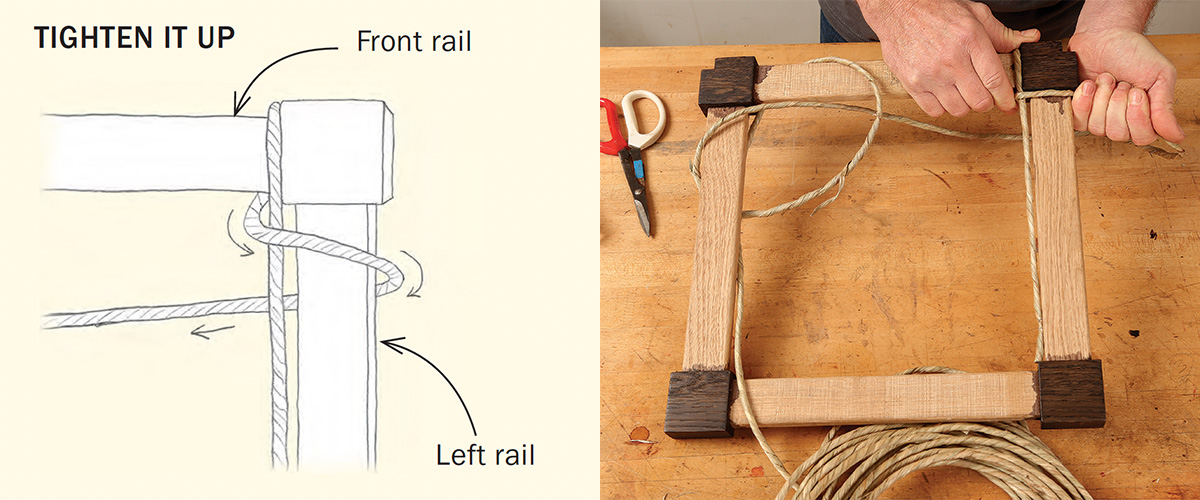
Pull it all taut
Now tighten the rush. Go back to where you started and pull the rush tightly around the front rail and up the inside of the seat. To make the 90° turn neat, pinch the corner together while pulling it tight. Then pull it tight around the side rail and clamp it with a hand clamp.
Turn the seat 90° clockwise and repeat. Always rotate the seat as you tighten so you treat each corner the same. Try to pack the rush as closely together as possible along the rails to prevent gaps from forming. Twist the rush back together as you work if it starts to come undone.
Joining two lengths together
You can’t work with too much rush at once, so you will inevitably run out of material, probably more than once or twice. This is not a problem. The goal is to minimize the number of knots as well as to land the knots in discreet places and on the bottom of the seat. When you run out of rush, tie on a new soaked piece with a square knot. Hide this knot on the inside of the seat by tying where the rush goes across.
Photos: Anissa Kapsales. Drawings: David Johnson.
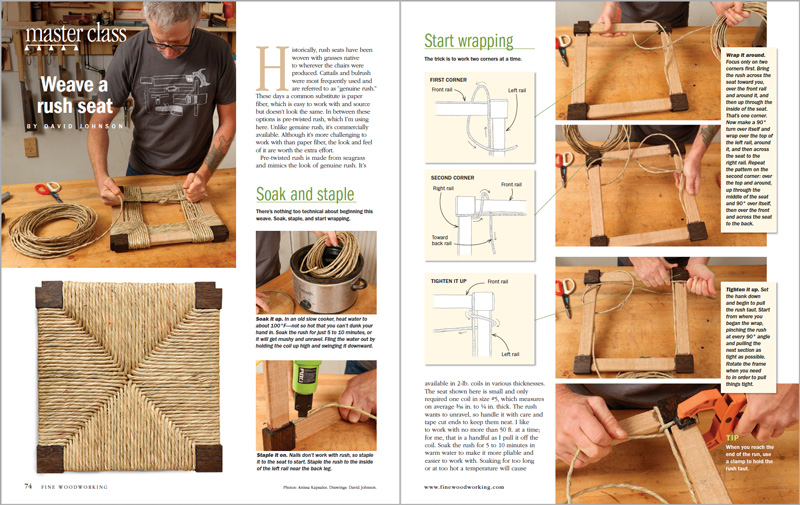
To view the entire article, please click the View PDF button below.
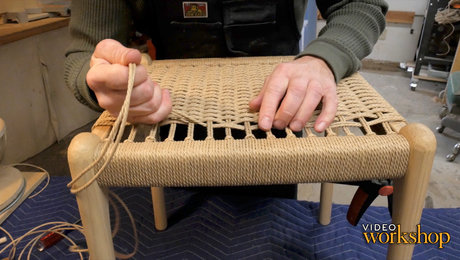 |
Contemporary Stool: Weaving the Weft Pattern of the Seat |
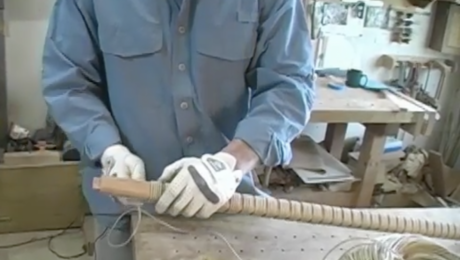 |
Weaving a Danish Cord Seat: Wrapping Front to Back |
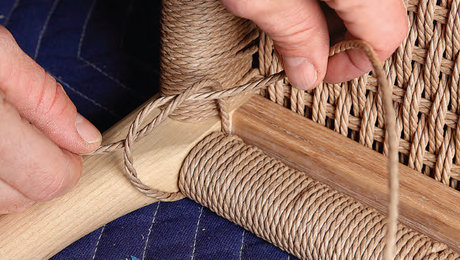 |
How to Weave a Seat with Danish Cord |





Log in or create an account to post a comment.
Sign up Log in