Build a frame-and-panel door with hand tools
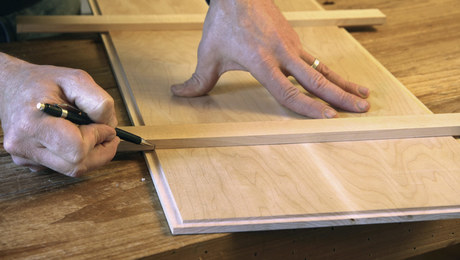
Bill Pavlak demonstrates how to make the frame: chopping the mortises, fitting the tenons, and cutting the haunch.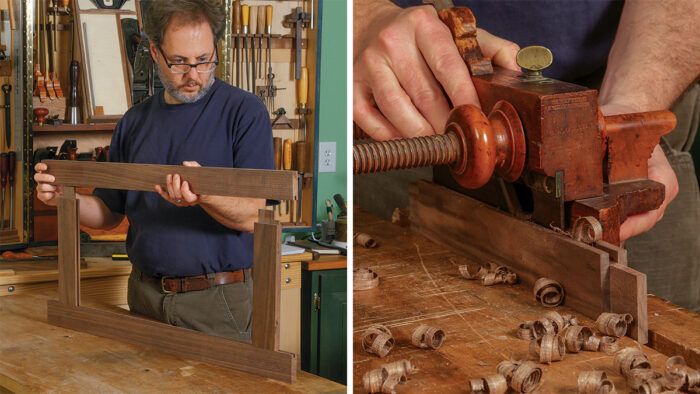
Synopsis: A frame-and-panel is both a stable and beautiful option for cabinet doors, but there are some challenges to its construction. The mortise-and-tenon joints can be fussy to chop and saw by hand. In the first of two Handworks on the process, Bill Pavlak demonstrates how to make the frame: chopping the mortises, fitting the tenons, and cutting the haunch.
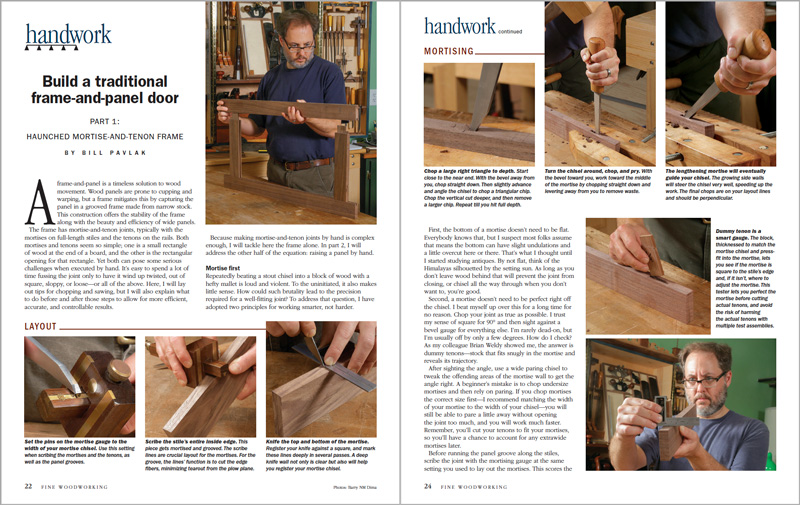
A frame-and-panel is a timeless solution to wood movement. Wood panels are prone to cupping and warping, but a frame mitigates this by capturing the panel in a grooved frame made from narrow stock. This construction offers the stability of the frame along with the beauty and efficiency of wide panels. The frame has mortise-and-tenon joints, typically with the mortises on full-length stiles and the tenons on the rails. Both mortises and tenons seem so simple; one is a small rectangle of wood at the end of a board, and the other is the rectangular opening for that rectangle. Yet both can pose some serious challenges when executed by hand. It’s easy to spend a lot of time fussing the joint only to have it wind up twisted, out of square, sloppy, or loose—or all of the above. Here, I will lay out tips for chopping and sawing, but I will also explain what to do before and after those steps to allow for more efficient, accurate, and controllable results.
Because making mortise-and-tenon joints by hand is complex enough, I will tackle here the frame alone. In part 2, I will address the other half of the equation: raising a panel by hand.
Layout
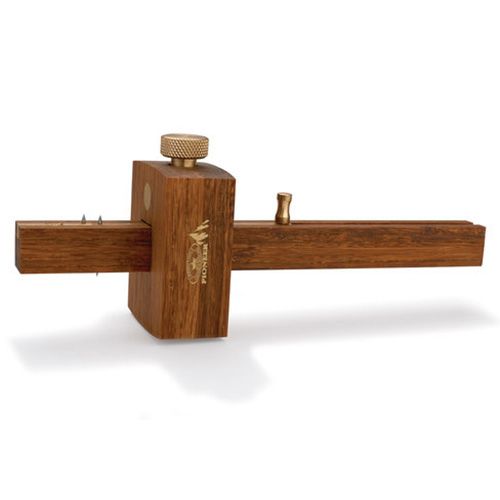
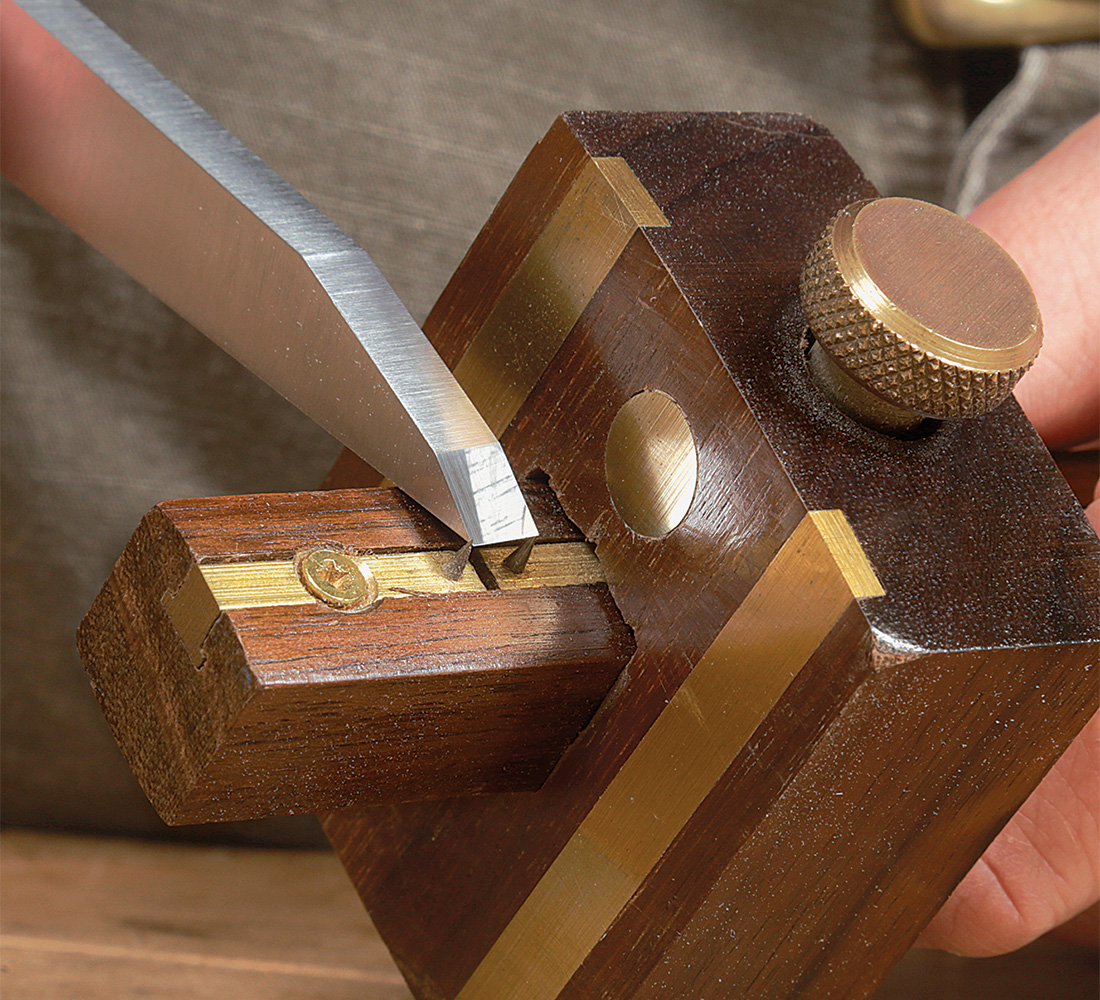
Pioneer Range Mortise Marking Gauge
Brass thumb screw
Sustainable Stabilized Bamboo
High carbon steel marking pins
Adjustable slide for mortise layout
Mortise first
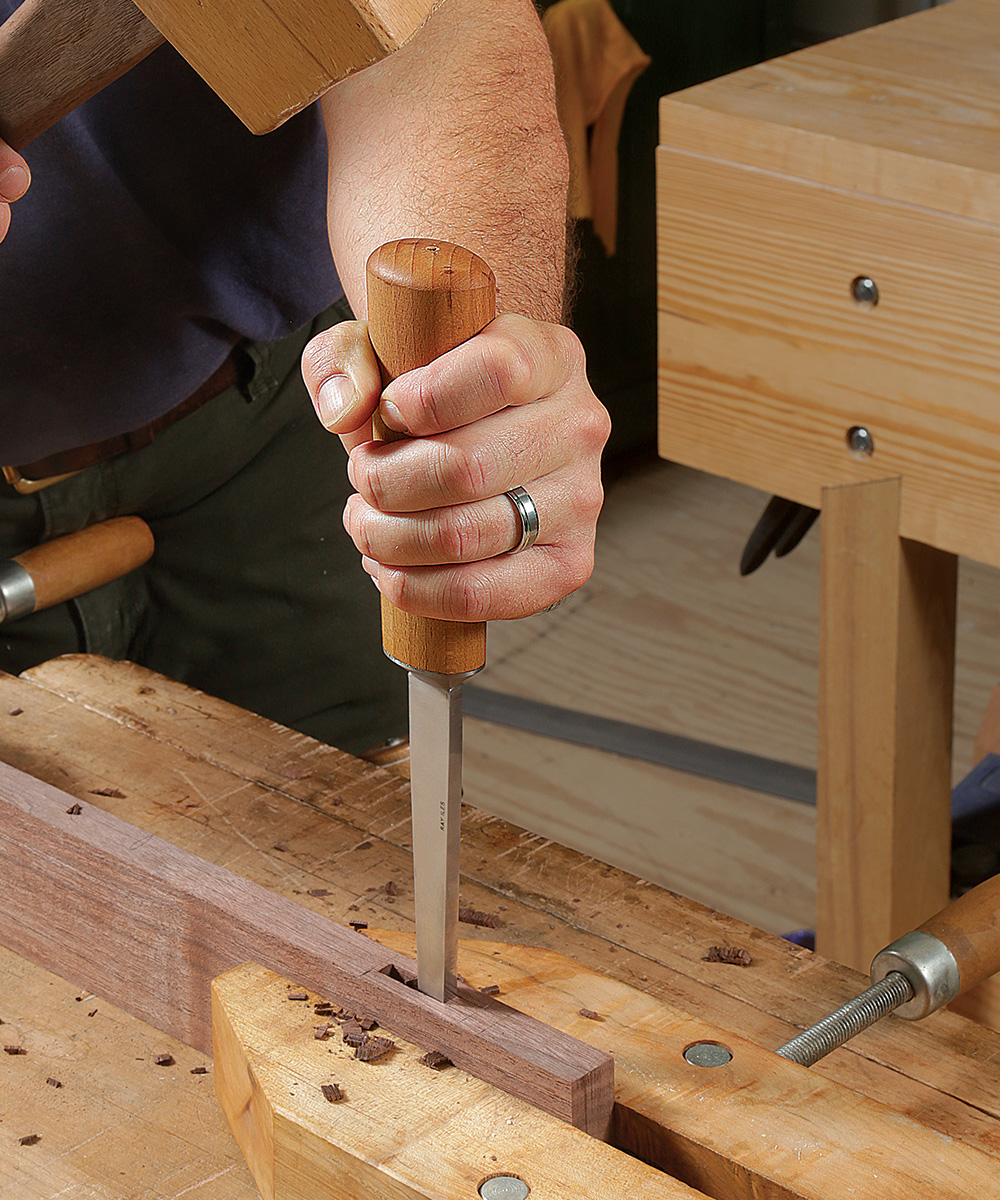
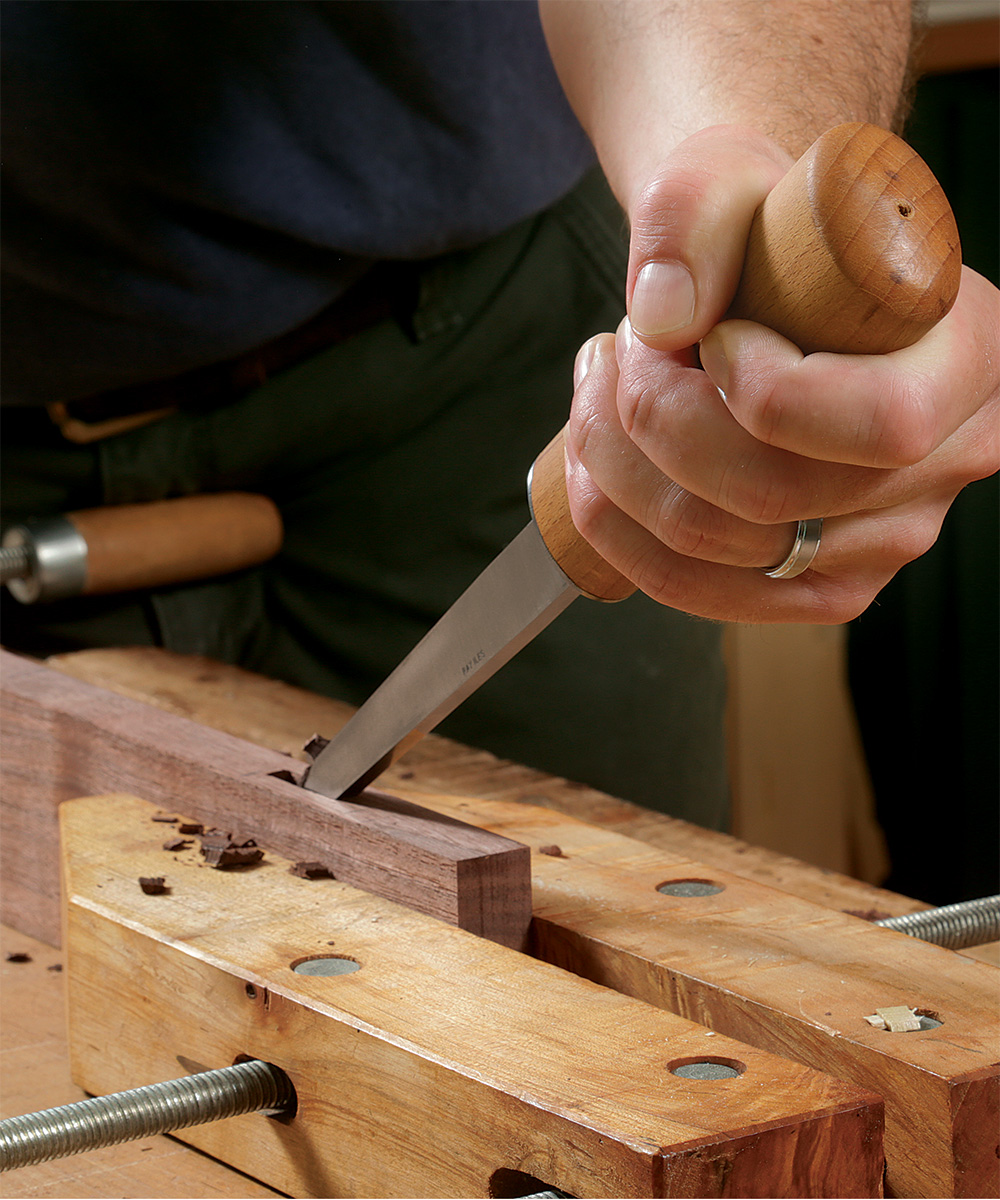
Repeatedly beating a stout chisel into a block of wood with a hefty mallet is loud and violent. To the uninitiated, it also makes little sense. How could such brutality lead to the precision required for a well-fitting joint? To address that question, I have adopted two principles for working smarter, not harder.
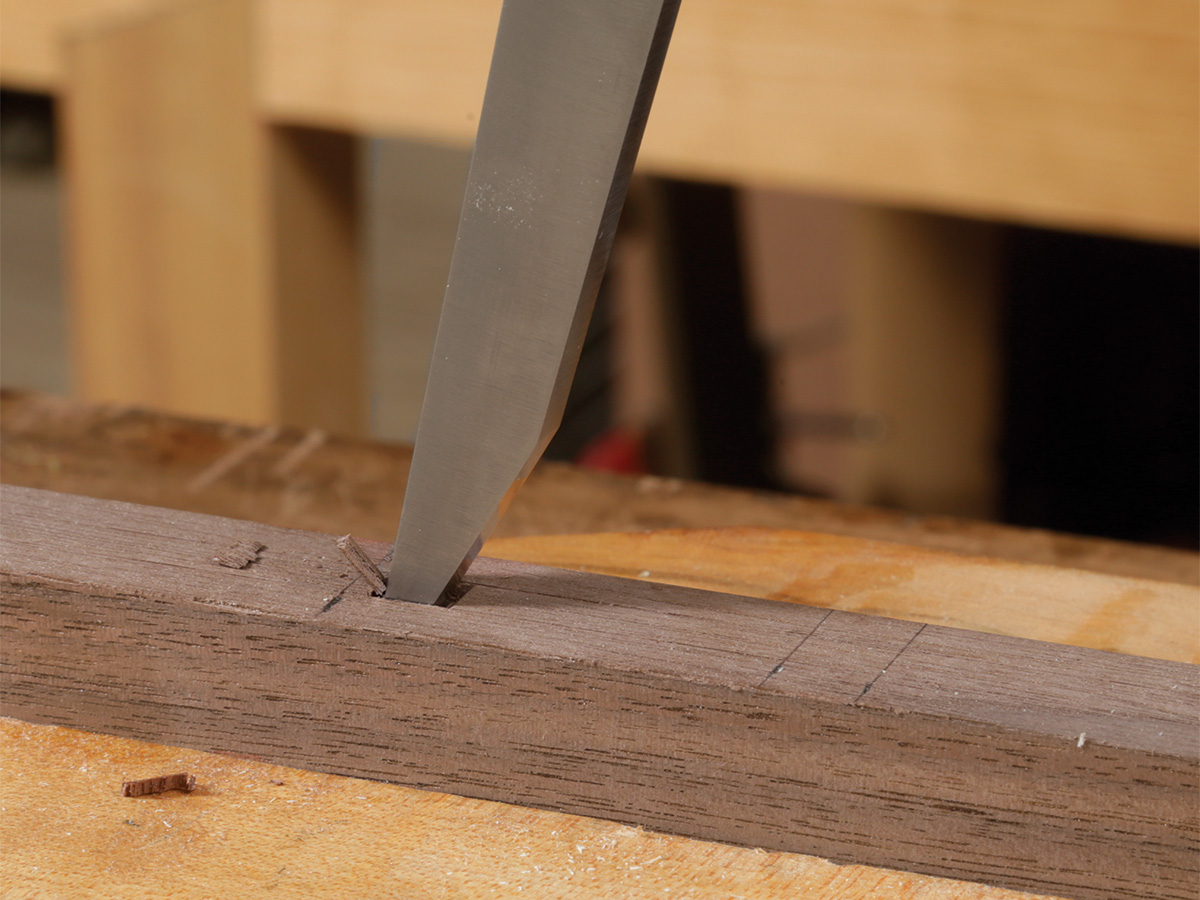
First, the bottom of a mortise doesn’t need to be flat. Everybody knows that, but I suspect most folks assume that means the bottom can have slight undulations and a little overcut here or there. That’s what I thought until I started studying antiques. By not flat, think of the Himalayas silhouetted by the setting sun. As long as you don’t leave wood behind that will prevent the joint from closing, or chisel all the way through when you don’t want to, you’re good.
Second, a mortise doesn’t need to be perfect right off the chisel. I beat myself up over this for a long time for no reason. Chop your joint as true as possible. I trust my sense of square for 90° and then sight against a bevel gauge for everything else. I’m rarely dead-on, but I’m usually off by only a few degrees. How do I check? As my colleague Brian Weldy showed me, the answer is dummy tenons—stock that fits snugly in the mortise and reveals its trajectory.
After sighting the angle, use a wide paring chisel to tweak the offending areas of the mortise wall to get the angle right. A beginner’s mistake is to chop undersize mortises and then rely on paring. If you chop mortises the correct size first—I recommend matching the width of your mortise to the width of your chisel—you will still be able to pare a little away without opening the joint too much, and you will work much faster. Remember, you’ll cut your tenons to fit your mortises, so you’ll have a chance to account for any extrawide mortises later.
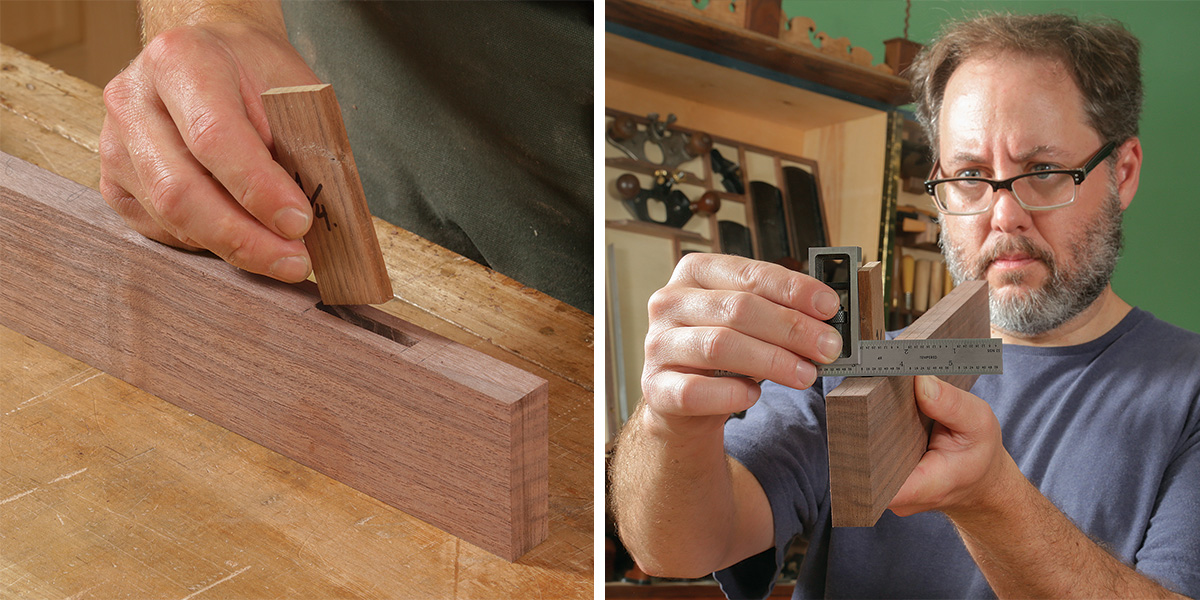
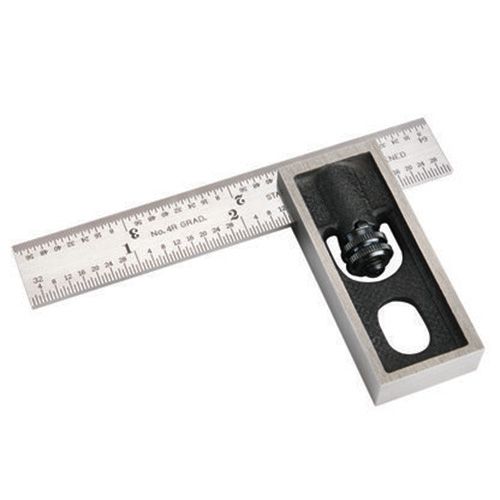
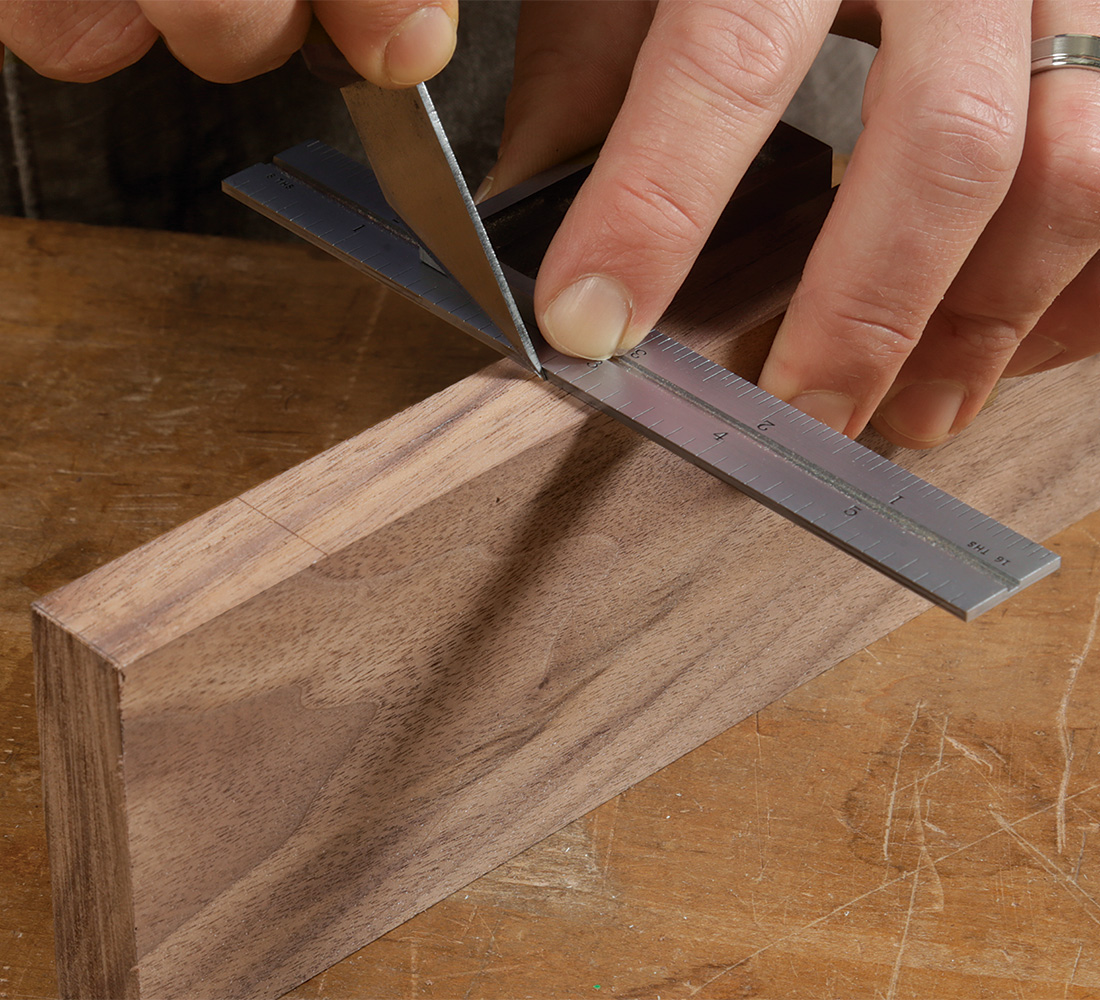
Best Overall 4-in. Double Square
Starrett 4" Double Square
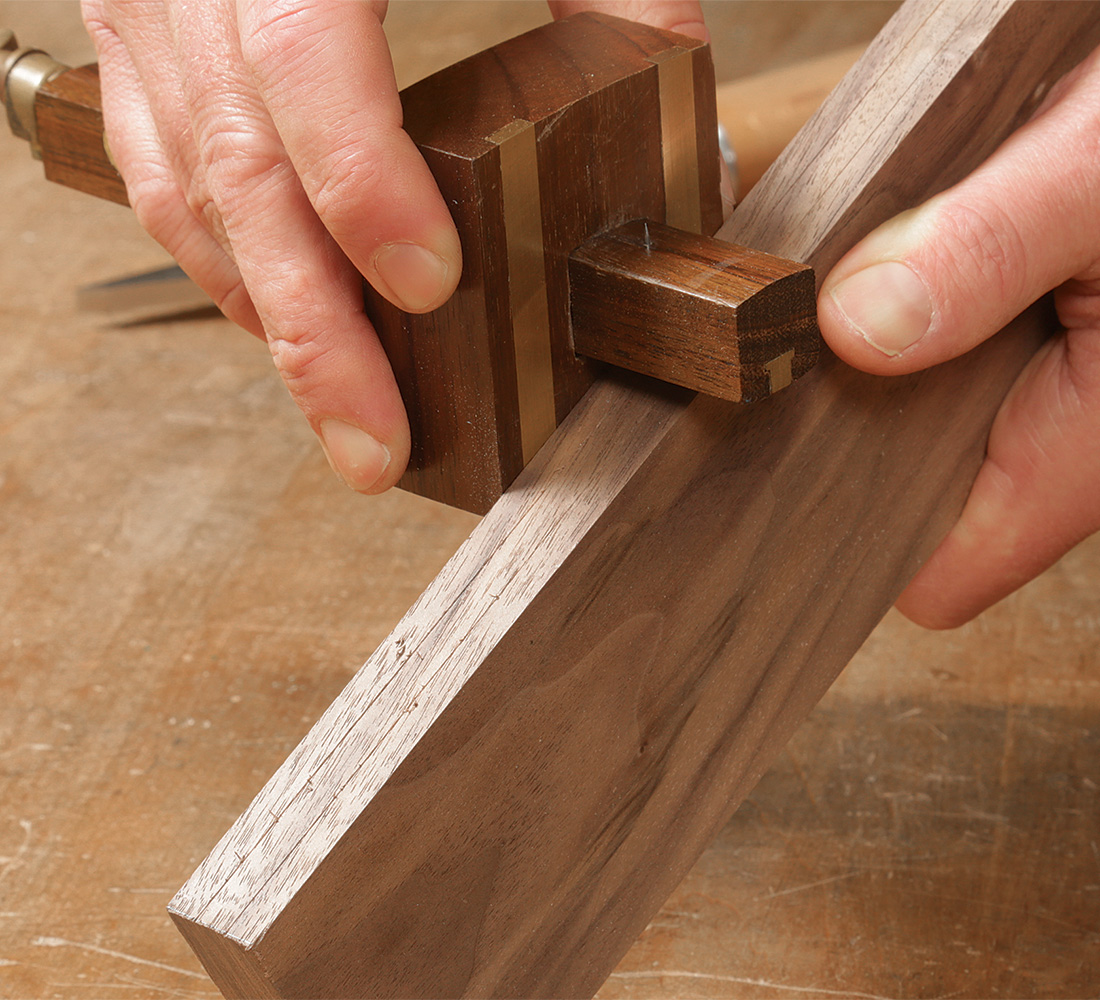
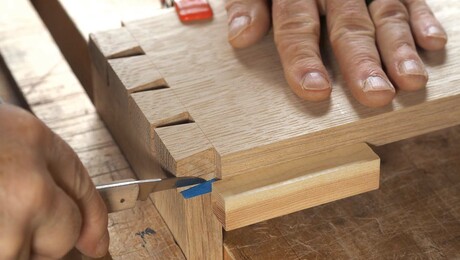
Before running the panel groove along the stiles, scribe the joint with the mortising gauge at the same setting you used to lay out the mortises. This scores the fibers to limit tearout from the plow plane. I repeat this step on the rails for the same reason. However, I mortise before grooving to maintain my mortise’s layout lines. Plus, an unsquare groove would tip my chisel off 90°.
Photos: Barry NM Dima
To view the entire article, please click the View PDF button below.
 |
Cutting Joinery for a Frame-and-Panel Door |
 |
7 Things to Know about Hand-Cut Mortise-and-Tenon Joints |
 |
Lighter, Stronger Frame-and-Panels |





Log in or create an account to post a comment.
Sign up Log in