High-flying feather veneer
This intricate-looking pattern uses a simple, repetitive method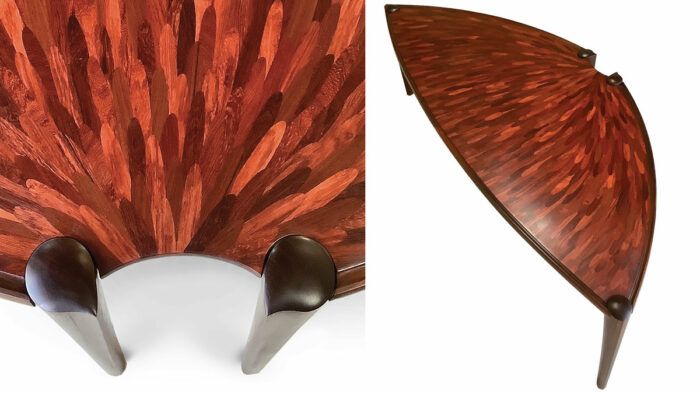
Synopsis: All you need to create this intricate feather pattern is a trim router with straight bit and guide bushing, a shopmade template-routing jig, and a lot of repetition. A LOT of repetition, but the results are stunning.
The process I use to make this feather veneer evolved out of necessity and the need for efficiency. For years I made abstract marquetry patterns for small tabletops, including a feather pattern. A scrollsaw served the purpose perfectly. I used the double-bevel cutting method to piece together the entire sheet of veneer, and I was able to cover a whole surface using the smallest of scrap veneers.
However, the overall size of the surface sheet is limited by the throat depth of the scrollsaw, because to bevel cut a single feather into an ever-larger sheet, the sheet must be rotated 180° during the cut. And swinging around a fragile sheet of veneer is a risky operation anyway.
In making a dining table with the feather pattern, I had to rule out using the scrollsaw because the top was to be 3 ft. by 6 ft. I needed to find another way, so I came up with this router-template jig. My technique works with any shape. Once I made the jig, I had a lot of meditative, repetitive work ahead of me, but the final product was worth the effort.
Simple method, stunning results
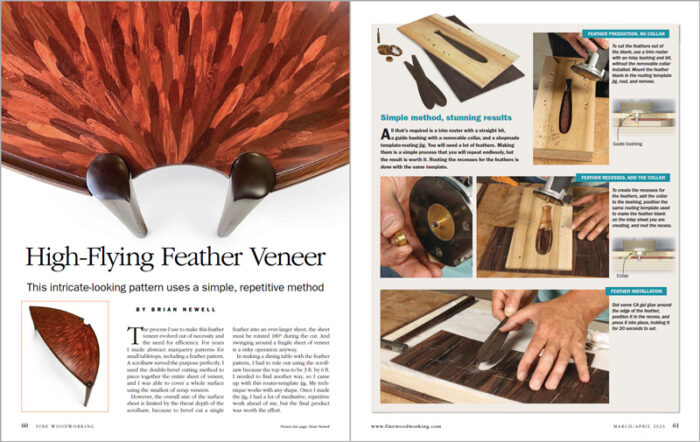
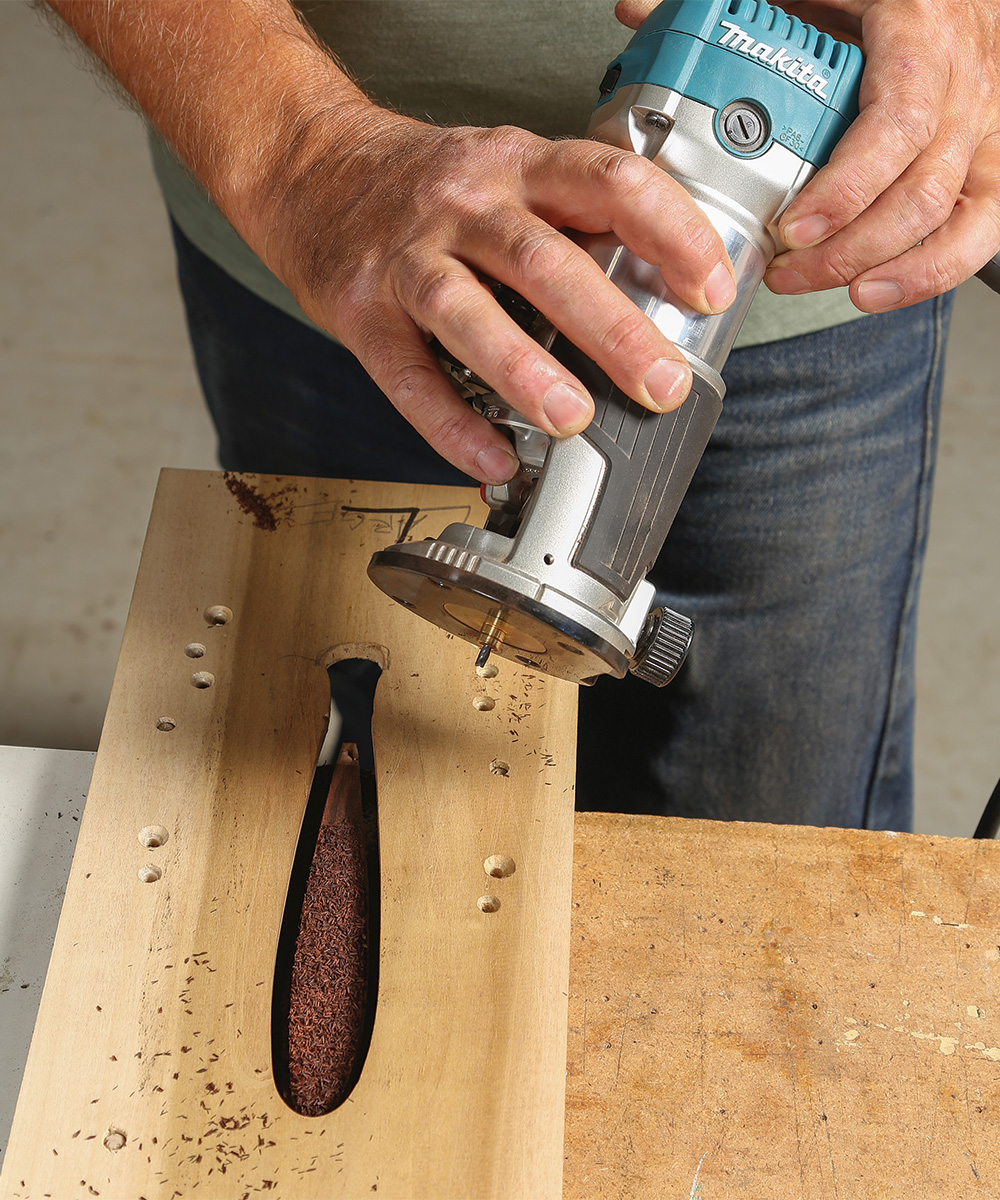
All that’s required is a trim router with a straight bit, a guide bushing with a removable collar, and a shopmade template-routing jig. You will need a lot of feathers. Making them is a simple process that you will repeat endlessly, but the result is worth it. Routing the recesses for the feathers is done with the same template.
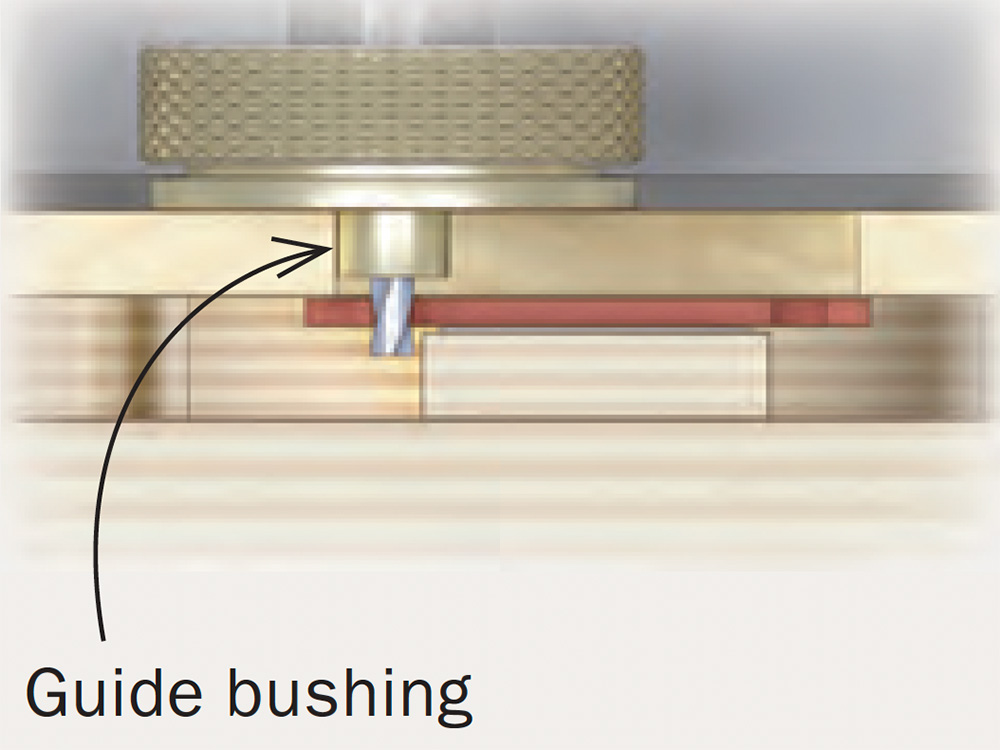
Feather production, no collar
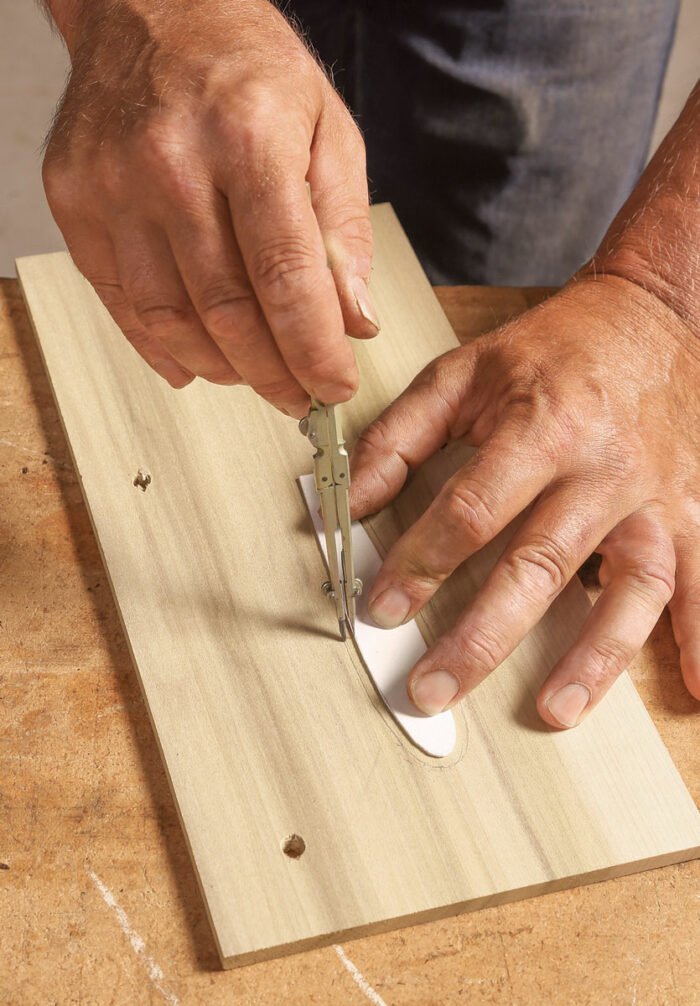
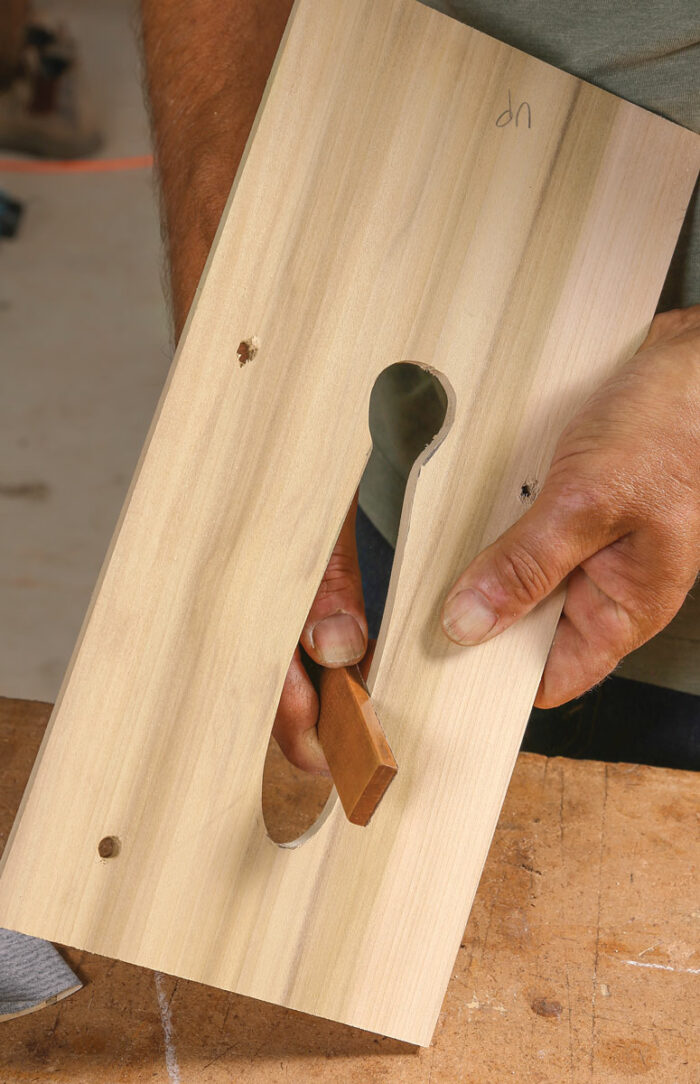
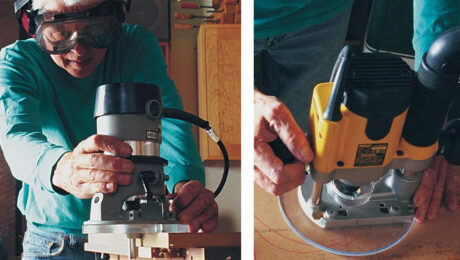
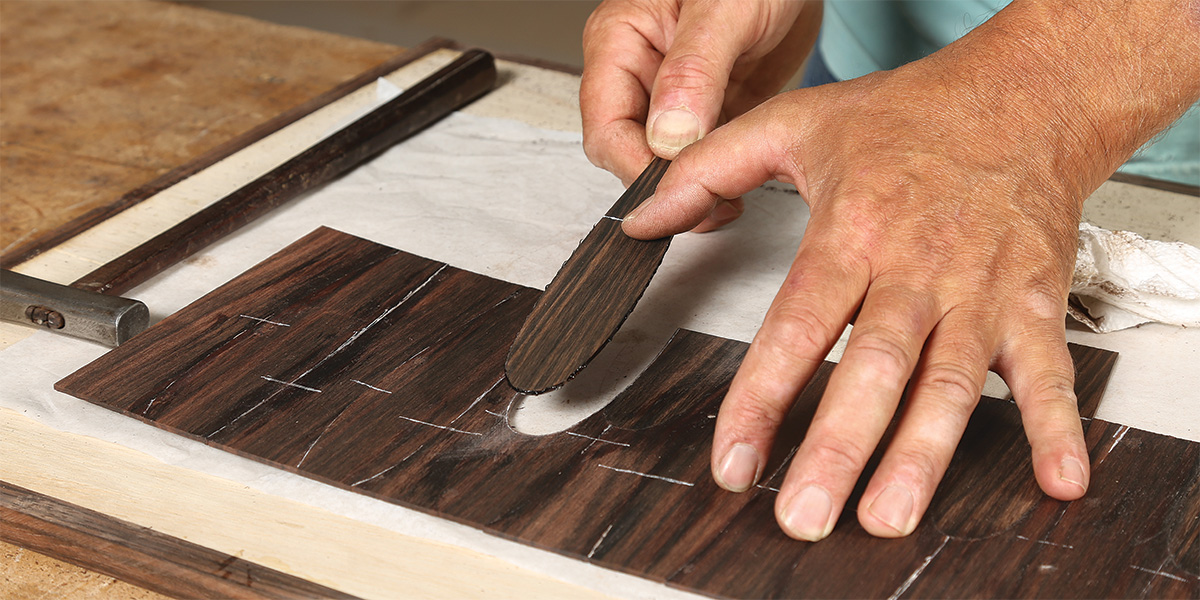
To cut the feathers out of the blank, use a trim router with an inlay bushing and bit, without the removable collar installed. Mount the feather blank in the routing template jig, rout, and remove.
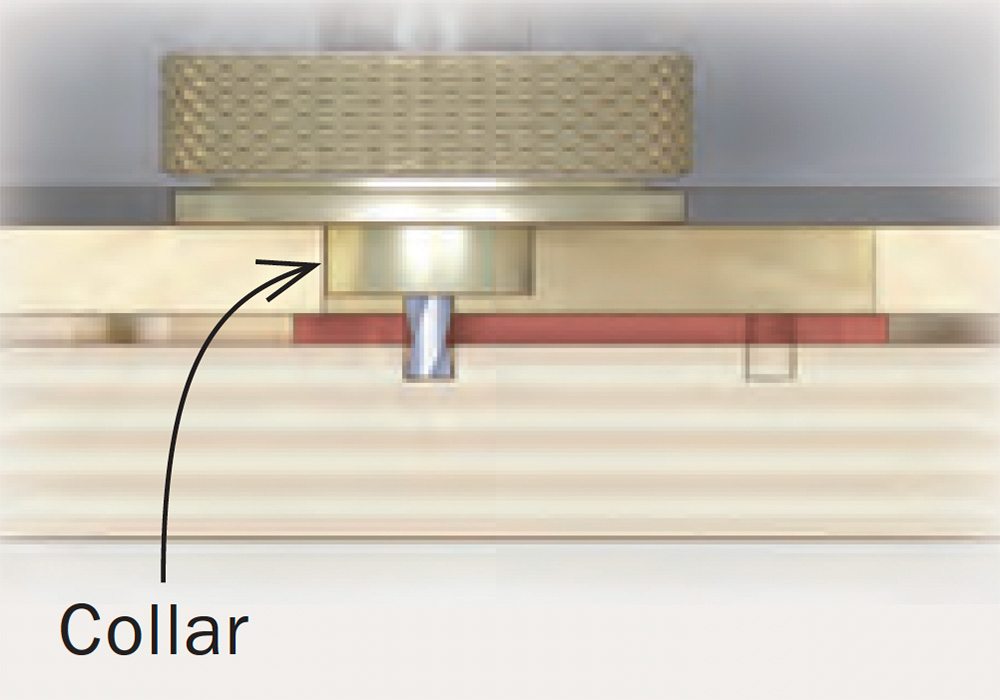
Feather recesses, add the collar
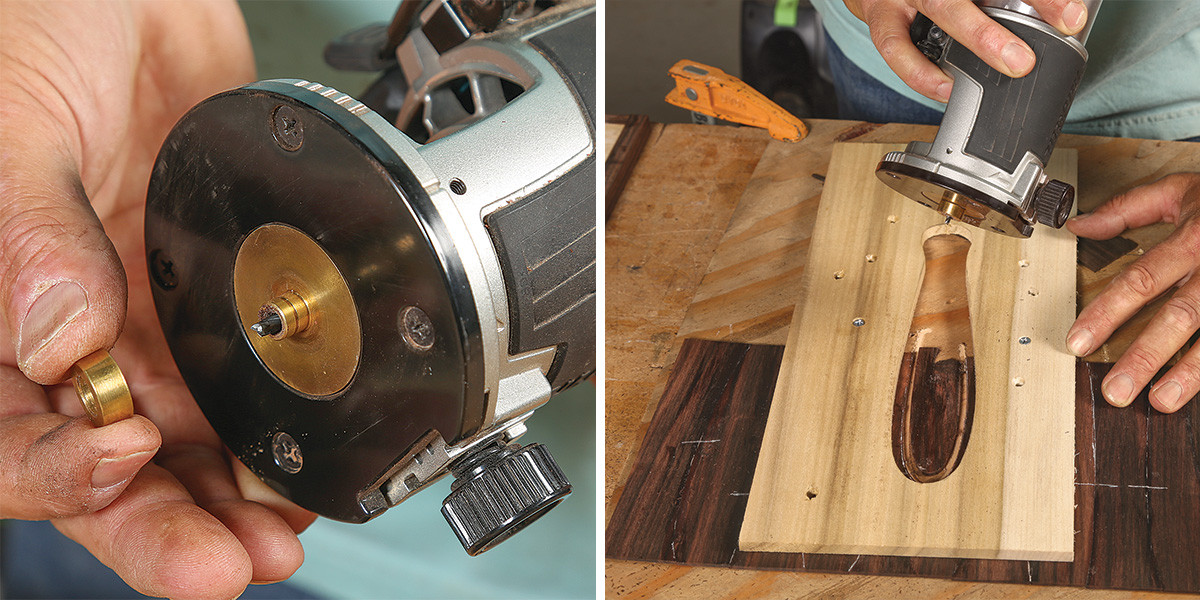
To create the recesses for the feathers, add the collar to the bushing, position the same routing template used to make the feather blank on the inlay sheet you are creating, and rout the recess.
Feather installation
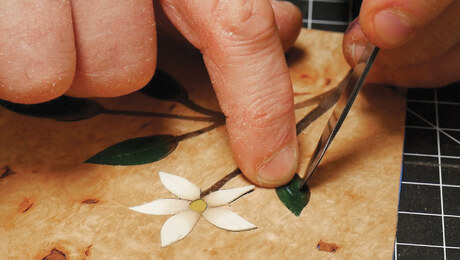
Dot some CA gel glue around the edge of the feather, position it in the recess, and press it into place, holding it for 20 seconds to set.
How it works
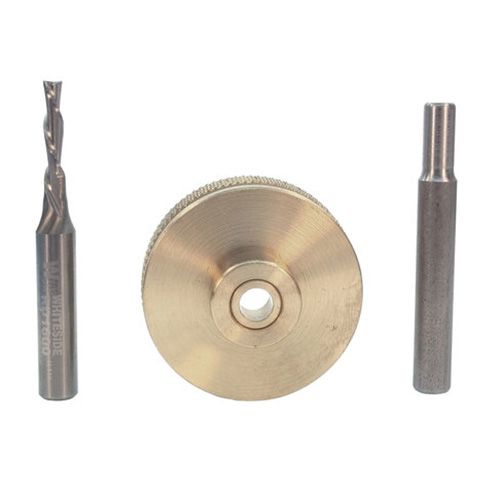
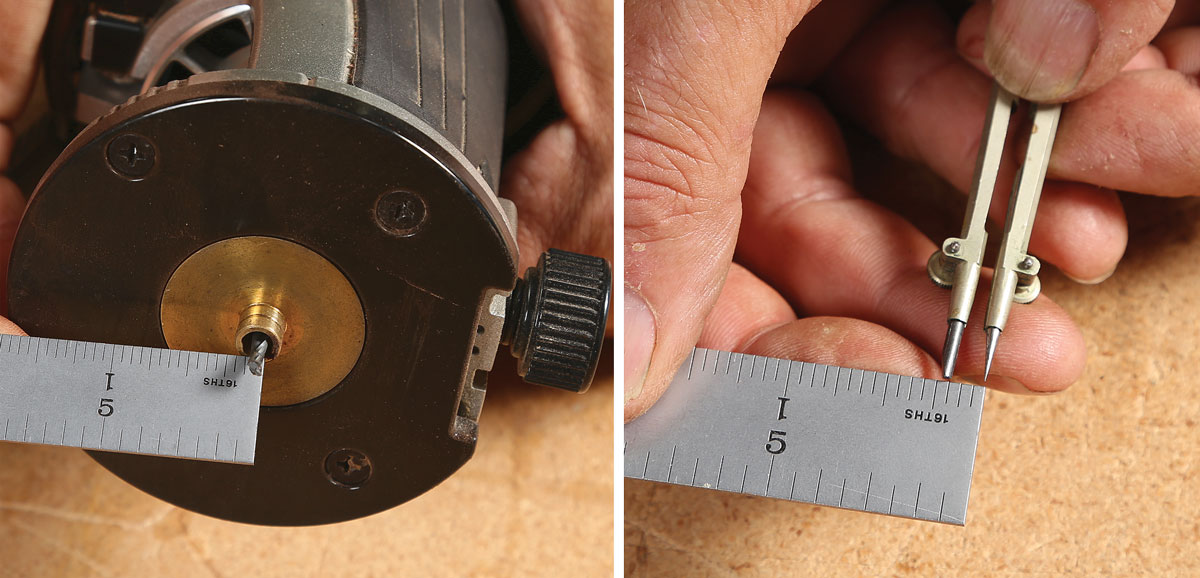
A guide bushing with a removable collar is the little thing that makes this all happen, along with a trim router, preferably one with a standard sub-base hole of 1-3/16 in., which will fit the inlay jig without modification. The jig requires a 1/8-in. spiral router bit. The diameter of the bit and the thickness of the collar need to be the same. The 1/8-in. bit and the guide bushing with a removable 1/8-in.-thick collar are often sold as an inlay kit. You can get them online or at woodworking-supply stores. (Item no. 27593 at rockler.com is one example.)
The system is designed to do true inlay, which involves excavating a recess in a solid background and then inserting inlay veneer. Both the recess and the inlay are cut using the same shopmade template. My method is a variation on this technique. I use all veneer, but rather than inlaying into a solid background, I create the background as I go along, excavating and rebuilding on itself as I move outward. I inlay a full feather and then rout away about half of it for the next feather, repeating until I have a sheet of veneer.
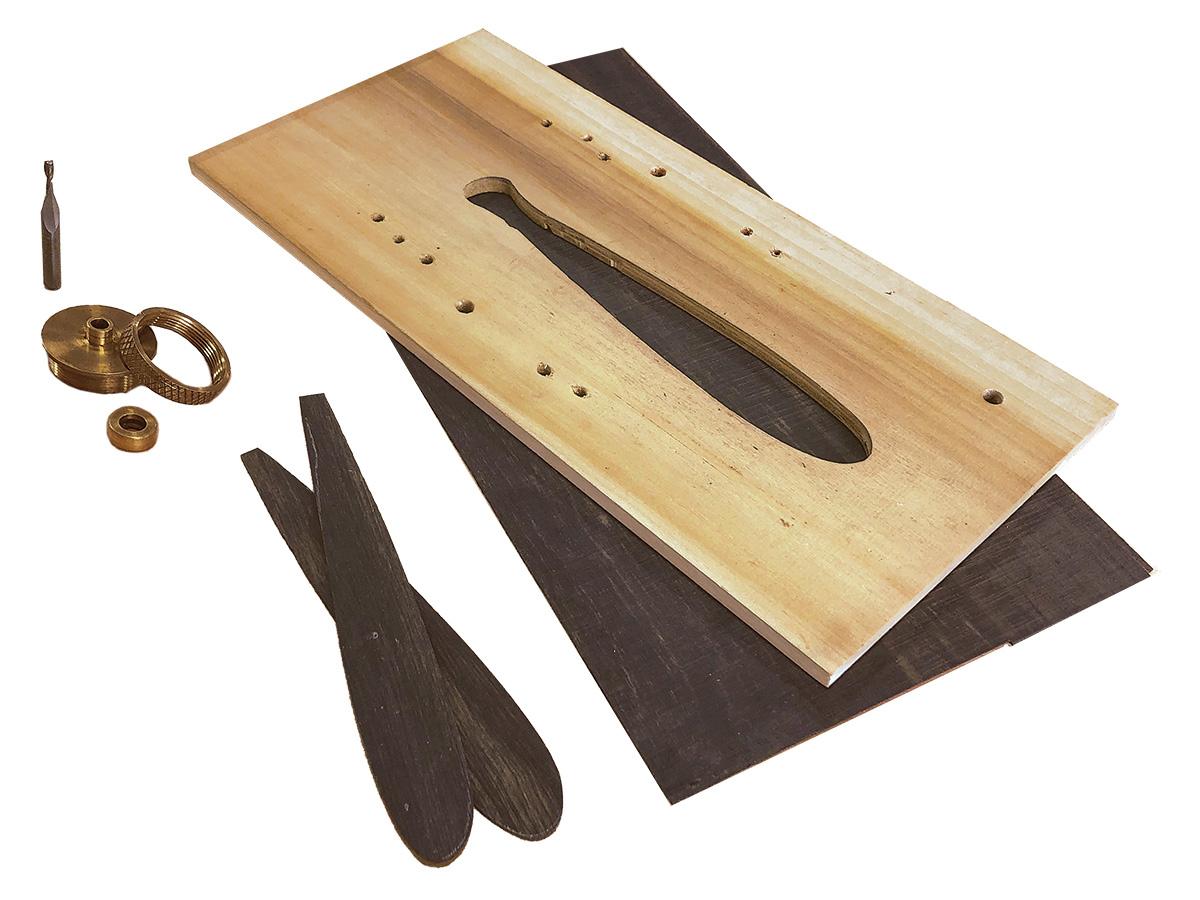
Whiteside 9500 Solid Brass Router Inlay Router Bit Set
One template does double duty
You will use the same template to create the feathers and cut the recesses that hold them. What makes the difference, and the perfect fit, is the guide bushing’s removable collar. Without the collar, you cut the feather; with the collar, you cut the recess. If you want different-size feathers, you make multiple templates. Newell uses three to four different templates for each design.
Get going with a starter row
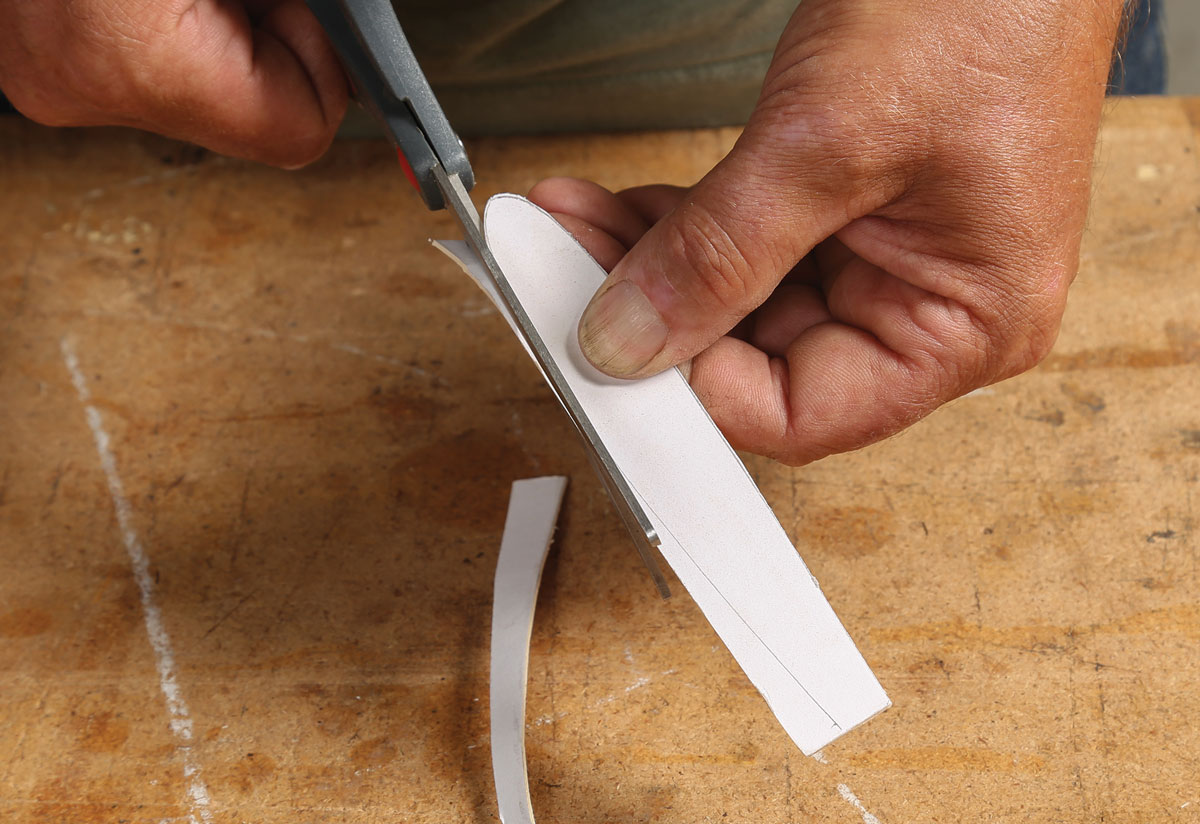
To begin, I need a row of small pieces that I cut and edge-glue to make the first stretch of background into which the feathers will be inlaid.
Then I cut a whole bunch of rectangular feather blanks and move on to the inlay process, which begins with the scrollsaw because the parts are small and thin; more importantly, there is barely any kerf to think about, and the fine teeth make very clean cuts. Using small scraps of shopsawn veneer (1⁄32 to 3/64 in. thick), I glue one piece on top of the other. With rosewood at least, this glue sets instantly and holds very firm. The cyanoacrylate (CA) gel glue I use may not work on all woods. It doesn’t stick well to oak, which may be because of the tannins, but I haven’t had trouble with any other species.
With a fine scrollsaw blade, I cut along the line and then split off the waste. The scrollsaw table is at 90° because this is not beveled inlay. What’s left is a joint that fits nicely. I edge-glue the two pieces together and move on to the next.
Brian Newell builds furniture in Fort Bragg, Calif.
To view the entire article, please click the View PDF button below.
 |
Beautiful border frames a sunburst tabletop |
 |
Video: Marquetry in motion |
 |
From the archive: Router template collars |
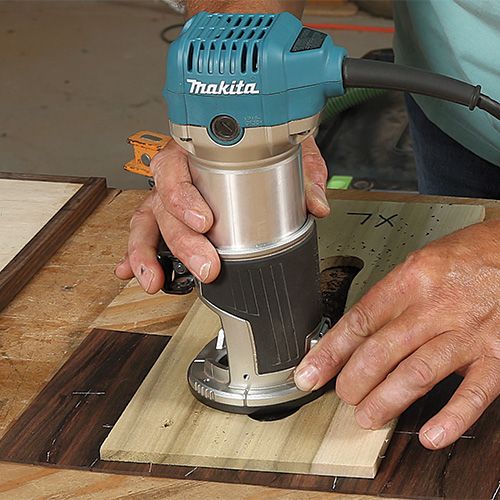
Makita Trim Router
Item Dimensions LxWxH: 10 x 8 x 6 inches
Voltage: 120 Volts
Item Weight: 3.9 Pounds
Horsepower: 1.25
Maximum Rotational Speed: 30000 RPM
Amperage: 6.5 Amps



Comments
Considering the volume of feathers needed to produce a surface, a vacuum hold down system would be perfect in order to increase the speed of production. It would also save on the supply of double stick tape.
Log in or create an account to post a comment.
Sign up Log in