Make a box with a built-in hinge
Splined miters and a flip-top lid add character to a simple project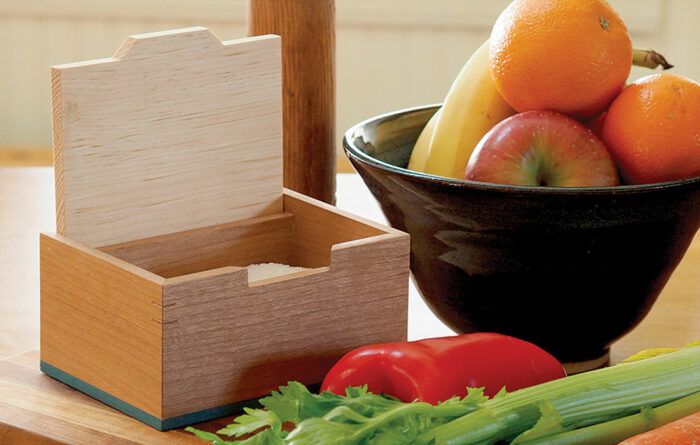
Synopsis: With continuous grain, interesting reveals and shadowlines, a painted base, and an ingenious design that provides for an easy-access, sealed lid without traditional hinges, this box blends utility and style. The mitered sides give the box a sleek look and the back, which pivots on a brass rod, is a snap to open and close. The plywood bottom adds strength, and color if you paint it like Barry did.
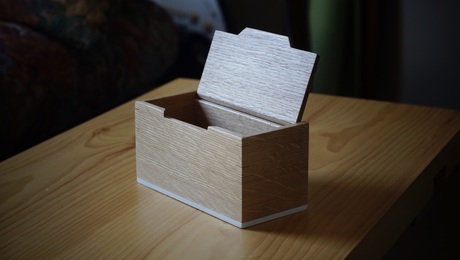
This box was a happy accident. I wanted to make a salt cellar for my brother, a serious cook, but that’s just a box, right? No design inspired me until I saw chef J. Kenji López-Alt’s salt box. He flipped its overhanging lid open and shut with ease, letting him grab a pinch of seasoning with one hand while the other minded the food. I used his box as a jumping-off point and landed somewhere much more my own, both stylistically and functionally. Mine combines continuous grain, 1 ⁄ 16-in. shadowlines around the lid, and paint—my mix of fussy and fun.
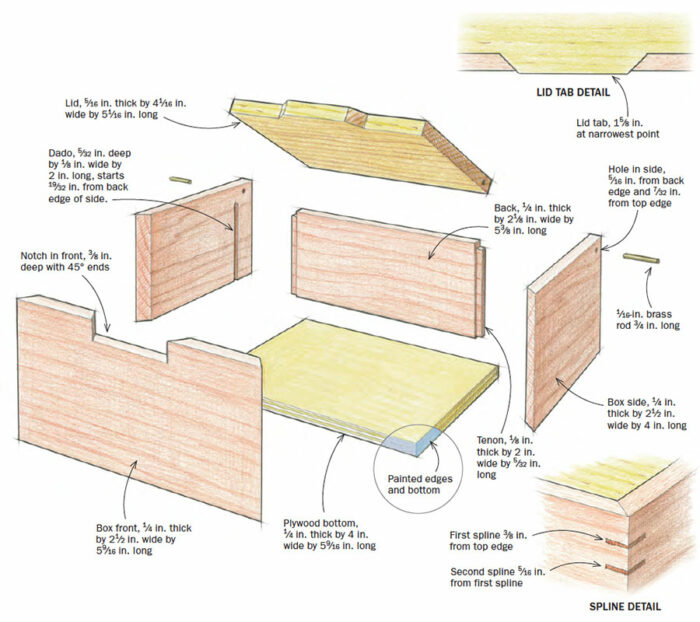
The key detail is the back. It sits lower than the sides, and is dadoed into them. This lets it act as a stop for the lid, which hinges on brass pins through the sides—an easy, inexpensive alternative to leaved hinges. A notch in the front lets the lid lie flush with the back’s top edge, sealing the box all around.
Four sides, but one’s a hidden stop
By mitering the front but insetting the back, you can reap benefits both aesthetic and structural. Similarly, the painted plywood bottom strengthens the box while simultaneously opening design opportunities. All the box parts are solid wood except the bottom.
Locating the hinges may be the most pivotal part of the build, but it’s just a matter of measuring correctly. The joinery, mostly done at the router table with affordable bits, is simple miters and stopped dadoes. To strengthen the miters, you’ll add thin splines toward the top and glue on plywood at the bottom.
This box is cherry with a pine lid and a painted plywood bottom. In previous versions I used different woods with differently colored plywood bottoms. Thanks to their size, these boxes are a fun, low-stakes way to experiment with wood selection, contrast, and color.
Miters with continuous grain
One of the lovely advantages of miters is that they let you wrap grain around corners without interruption. To wrap grain on a typical four-sided box, you need to carefully resaw a board, and then crosscut and assemble the parts in sequence. This box requires far fewer brain cells. Because only three sides are visible, you just need a board the combined length of the front and sides, plus a little for sawkerfs. I don’t treat the grain on the back as an afterthought, but I don’t prioritize it either.
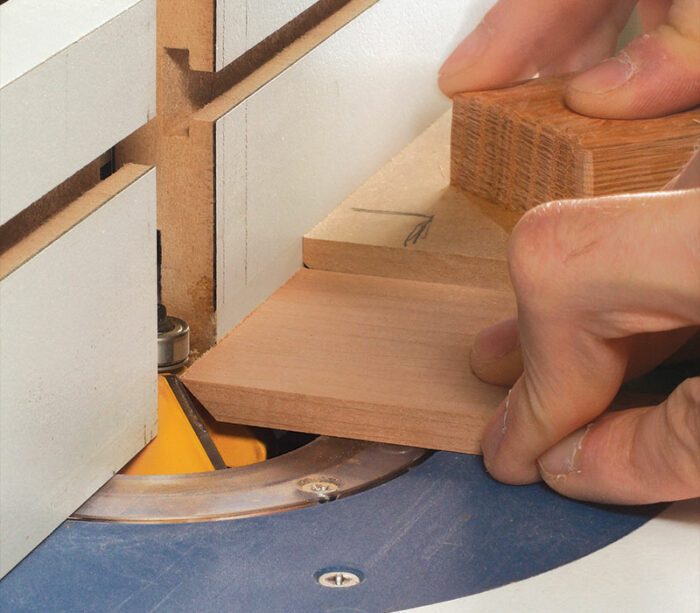
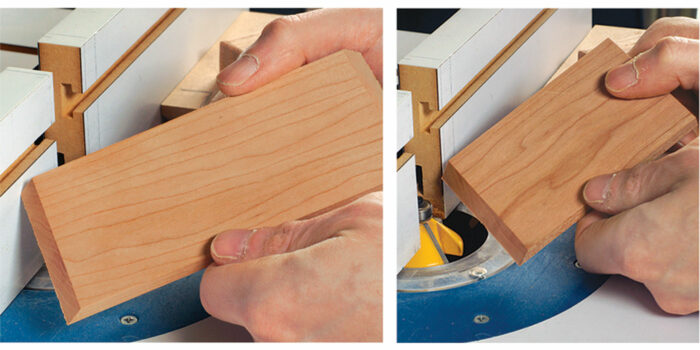
Because I don’t have a table saw, I miter on the router table; I crosscut and shoot the sides to length before mitering. It’s a fine option provided you have a good, square fence; the bit’s vertical travel is 90° to the tabletop and the bit itself is 45°. I like a 1 ⁄ 2-in. shank too. I use a push block behind the workpieces to stabilize the stock and limit blowout.
Ensure the sides remain the same length. If you need to take an additional pass on one side, do so on the other side too, even if the miter is already sharp on that one.
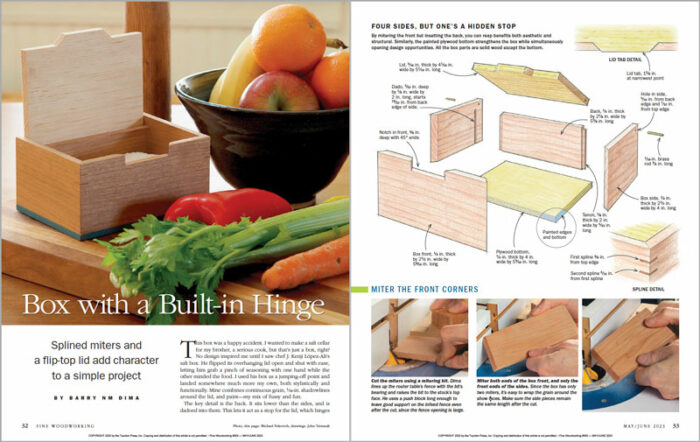
Miter the front corners
— Barry NM Dima, former FWW associate editor, moved in February to Vietnam, where he will teach English.
Photos, except where noted: Barry NM Dima.
Drawings: John Tetreault.
For the full article, download the PDF below:
 |
How to create a lipped inset lid for a simple box |
 |
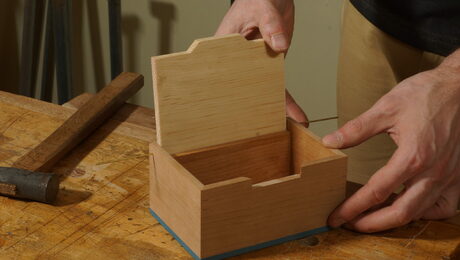
How to make a salt box |
 |
Hinge mortise jig for boxes |
Fine Woodworking Recommended Products

Suizan Japanese Pull Saw




Log in or create an account to post a comment.
Sign up Log in