Build a frame-and-panel door with hand tools – Part 2
Having created the frame in Part 1, Bill Pavlak now focuses on making the raised panel.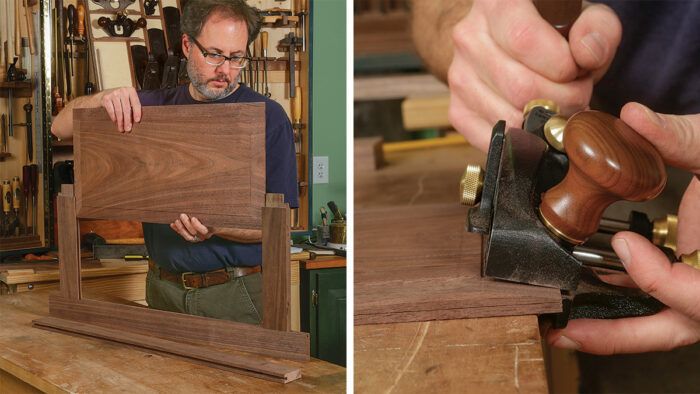
Synopsis: Having created the frame in Part 1, Bill Pavlak now focuses on making the raised panel. There’s no need for a specialty hand plane here; a rabbet plane provides an easy, effective, and efficient way to do this work. In addition to tool choices, design considerations, wood movement, and grain direction come into play.
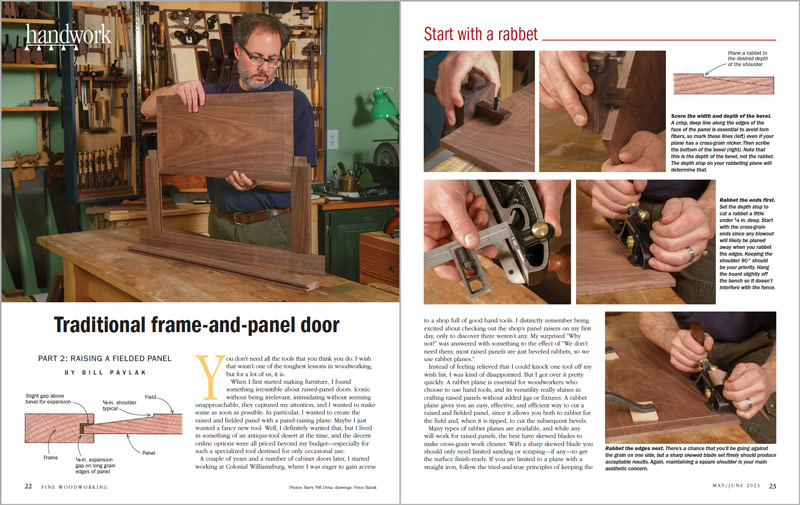
You don’t need all the tools that you think you do. I wish that wasn’t one of the toughest lessons in woodworking, but for a lot of us, it is.
When I first started making furniture, I found something irresistible about raised-panel doors. Iconic without being irrelevant, intimidating without seeming unapproachable, they captured my attention, and I wanted to make some as soon as possible. In particular, I wanted to create the raised and fielded panel with a panel-raising plane. Maybe I just wanted a fancy new tool. Well, I definitely wanted that, but I lived in something of an antique-tool desert at the time, and the decent online options were all priced beyond my budget—especially for such a specialized tool destined for only occasional use.
A couple of years and a number of cabinet doors later, I started working at Colonial Williamsburg, where I was eager to gain access to a shop full of good hand tools. I distinctly remember being excited about checking out the shop’s panel raisers on my first day, only to discover there weren’t any. My surprised “Why not?” was answered with something to the effect of “We don’t need them; most raised panels are just beveled rabbets, so we use rabbet planes.”
Instead of feeling relieved that I could knock one tool off my wish list, I was kind of disappointed. But I got over it pretty quickly. A rabbet plane is essential for woodworkers who choose to use hand tools, and its versatility really shines in crafting raised panels without added jigs or fixtures. A rabbet plane gives you an easy, effective, and efficient way to cut a raised and fielded panel, since it allows you both to rabbet for the field and, when it is tipped, to cut the subsequent bevels.
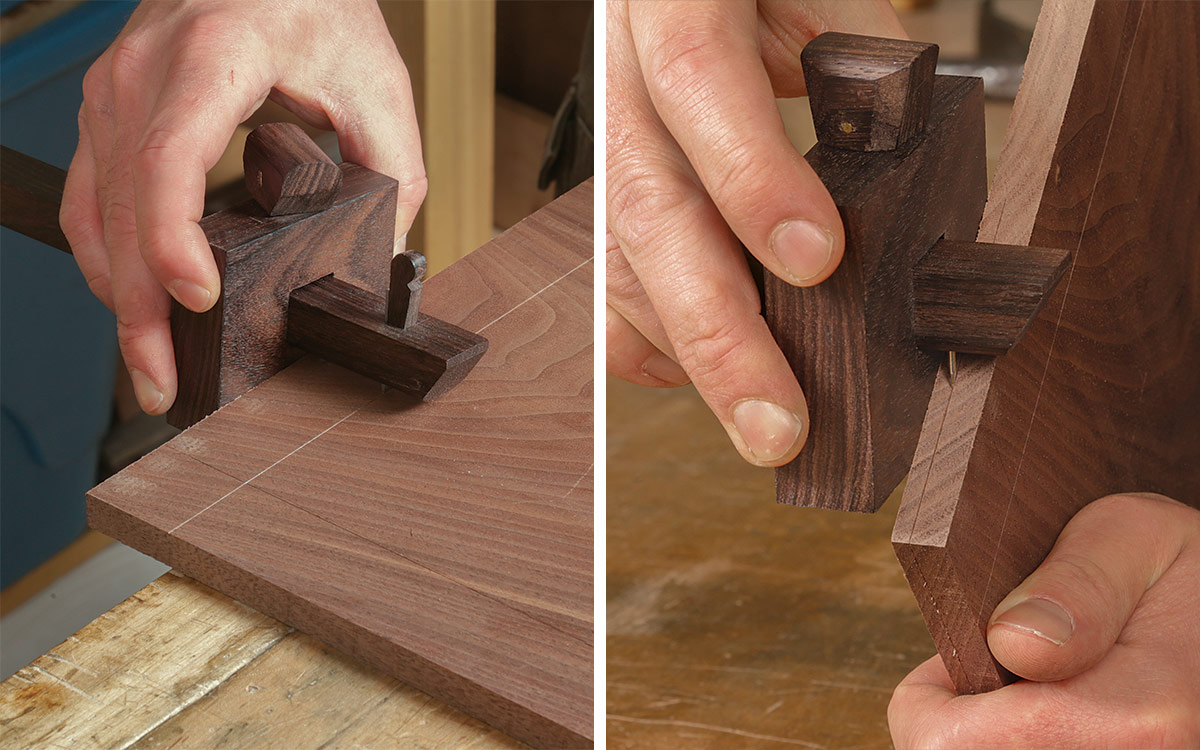
Many types of rabbet planes are available, and while any will work for raised panels, the best have skewed blades to make cross-grain work cleaner. With a sharp skewed blade you should only need limited sanding or scraping—if any—to get the surface finish-ready. If you are limited to a plane with a straight iron, follow the tried-and-true principles of keeping the blade finely set and extra sharp. This will get you close enough to finish things out with light scraping and sanding.
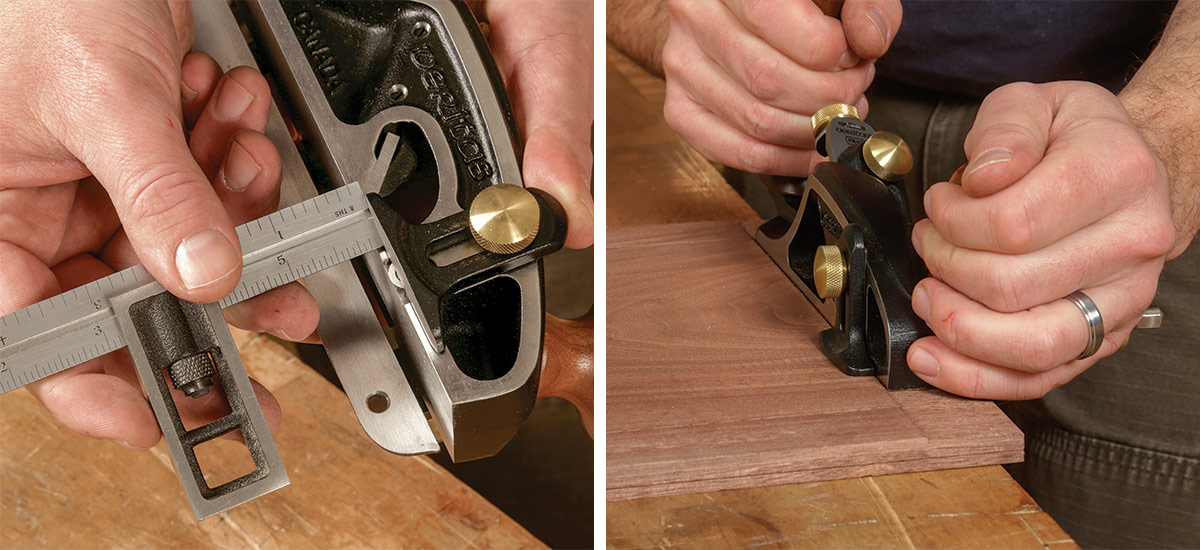
My preferred rabbet plane is a moving fillister. It adds an adjustable fence to the mix, which brings increased accuracy and easy repeatability. A lot of metal-bodied rabbet planes are essentially moving fillisters. Whether wood or metal, something with a 1-1/2-in. maximum width of cut is ideal, though 1-1/4 in. can work, too. Depth stops are nice as well.
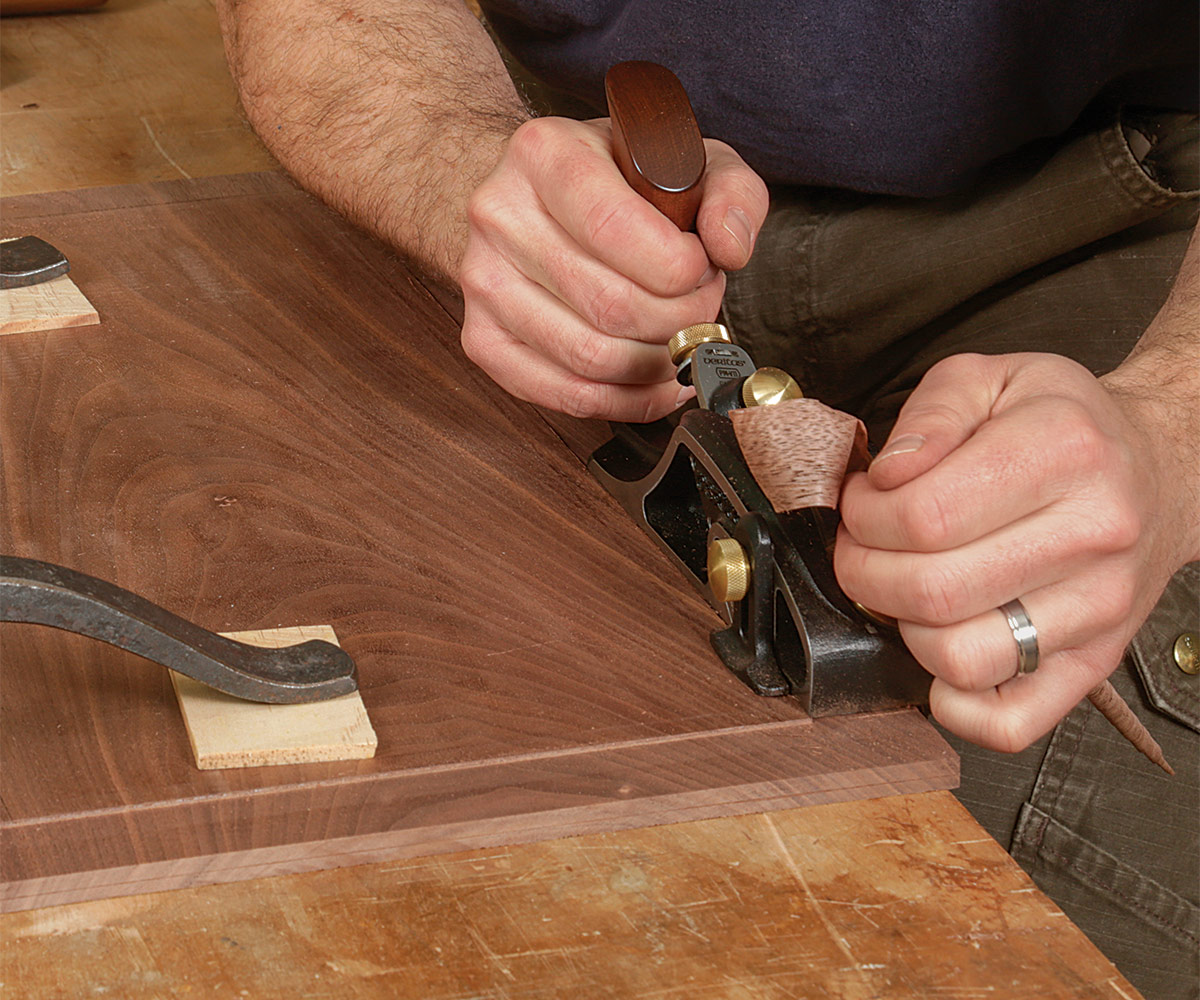
Raised and fielded
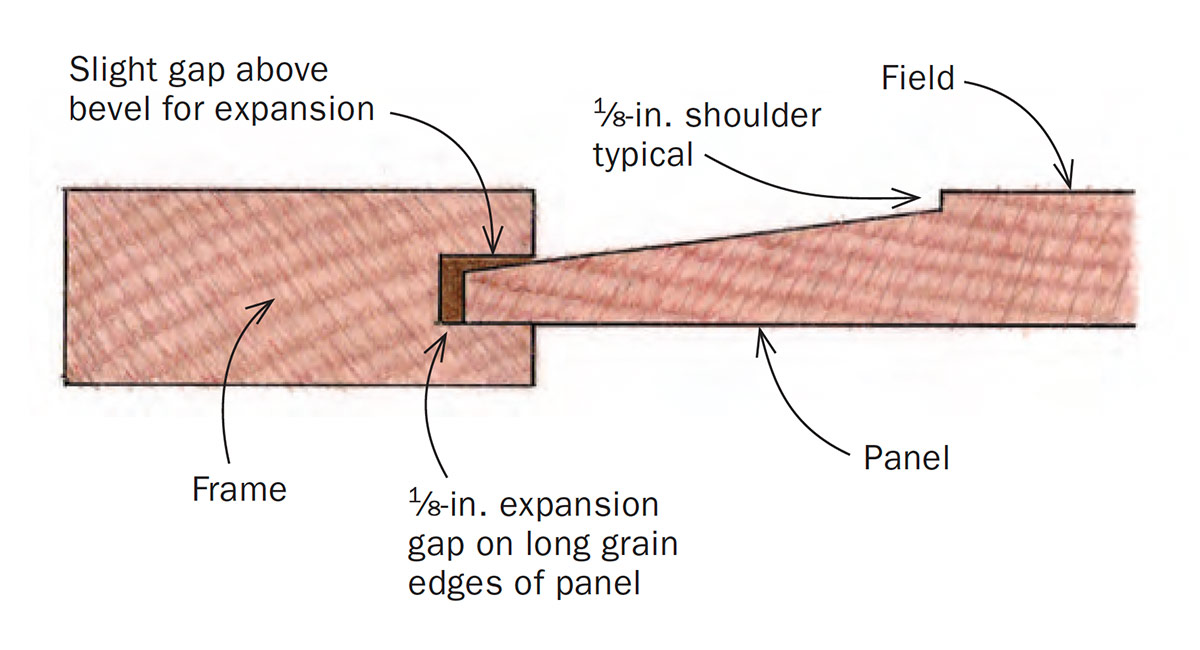
Raised panels come in a great variety of styles, from intricate, molded profiles to unadorned bevels. The design featured here is the type I encounter most often on American period furniture (and the type I prefer to create). Some folks worry that an angled bevel instead of a flat tongue around the perimeter might inhibit wood movement. But I’ve found that as long as you don’t aggressively jam the panel into the frame during construction or glue it in place, there will be room for seasonal movement. A typical cabinet door panel is only about 1/2 in. thick, so once you bevel off the edges you’re left with almost a knife edge around the panel. This is perfectly fine. Indeed, there are only two crucial dimensions to guide your design. First, ensure a 1/8-in. gap between the long-grain edge of your board and the bottom of the groove for expansion. Second, make sure the bevel’s angle, and therefore its thickness, will allow the board to enter the groove without bottoming out or preventing the frame from coming together.
Photos: Barry NM Dima; drawings: Vince Babak
To view the entire article, please click the View PDF button below.
More from Bill Pavlak
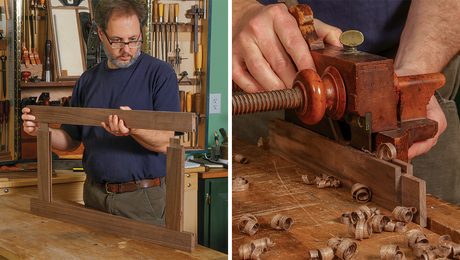 |
Build a frame-and-panel door with hand tools |
 |
7 Things to Know about Hand-Cut Mortise-and-Tenon Joints |
 |
Resawing by Hand |
Fine Woodworking Recommended Products
Leigh Super 18 Jig
Bessey EKH Trigger Clamps

Veritas Precision Square





Log in or create an account to post a comment.
Sign up Log in