Floating-top side table
Curves are everywhere in this elegant table, and they make it fun to build while learning a variety of skills.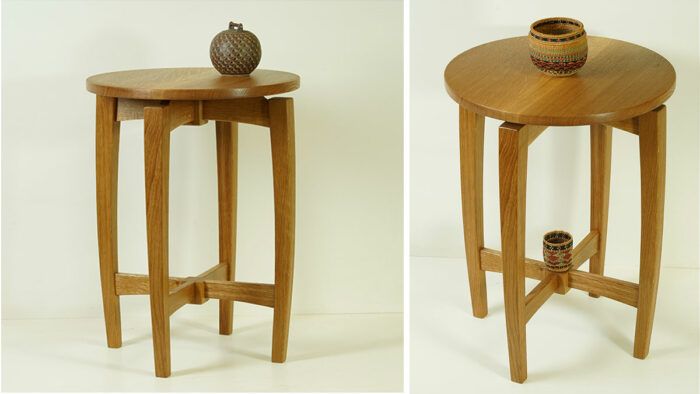
Synopsis: Curves are everywhere in this elegant table, and they make it fun to build while learning a variety of skills such as shaping with a router, using a drawing to find angles, and creating small flat areas to make joinery simpler. The design can be scaled up or down depending on where you plan to use it. The floating top, curved and tapered legs, and interesting rail assemblies all invite a closer look. The table shown is made from white oak, but it could be made from any number of woods depending on the preferred look.
My dad and I are both professional furniture makers and teachers, and furniture design was something we liked to do together while I was growing up. This table design is one of our collaborations.
The first version was taller, but when my grandmother asked for a small, round end table, I revisited the design. I enjoy how the table looks at this smaller scale, though it can be scaled up in a variety of ways.
The smaller size adds versatility in how the table can be used and fit into a home. It can serve as a side table in a living room, a nightstand, a plant stand, or a pedestal for an art piece. And you can elevate the look by placing a small rock, ceramic pot, or other sort of art atop the lower rail assembly, which is partly why I made that joint flush at the top edge. You could also add a round shelf in that same spot.
How to simplify curved, angled joinery
The curves and angles in this table not only make it really fun to build, but also teach valuable techniques you can use on future projects.
The legs are curved along their inner and outer edges and tapered on their sides, which requires a couple of different shaping techniques. You’ll also learn how to use a drawing to find the angle of the legs where the rails hit them. And making the round top involves a handy router jig.
I prefer using slip tenons where parts meet at angles and curves. They let me cut simple butt joints at these tricky junctions, rather than angling or curving the shoulders of integral tenons, which is a lot harder. There are a variety of ways to make matching mortises for slip tenons. While I sometimes use a horizontal mortiser, I’m using my Domino DF 500 joiner here, a handheld power tool that cuts precise
mortises in a variety of sizes, and comes with ready-made tenons that fit those mortises perfectly.
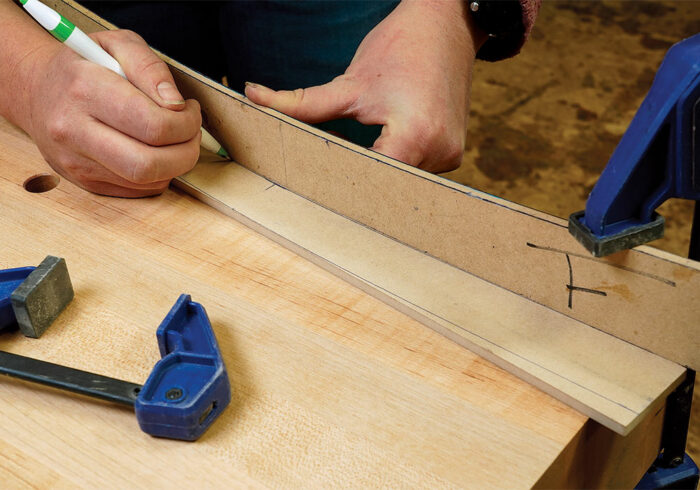
Make a leg template
The legs are curved along their inner and outer edges, and they get flats on the inside edge so the rail joinery is gap-free. Start by making a leg template, which will be transferred to a router jig for shaping the legs.
Shape the legs first
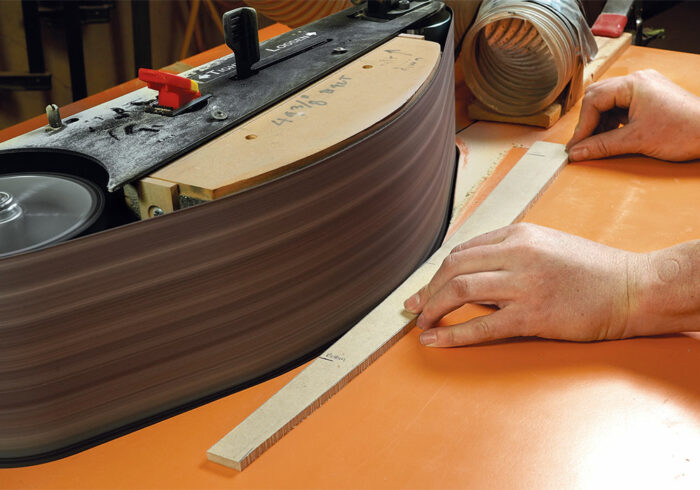
Making complex, repeatable shapes using shaper and router jigs has opened up a lot of possibilities in my work. I generally prefer using my shaper for template work, as it has a large, helical head that cuts very smoothly with minimal tearout. But I know many woodworkers lack a shaper, so I’ll demonstrate a very similar router-table technique here.
You might be tempted to skip the router jig and shape the curves by hand, but bear in mind that any inconsistencies can leave gaps in the joints where the rails meet the legs. Note that we are shaping the curves on the legs before tapering their sides. That way they will sit flat on the router jig.
Start by making a leg template. You’ll use it to make a two-sided leg-shaping jig, which shapes the concave edge on one side and the convex one on the other.
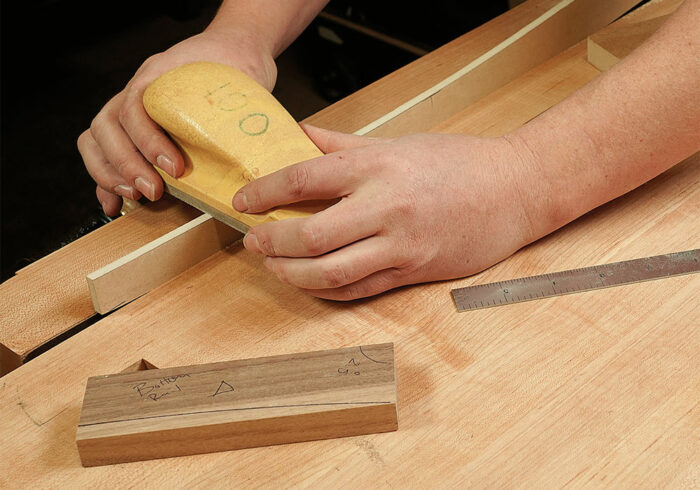
Hand-sand the joinery flats—To simplify the rail-to-leg joints, I create very small, almost undetectable flats along the leg curves, allowing me to cut a simple angle on the ends of those rails and know the joints will be gap-free. That’s a lesson I learned from my dad—Tom Dolese, a chairmaking specialist in Bellingham, Wash.
On the leg template, make center marks for the mortises. Then work from those to mark the top and bottom edges of the rails.
—Alex Dolese is a professional furniture maker in Bozeman, Mont.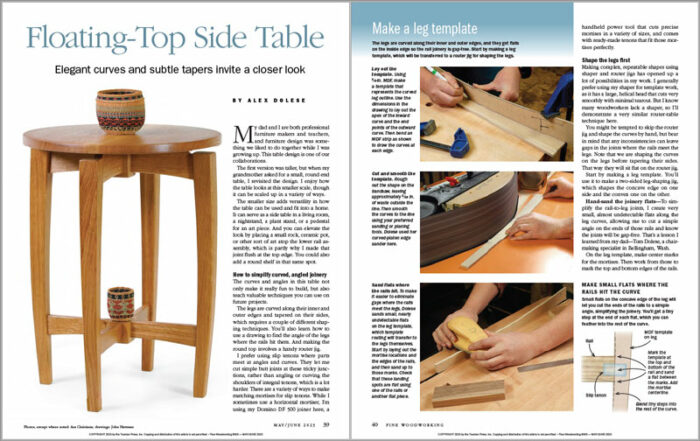
Photos, except where noted: Asa Christiana.
Drawings: John Hartman.
For the full article, download the PDF below:
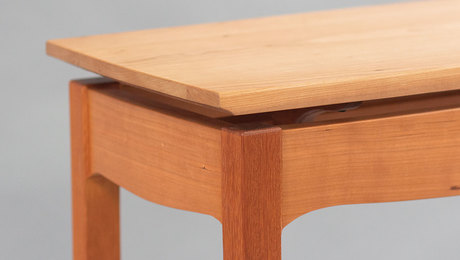 |
How to make a tabletop float |
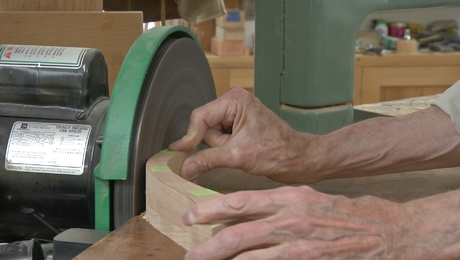 |
Shaker Candle Stand: Shaping the Legs |
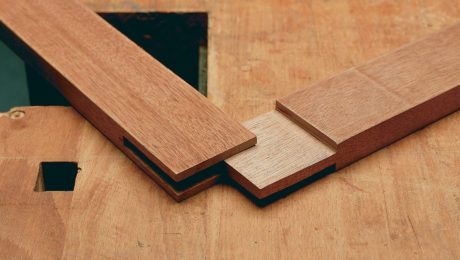 |
From the archive: The slip joint |




Comments
Tried to find the plans in the plan store but couldn’t. Can you give more specific directions?
I can't seem to find the expanded plans or parts list as called out in the article anywhere. Where can I get these? I see a comment above had the same issue as I back in May.
Why can't the expanded plans and complete parts list for the Floating-Top Side Table in the May/June 2023 issue of Fine Woodworking magazine be downloaded from the FineWoodworking.com/PlanStore? I am a subscriber.
It would appear they haven't been uploaded into the store yet. They do exist. Maybe on Monday they will get them linked for downloading.
Log in or create an account to post a comment.
Sign up Log in