3-Way miters in 3 steps
This joint, often seen in Chinese furniture, is strong enough for the job, but it relies on a complex arrangement of integral tenons, miters, and tricky cuts.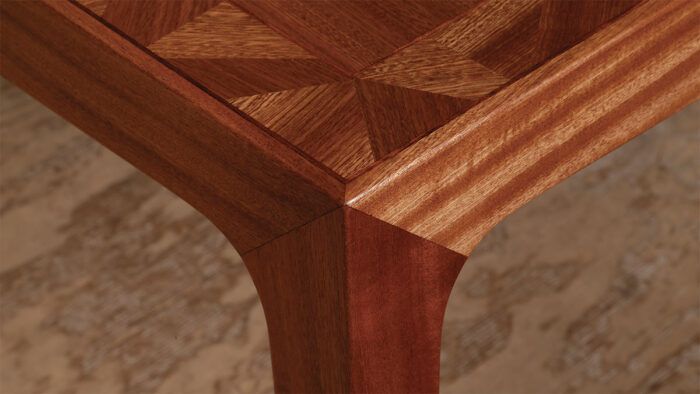
Synopsis: Designing a dining table without lower stretchers to stabilize the structure was a challenge Tim Coleman met by using three-way miters. This joint, often seen in Chinese furniture, is strong enough for the job, but it relies on a complex arrangement of integral tenons, miters, and tricky cuts. By building the aprons as two layers, however, he simplified the job, with a thick layer that has a substantial square tenon and a thinner top layer that is mitered. With these two layers laminated together, he preserves the strength of the joint while giving the appearance of mitered corners.
My furniture designs often rely on joinery in compact areas, so I’ve had to devise ways to maximize joint strength without compromising the integrity of small parts or cluttering a sleek design.
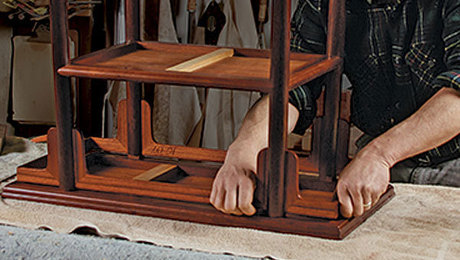
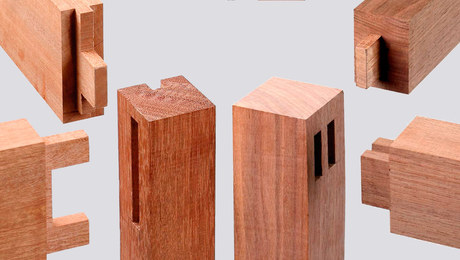
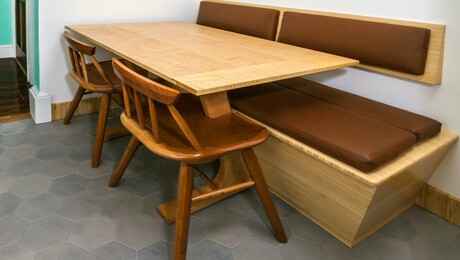
I faced this challenge on a recent dining table commission. The table was designed to sit in an alcove in front of several large windows overlooking a harbor, and the objective was to create a graceful, uncomplicated silhouette made up of slender parts. Curves on the underside of the aprons would flow seamlessly into the legs and down to the floor, and there would be no lower stretchers to disrupt these lines. I proposed three-way miters for the leg-to-apron joint, a detail seen in historic Chinese furniture. Done well, it is a strong joint, but it relies on a complex arrangement of integral tenons and miters, and requires tricky cuts. Eventually, I came up with a way to simplify the process of making it.
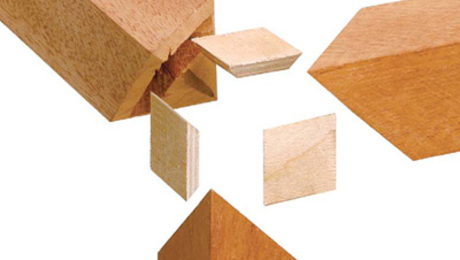
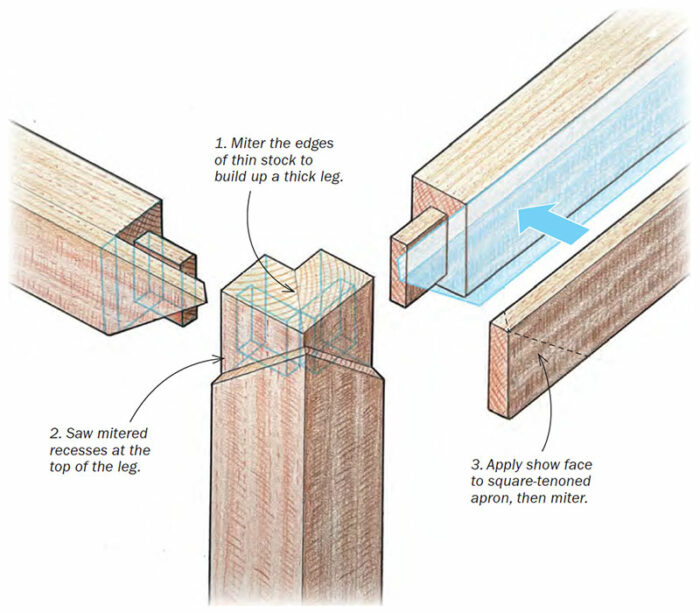
Cutting the mortises and the mitered recesses on the legs wasn’t daunting. But I wanted to simplify the aprons. So I decided to make them as two layers: a thick inside layer with a substantial integral tenon, and a thinner outside layer that I would laminate to the inside one after the tenons were cut.
Once the apron was laminated, I would cut the miter on the thin layer, forming a wing that gets glued into the mitered recess in the leg. After cutting that main miter on the wing, I would make the small miter cut at its tip where it mates with the wing of the adjacent apron.
I got the best of both worlds with this arrangement—the predictable strength and easy assembly of a large 90° mortise-and-tenon, and the appearance of a mitered corner. Plus, the mitered wing adds glue surface to reinforce the joint, a welcome boon considering the lack of stretchers. Made this way, the legs are a design element that improves strength and involves a clever technique.
Check your tools
You want your machines and jigs to be properly set up and tuned with any project, but it’s worthwhile to stress the point here. With such a complex joint, “a little out of square” will multiply fast. The frontend work of checking your tools and jigs will spare you plenty of futzing and headaches on the back end.
A bevel builds up the legs
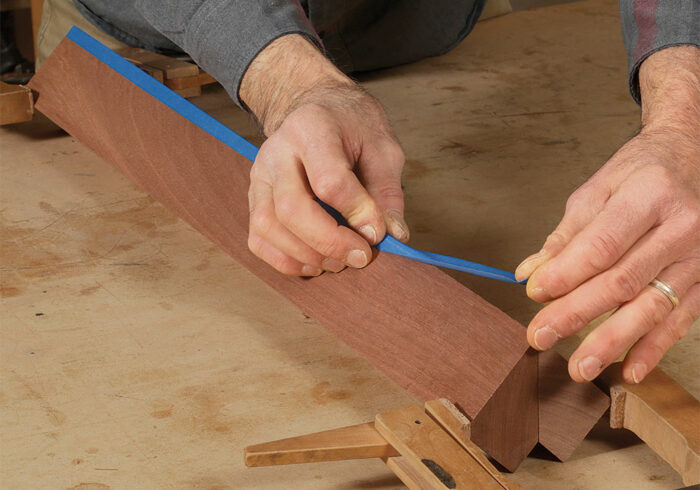
Thick legs are half the equation in the strength and easy assembly of a large, square mortise-and-tenon joint on a table. But I did not have solid stock thick enough to make these legs out of one piece. As a workaround, I constructed the leg blanks from two pieces, mitering them along one long edge and gluing them together. As a result, the legs look and act like thick ones even though they’re made up of thinner stock.
—Longtime FWW author Tim Coleman is a furniture maker in Shelburne, Mass.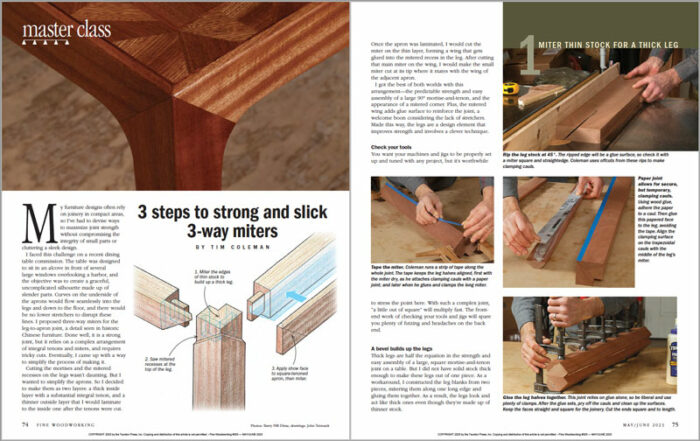
Photos: Barry NM Dima.
Drawings: John Tetreault.
For the full article, download the PDF below:
 |
Simplified three-way miter |
 |
Ming masterpiece, Joint by joint |
 |
Strong tenons in skinny legs |





Log in or create an account to post a comment.
Sign up Log in