Building garden gates
John Hartman builds one stout garden gate frame, and two gates to fill it.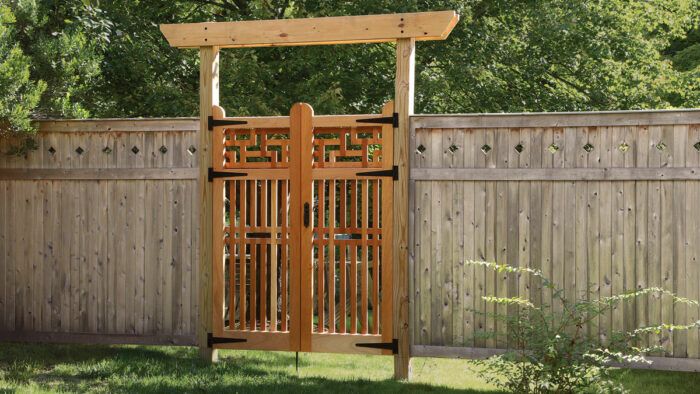
Synopsis: John Hartman built two gates for his new backyard, one which offers privacy and the other allowing a glimpse of the garden inside. He started with the same strong mortise-and-tenon door frame, adding latticework panels inspired by Japanese architecture for one gate and tongue-and-groove panels with decorate cutouts for the other.
After my partner, Christine, and I moved to our new home, we found we seldom used the backyard. There was no privacy from the neighbors and nothing to attract the eye, and we felt uncomfortable every time we ventured out to use our grill on the sad patch of dilapidated pavers posing as a patio. Something needed to be done.
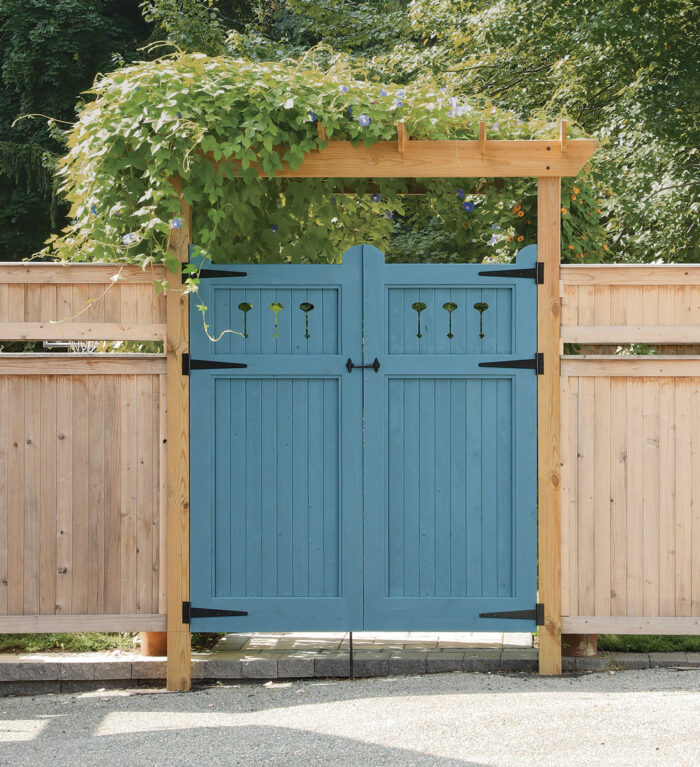
We started with a good-sized vegetable garden. Soon followed a stone terrace for entertaining and fencing for privacy. The fence had two openings: one leading in from the front yard, the other leading from the driveway through a pergola to the terrace; I turned my attention to building gates for them.
I used the same heavy-duty mortise-and-tenon frame for both gates, but I gave them two very different panel treatments. For the gate by the driveway, where privacy was paramount, I used leftover tongue-and-groove cedar fencing to make the panels; I painted them to unify the mismatched boards and made small decorative cutouts in the upper panels. The gate to the front yard would be visible from the street, and I wanted something there that provided a bit of privacy, an interesting pattern, and a glimpse of the garden. The latticework panels I made for it were inspired by a railing Christine found in a book of Japanese architecture.
The frames come first
Double gates made sense, since one of the fence openings was 5 ft. wide and the other was 6 ft.; I thought single gates that size would have been overly heavy. Like frame-and-panel doors, these gates are, structurally, a two-part system: a strong frame that resists racking and a lighter inner structure to reduce weight while providing privacy, isolating wood movement, and opening opportunities for decoration.
I selected the wood with care, using rot-resistant African mahogany for the frames. If you’d rather not use exotic wood, there is an excellent article by Hank Gilpin, “Five Woods for Outdoor Furniture” (FWW #233) that provides advice on selecting domestic wood for outdoor projects.
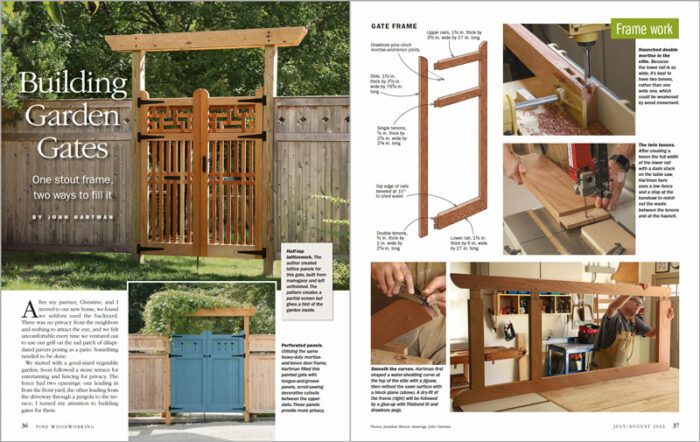
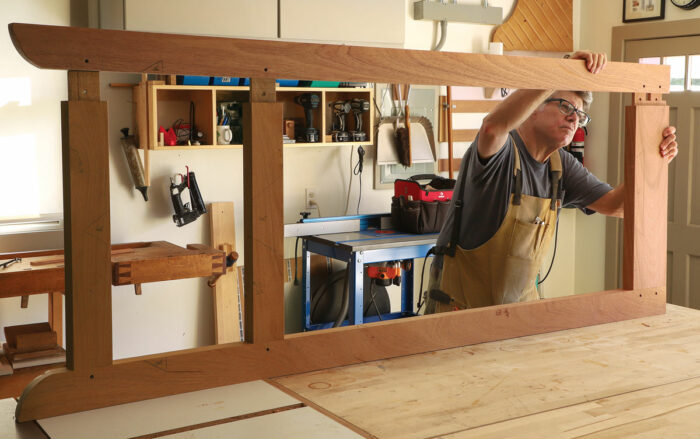
For extra strength I built the gate frames with three rails and hung them on three hinges. I located the rails in line with the lateral members of the fencing. On each gate the wide bottom rail got two tenons to avoid the wood movement problem with a single wide tenon. I used the table saw with a dado head to cut the tenon cheeks and the bandsaw to remove the waste between the tenons and to define the haunch at the bottom.
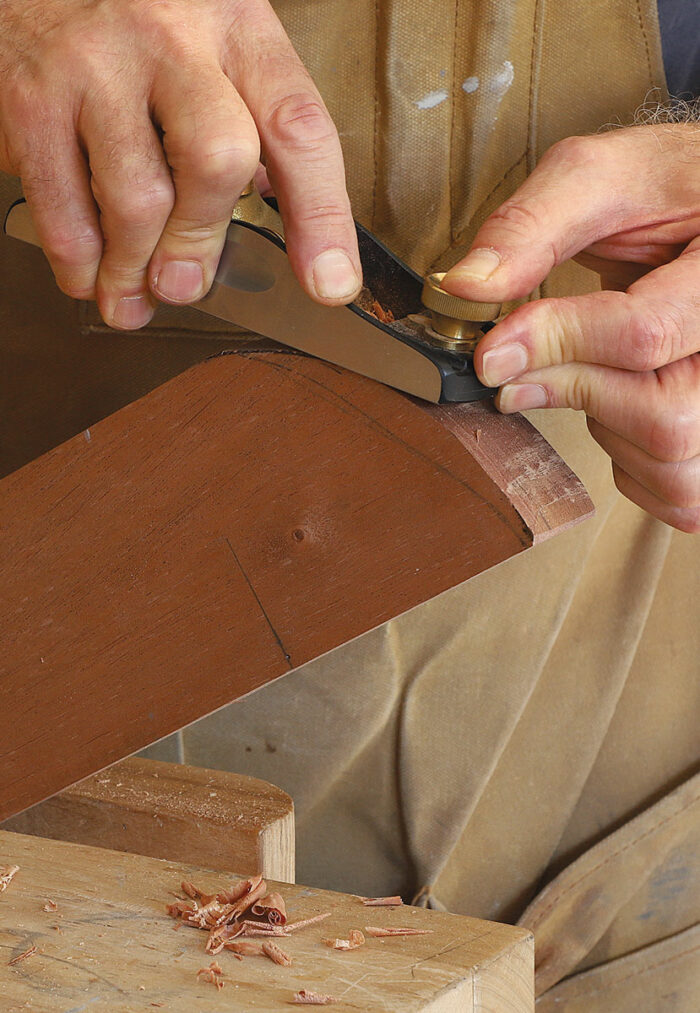
To help the gates shed rainwater, I beveled the top edge of each rail at 10° and rounded the top end of the stiles. After scroll-sawing the curved tops of the stiles, I fitted the joinery and glued up the frame, using drawbore pins to cinch the joints.
Latticework panels
The lattice panels are made from strips of mahogany half-lapped and glued together, then screwed to the back of the gate frame. Any simple rectangular lattice would suffice here, and we chose a fairly plain design for the lower panels, but we went a bit further with the Japanese-inspired pattern in the upper panels. The upper and lower lattices share the same grid pattern, so they remain in harmony with each other.
Download John’s full-size
patterns for the lattice work
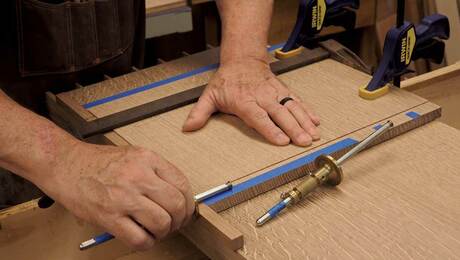
To cut the half-laps precisely, I built a jig for my table saw. It works much like a box-joint jig, with an indexing pin protruding from the fence of a dado sled. But my jig adds an extra element, a piece of MDF that I call the “crenellation board,” which is notched along the bottom edge. It’s this board, instead of the workpiece, that registers on the indexing pin and controls the location and width of the half laps. On a box-joint jig, the indexing pin fits precisely between adjacent fingers in the joint; but here, the notches in the crenellation board are almost three times wider than the dado stack, and I cut the full width of the half-lap in multiple passes.
John Hartman works wood in West Springfield, Mass. His talent as an illustrator can be seen regularly in the pages of FWW.
Photos: Jonathan Binzen; Drawings: John Hartman
From Fine Woodworking #304
To view the entire article, please click the View PDF button below.
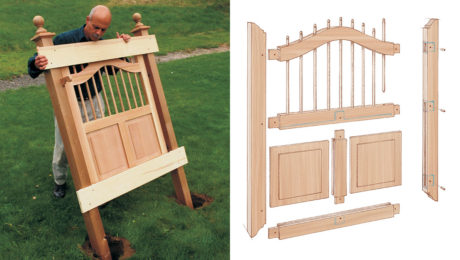 |
From the archive: Garden gate made of white cedarJigs simplify construction of this elegant outdoor gateway |
 |
How to build old-fashioned carriage doorsAdd character and convenience to your garage woodshop. |
 |
Choosing the right wood for outdoor chairs and benchesMaster craftsman Hank Gilpin recommends five domestic woods that are great for chairs and other outdoor furniture. |
Fine Woodworking Recommended Products

Stanley Powerlock 16-ft. tape measure

Bessey EKH Trigger Clamps

Starrett 12-in. combination square






Comments
Very timely article for me. After many years our old douglas fir gate had too much rot and termite damage, so I’m rebuilding it with the same design but using white oak. I’m now trying to find the best finish to use and it needs to be a similar to the turquoise color to match other features of the house and landscape. This is in Southern AZ and the gate gets direct afternoon sun.
I have two questions for John. What stain did you use? Where did you source the hinges?
I built Mario's gate about 20 years ago with yellow cedar and didn't put a finish on it. I've had to replace a post, but the gate is still as strong as ever. I have another spot where I can use this new one to replace a pallet fence and gate.
Log in or create an account to post a comment.
Sign up Log in