Making multi-level shrink boxes
Mark Gardner’s sweet, stackable boxes are turned on the inside and bandsawn outside.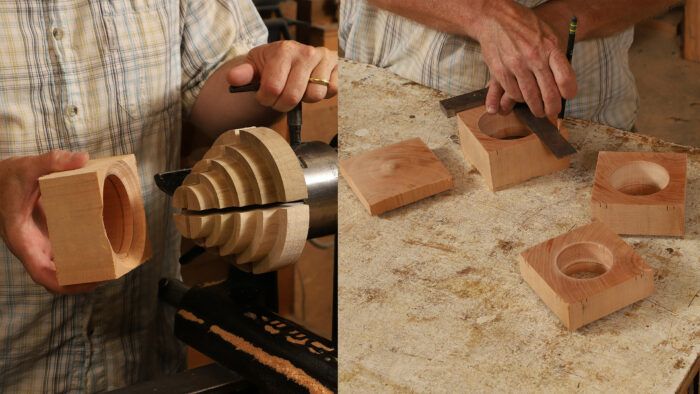
In his article “Pretty Little Boxes on the Lathe” in issue 304, Mark Gardner describes in detail how he makes a lidded shrink box from green wood. Here, he gives a fuller explanation of how he makes a stack of boxes. Like his single boxes, these are hollowed out on the lathe, and then their exterior is shaped on the bandsaw.
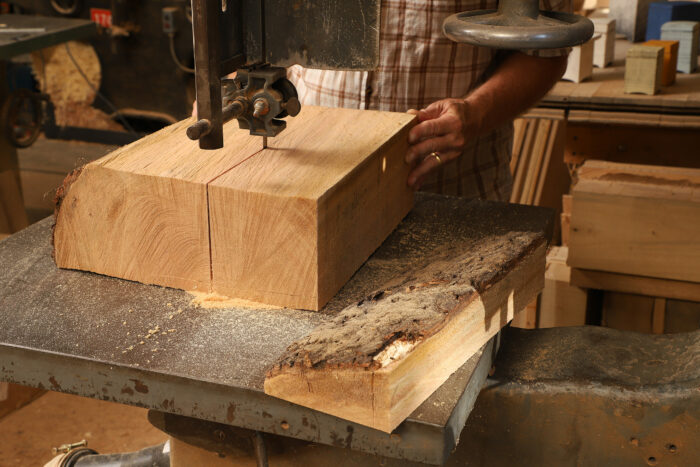
Gardner’s multi-layered boxes start with a single blank sawn from a green log. He chainsaws the log, then bandsaws out the blank.
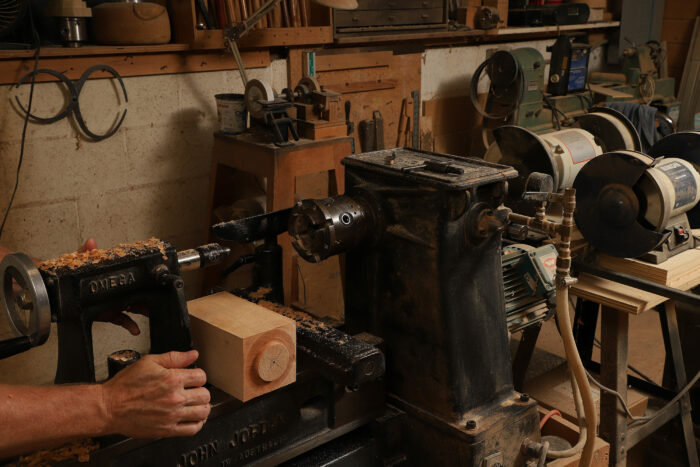
Once he has the bandsawn blank, Gardner’s first move at the lathe is to turn a temporary tenon on the top end of the blank. The tenon is sized to a four-jaw chuck.
 |
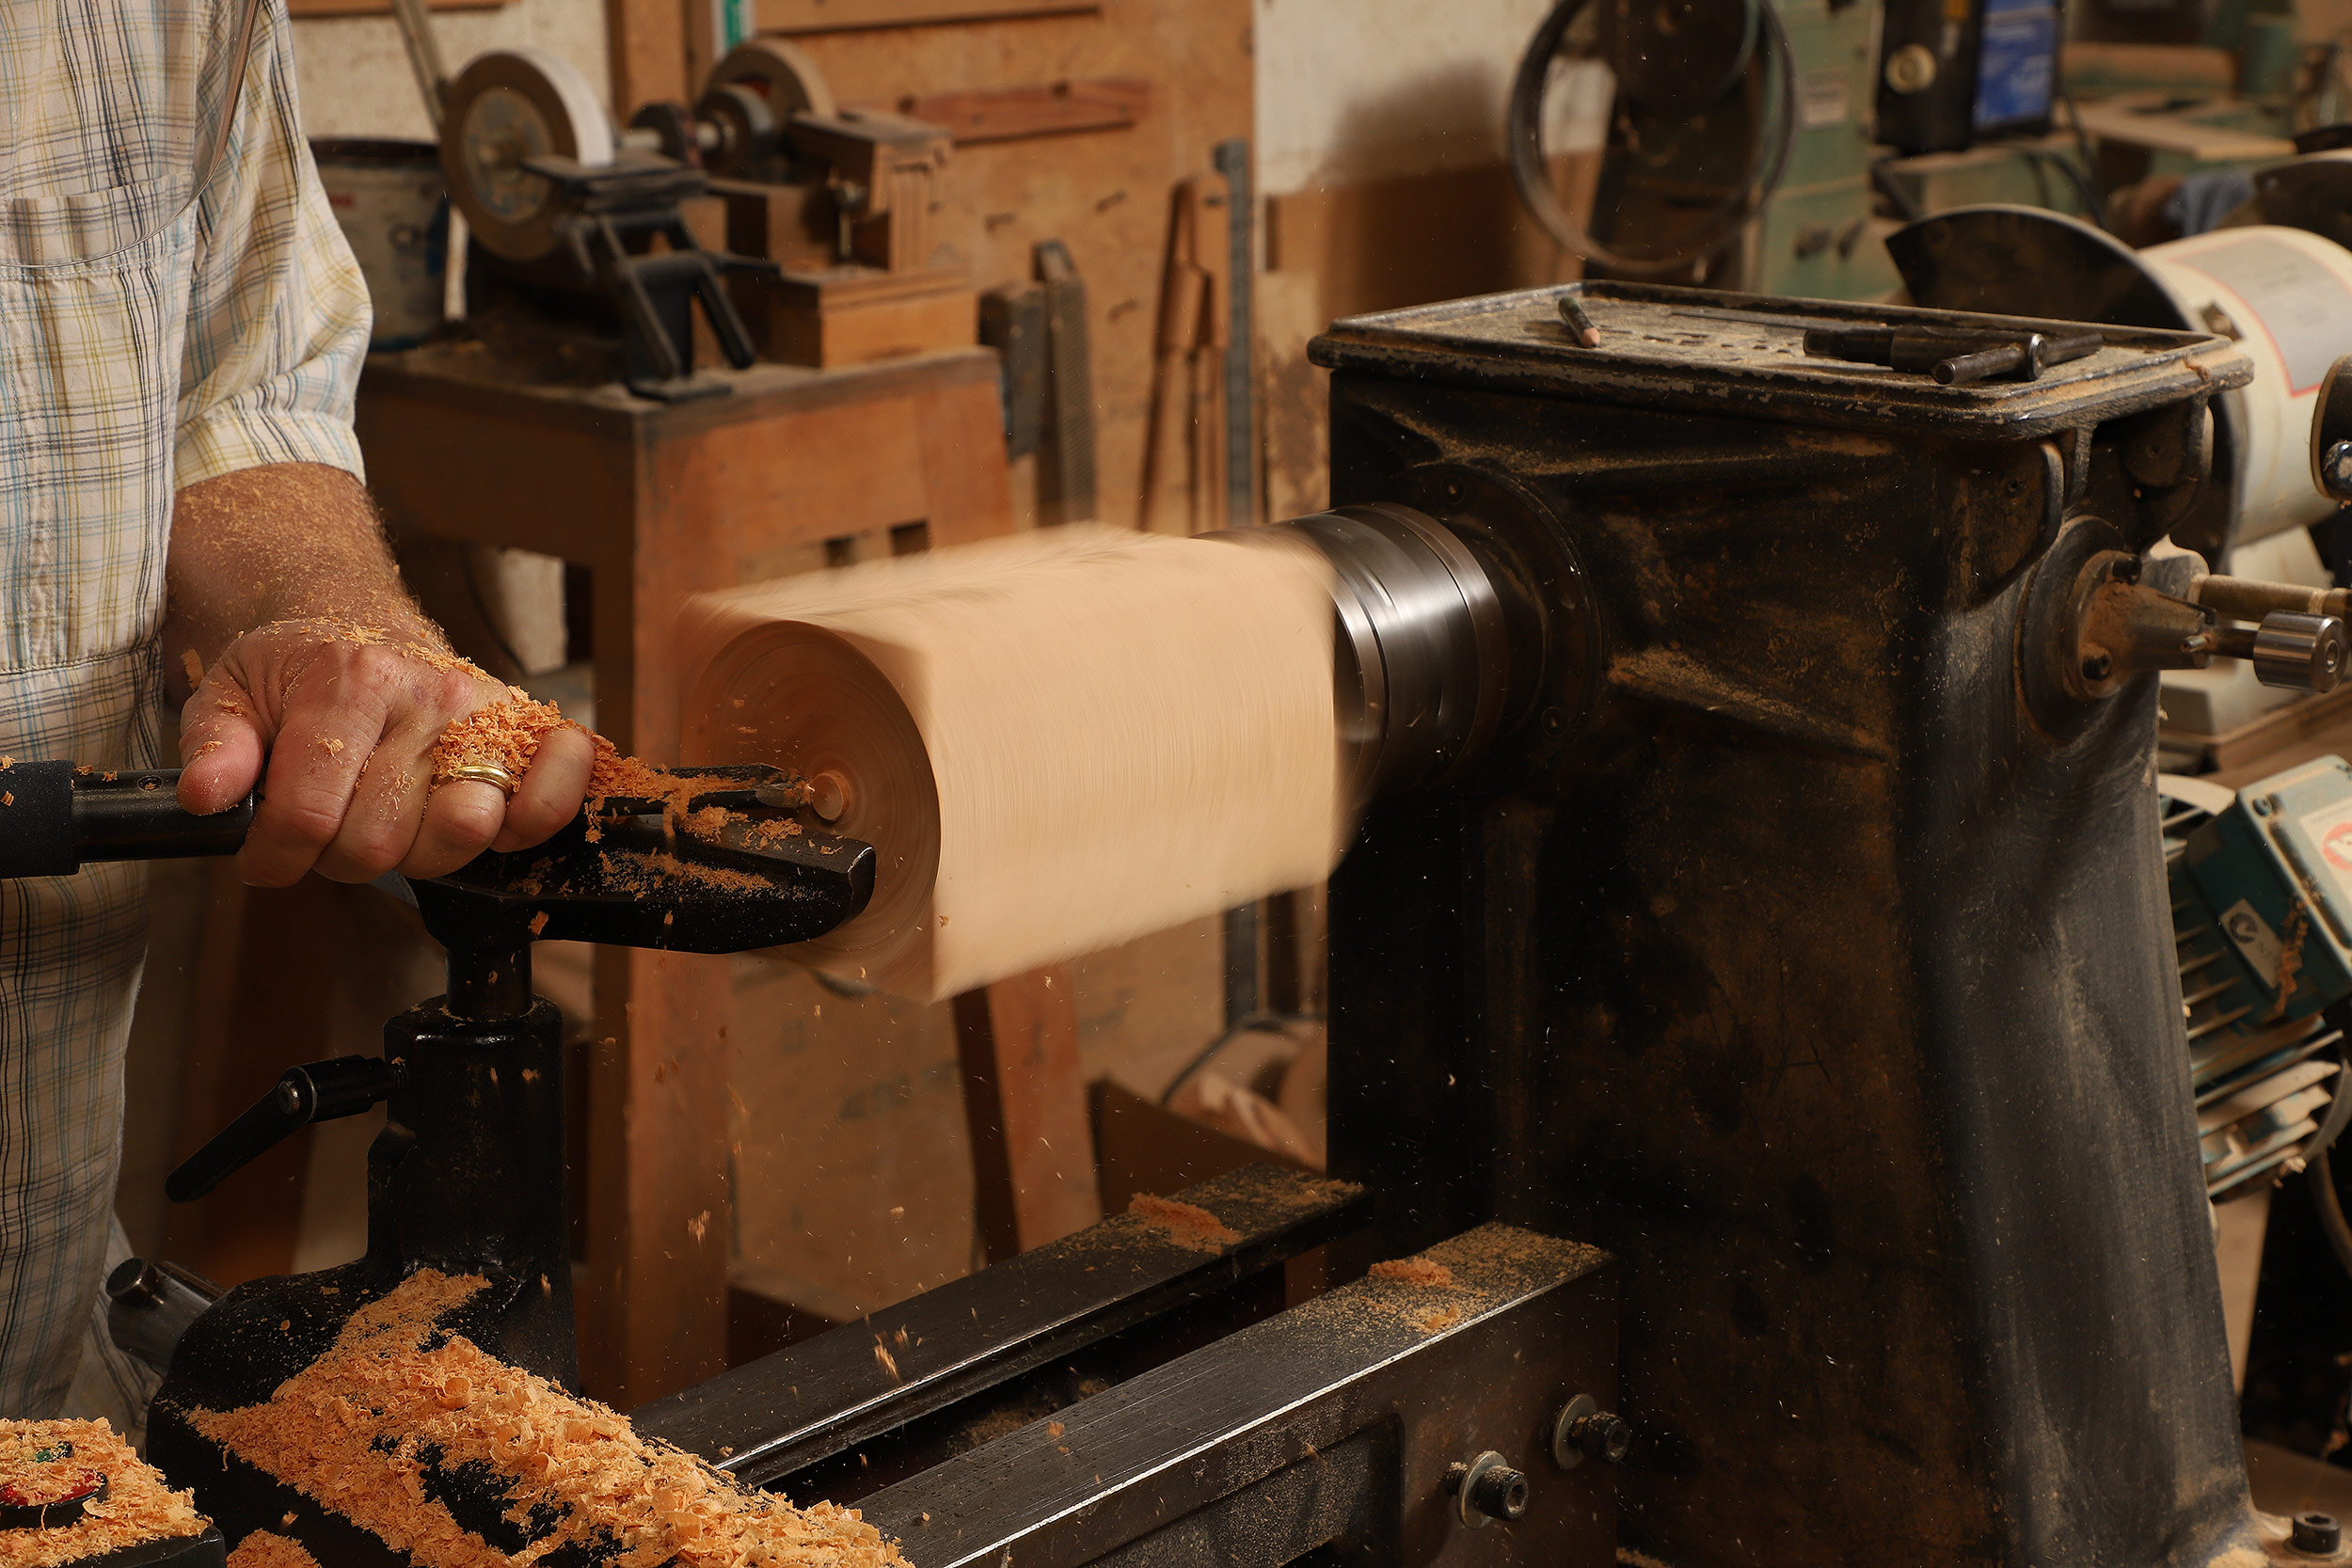 |
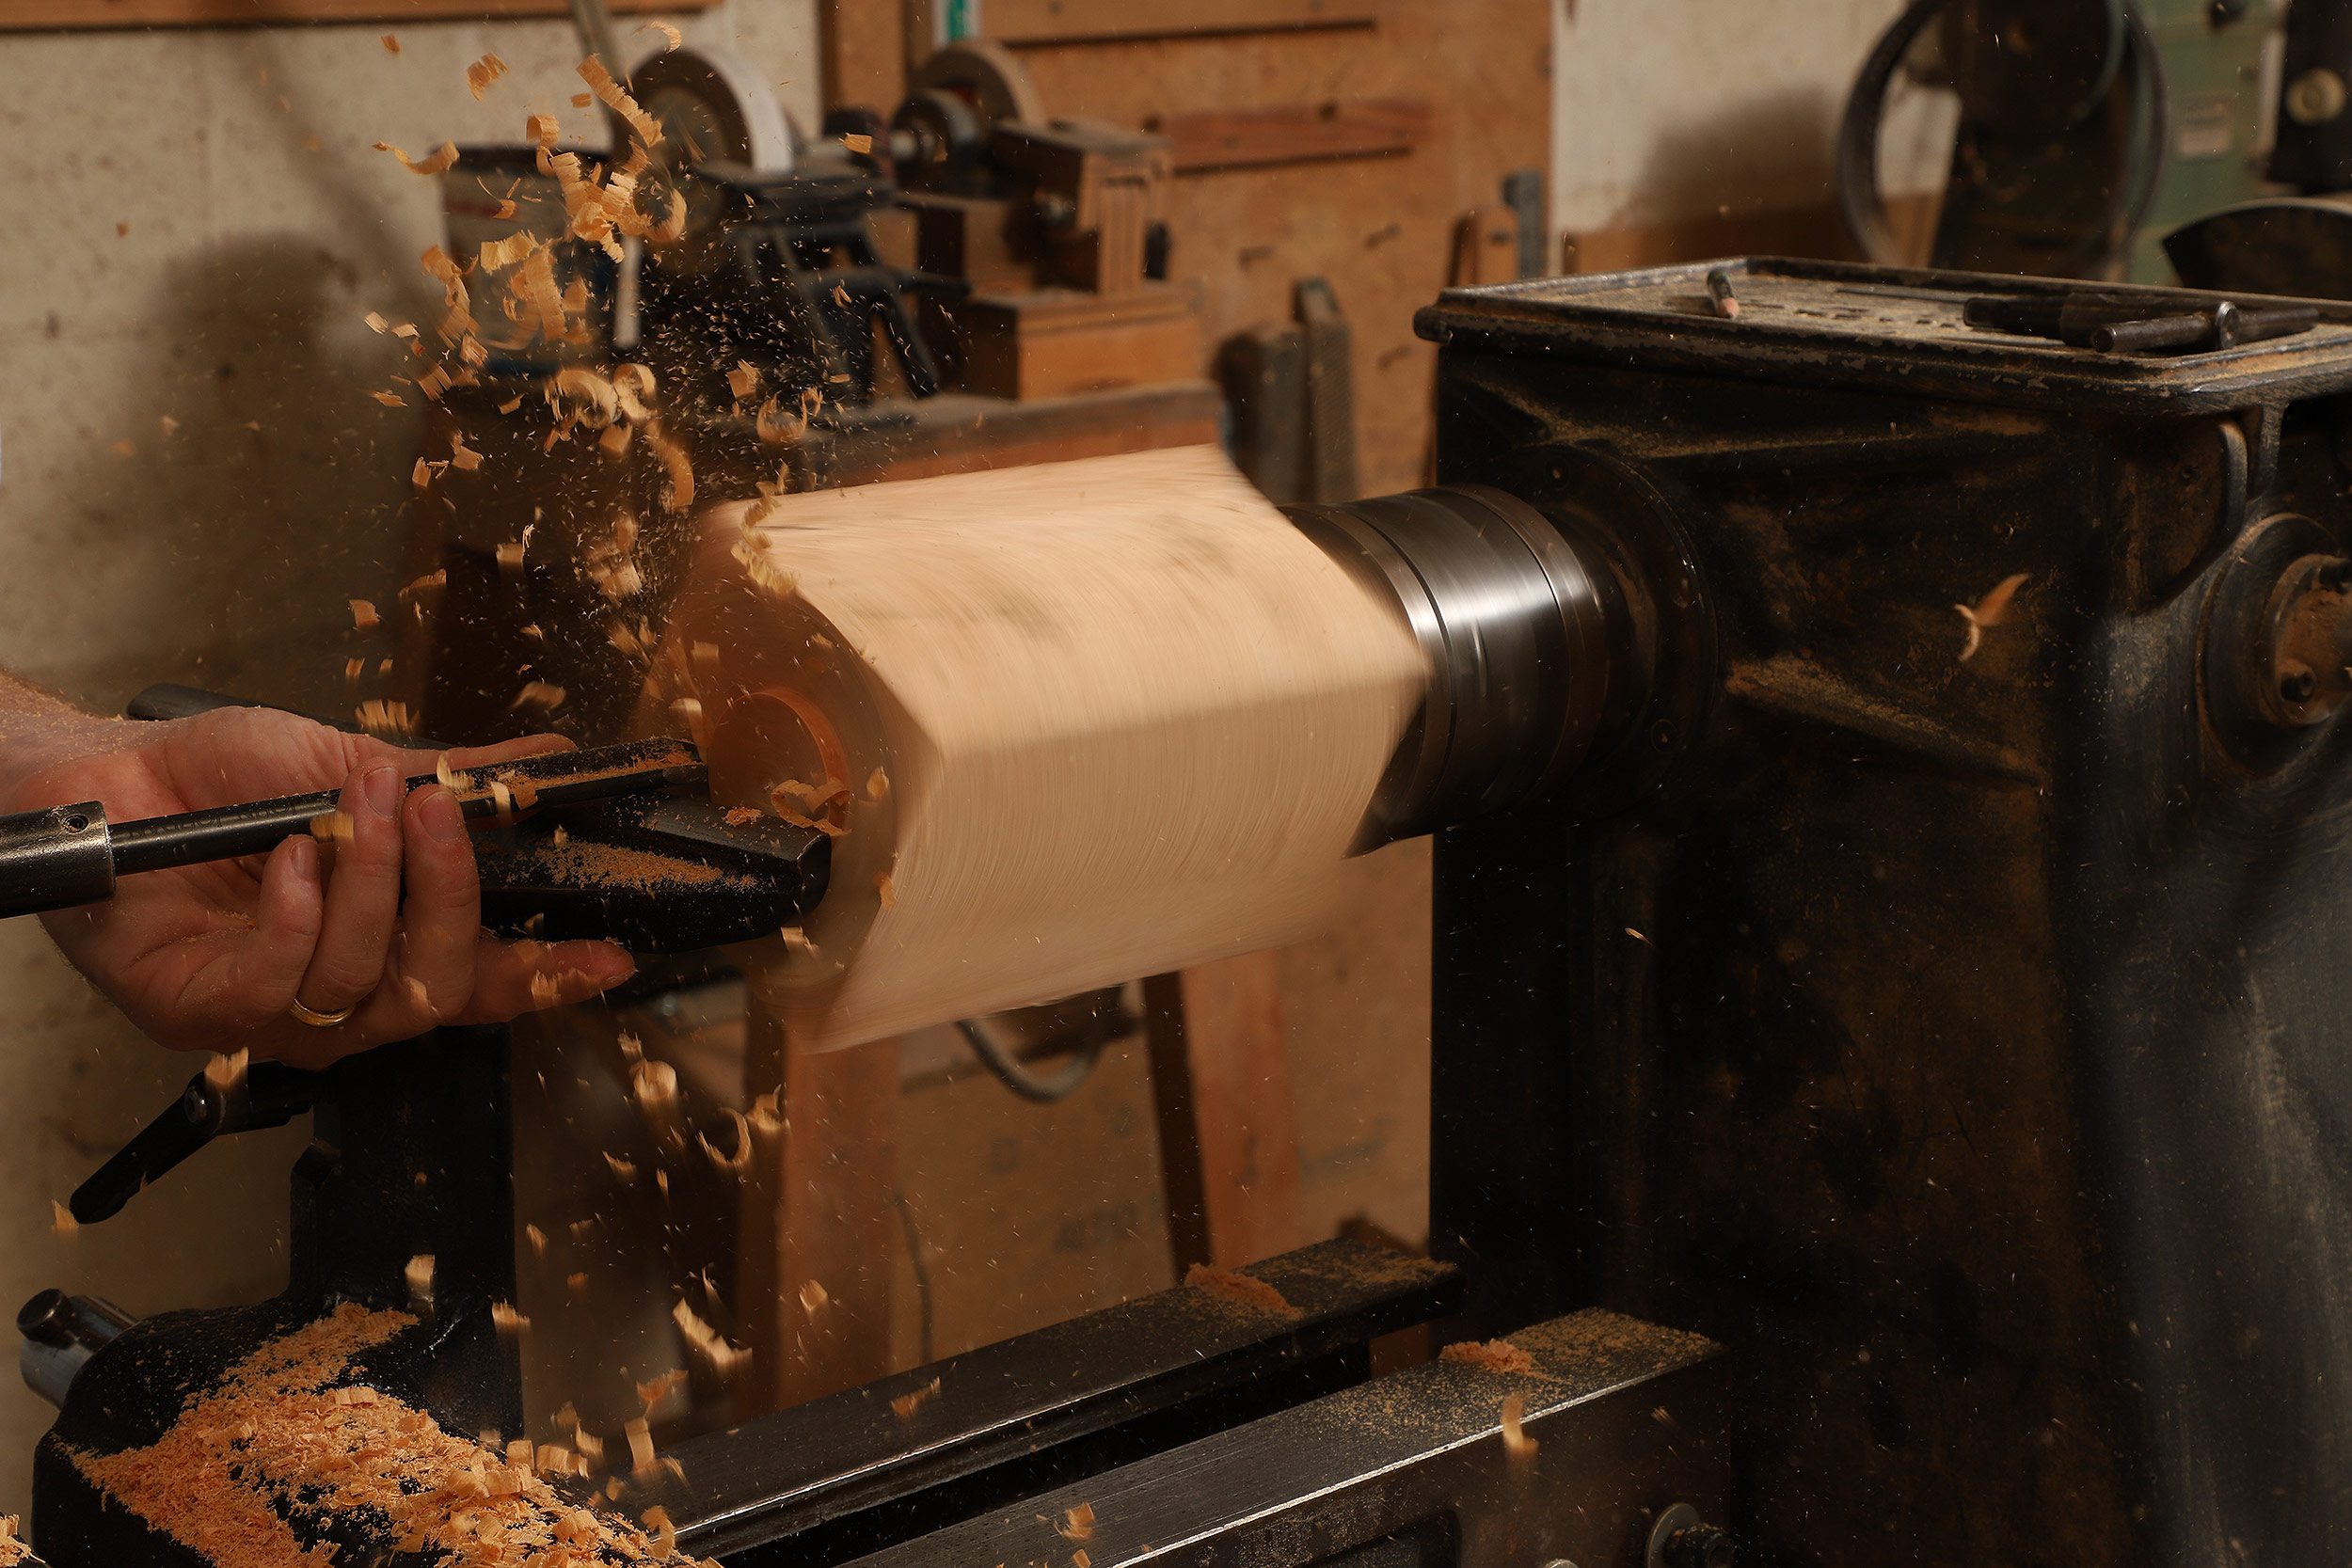
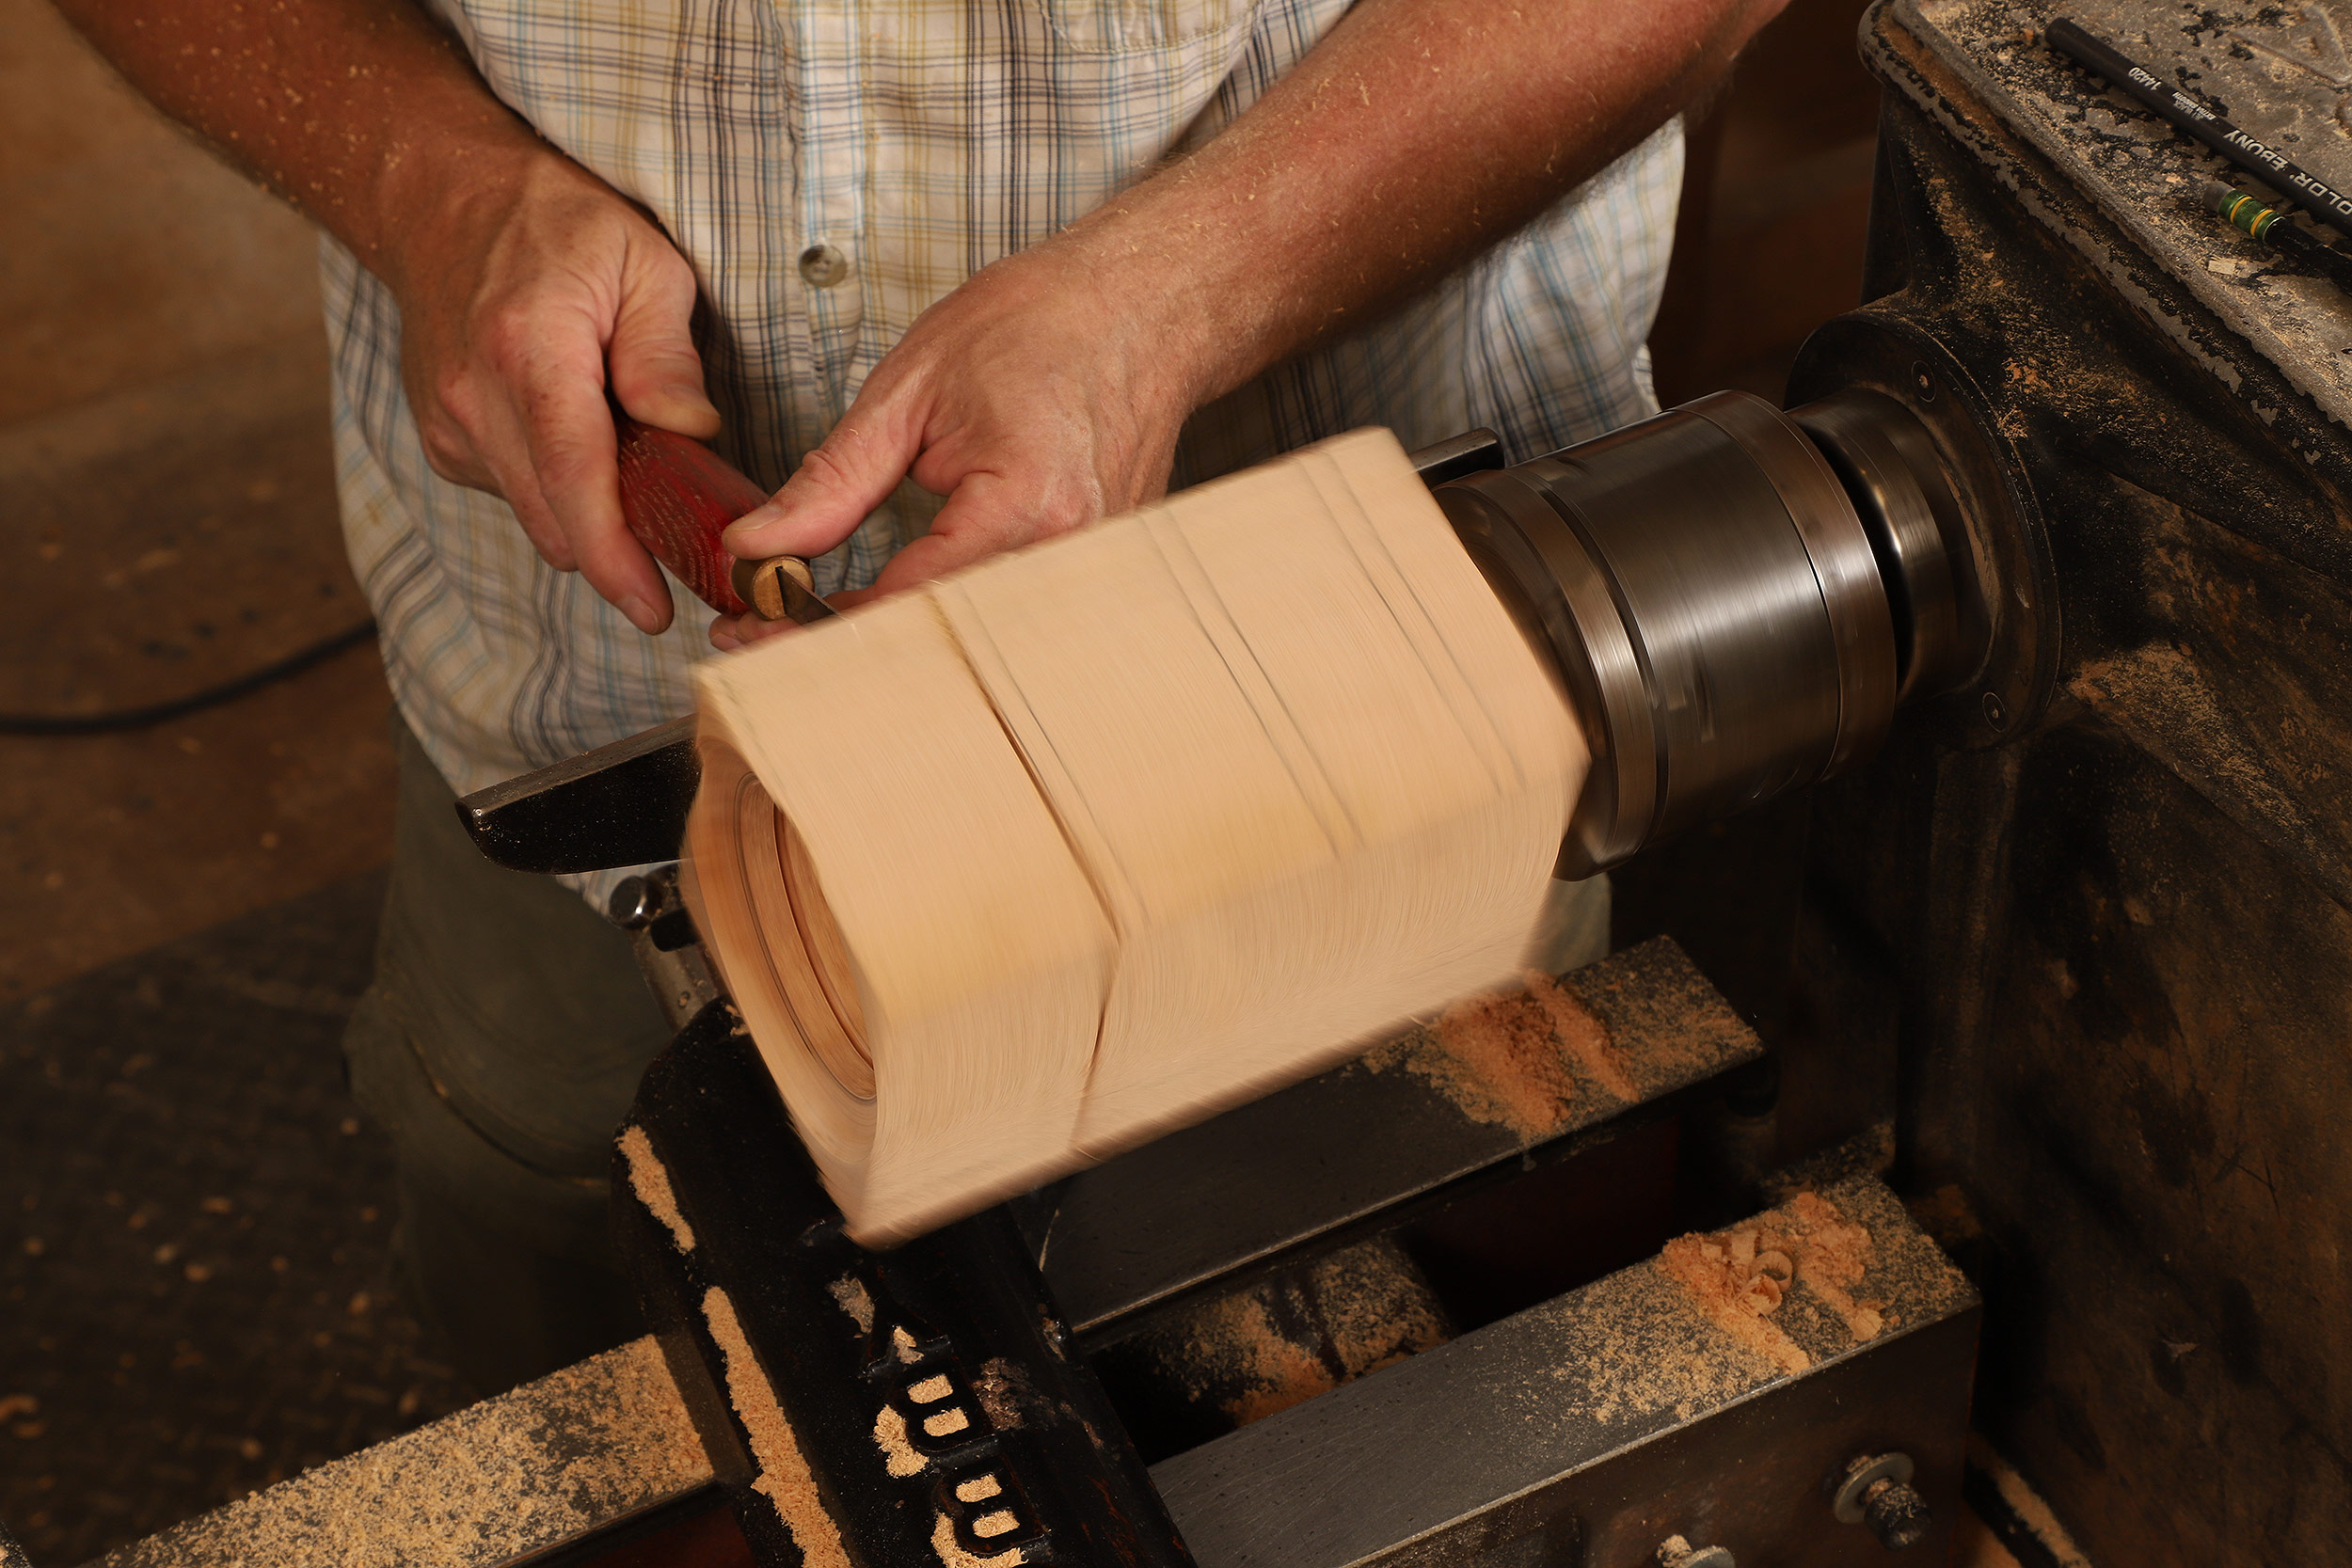
With the temporary tenon mounted in the four-jaw chuck, Gardner first flattens the bottom of the blank, then dishes it out. The concavity he creates is sized to leave small triangular flats at the corners of the blank; these will be the feet of the bottom box.
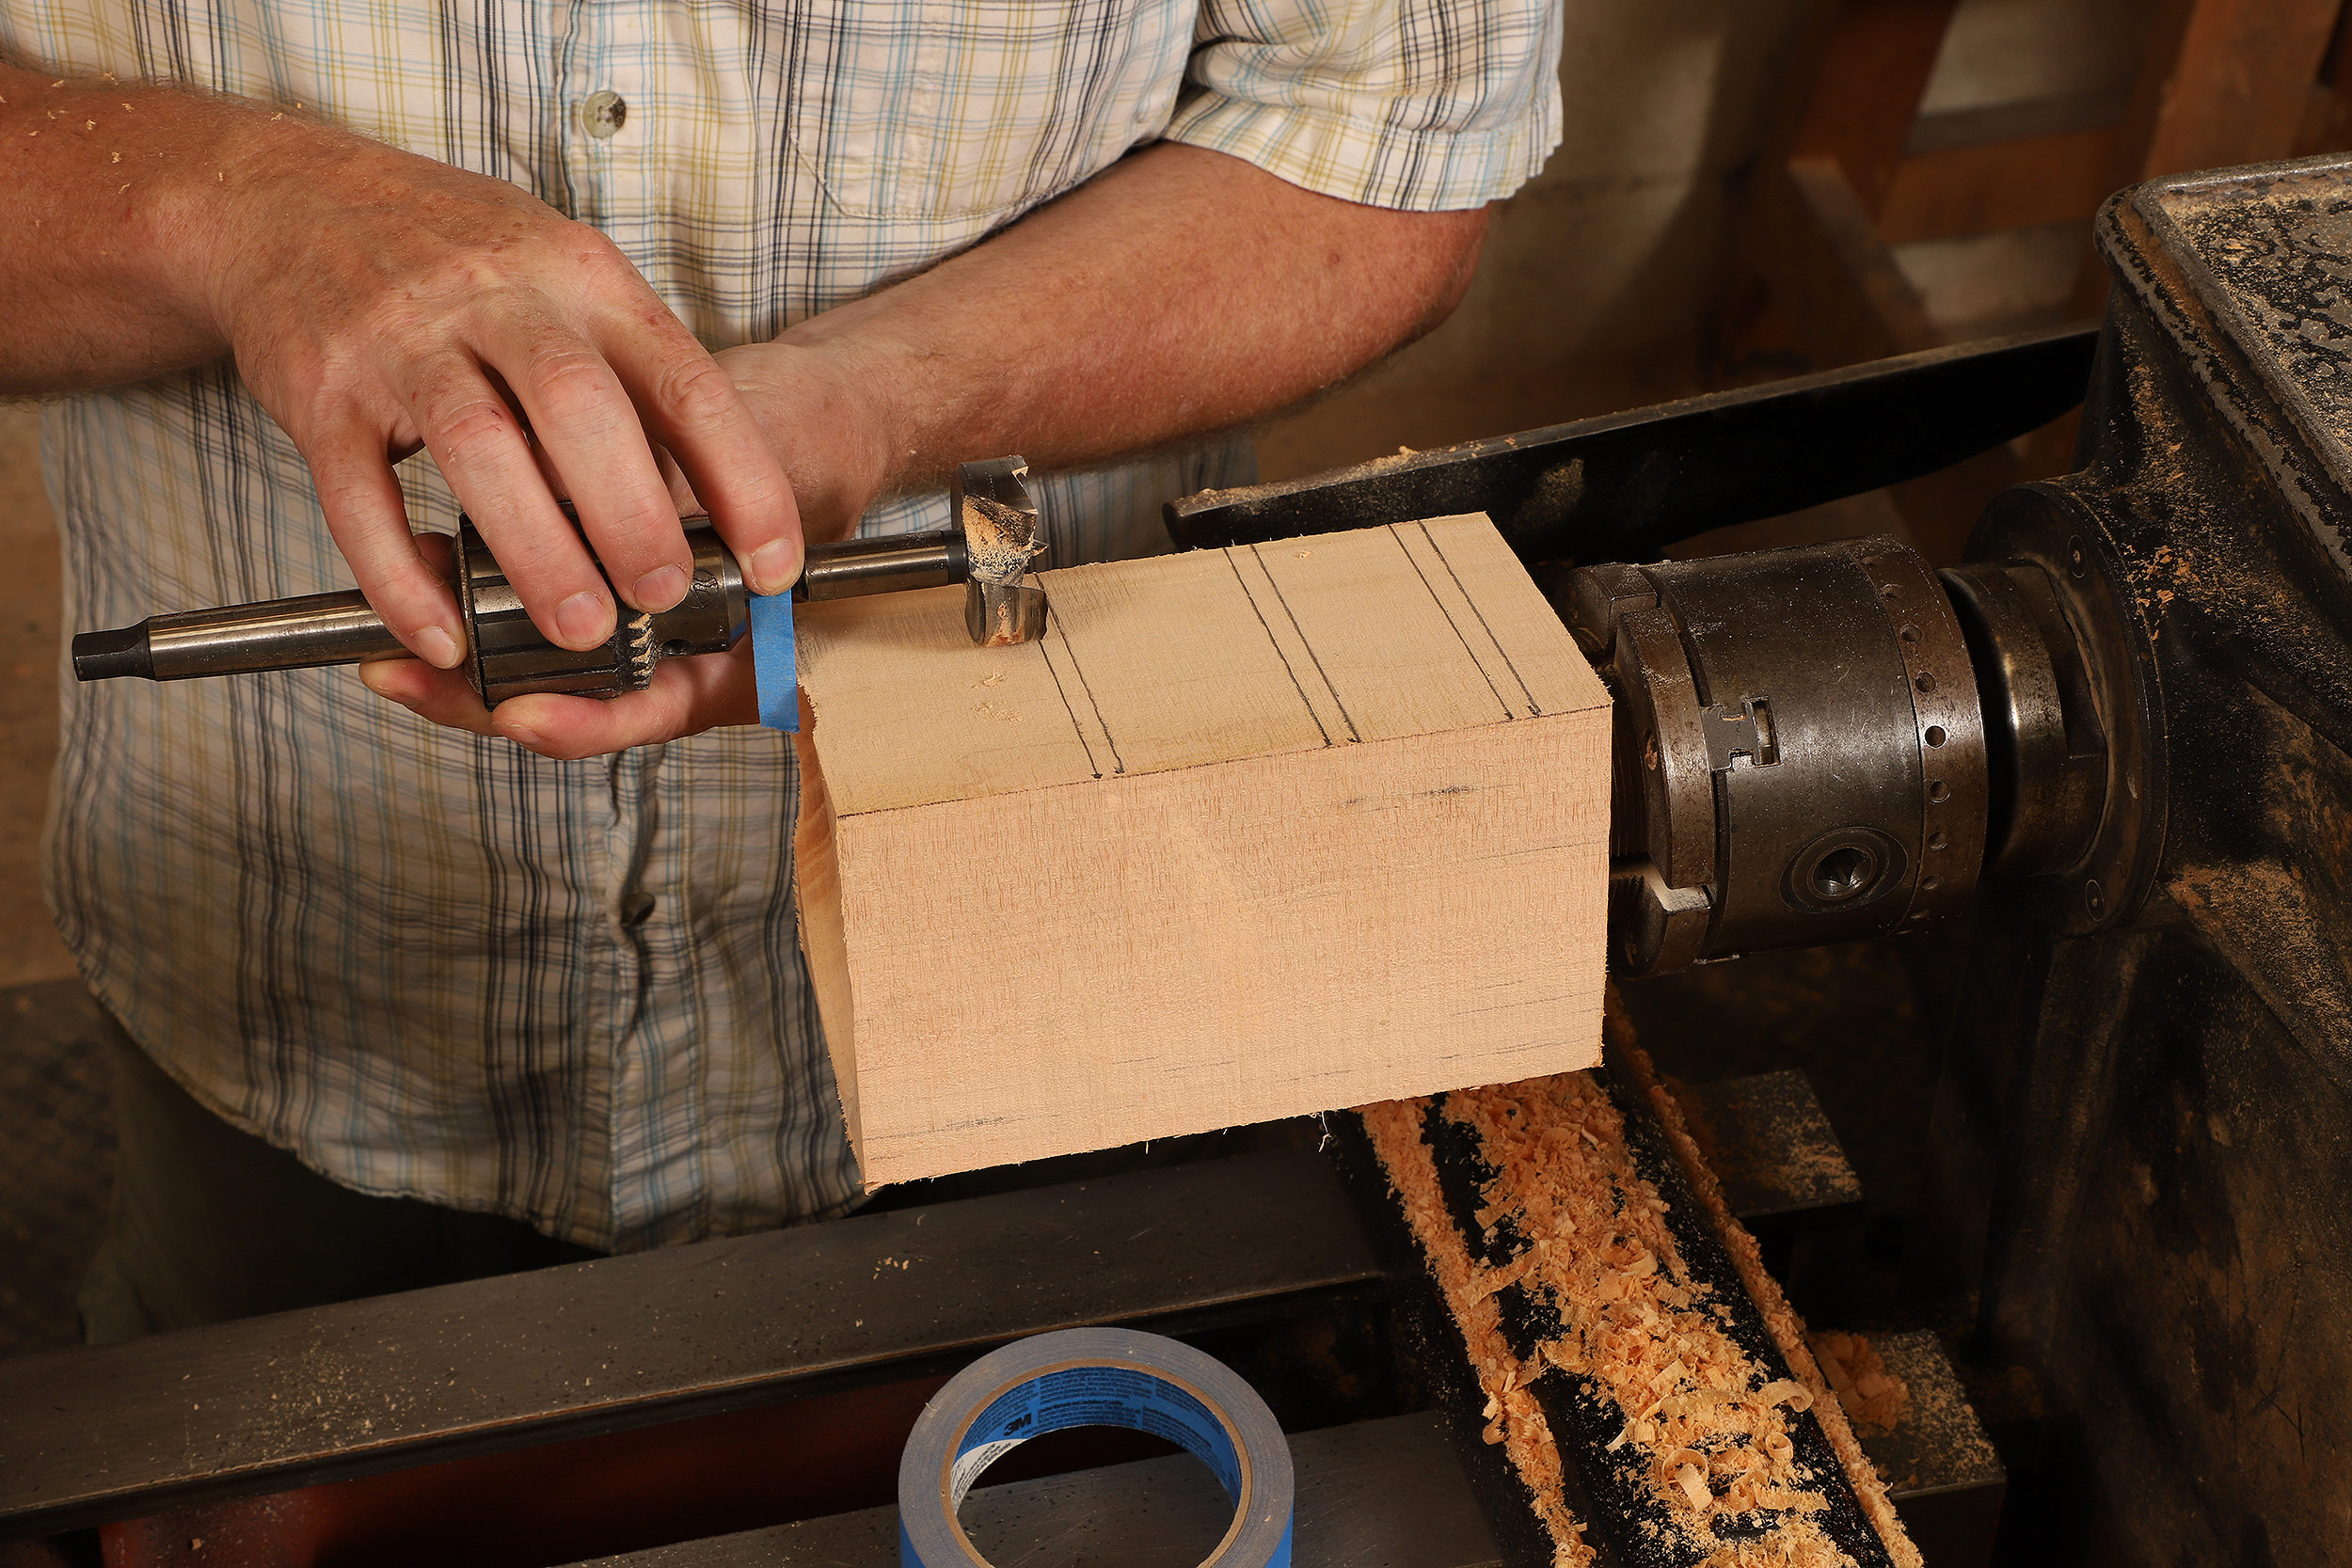
The tower will be composed of three boxes plus a lid on top. The top two boxes and the lid will each have a ring tenon underneath that registers them on the box below. Gardner’s doubled layout lines mark two things: the plane where each box will be sawn off, and the width of the ring tenon above it.
 |
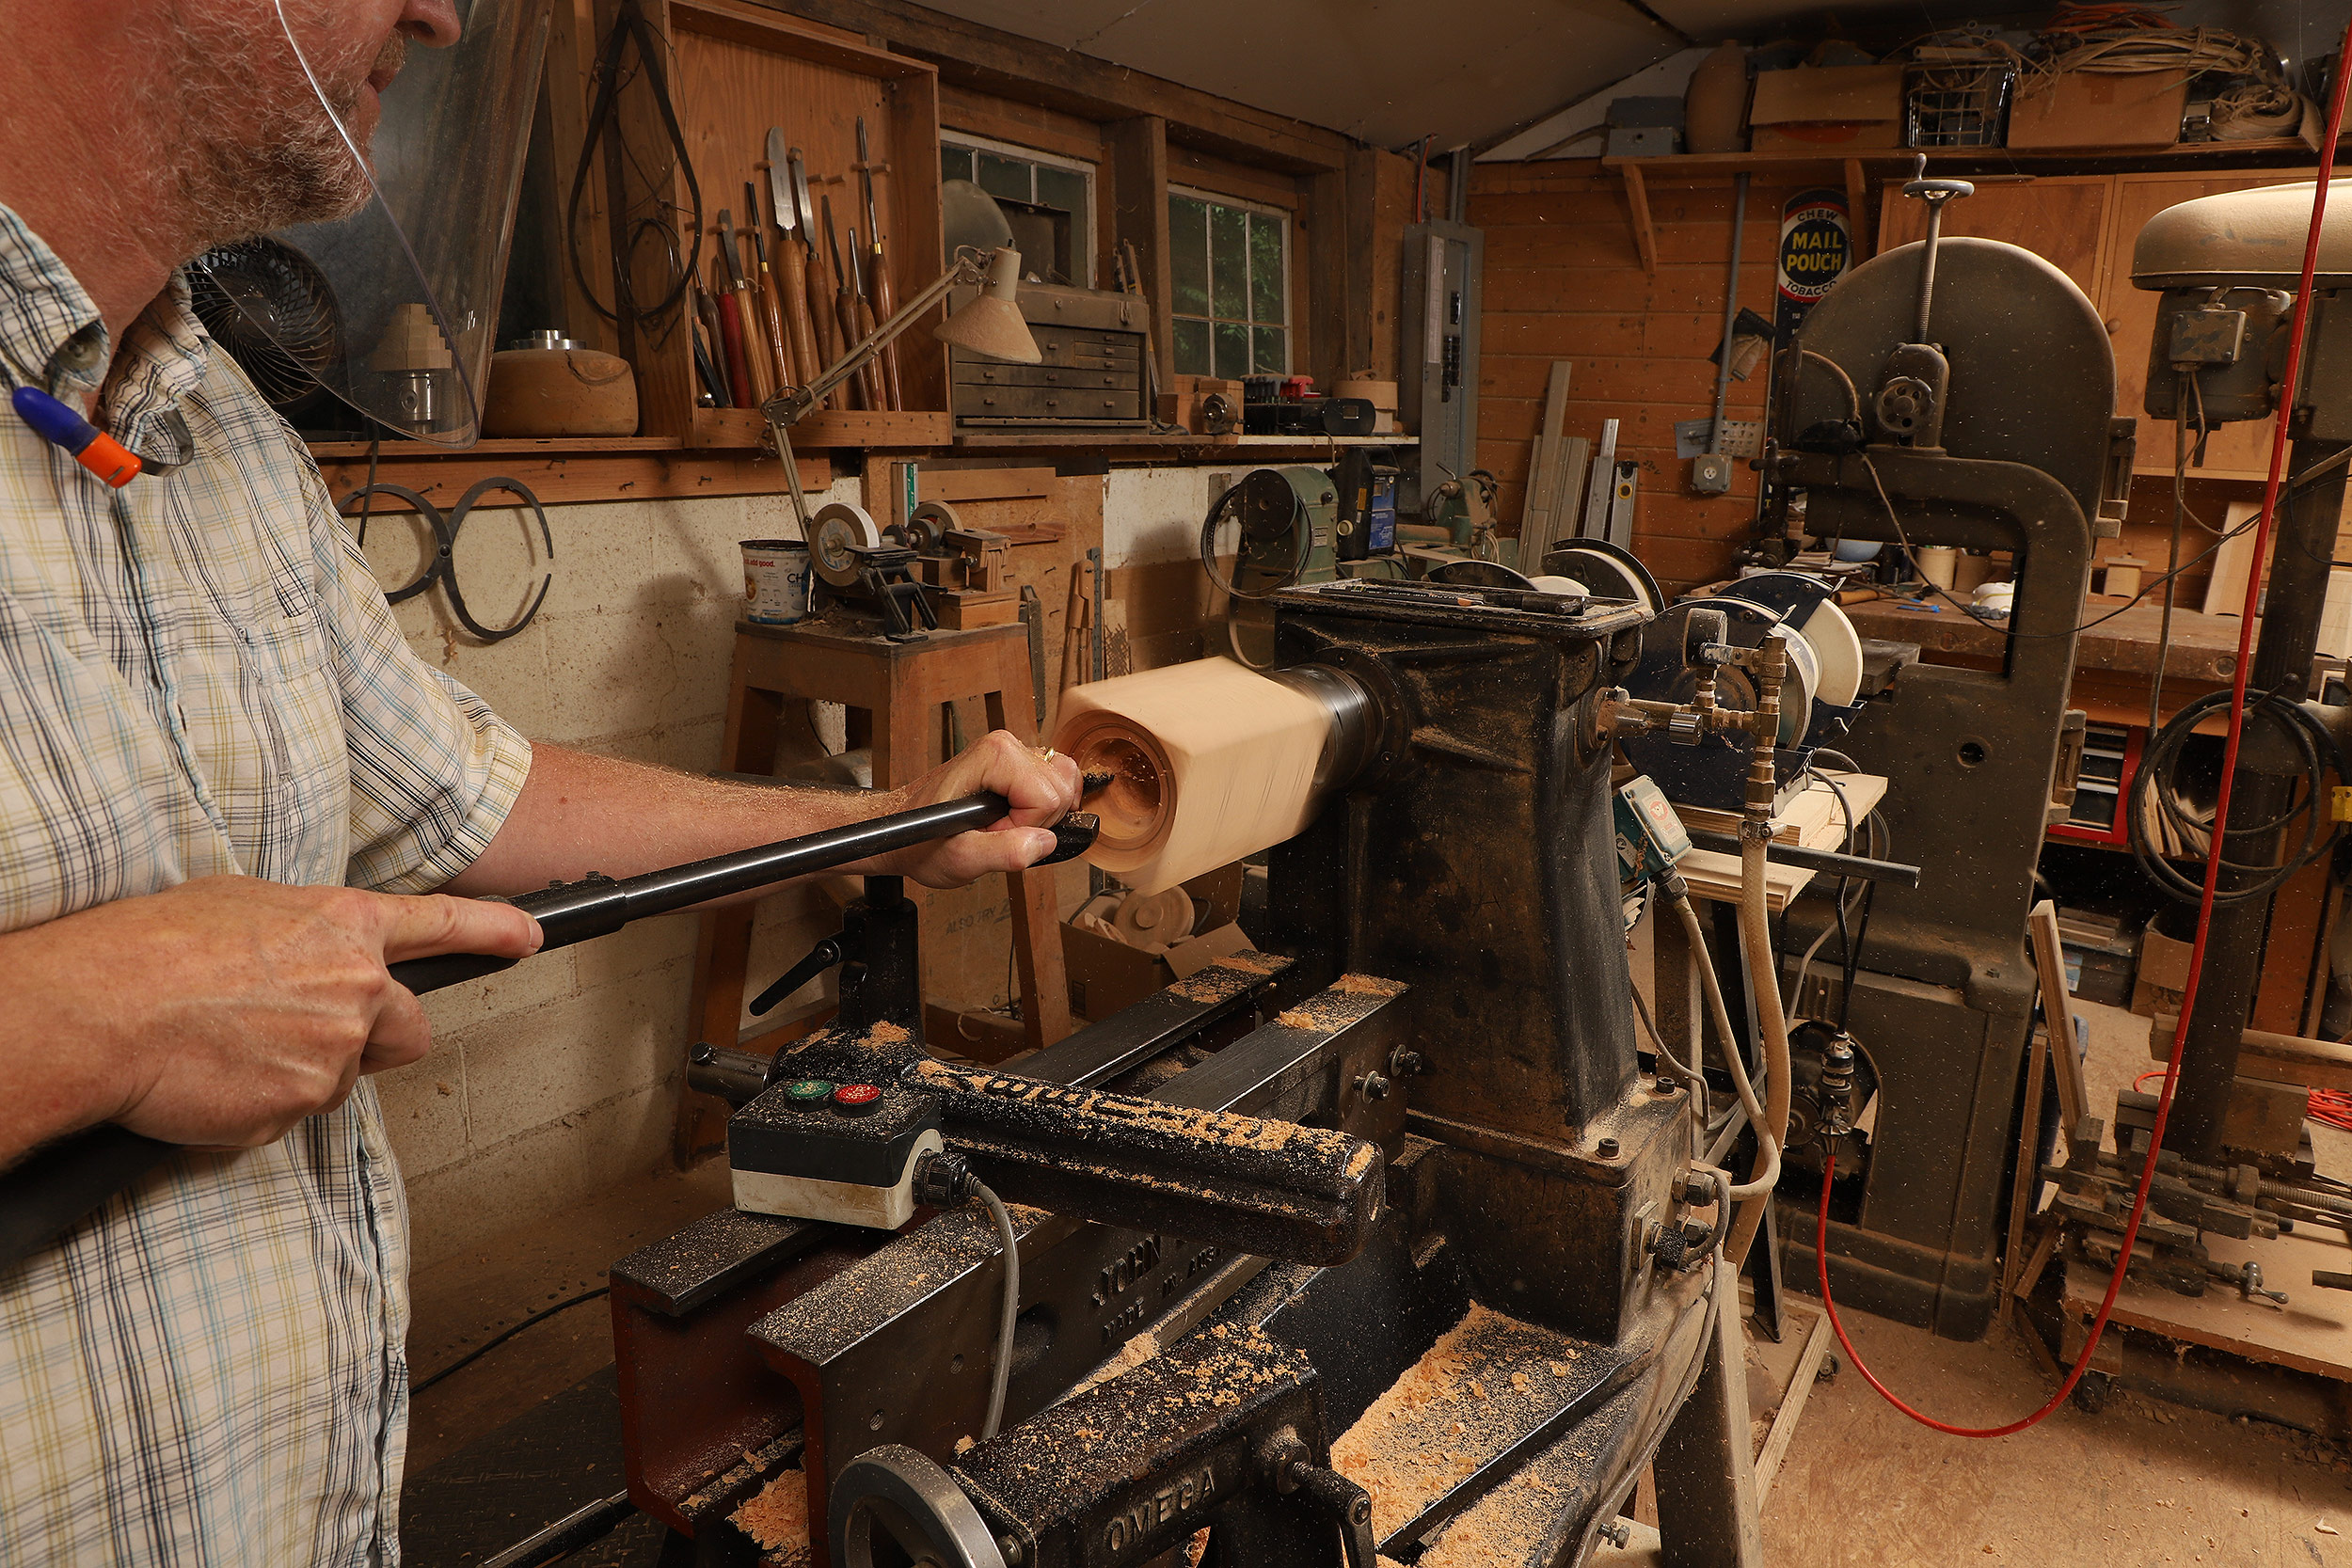 |
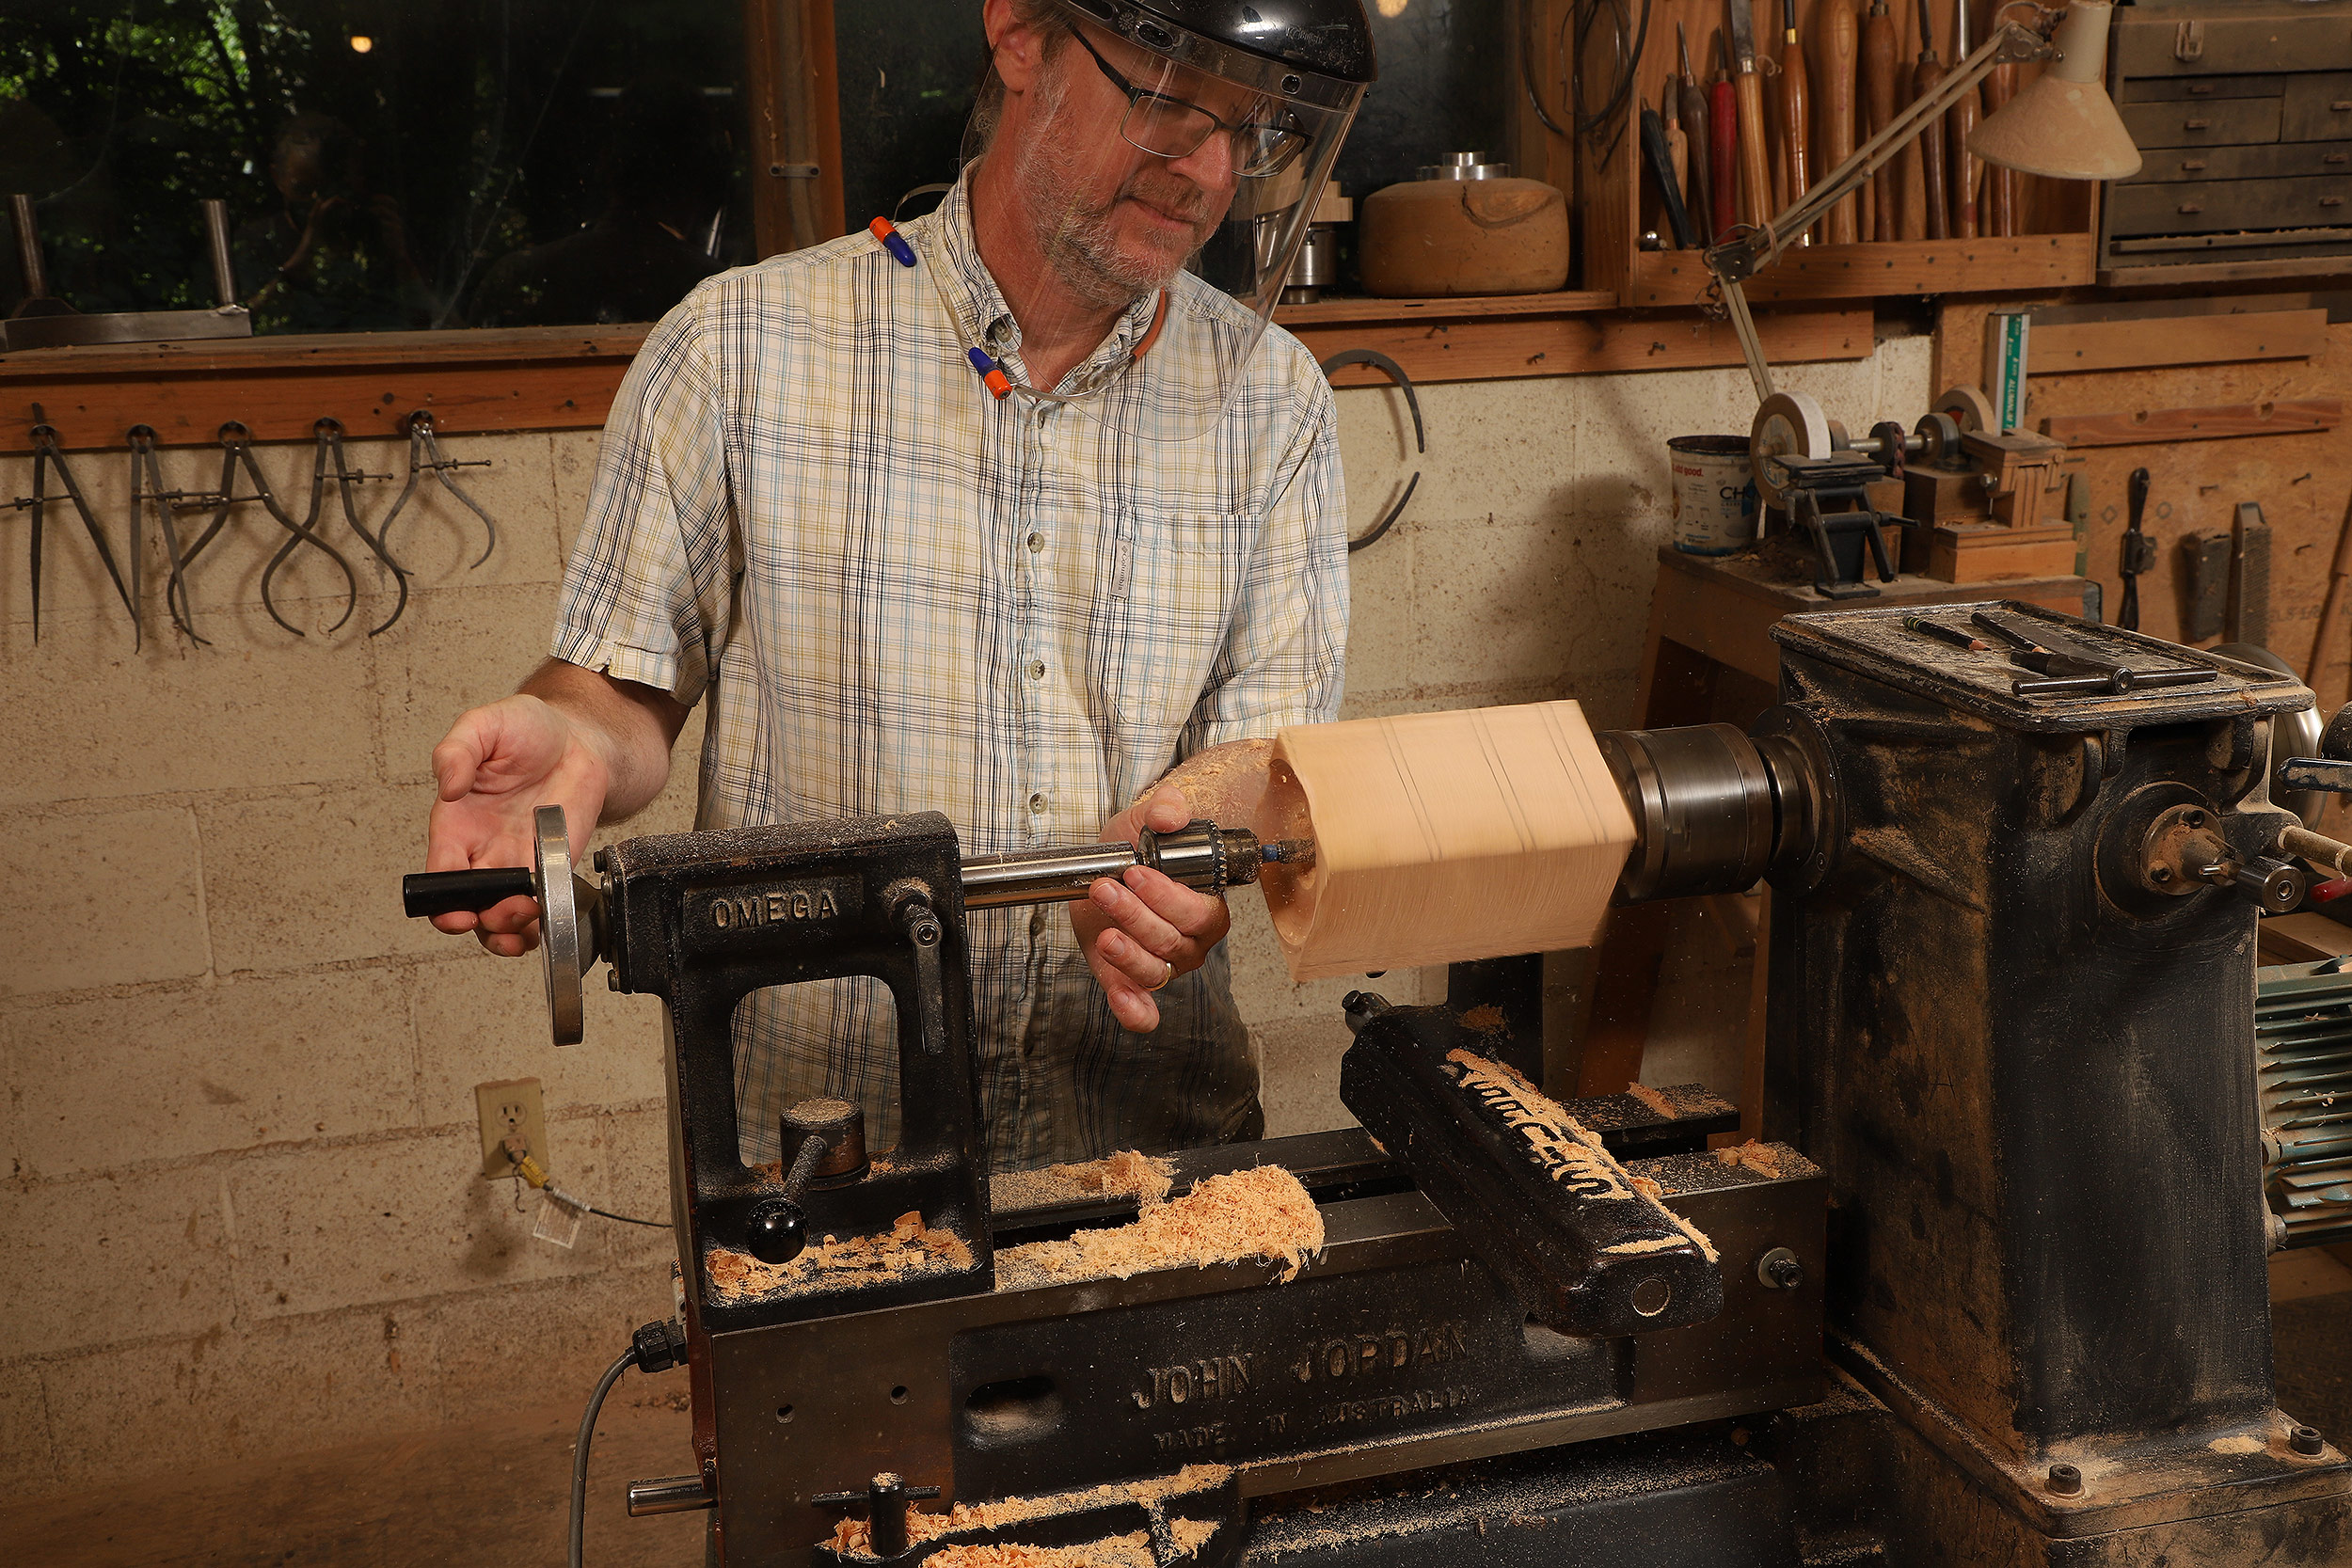
With a Forstner bit in a Jacobs chuck, Gardner drills to the depth of the separation point. Then, with the tailstock removed, he uses a hollowing tool to finish the cavity in the bottom box.
 |
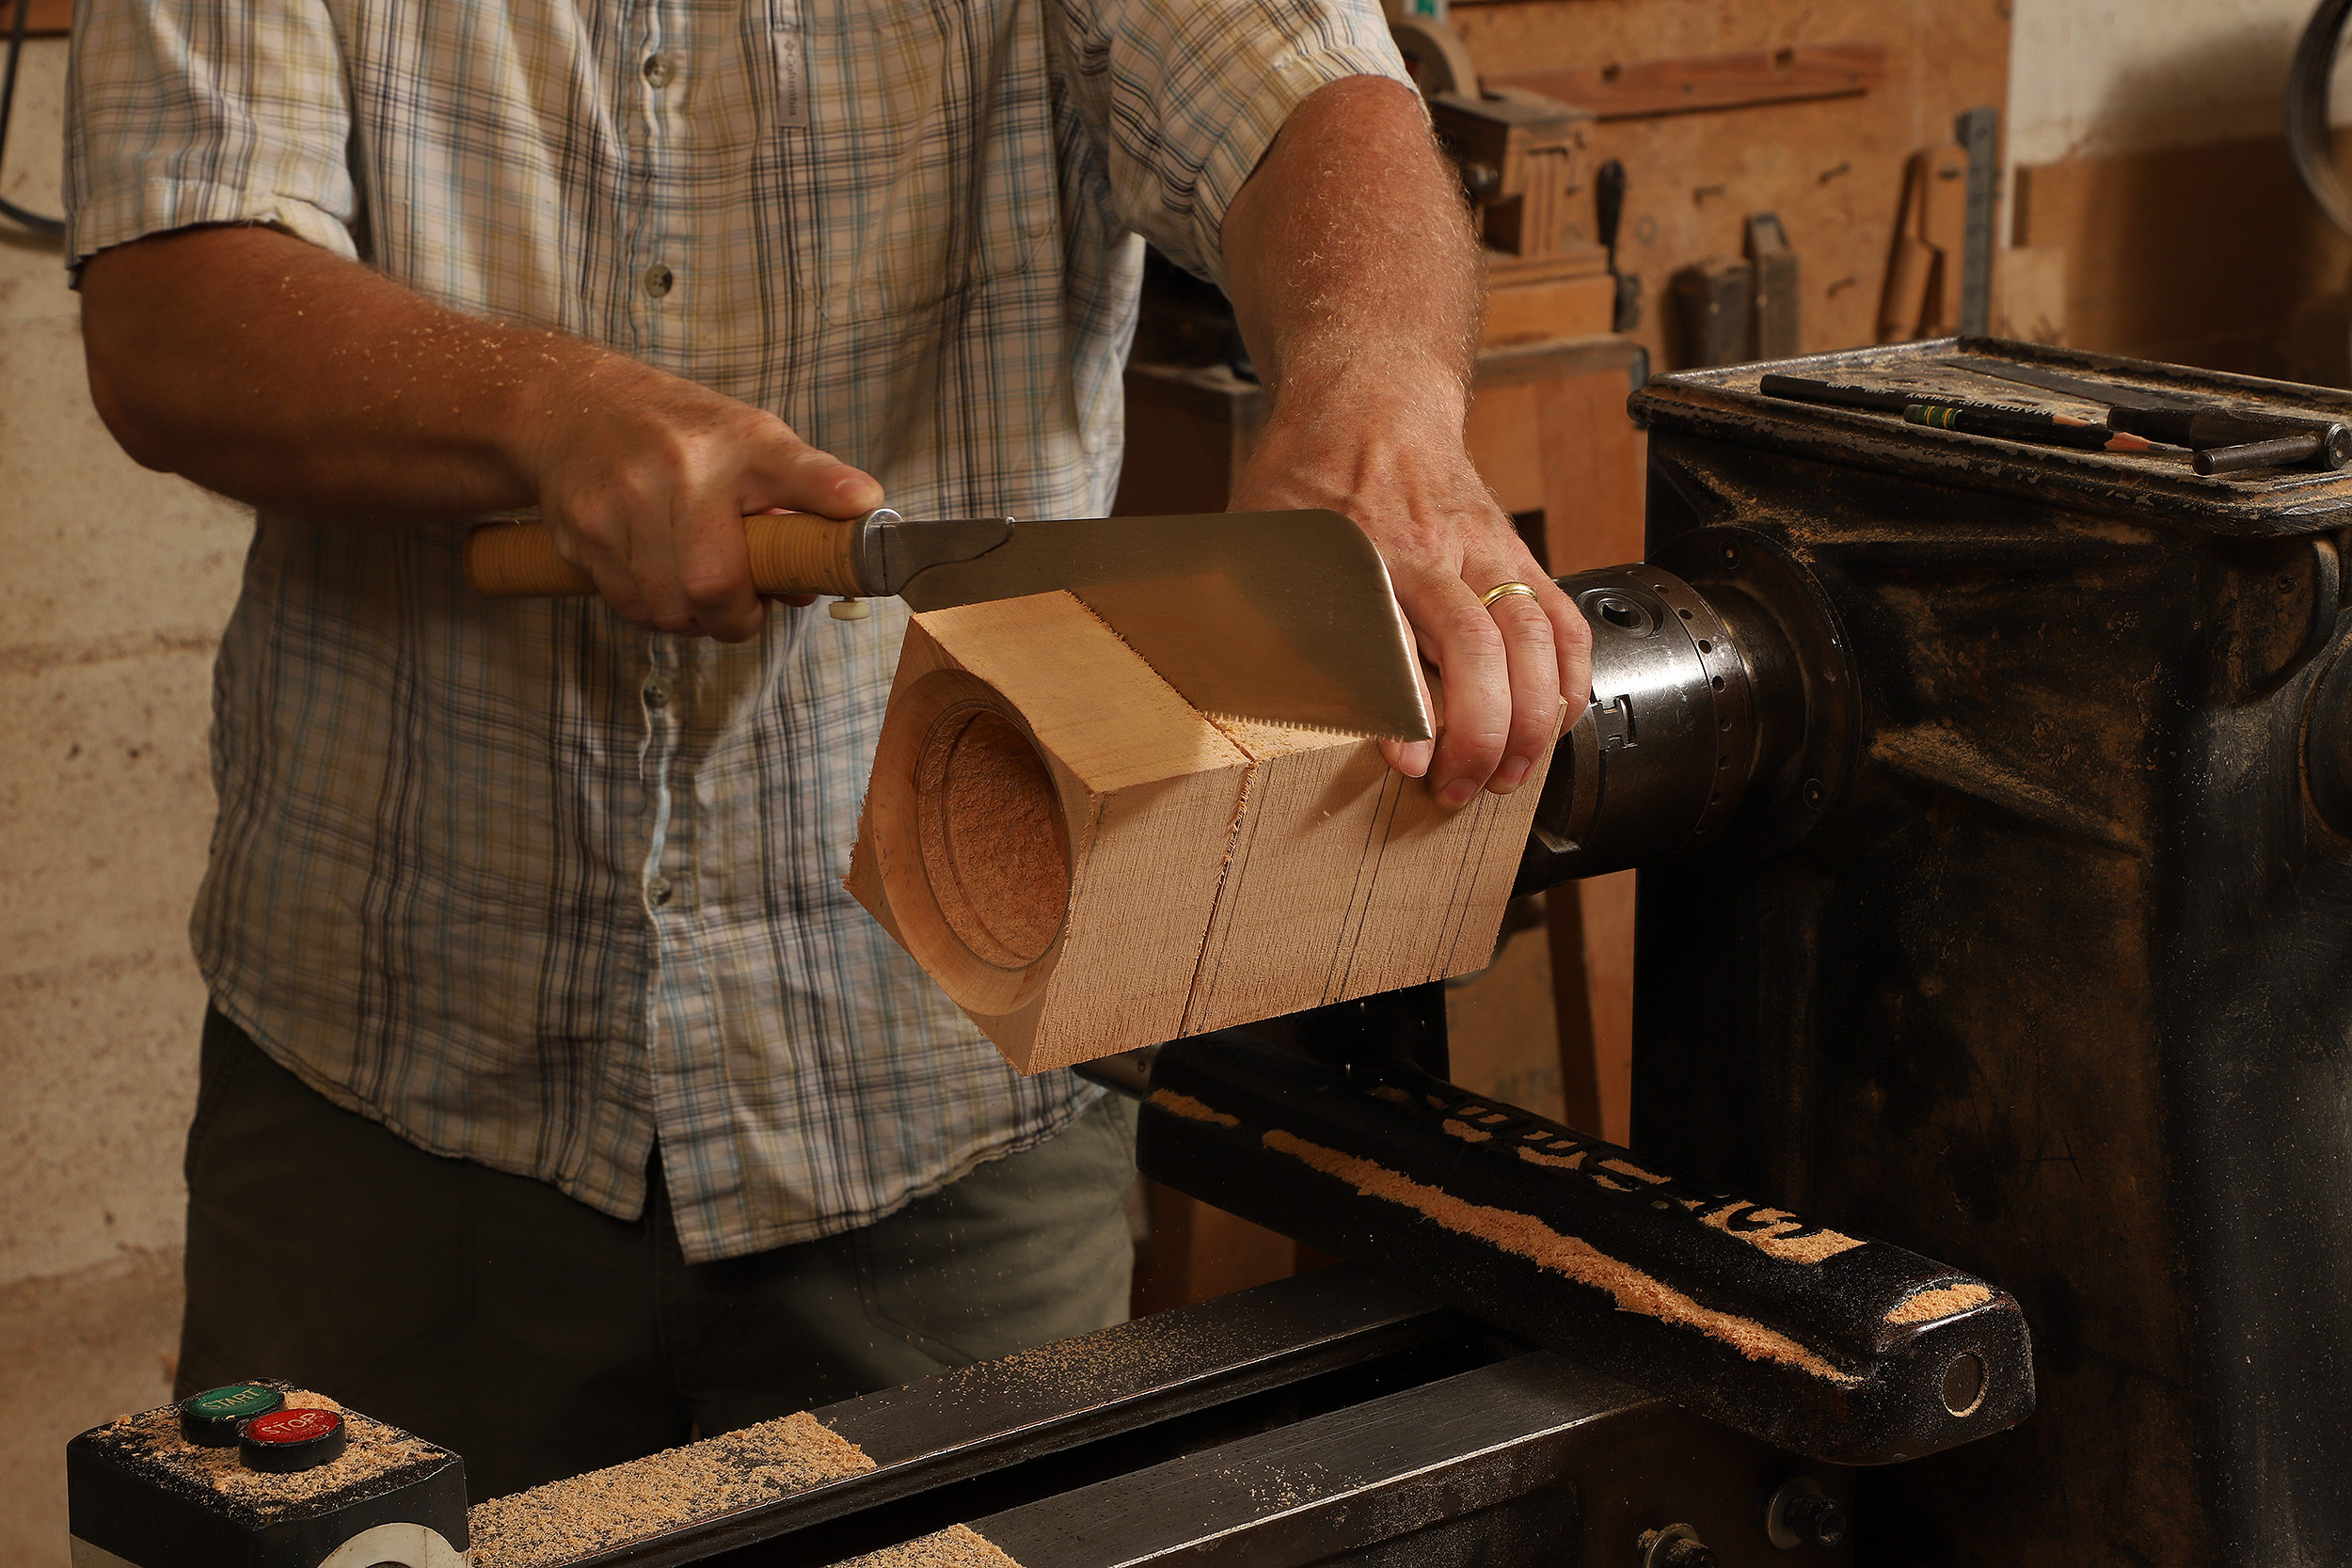 |
After hollowing out the bottom box and cutting the groove for its bottom, Gardner separates it from the rest of the blank. First he uses a parting tool to define the cutline, being careful not to go too deep and part the box off completely, which could damage the box. Instead, he turns off the lathe and completes the cut with a handsaw.
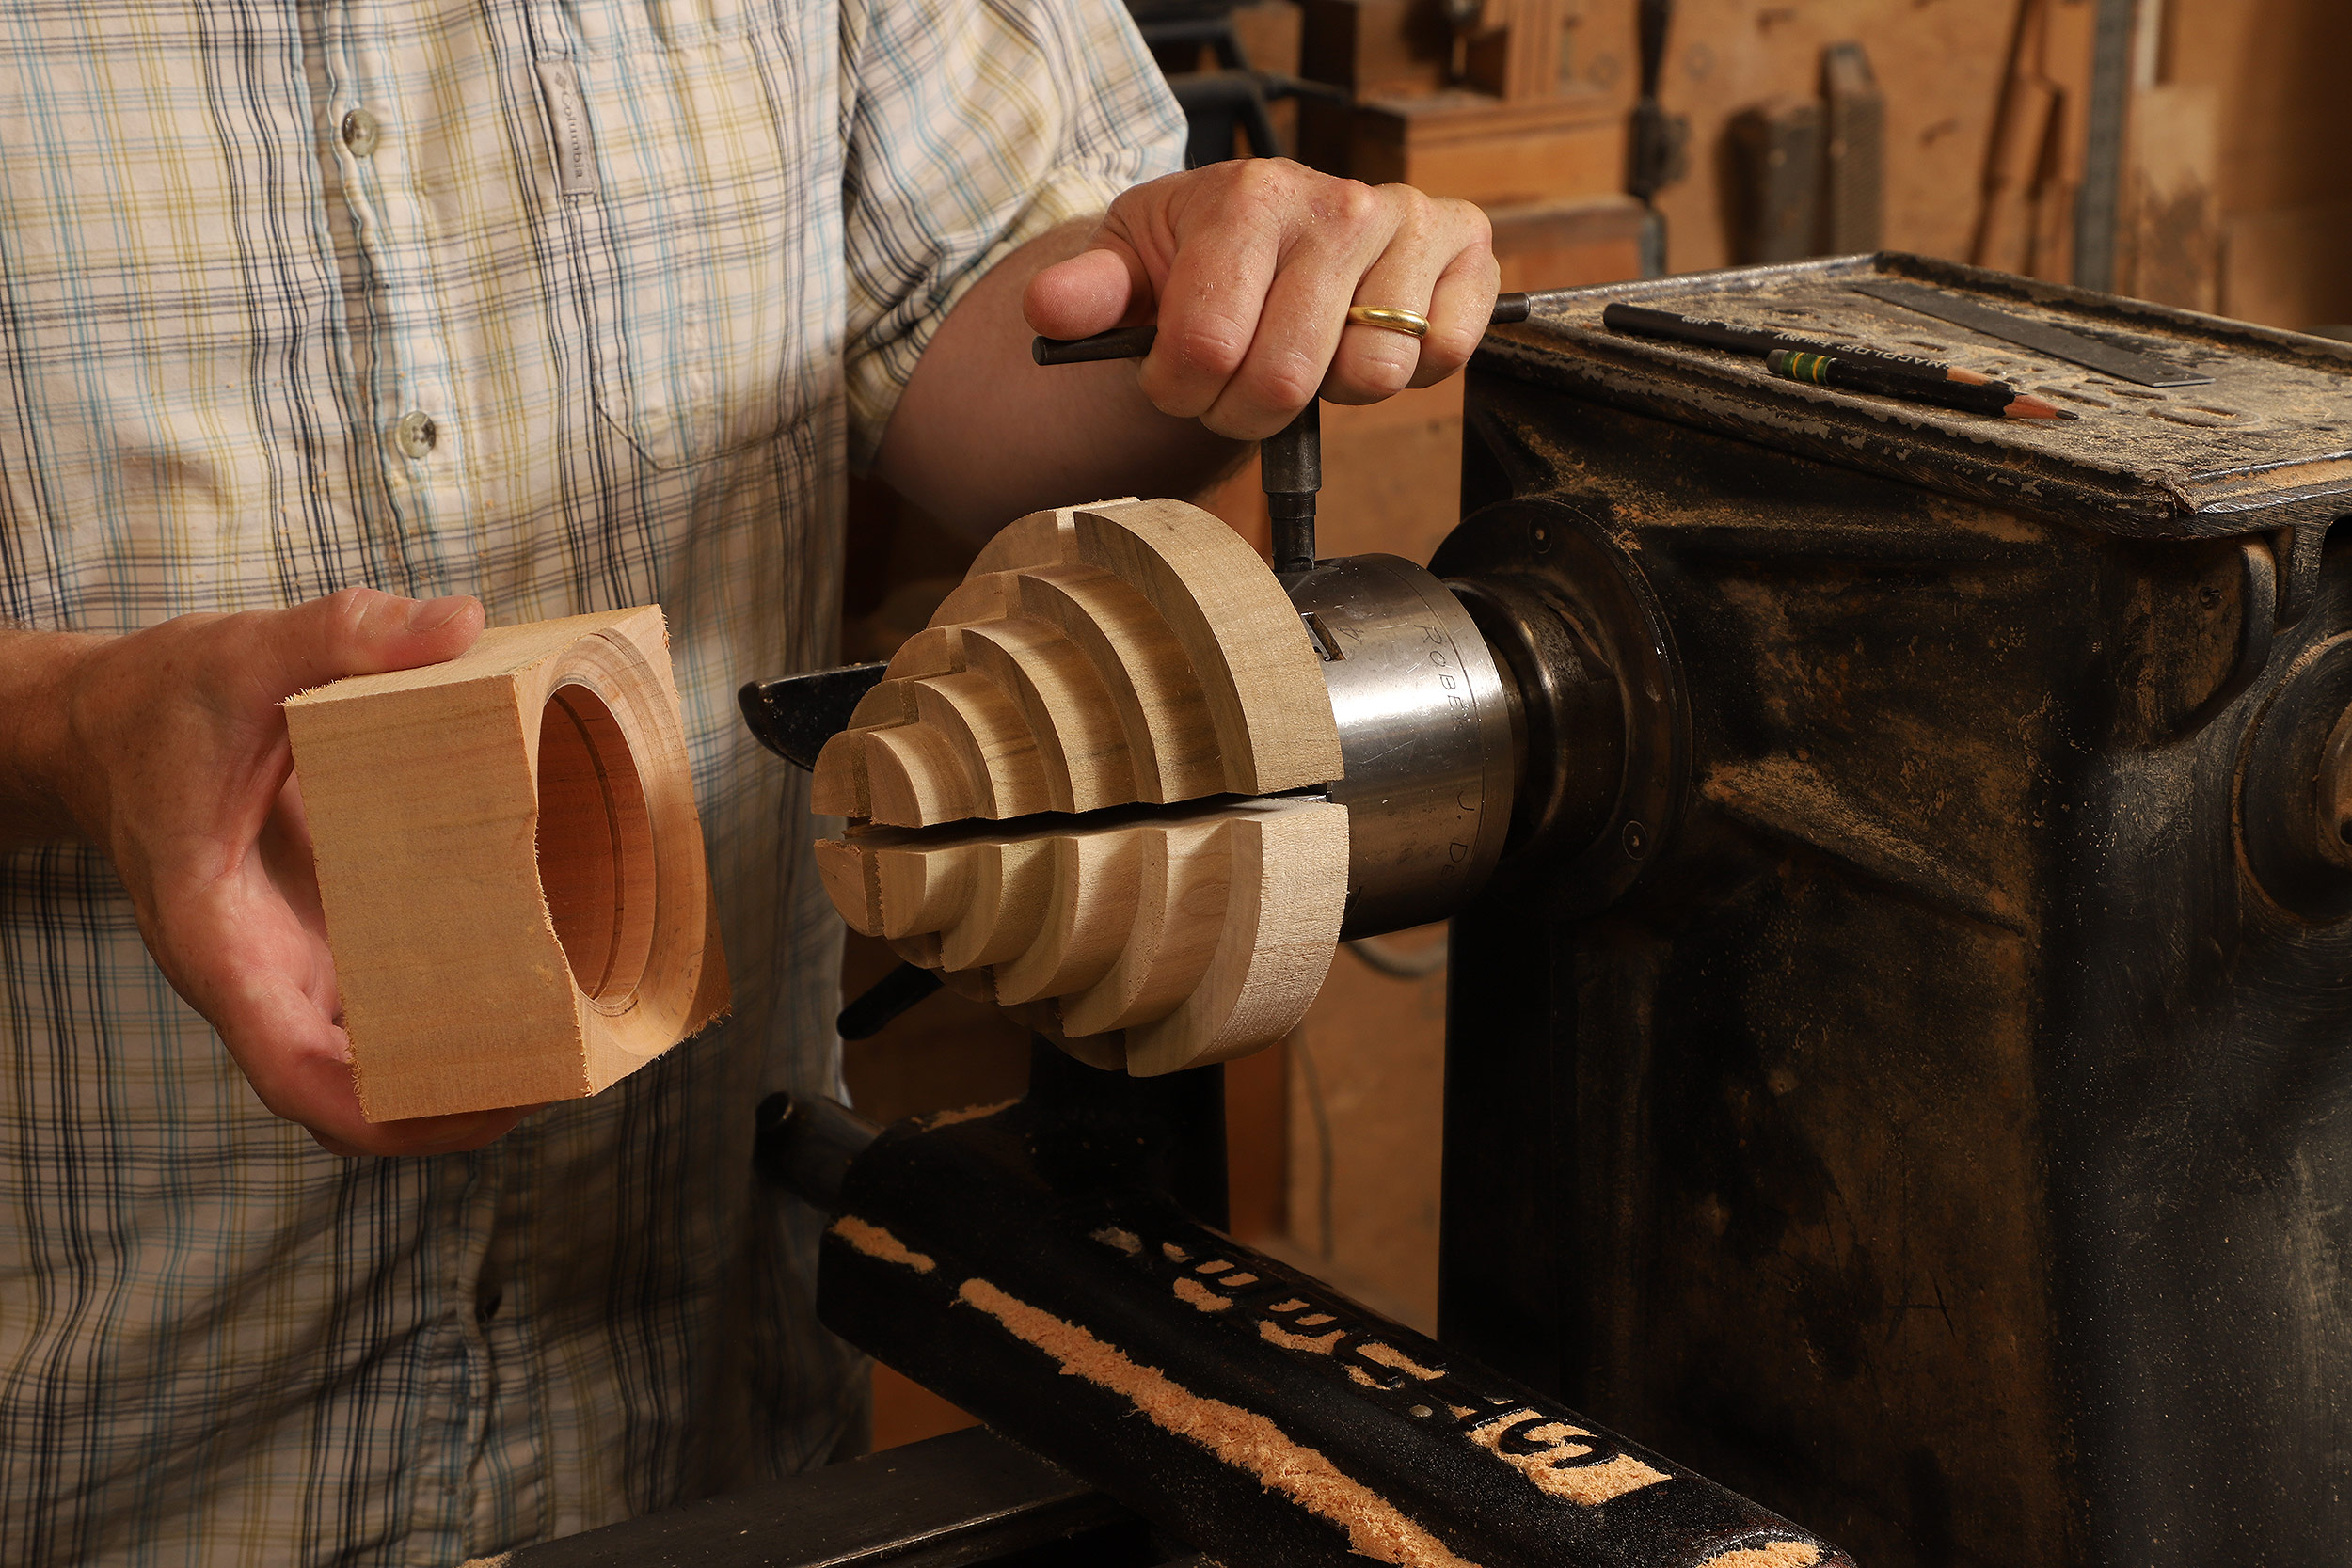
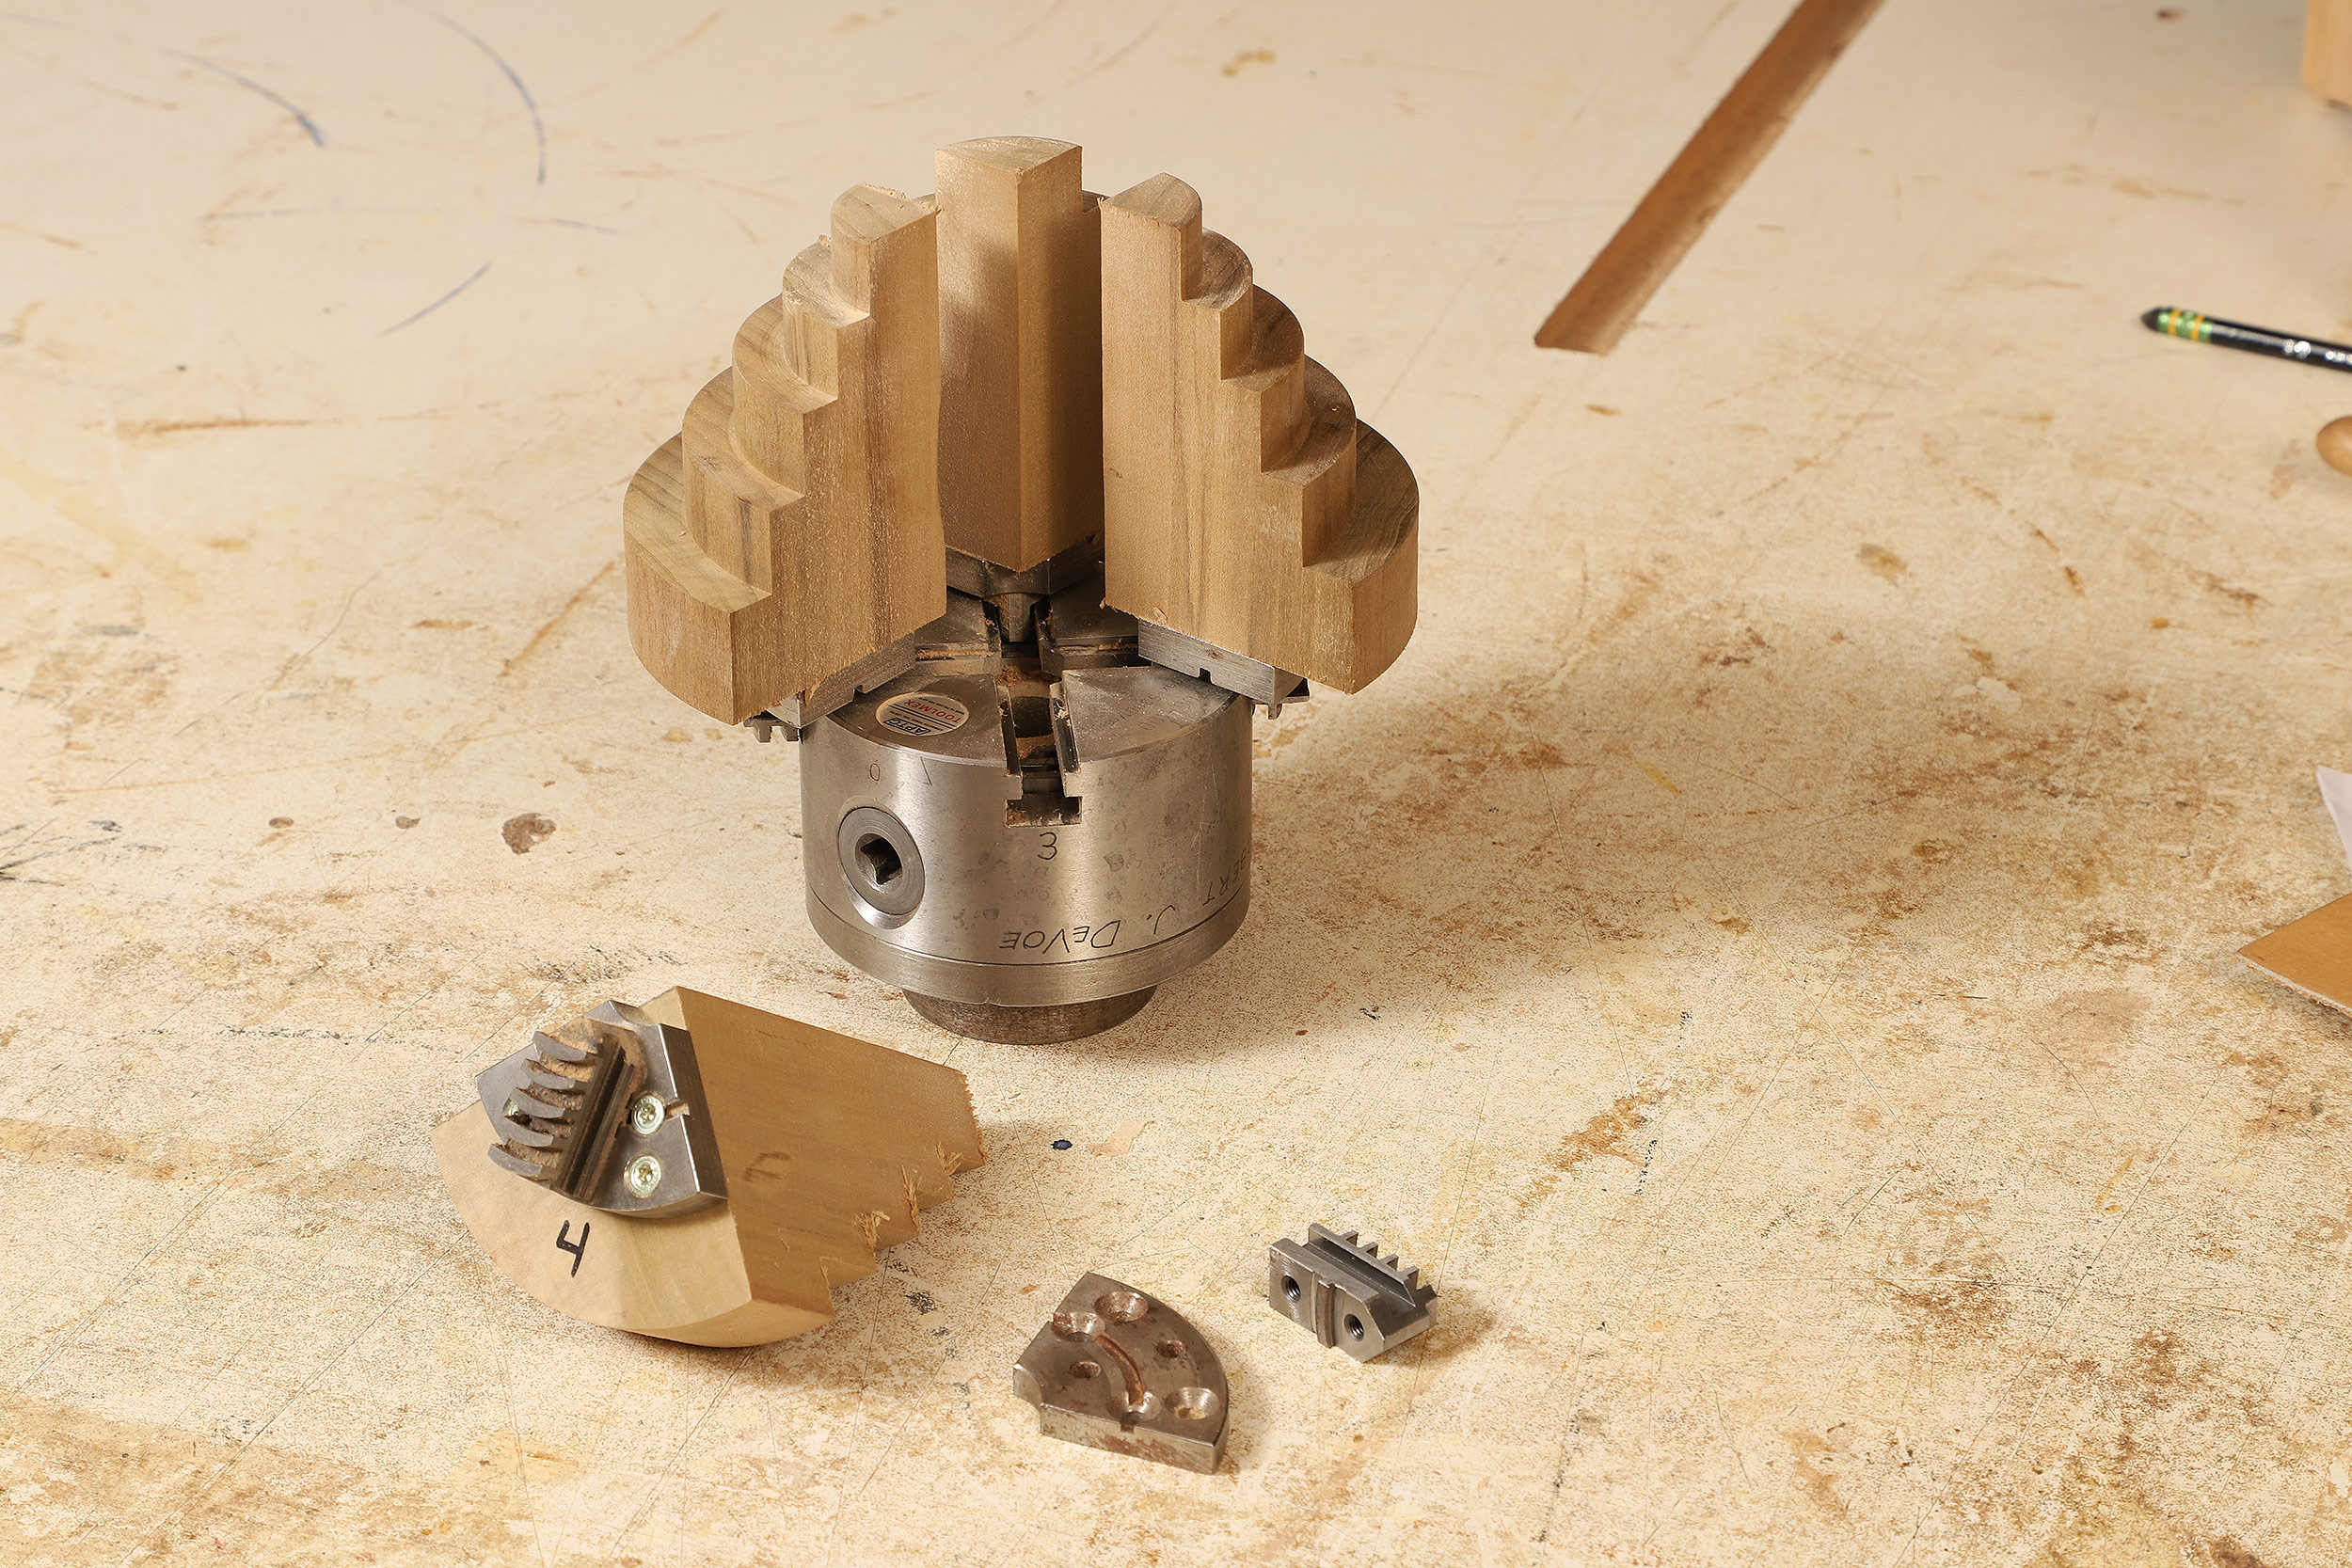

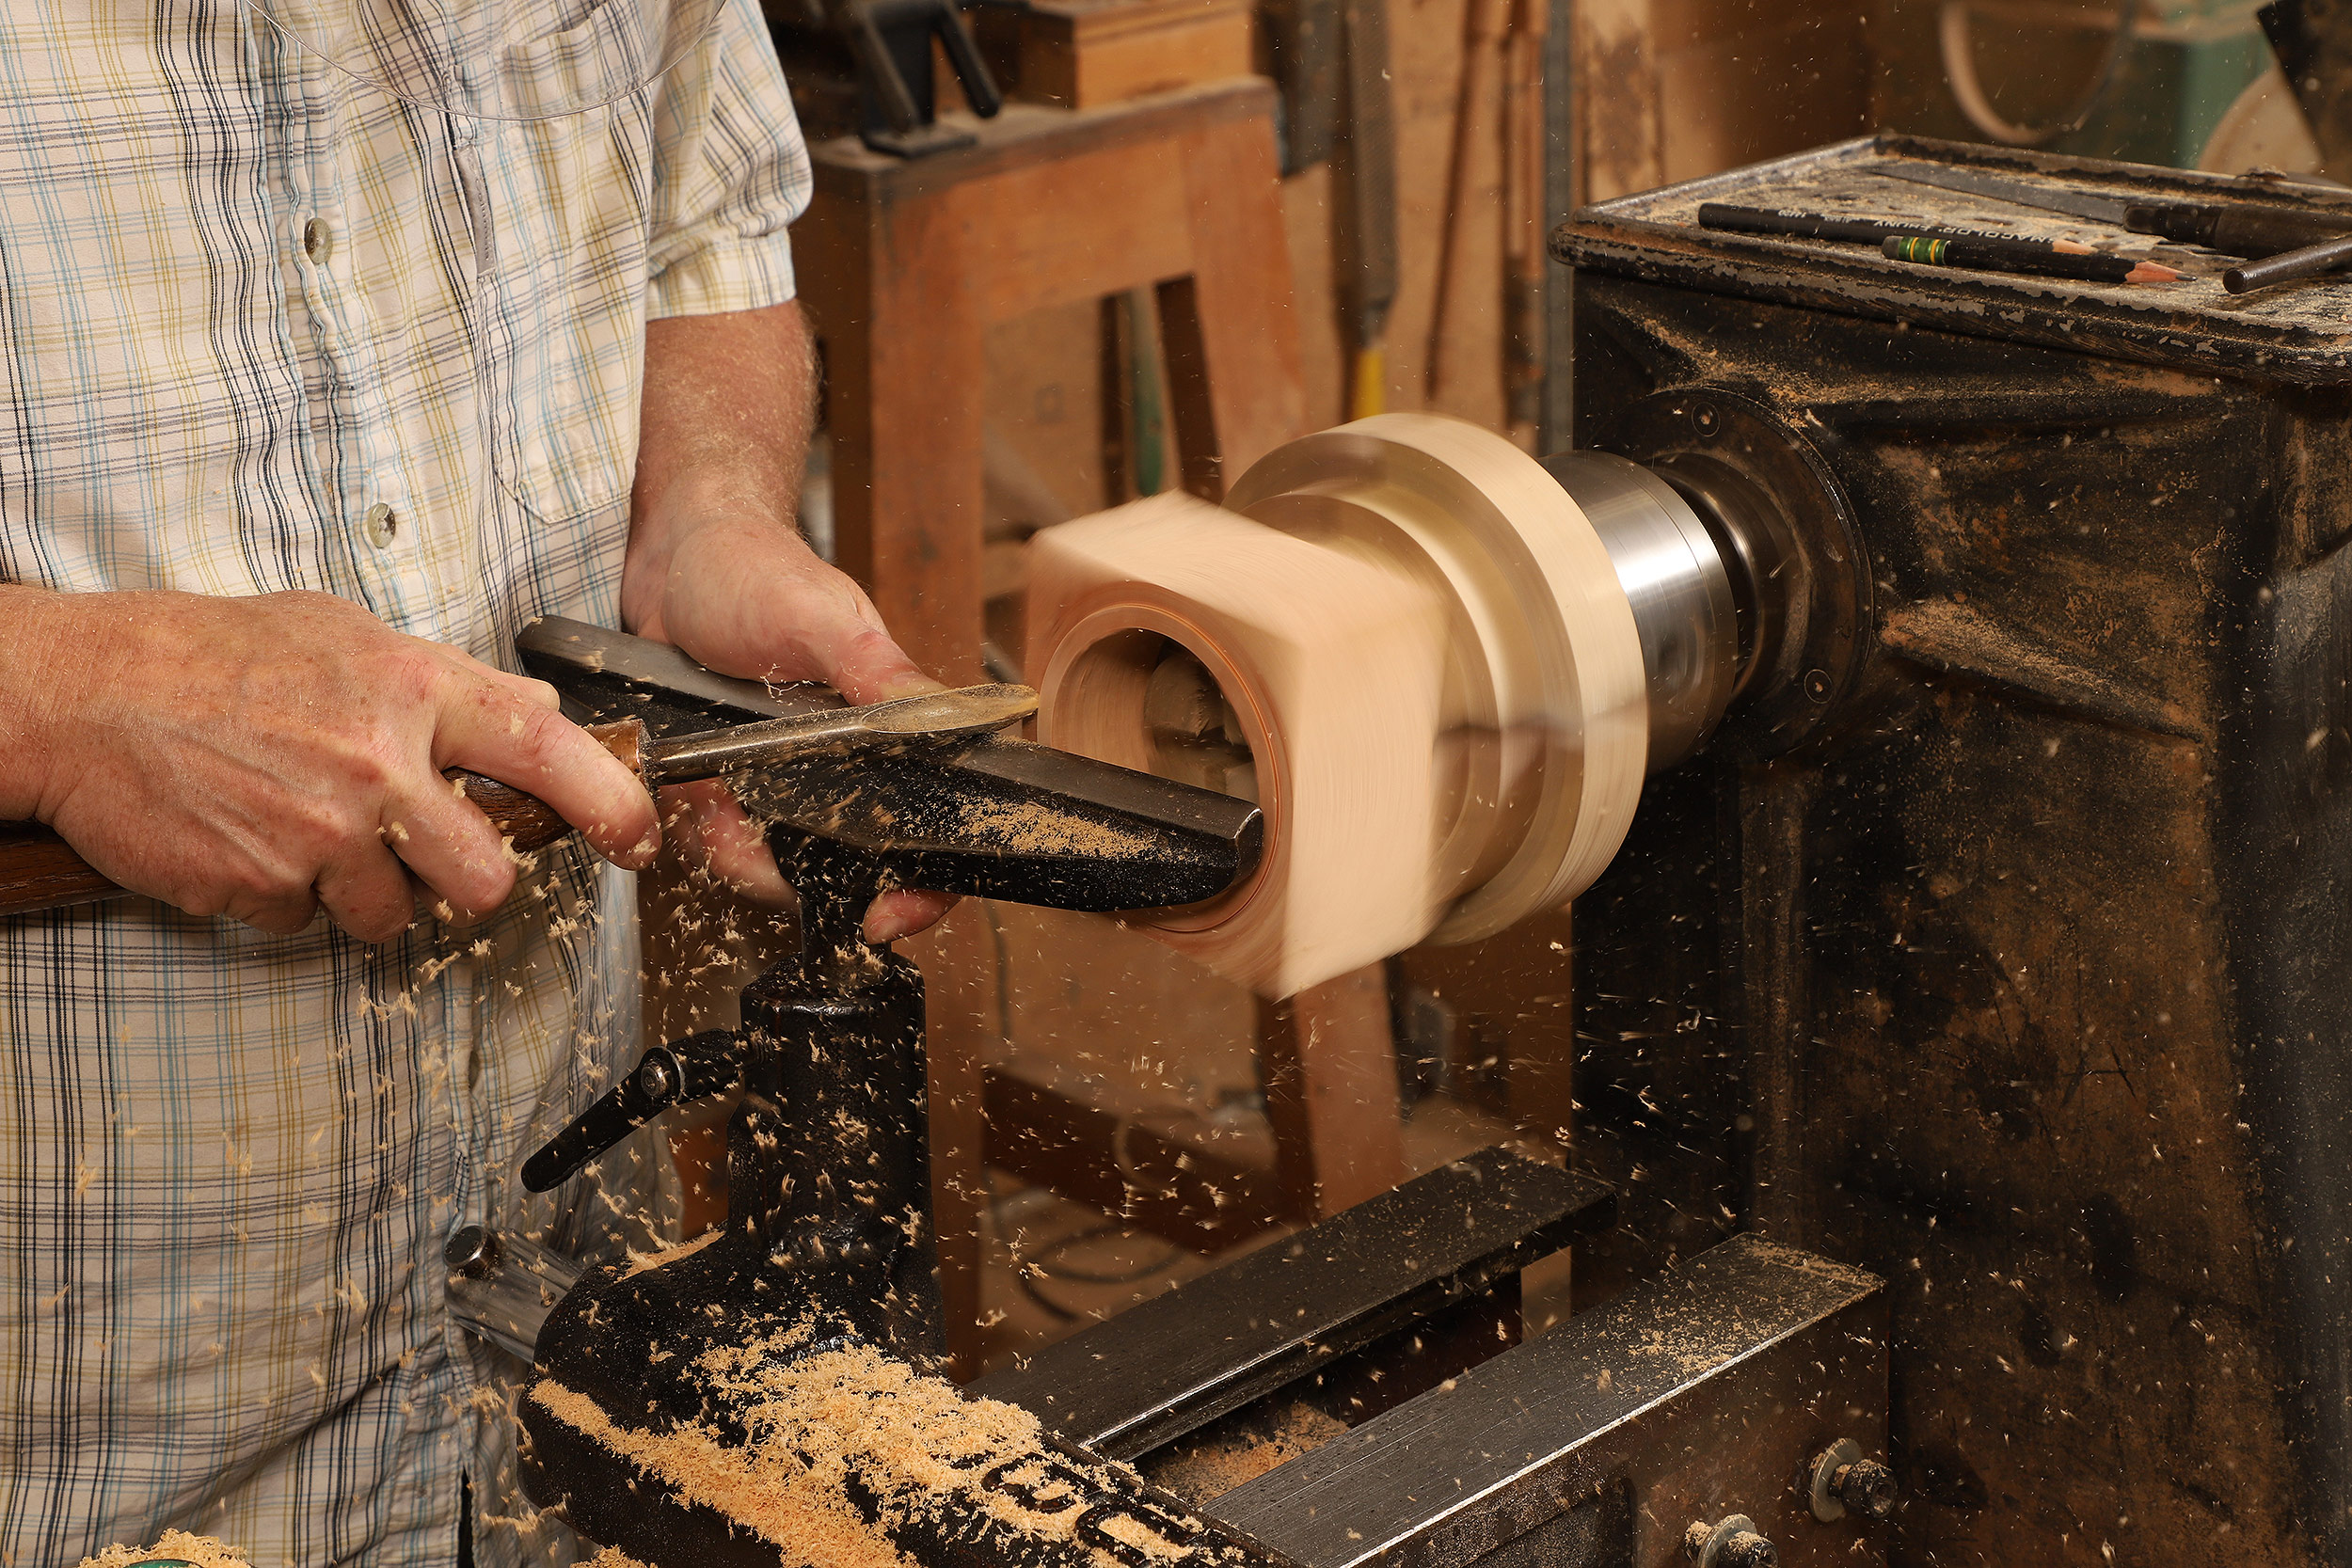
To smooth and flatten the sawn top face of the bottom box, Gardner mounts it on a shop-made device he calls the Devo chuck. When reaching this step while making a single box, Gardner simply turns a jam chuck to fit the box body. But for these stacks of boxes, which are graduated in size, the Devo chuck, with its variety of diameters, is very handy.
 |
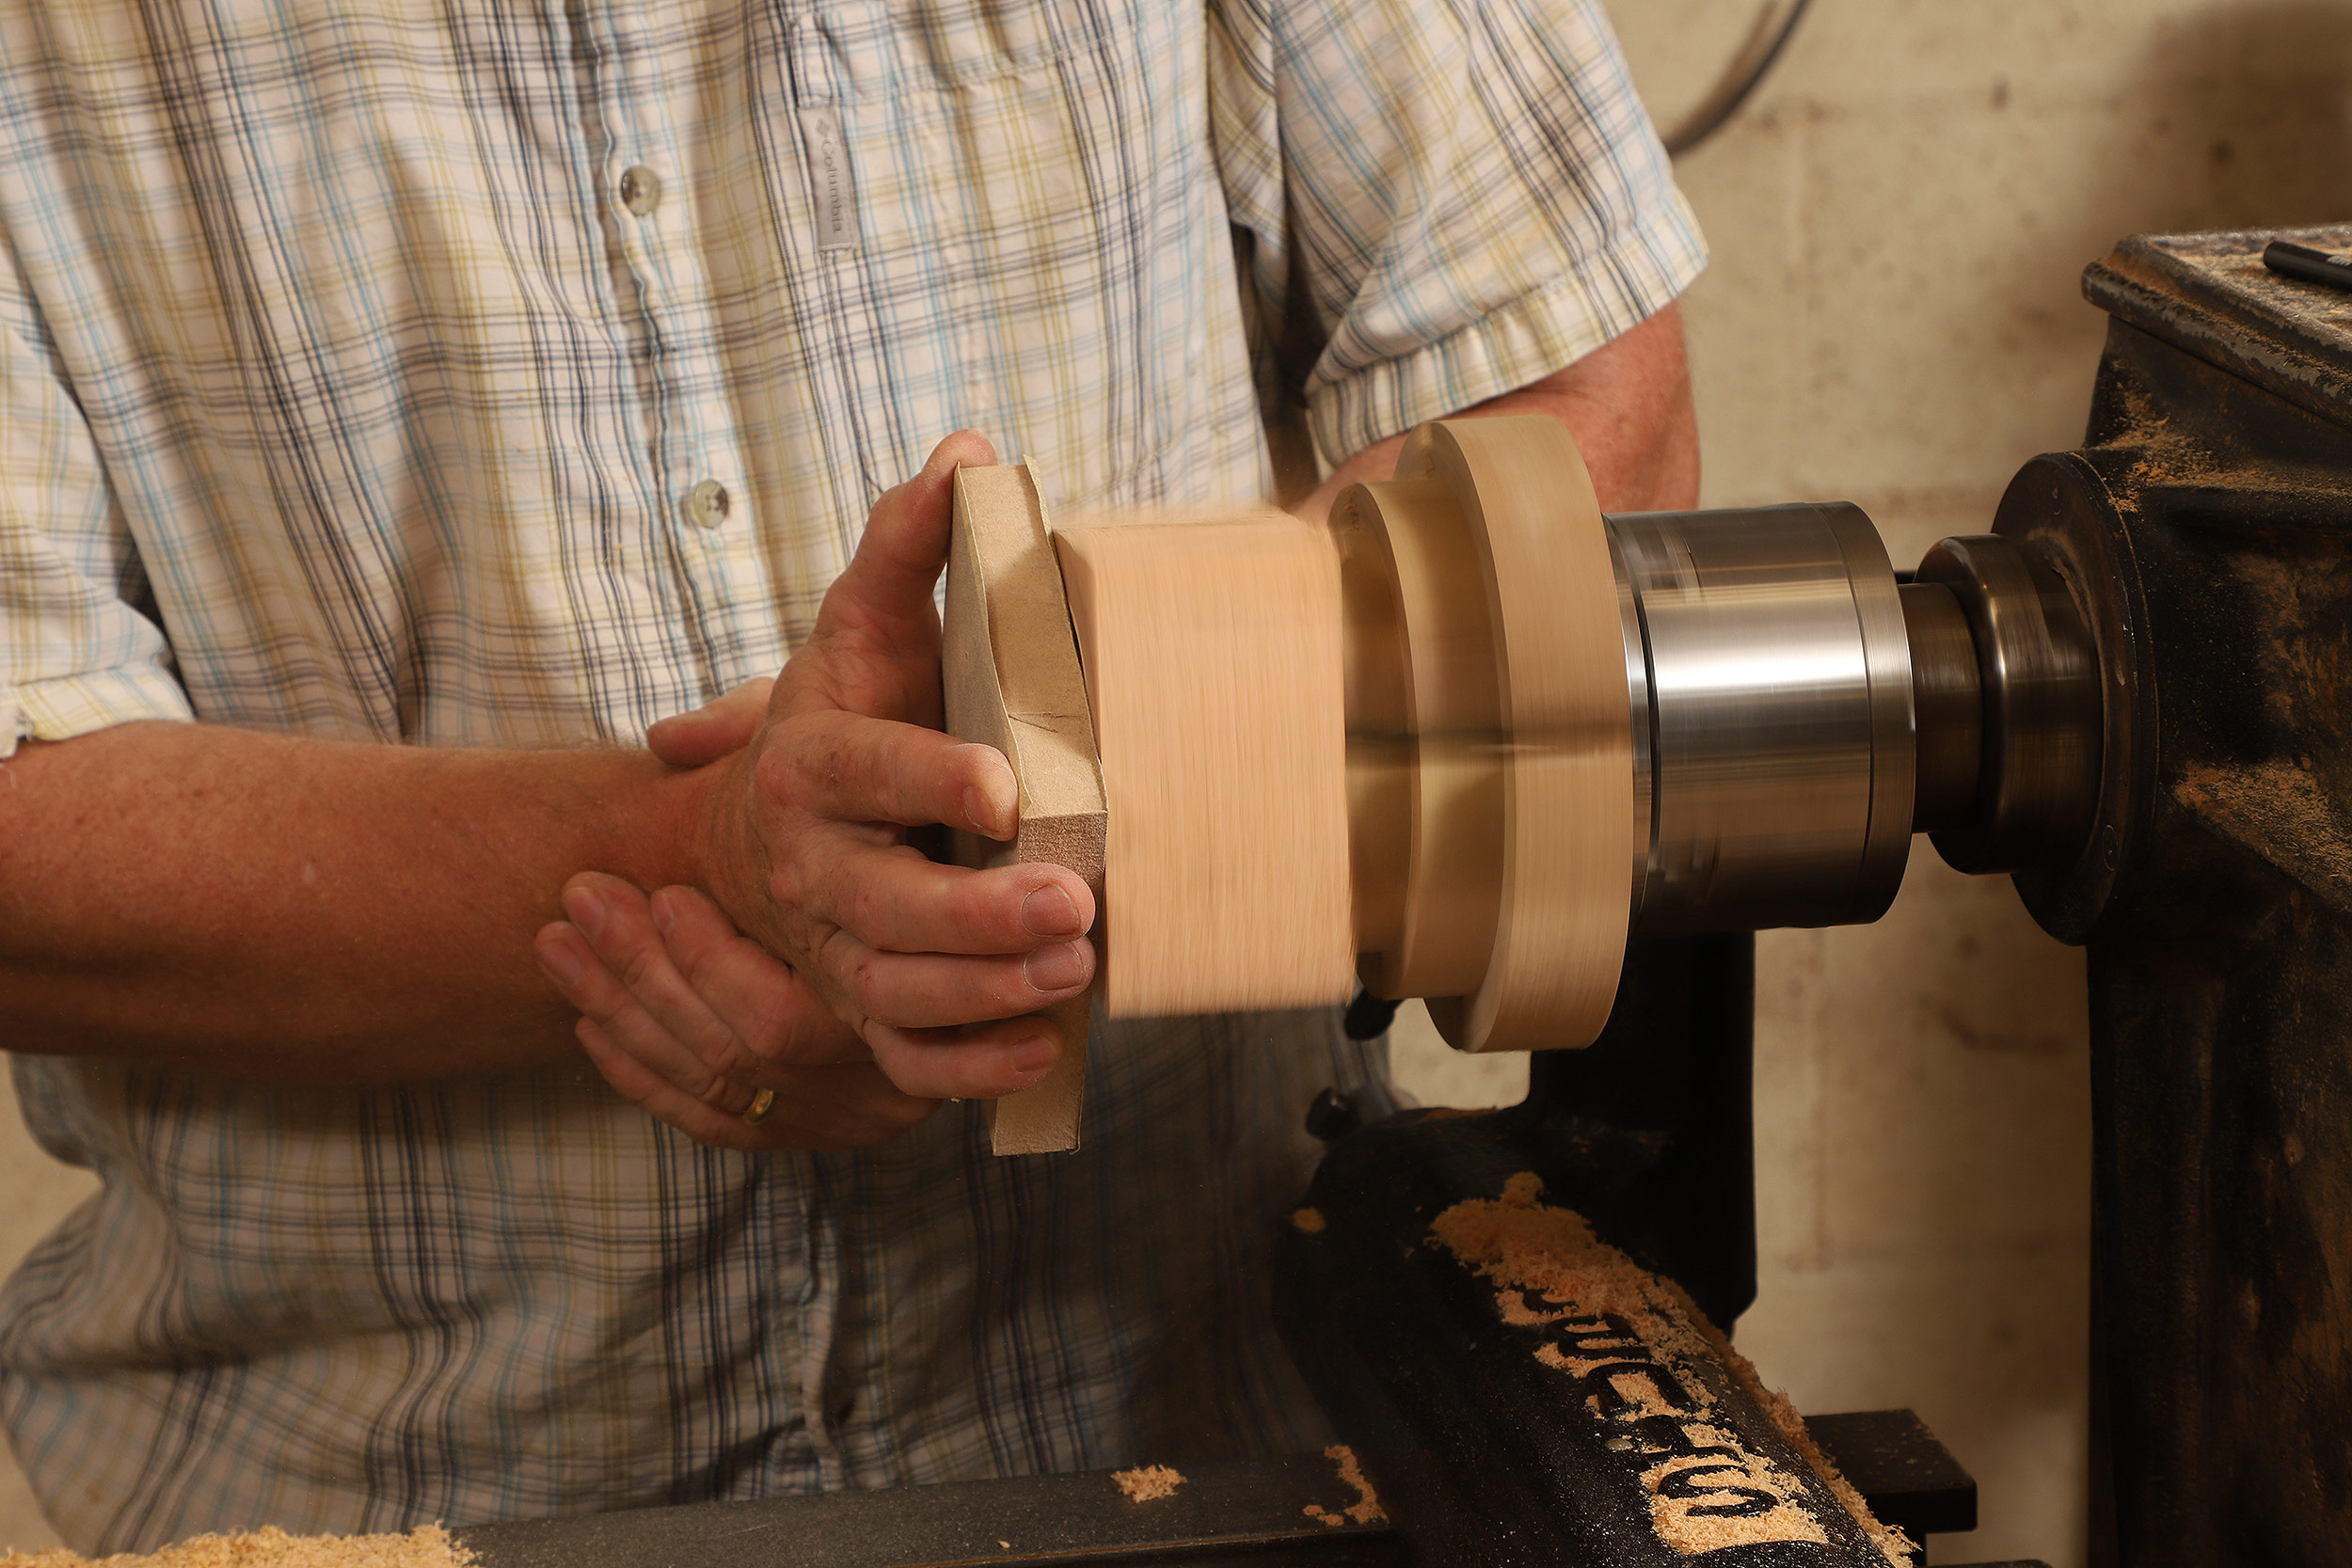 |
Gardner first uses a gouge to flatten the top of the bottom box, then applies sandpaper on an MDF block for final smoothing and flattening.
 |
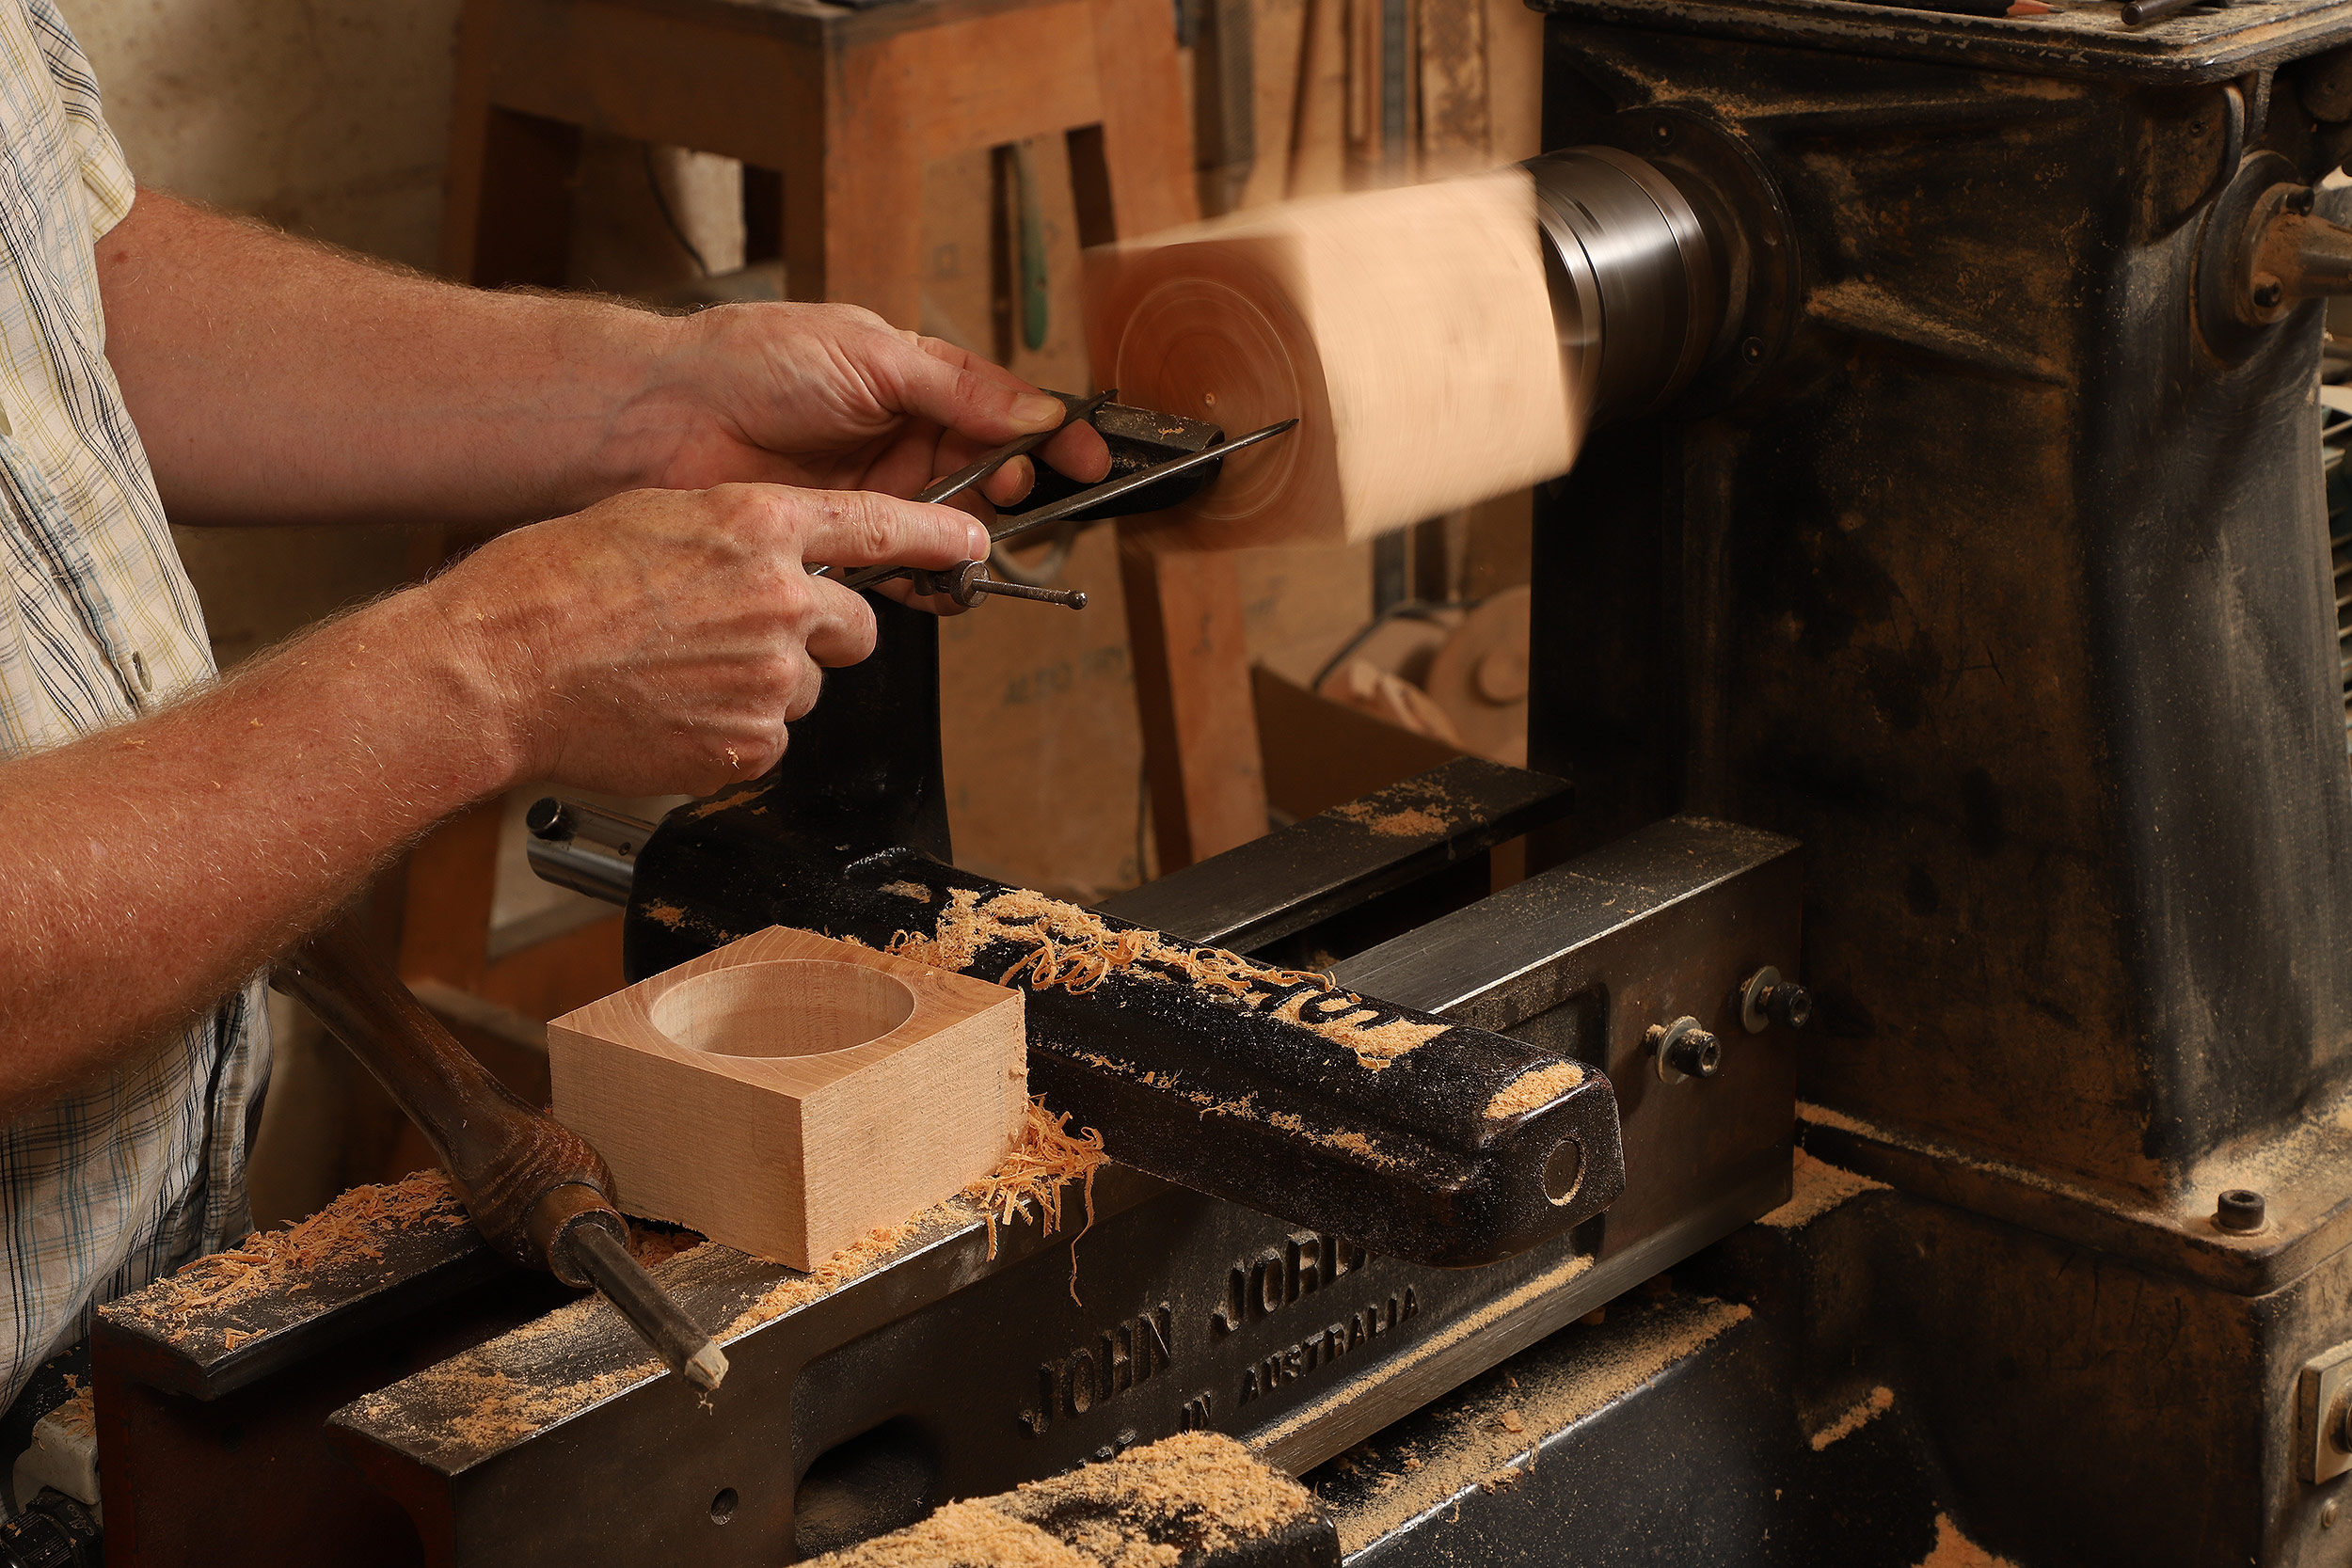 |
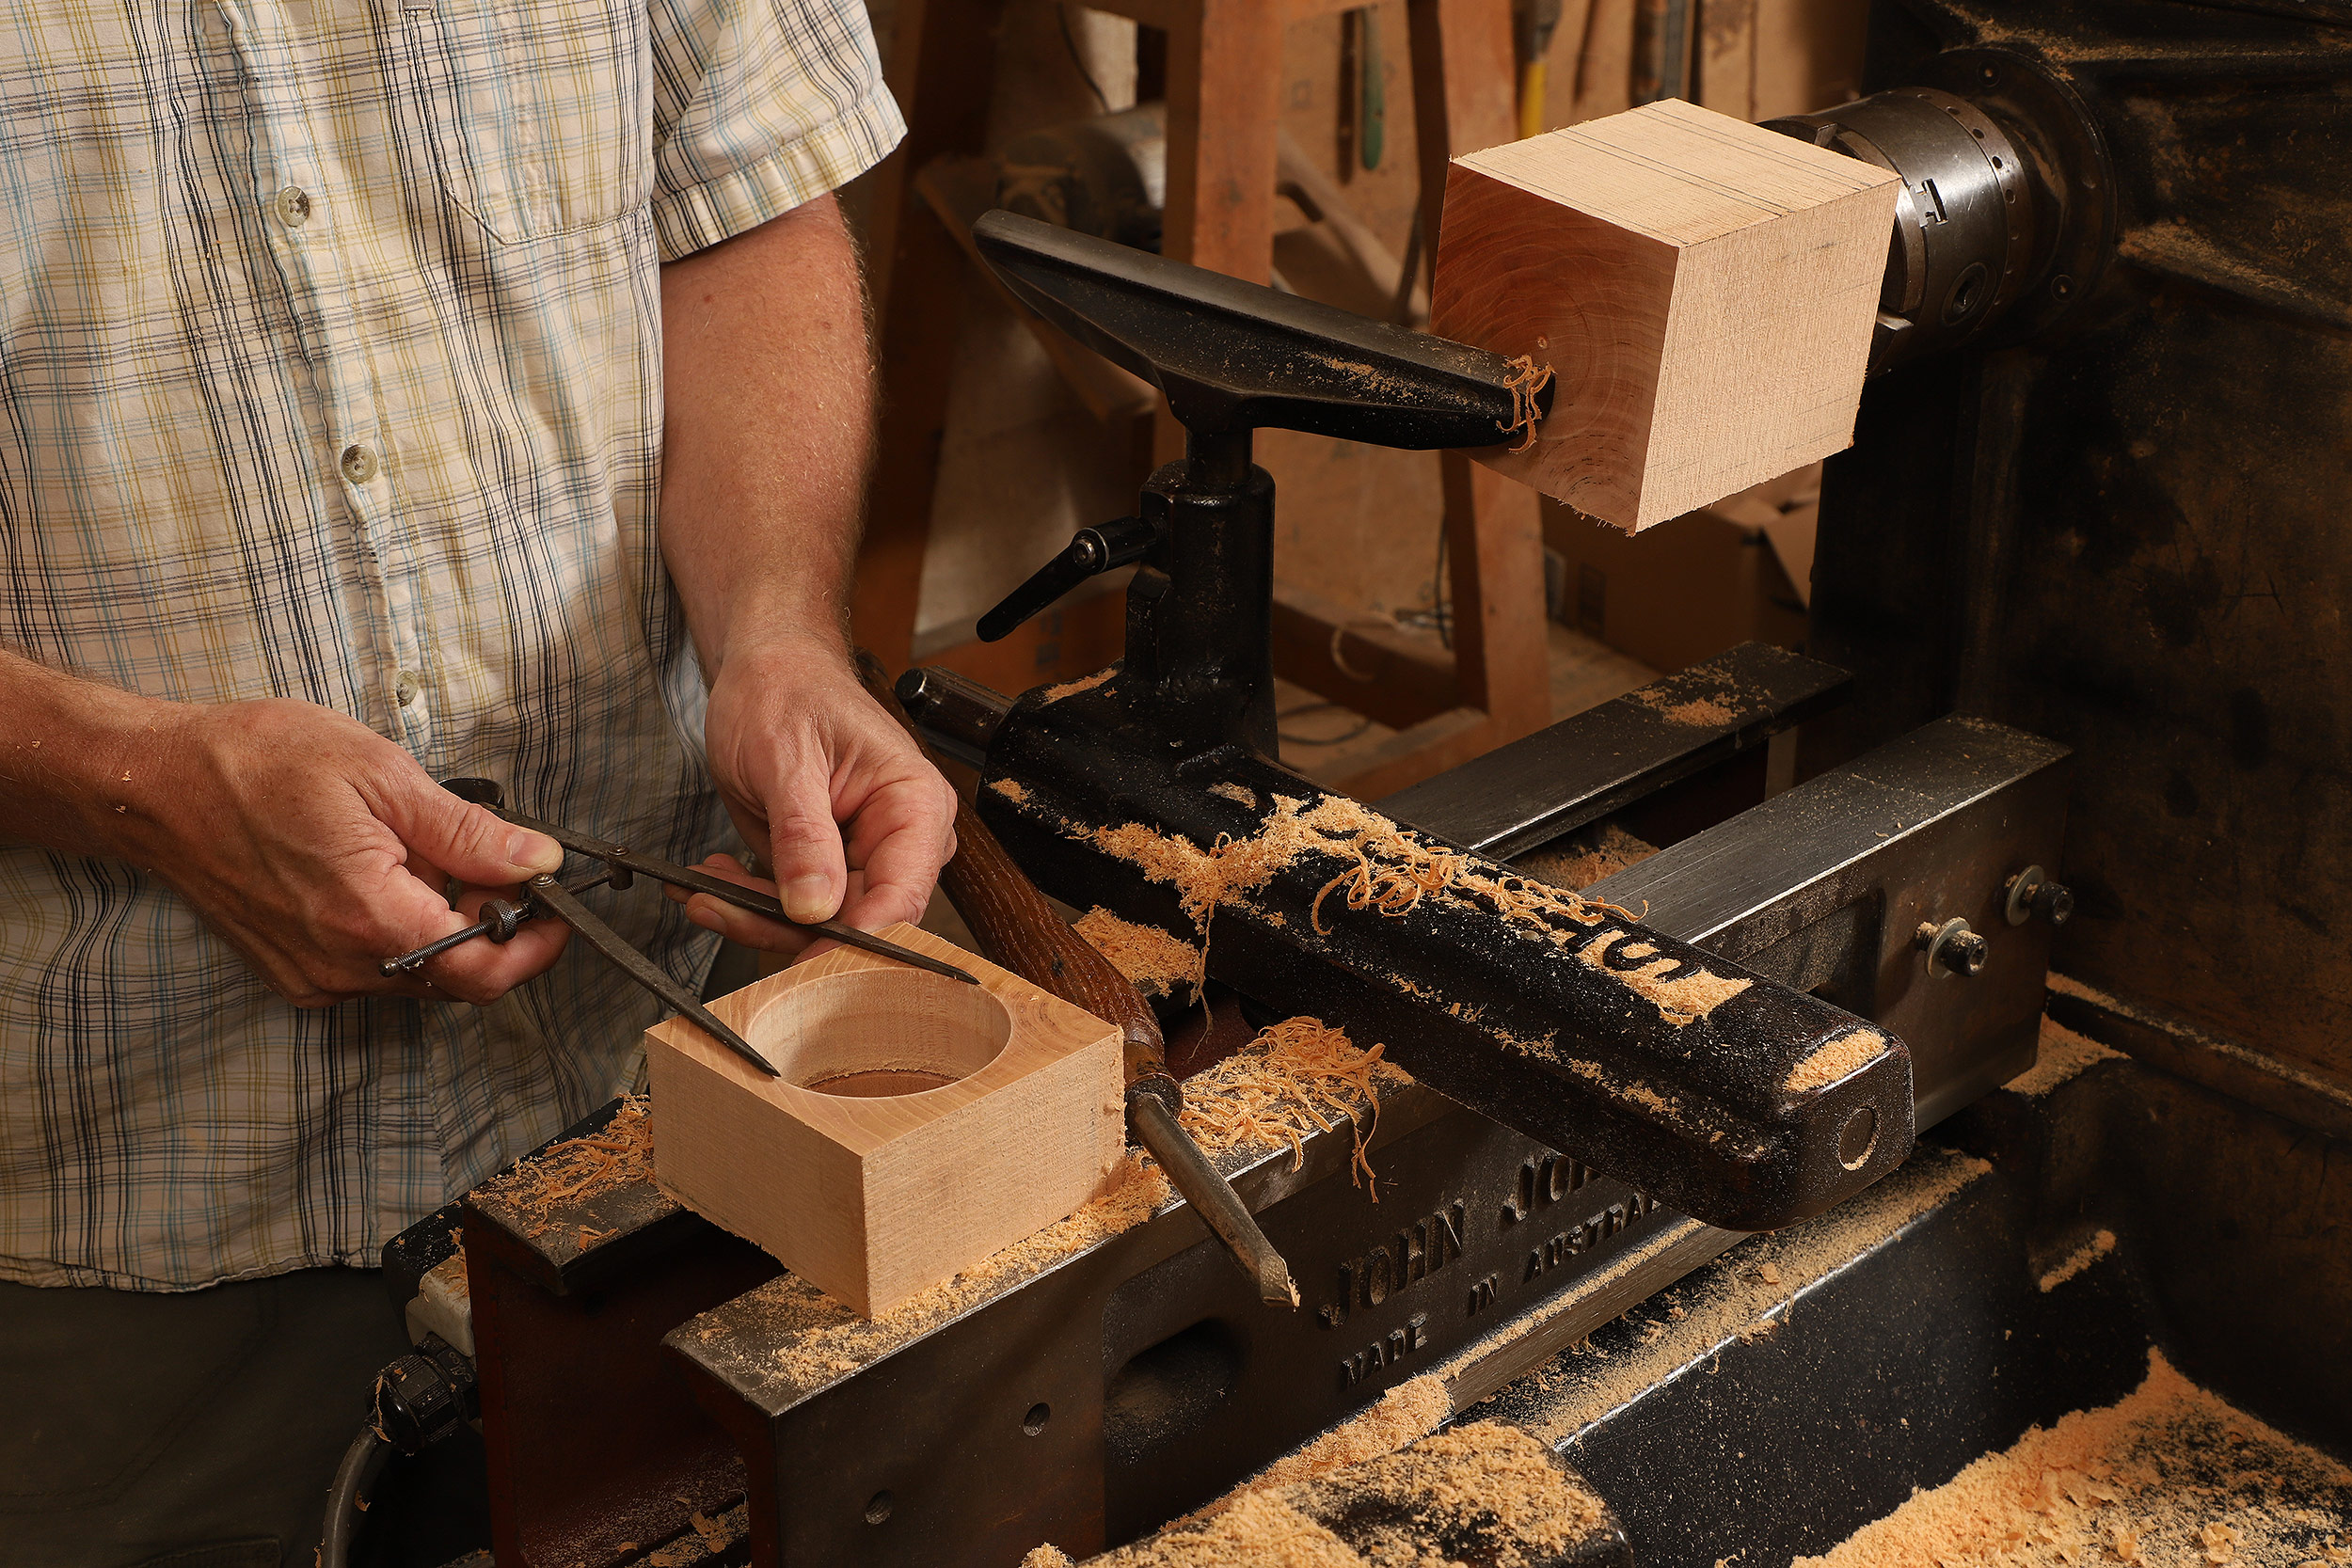
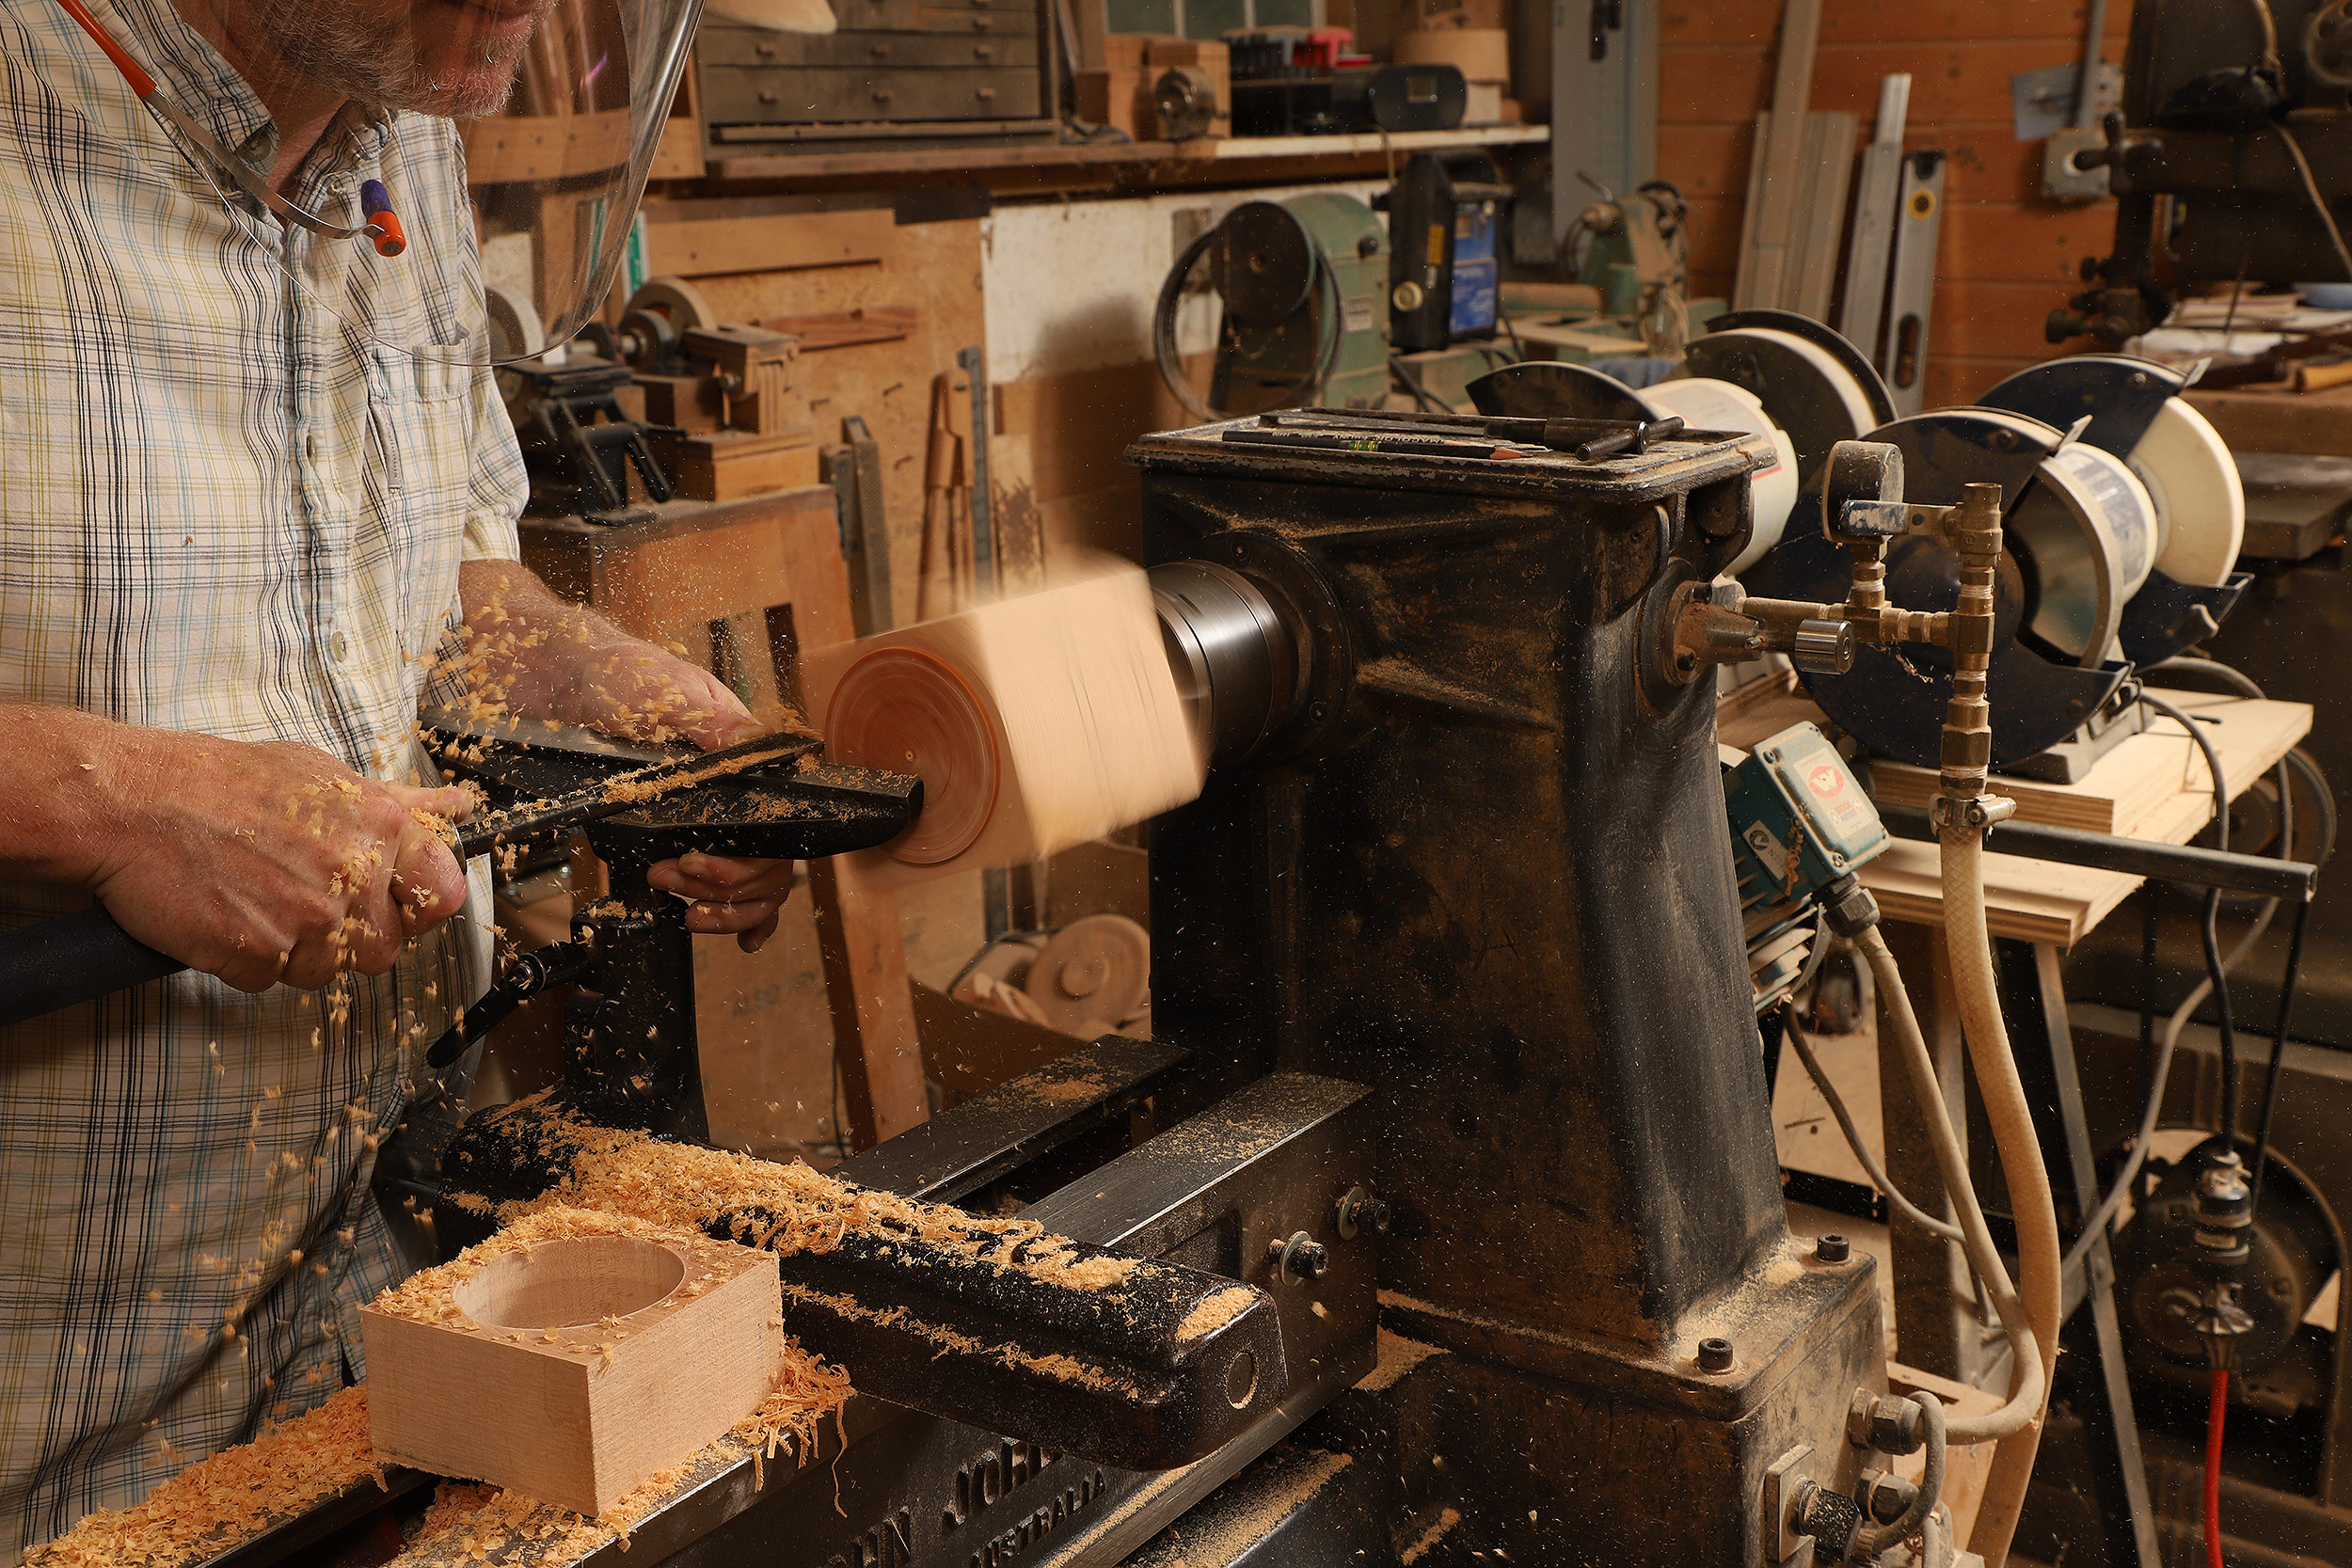
Once he has finished turning the bottom box, Gardner remounts the blank (with the temporary top tenon in the four-jaw chuck) and uses dividers to transfer the interior size of the bottom box to the bottom of the blank.
 |
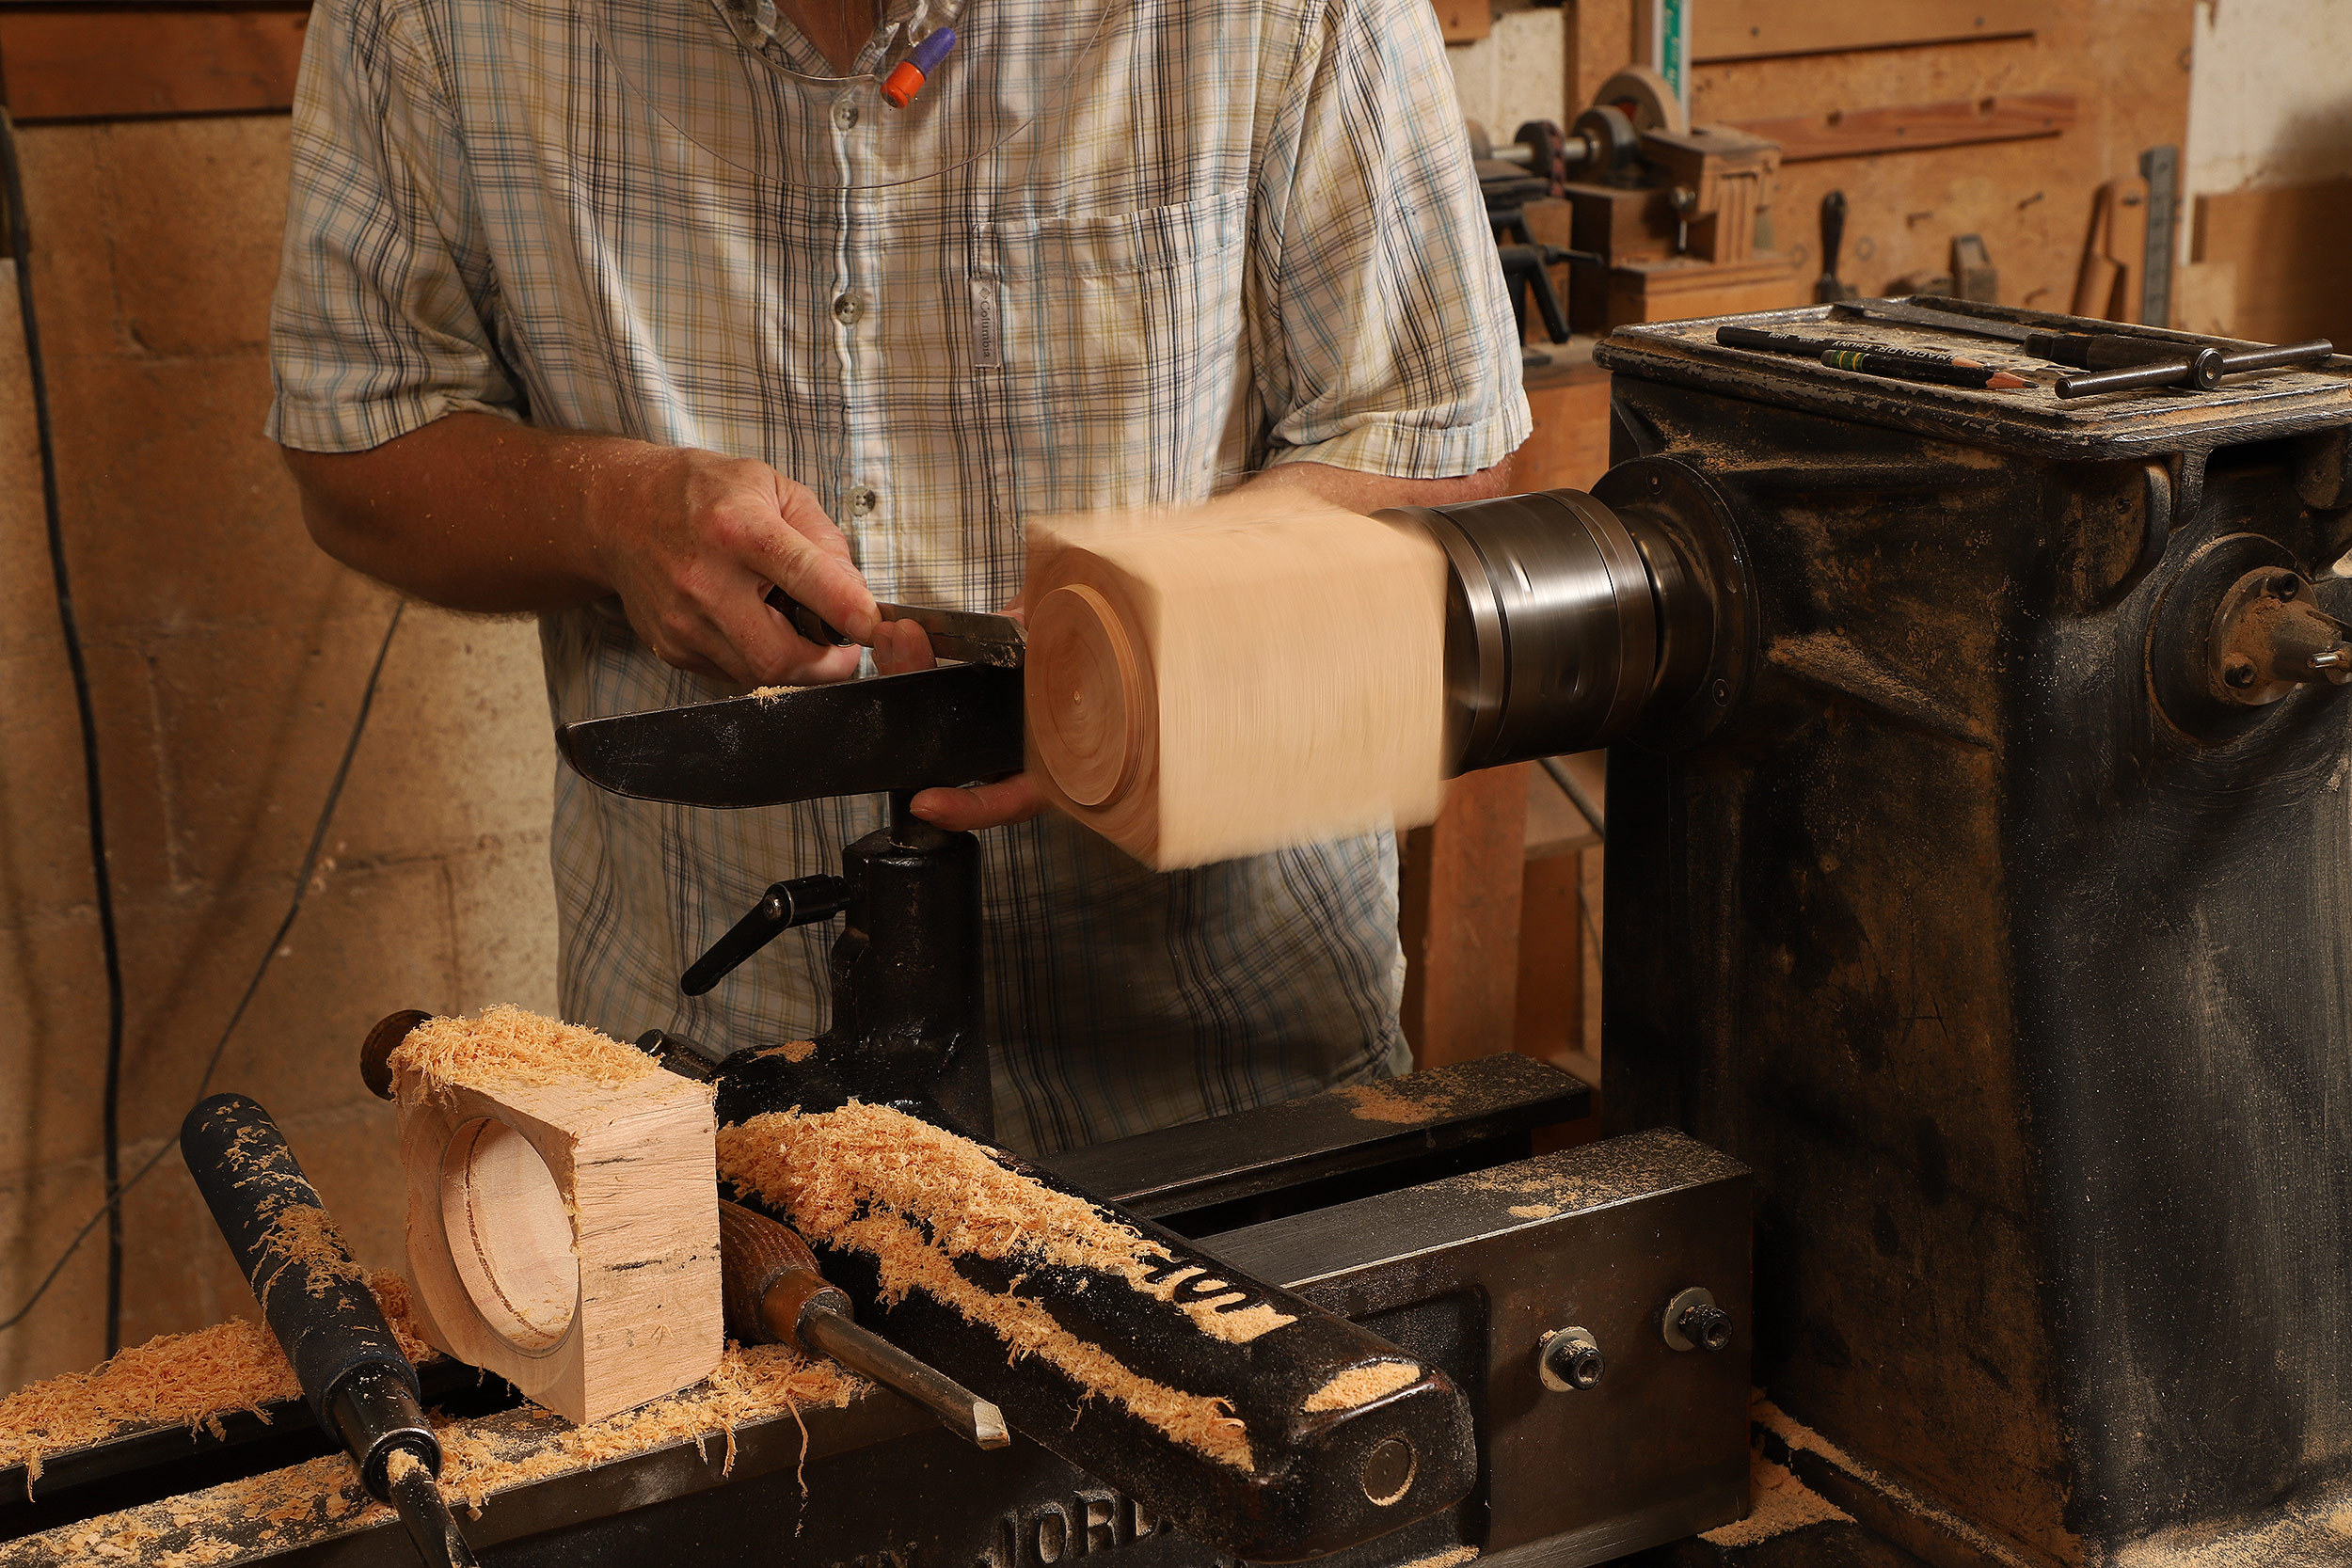 |
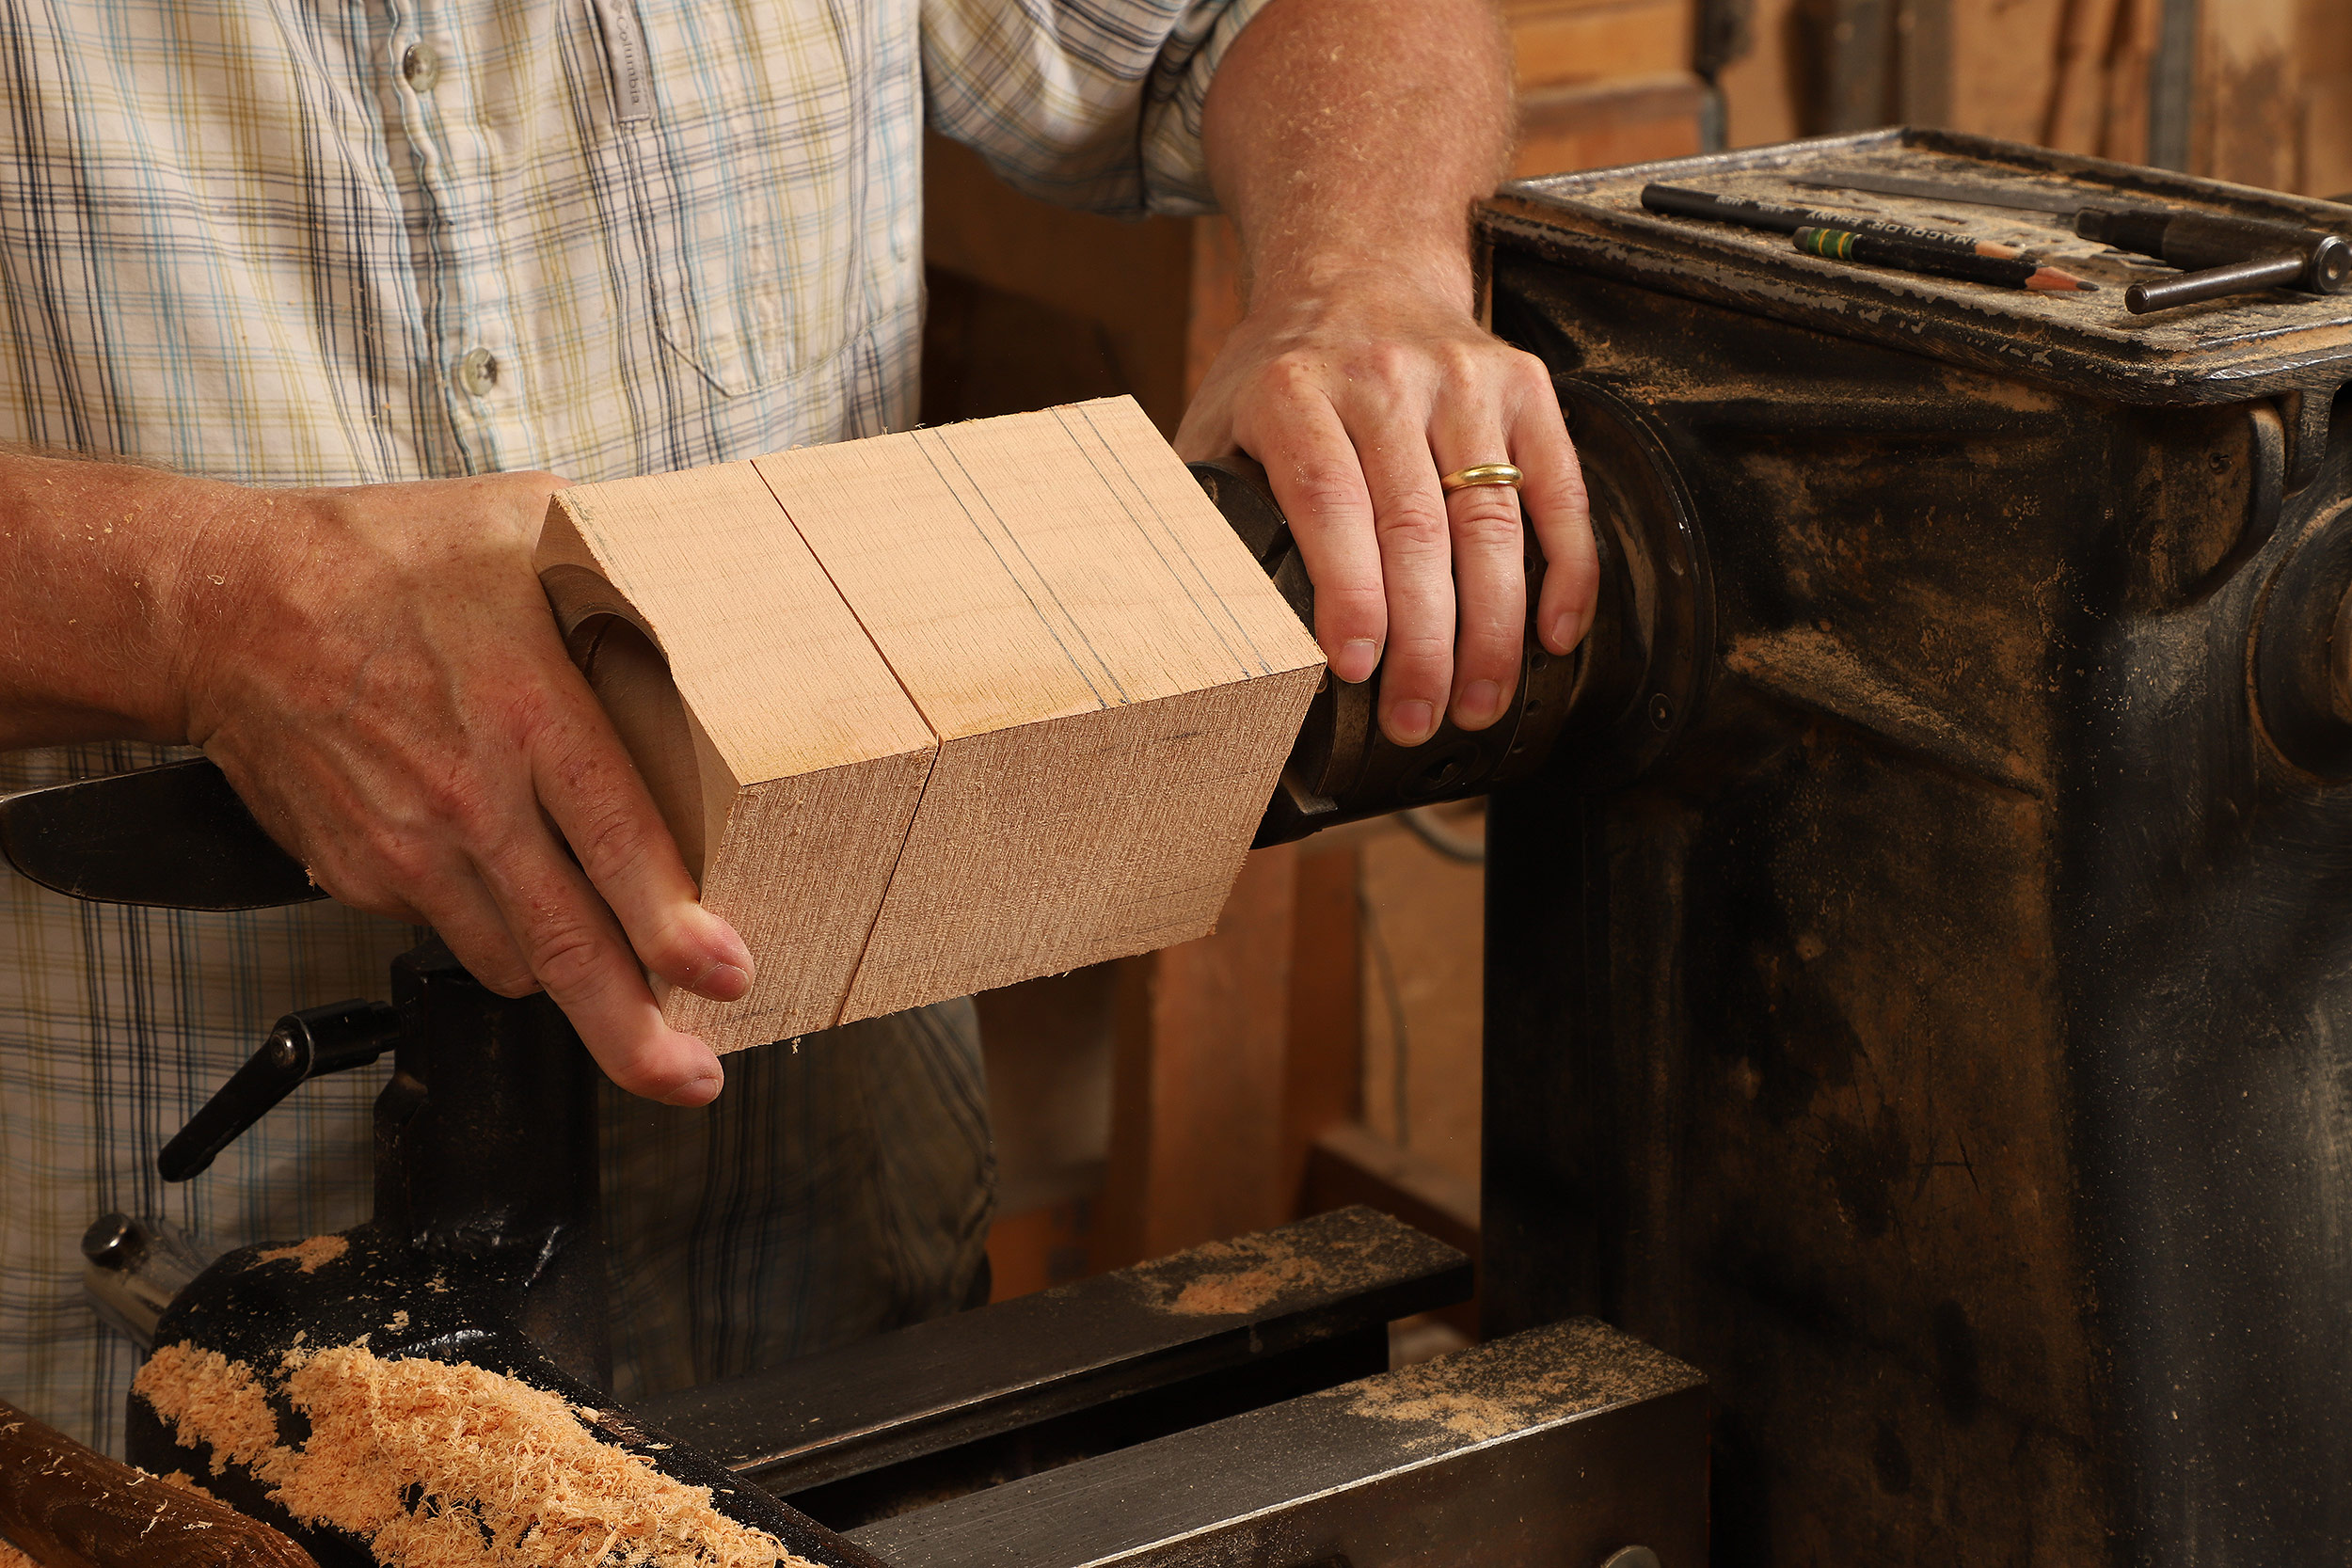
Using a gouge and a parting tool, Gardner sizes a tenon on the bottom of the middle box. He keeps the bottom box nearby and checks the fit frequently.
 |
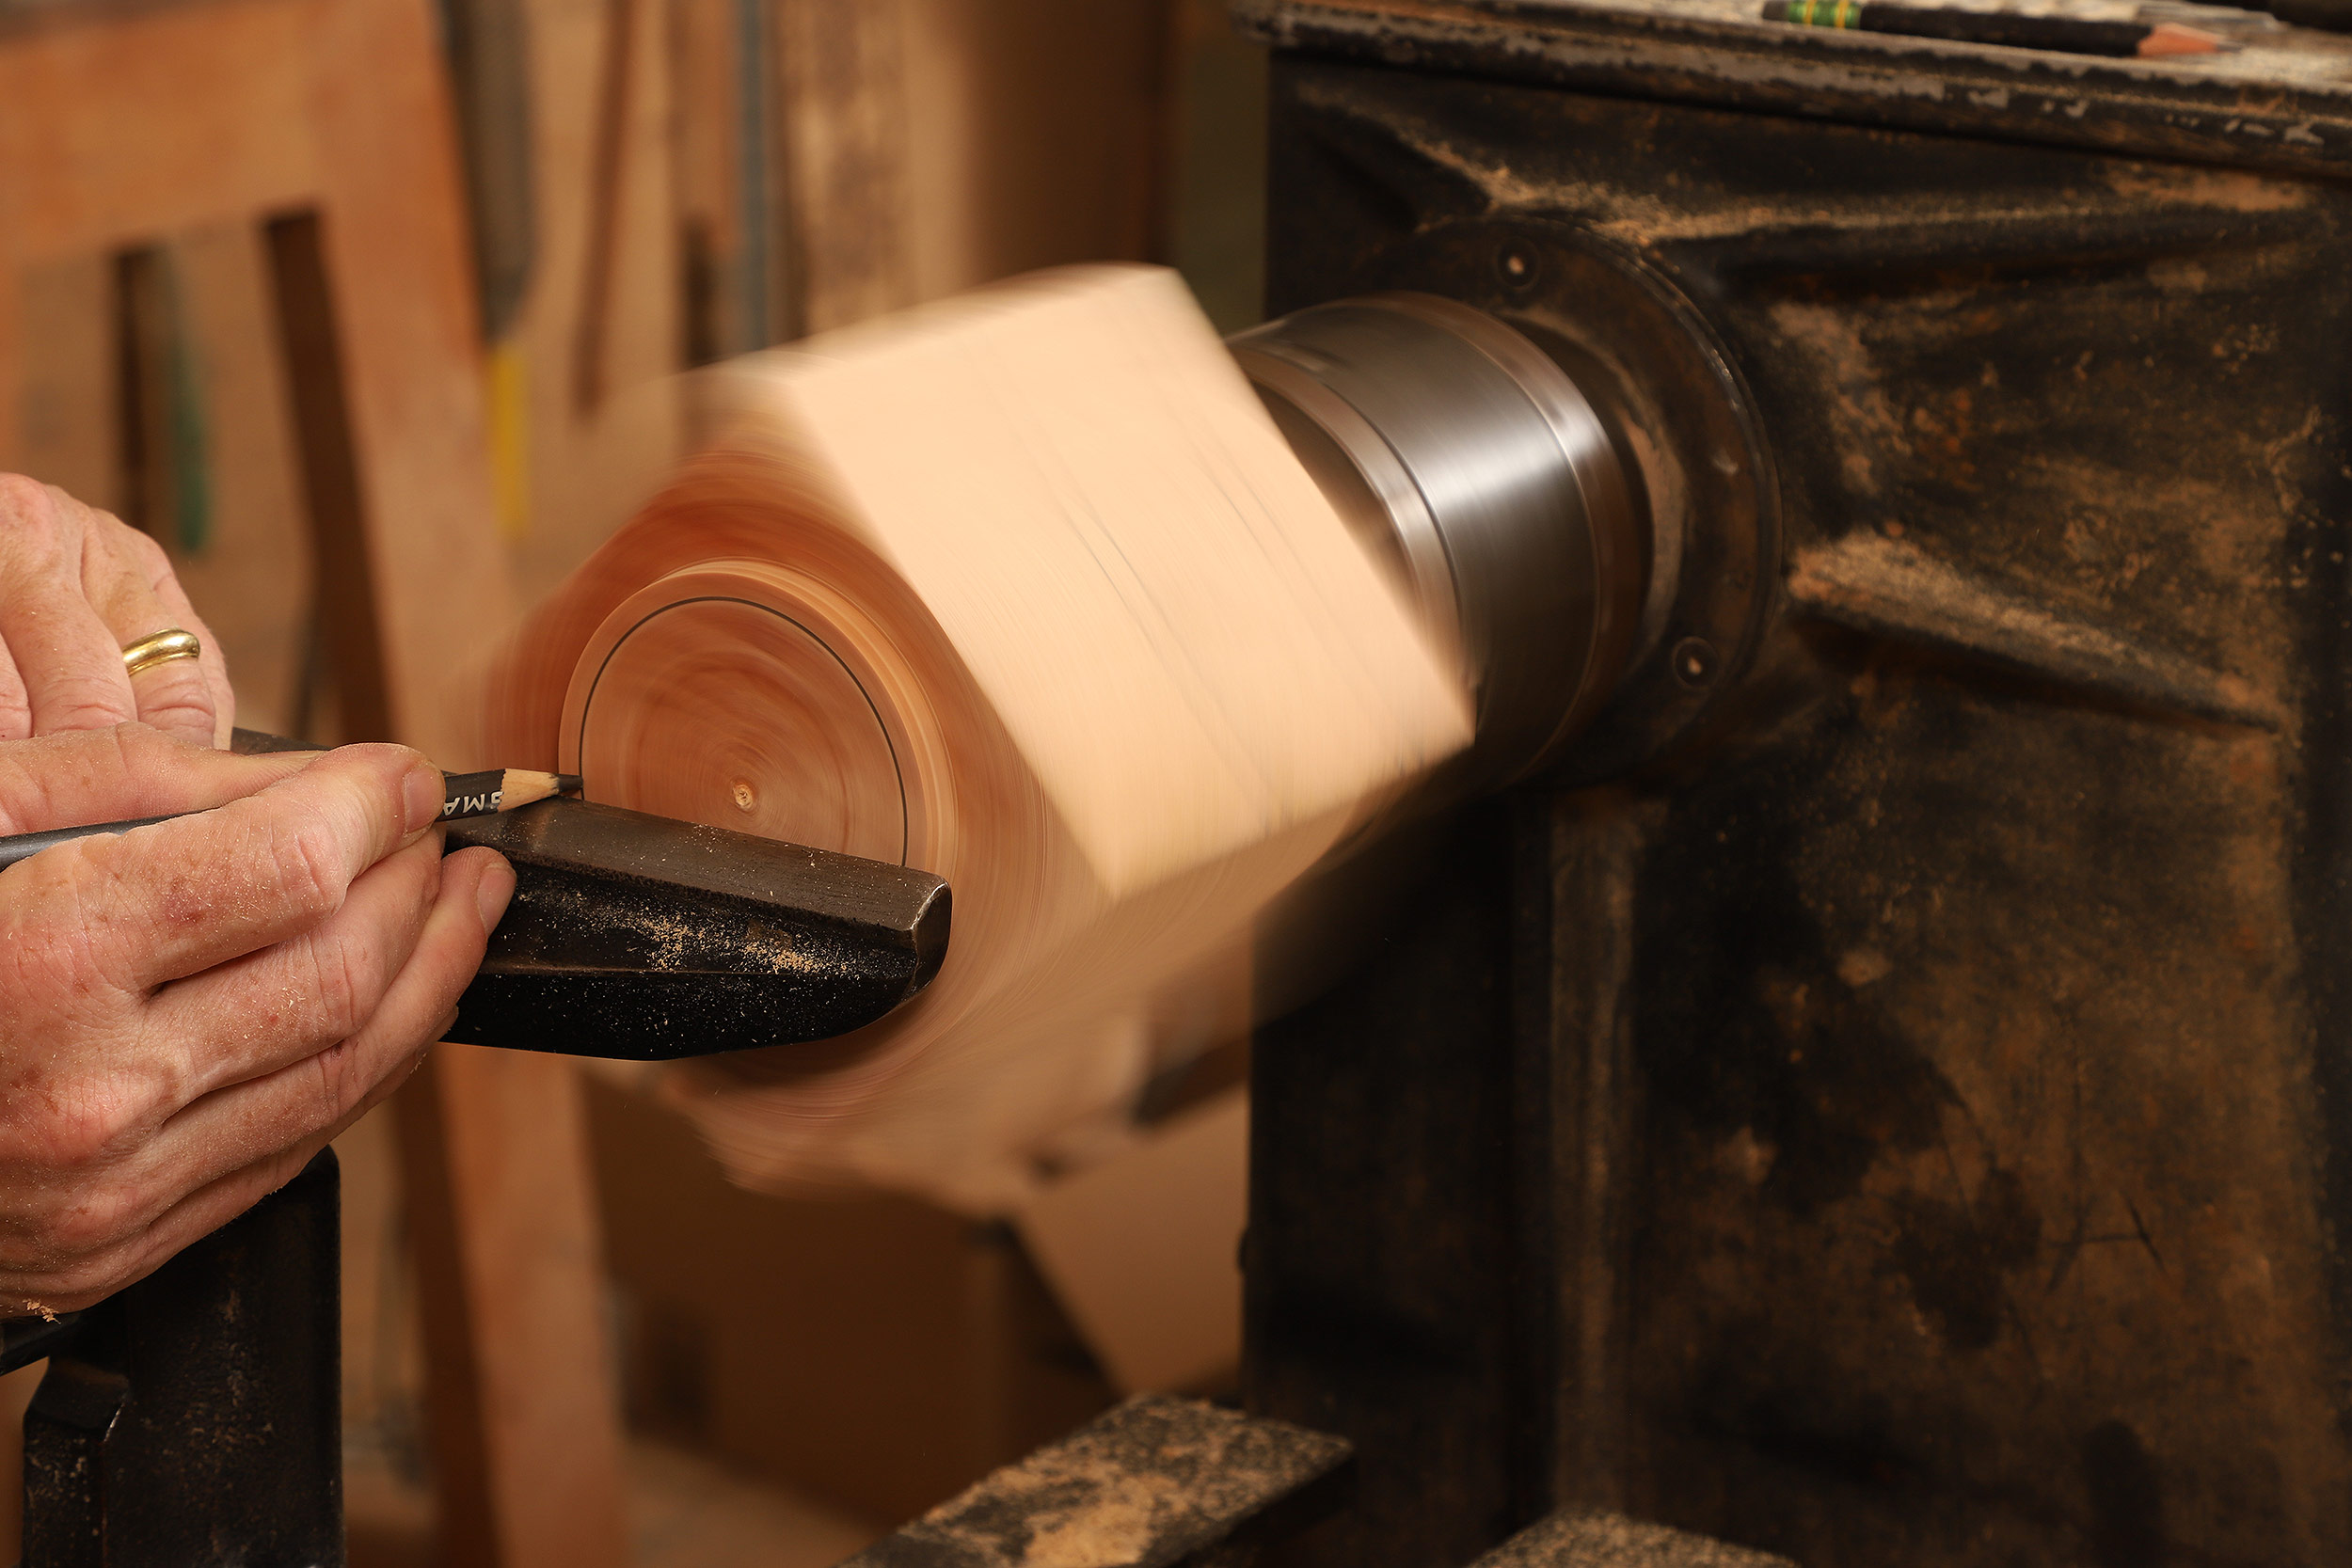 |
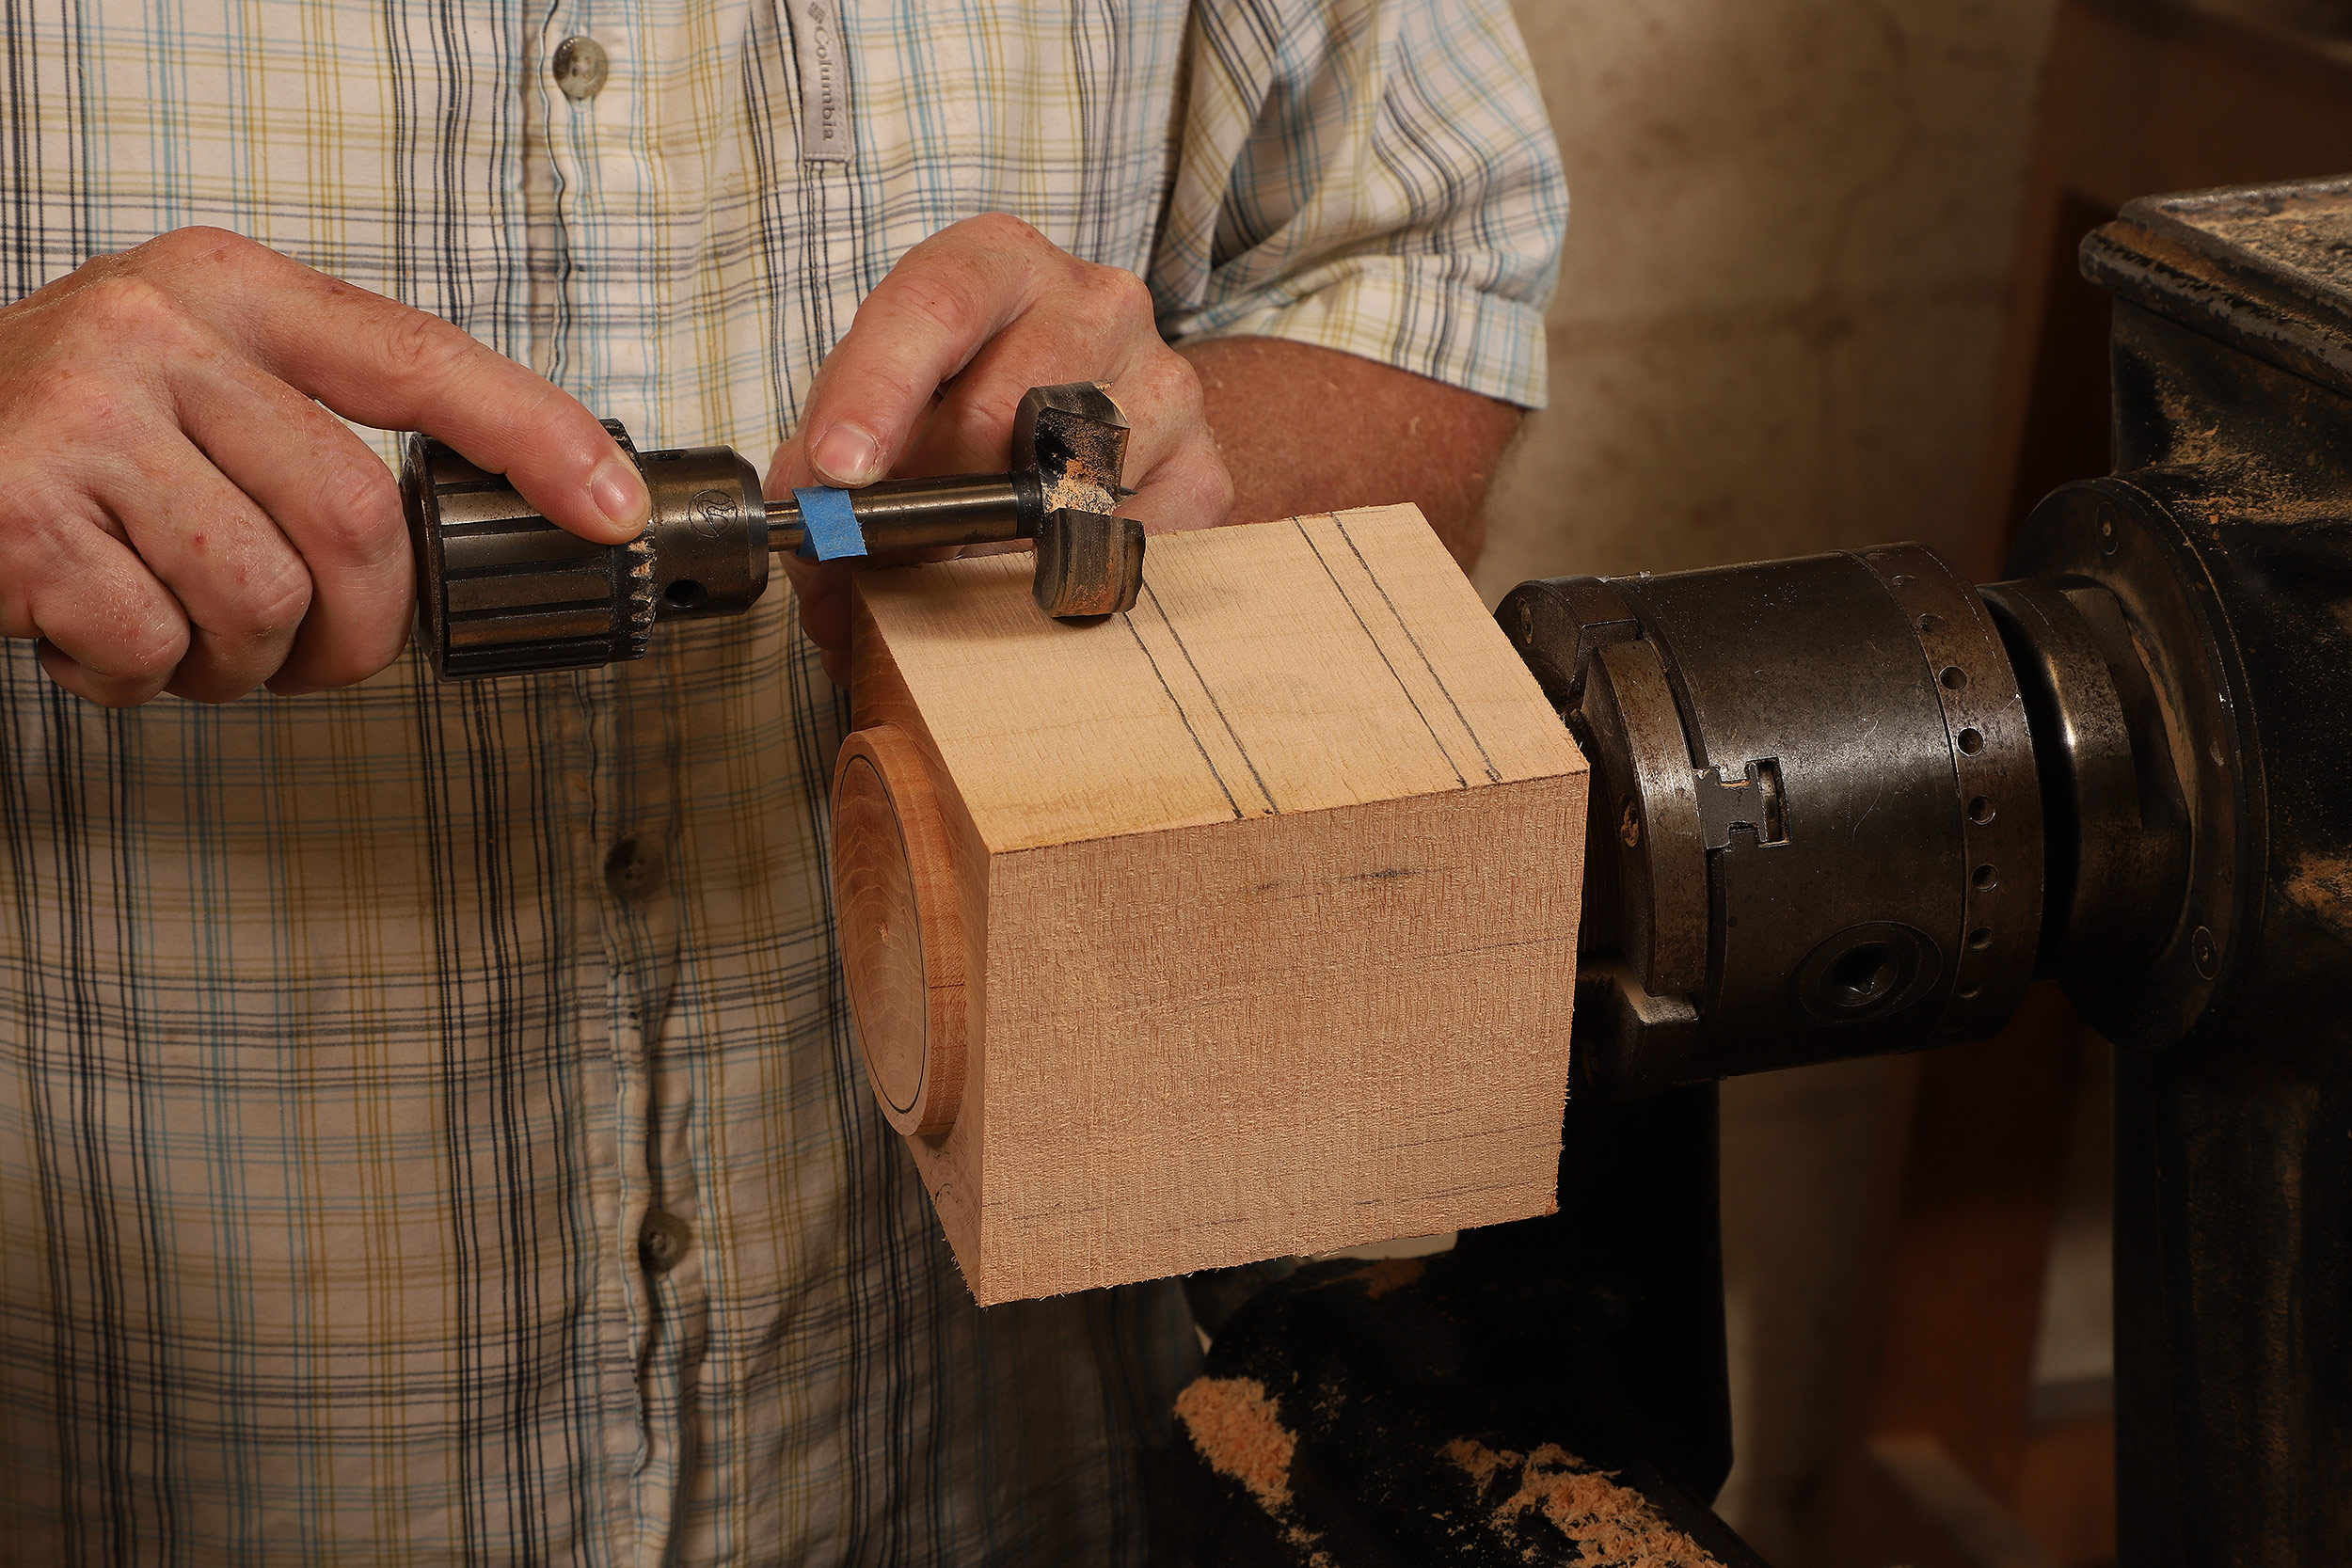
When the bottom box is a good fit, he lays out the size of the middle box’s interior cavity; this line also determines the thickness of the ring tenon.
 |
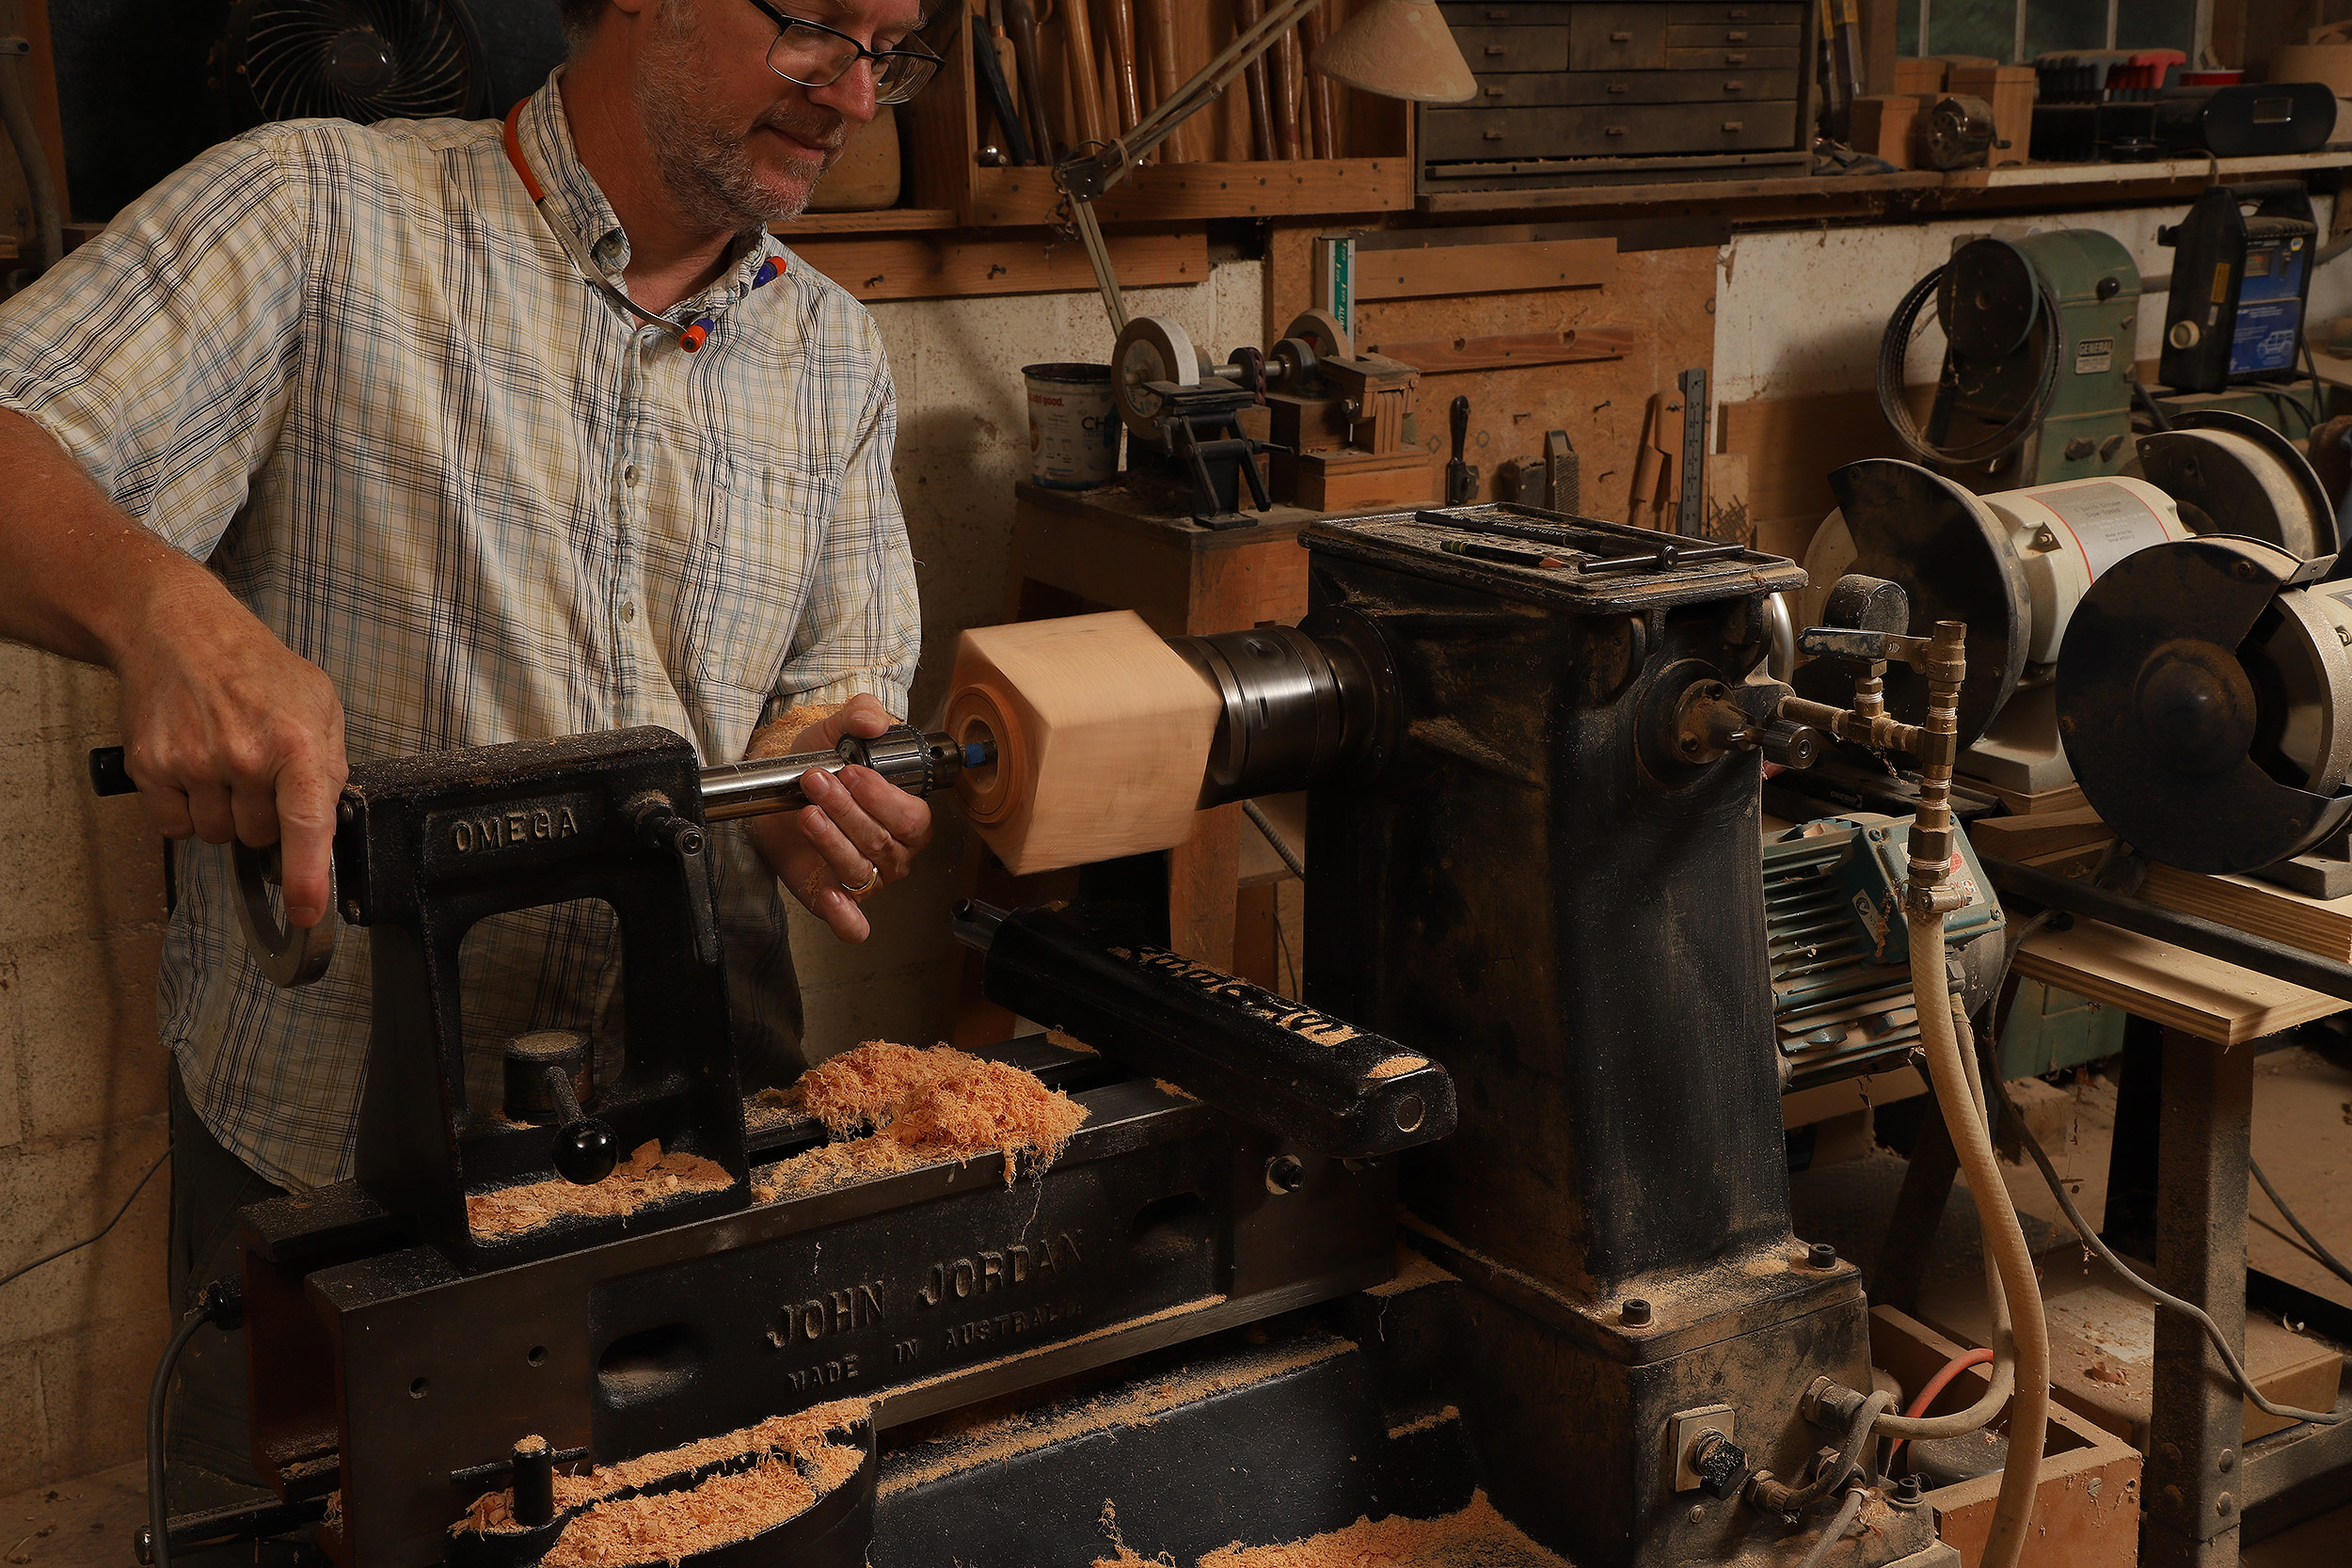 |
After wrapping the shank of his Forstner bit with blue tape to mark the depth of the middle box, Gardner drills out the center of the cavity. The size of the Forstner bit is not critical; its job is just to hog waste and establish the proper depth.
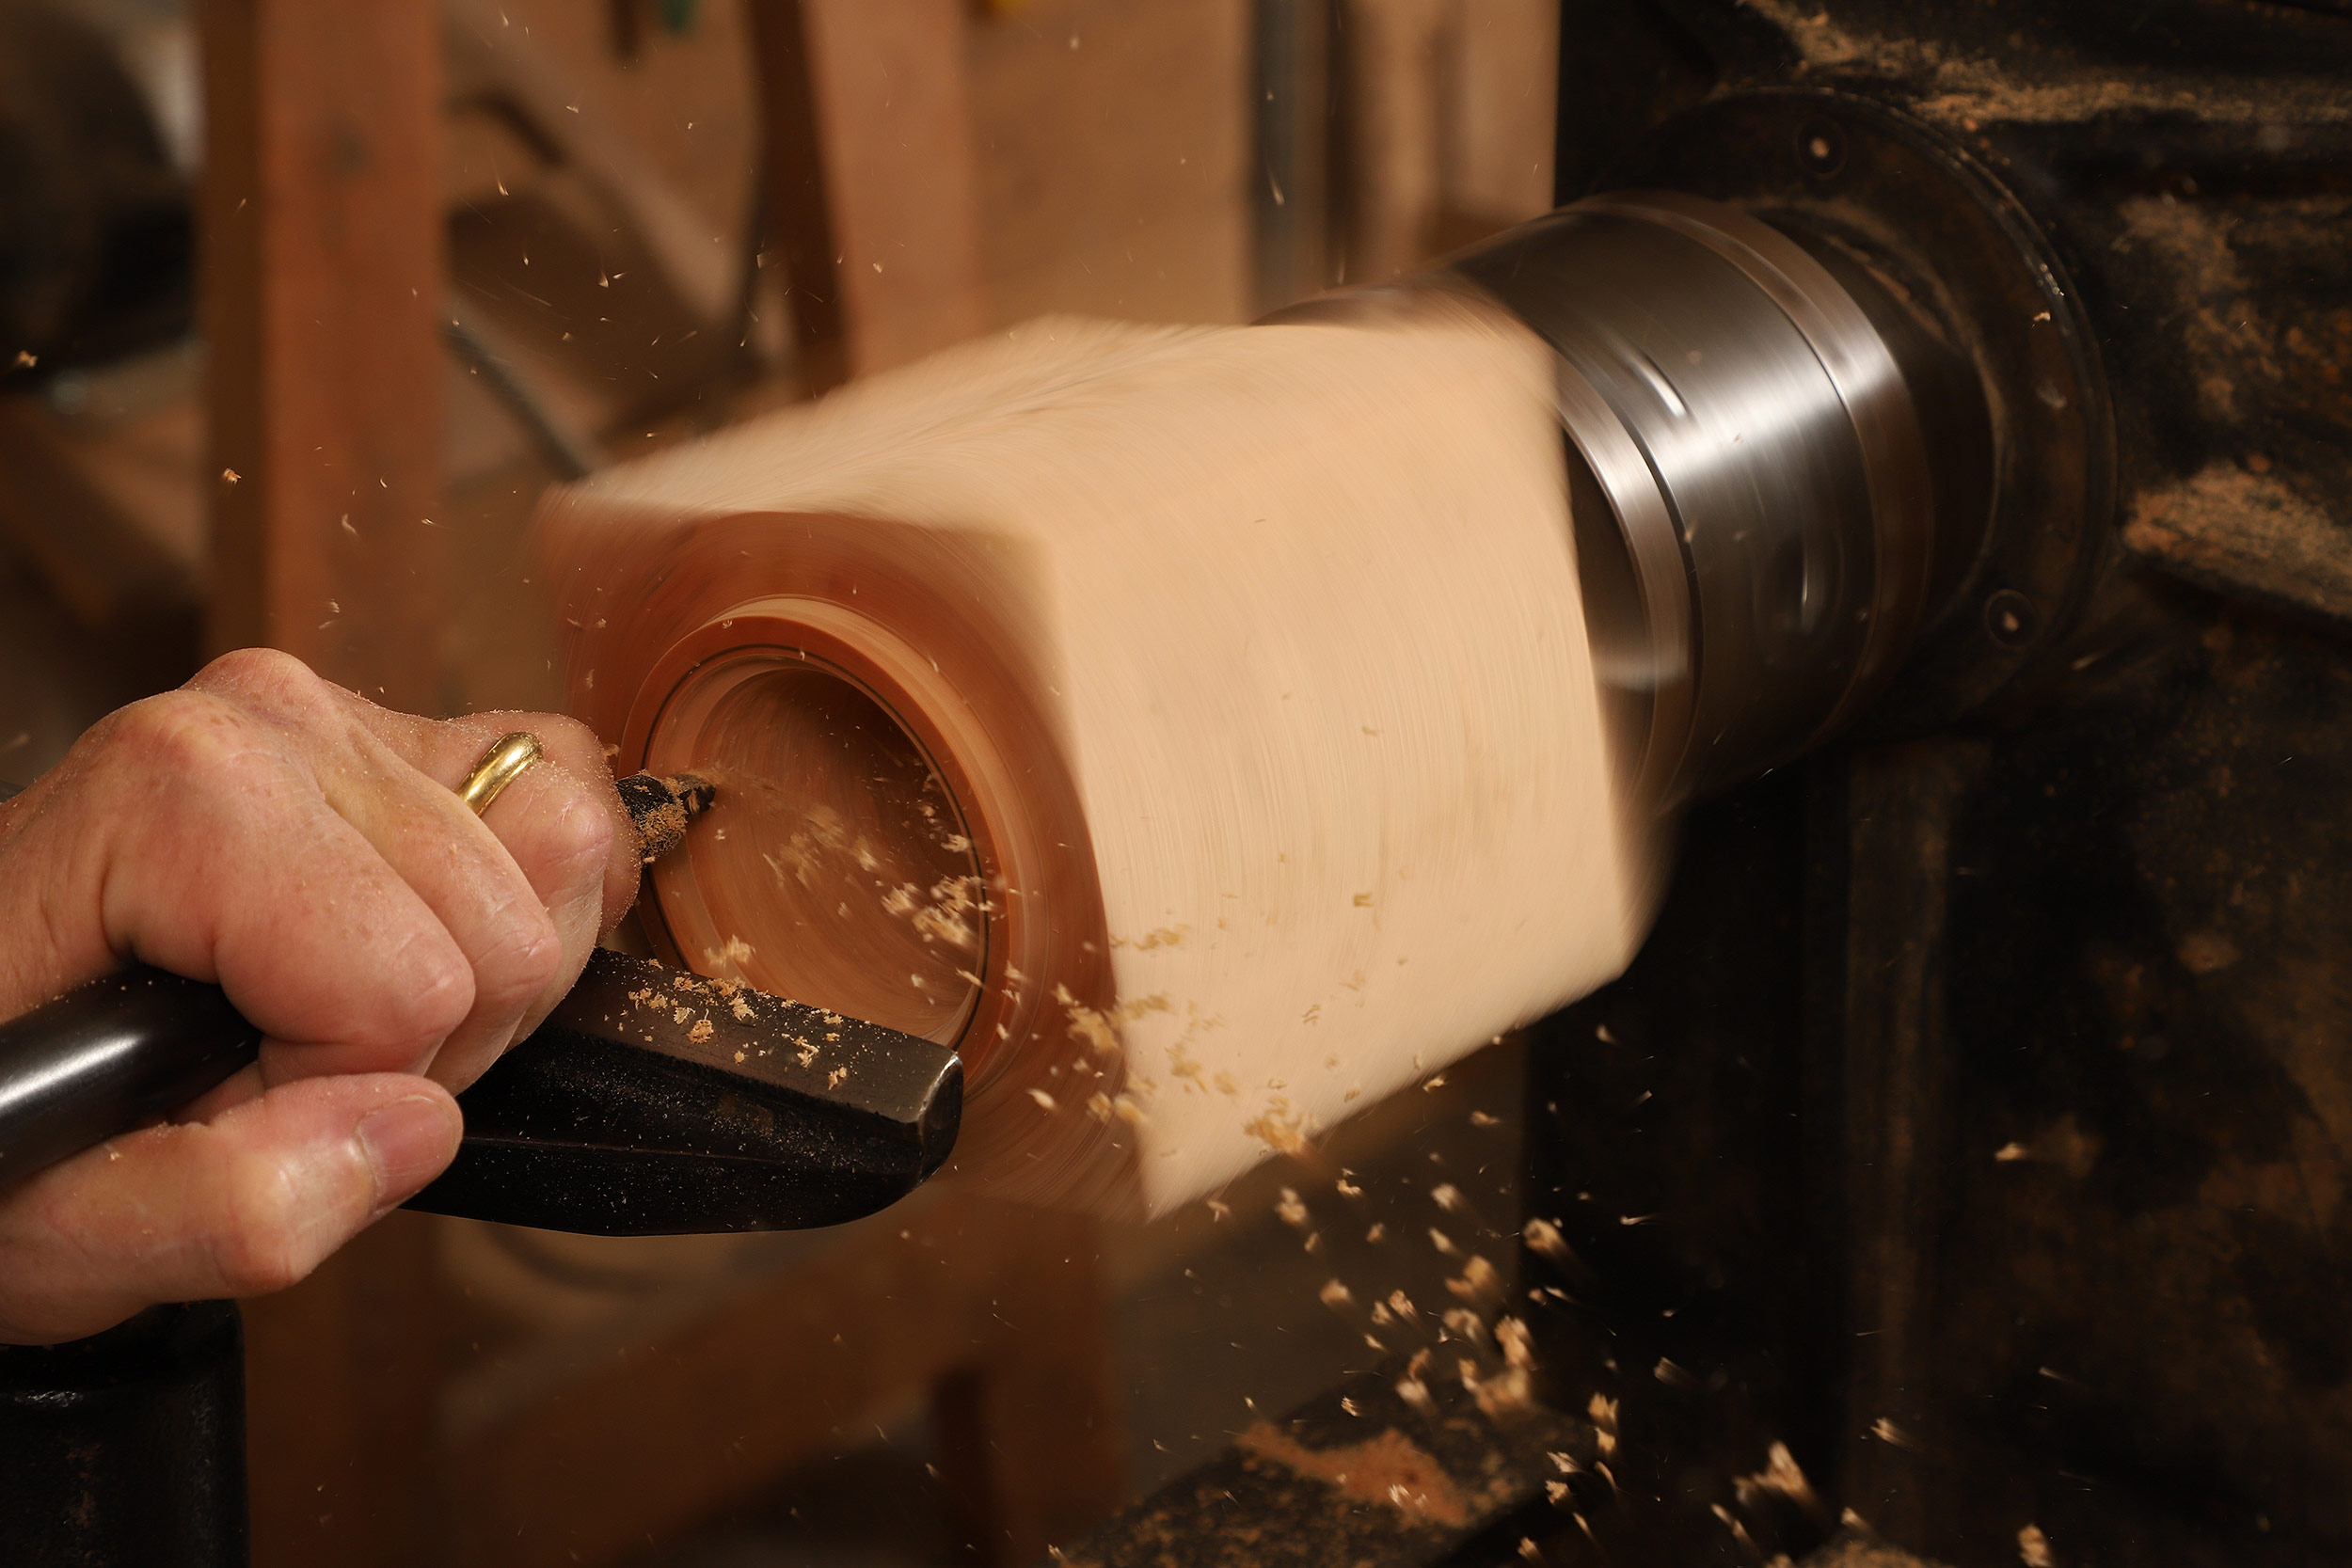
Gardner’s hollowing tool finishes up the interior of the middle box. After cutting the groove for the bottom, he’ll separate the middle box and turn the top box just as he did the middle one.
 |
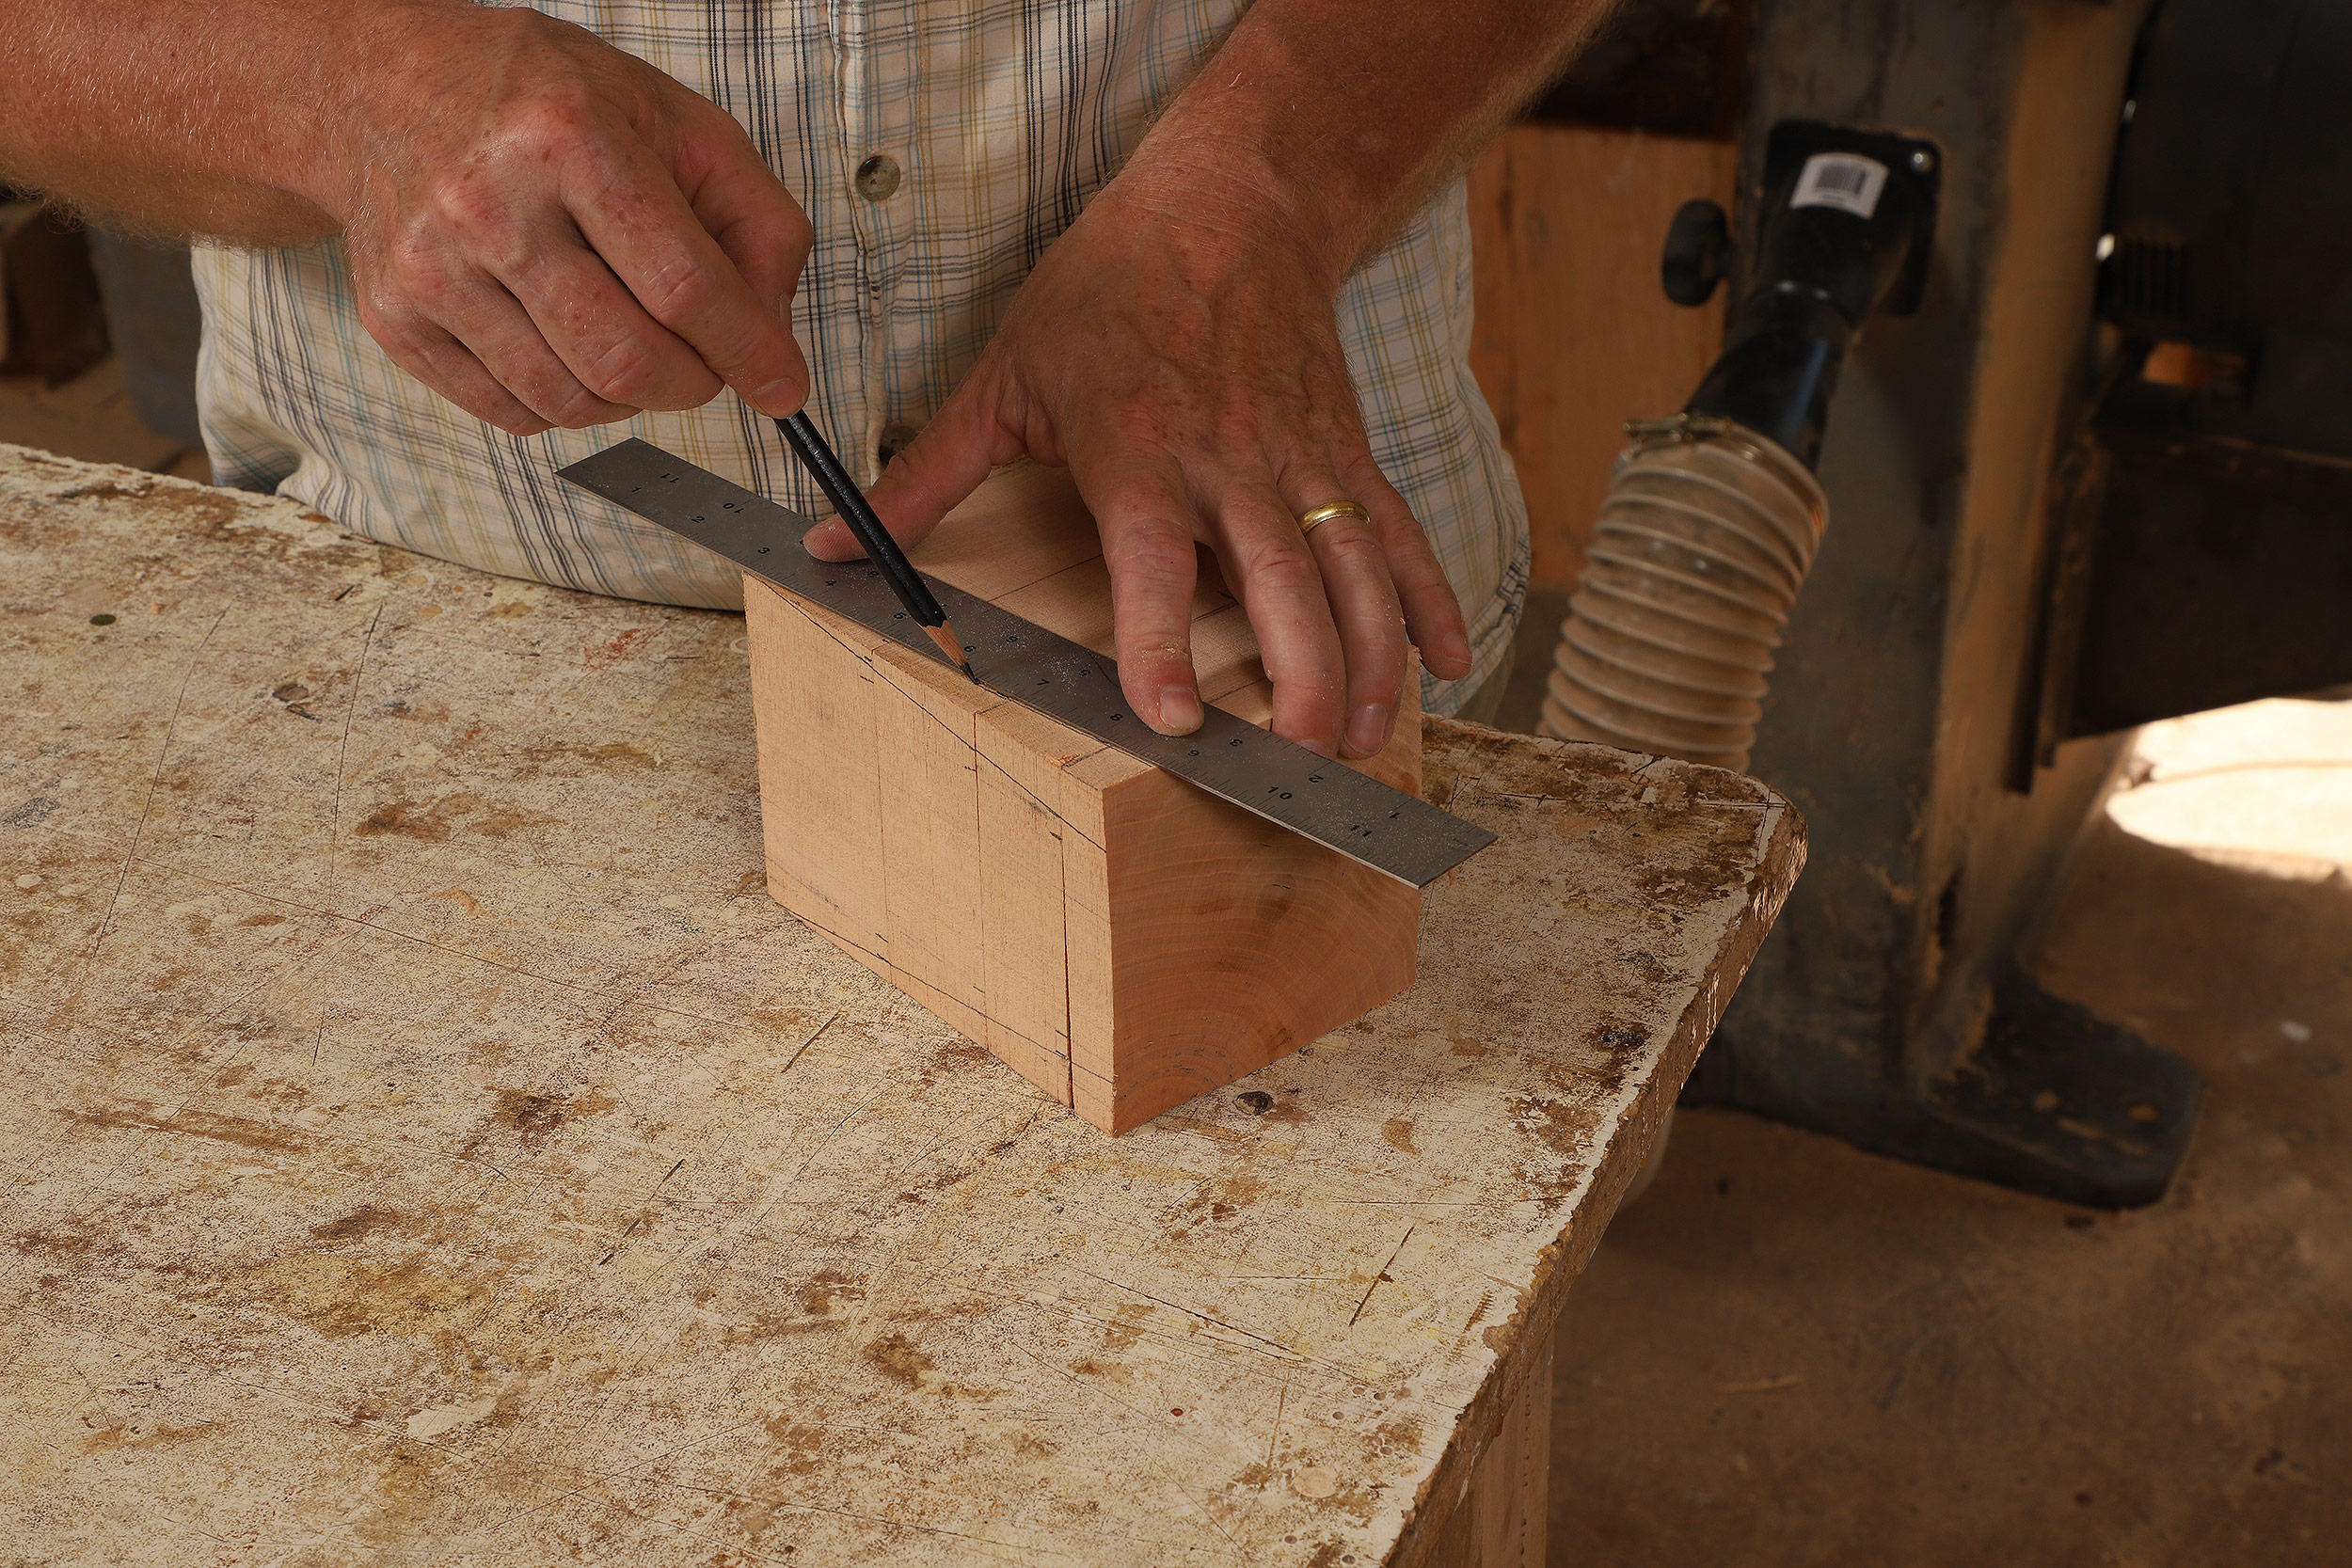 |
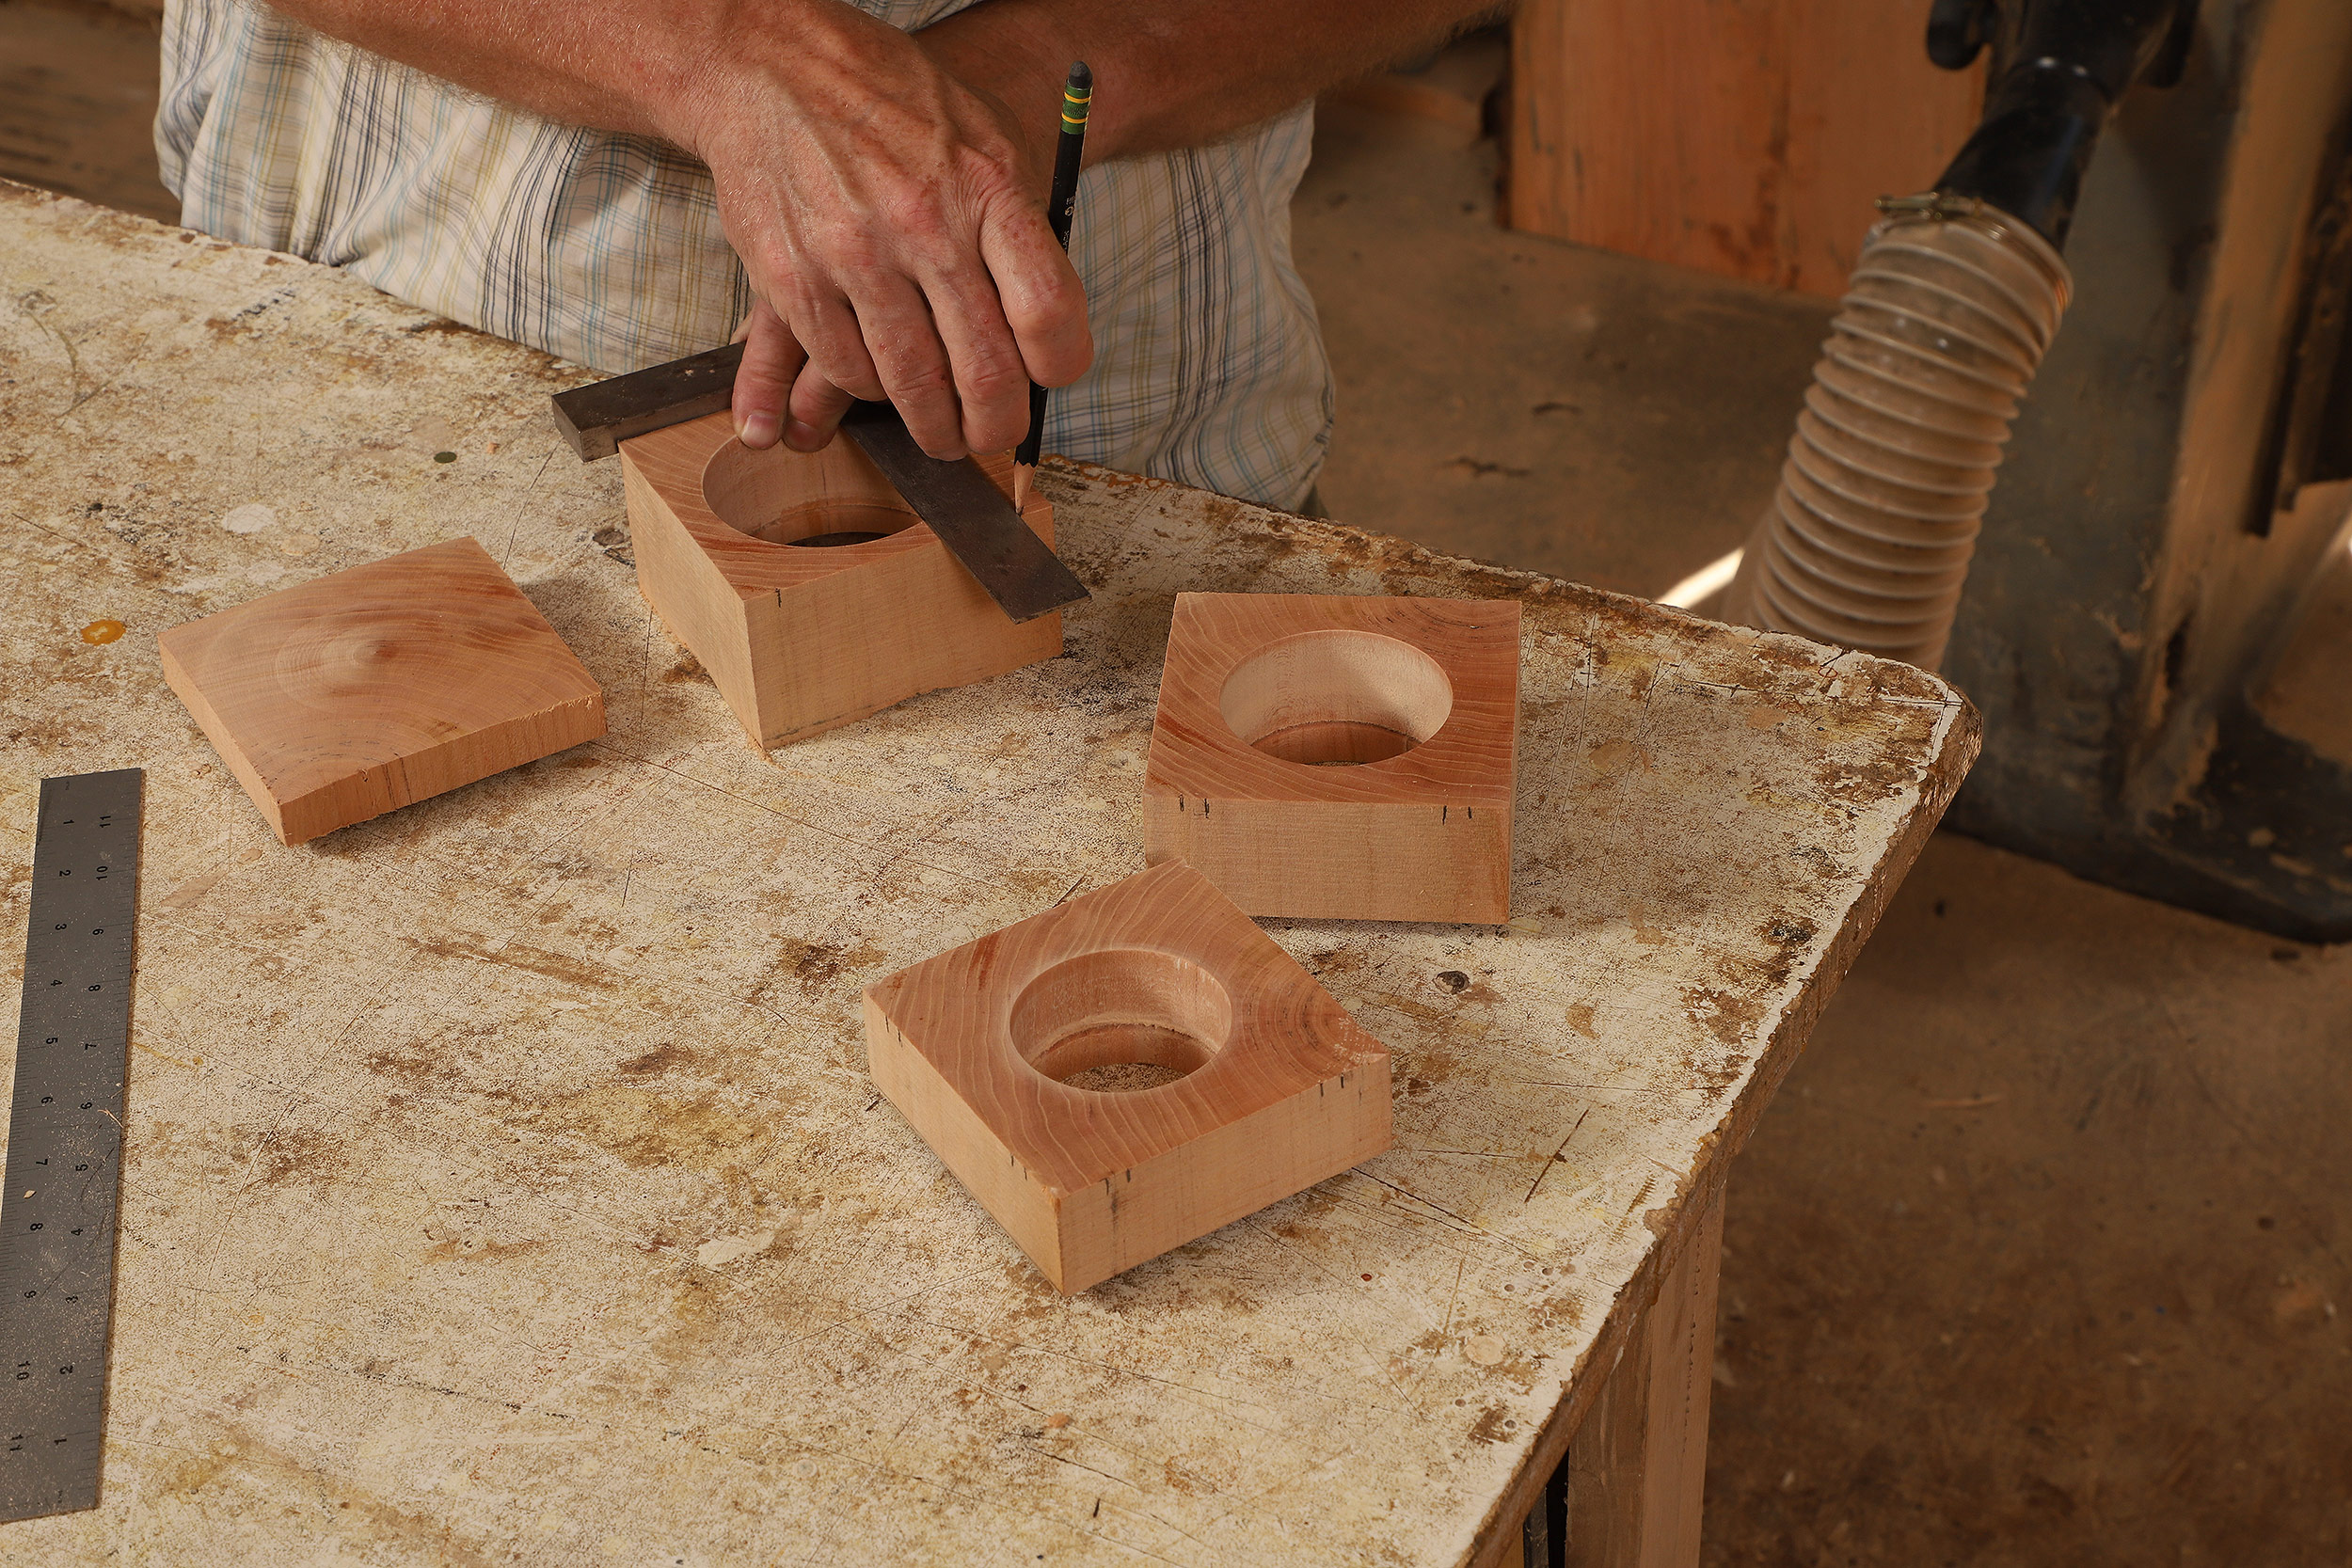
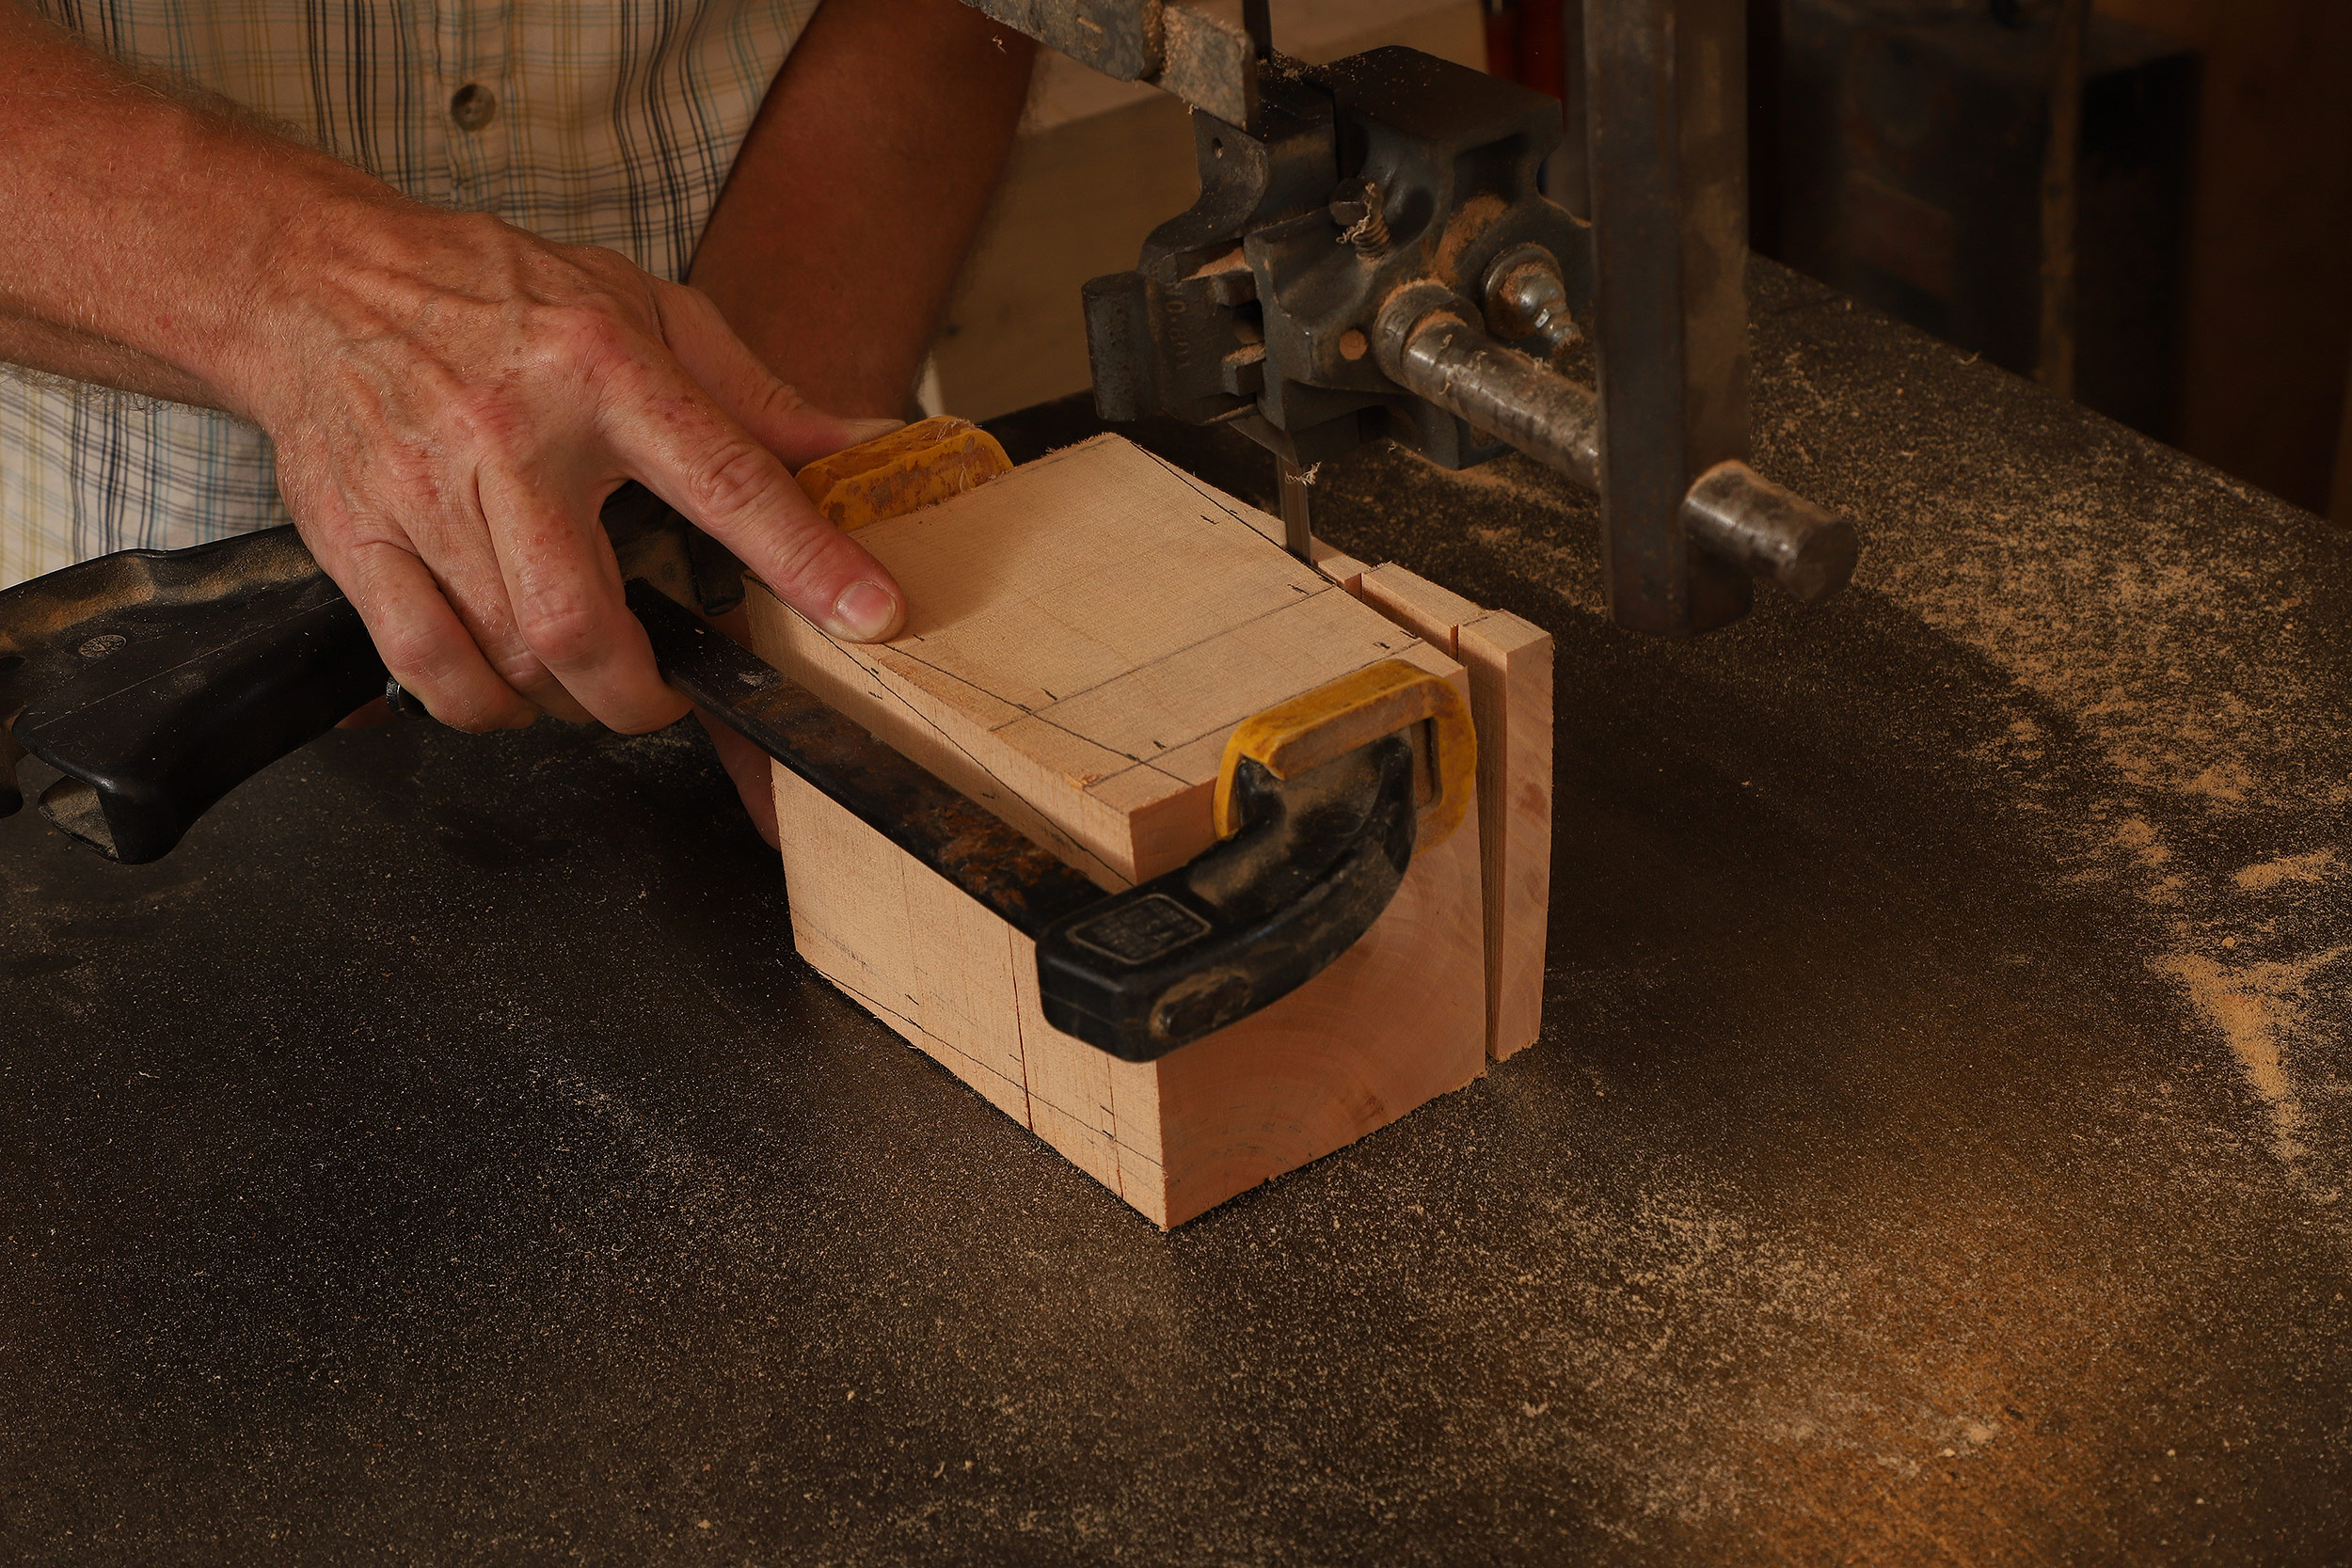
To guide the tapered layout of the exterior of the stacked boxes, Gardner first makes tick marks on each box designating the size of its interior cavity. Then, with the boxes stacked together, he uses the tickmarks to guide the angled layout lines.
 |
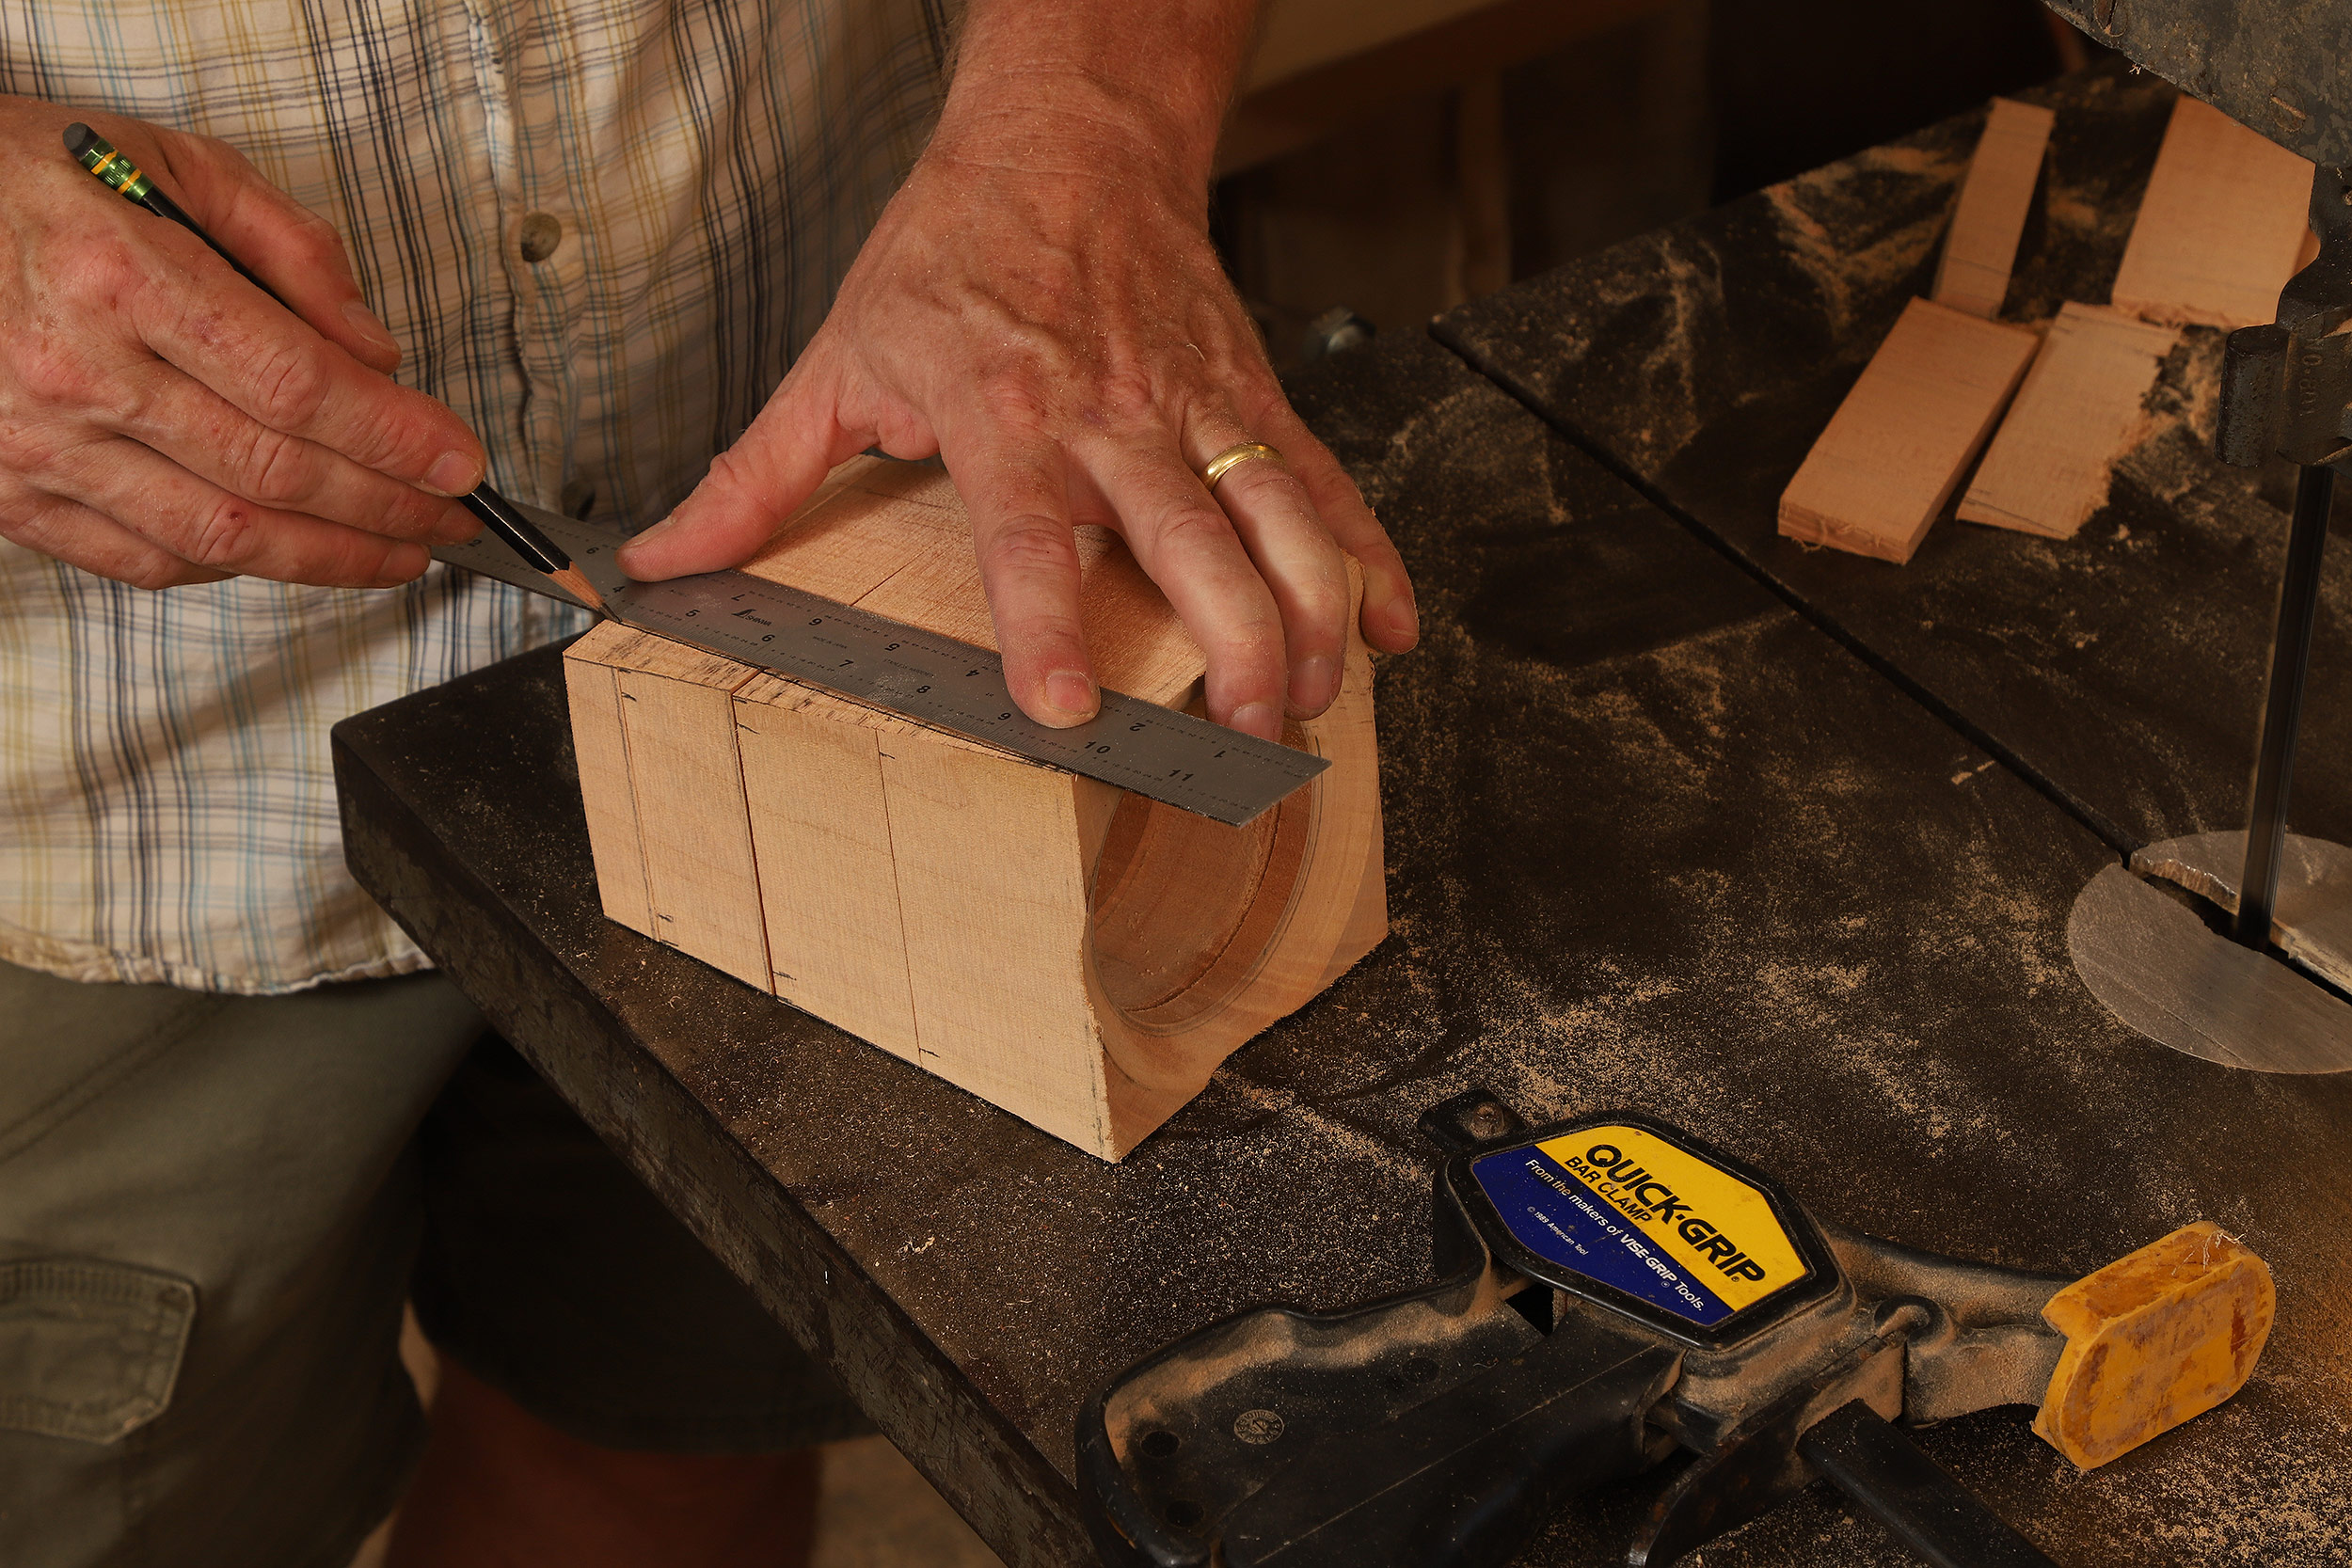 |
With the boxes and lid stacked and clamped, Gardner cuts two of the tapers. Then he re-draws tapers on the sawn sides.
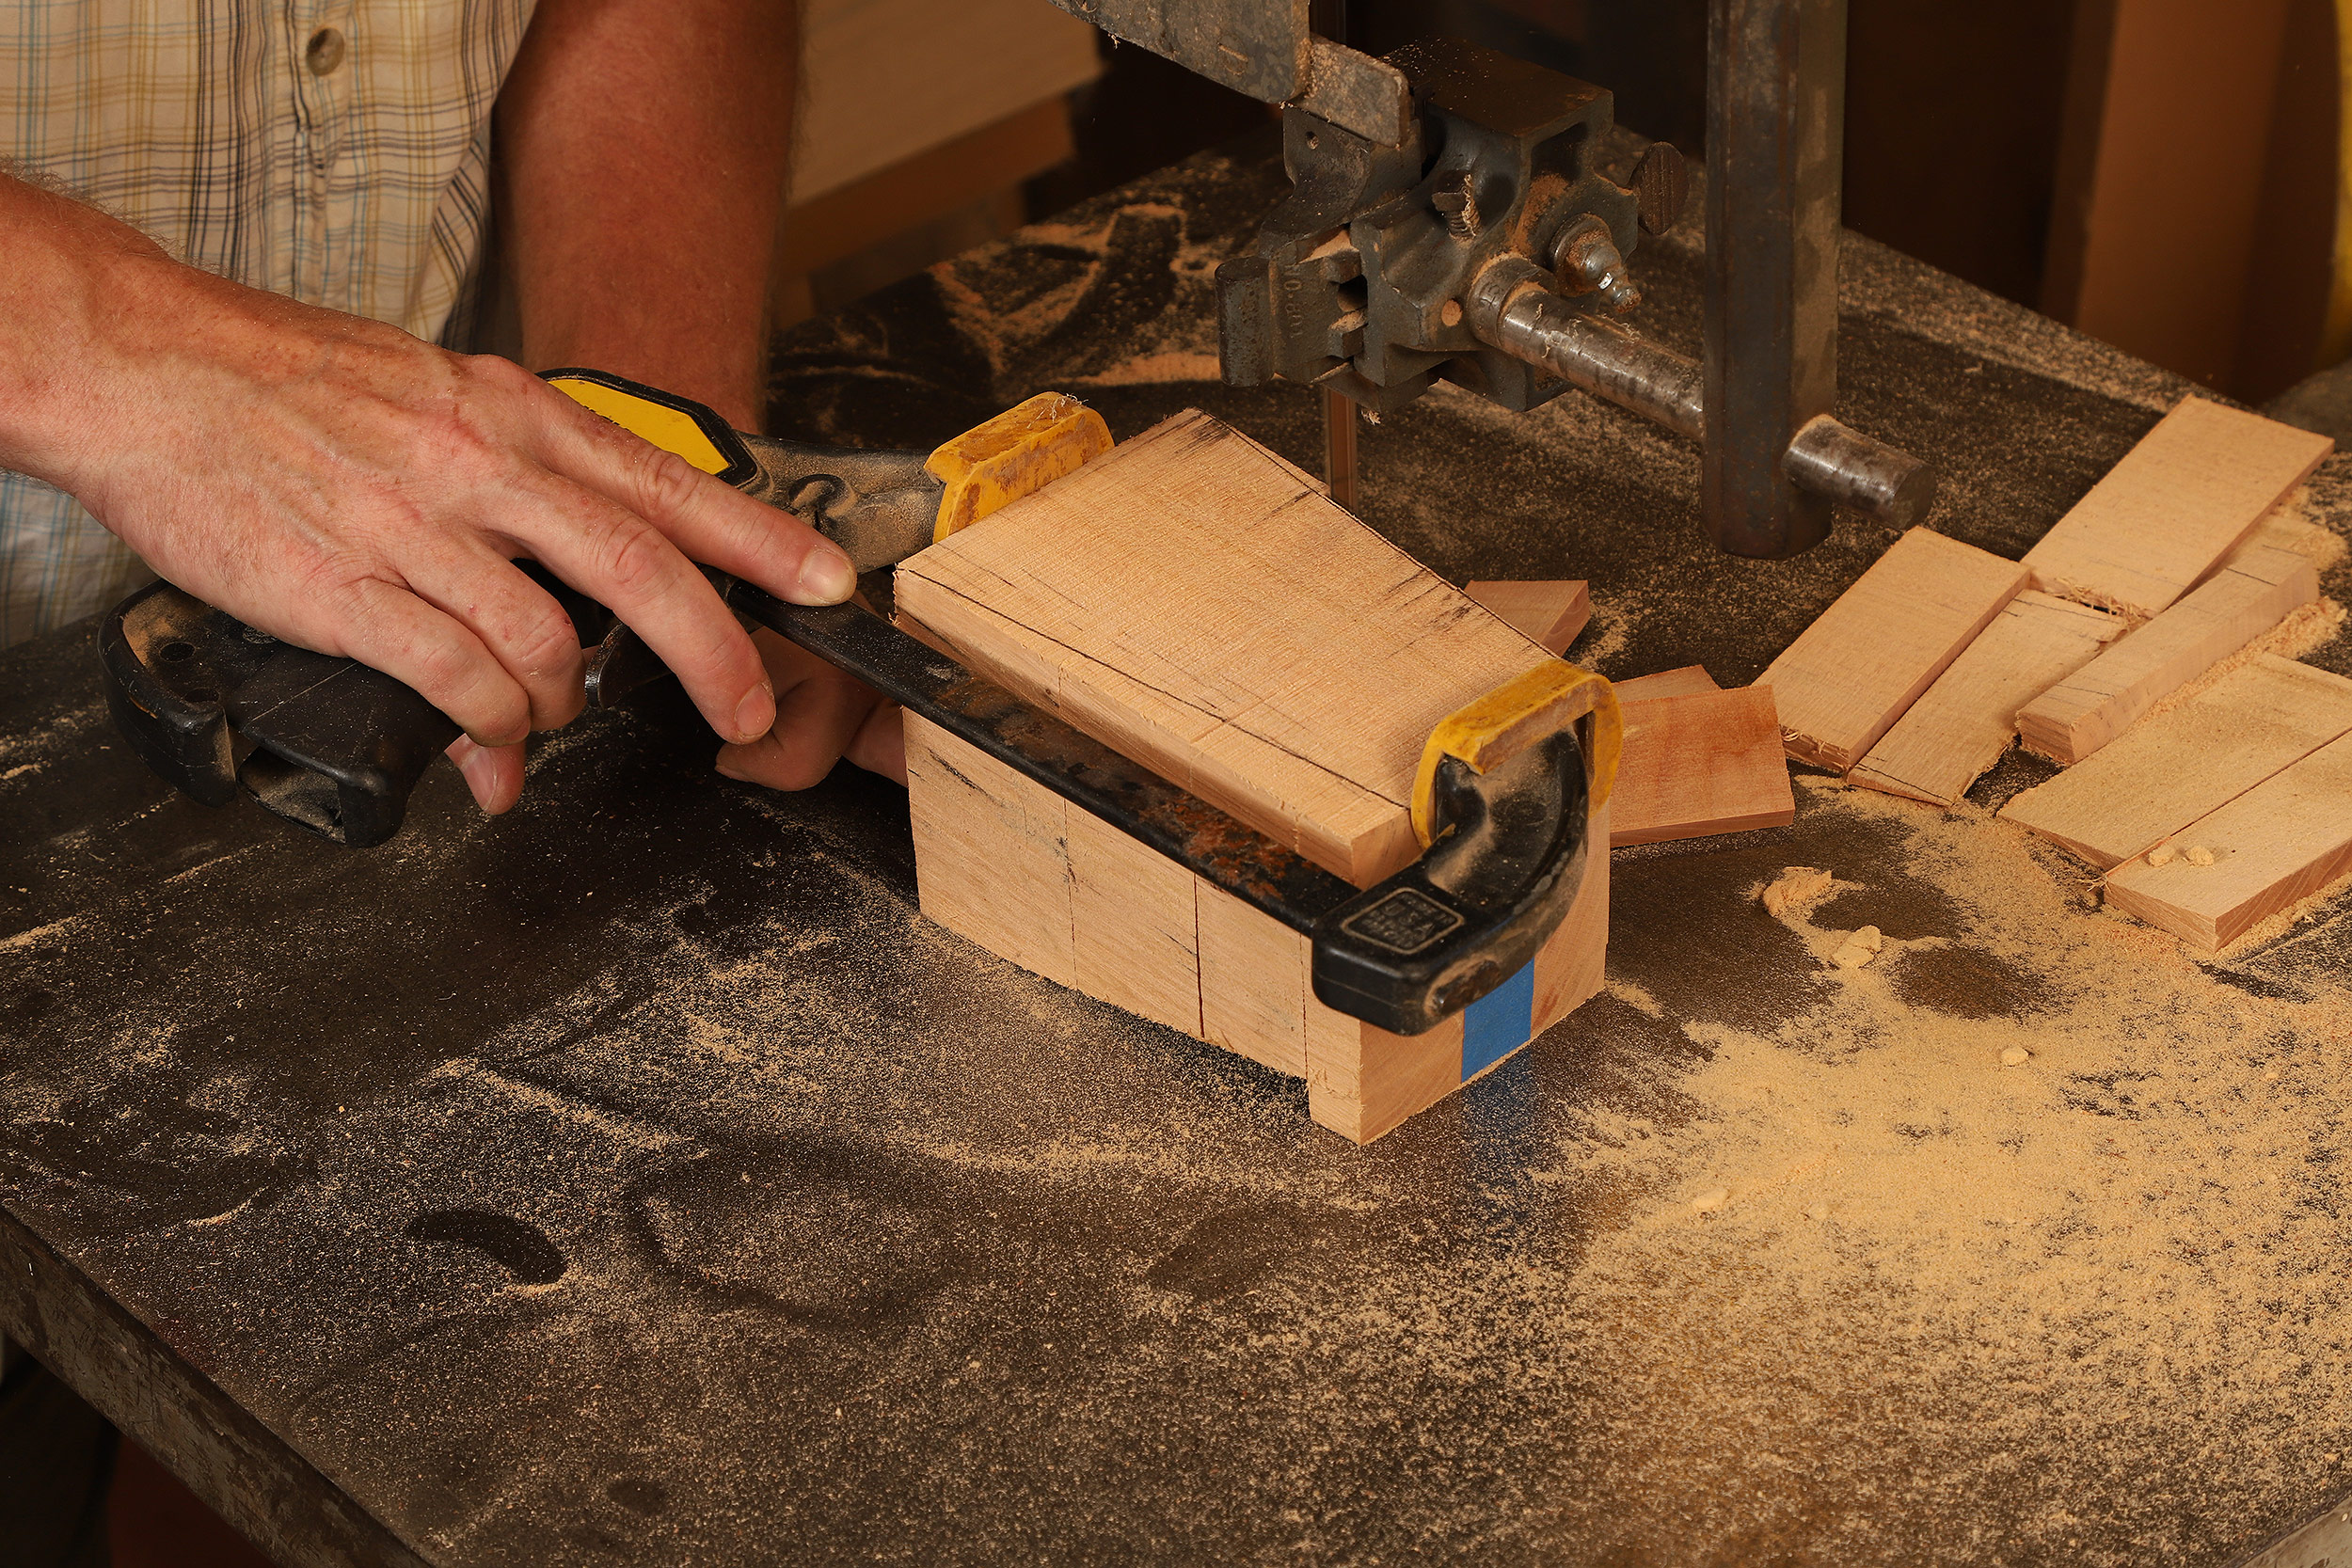
To bandsaw the last two tapers, Gardner reattaches the cutoff from one side of the lid with blue tape. That elevates the top end of the stack of boxes so the final tapers are cut properly.
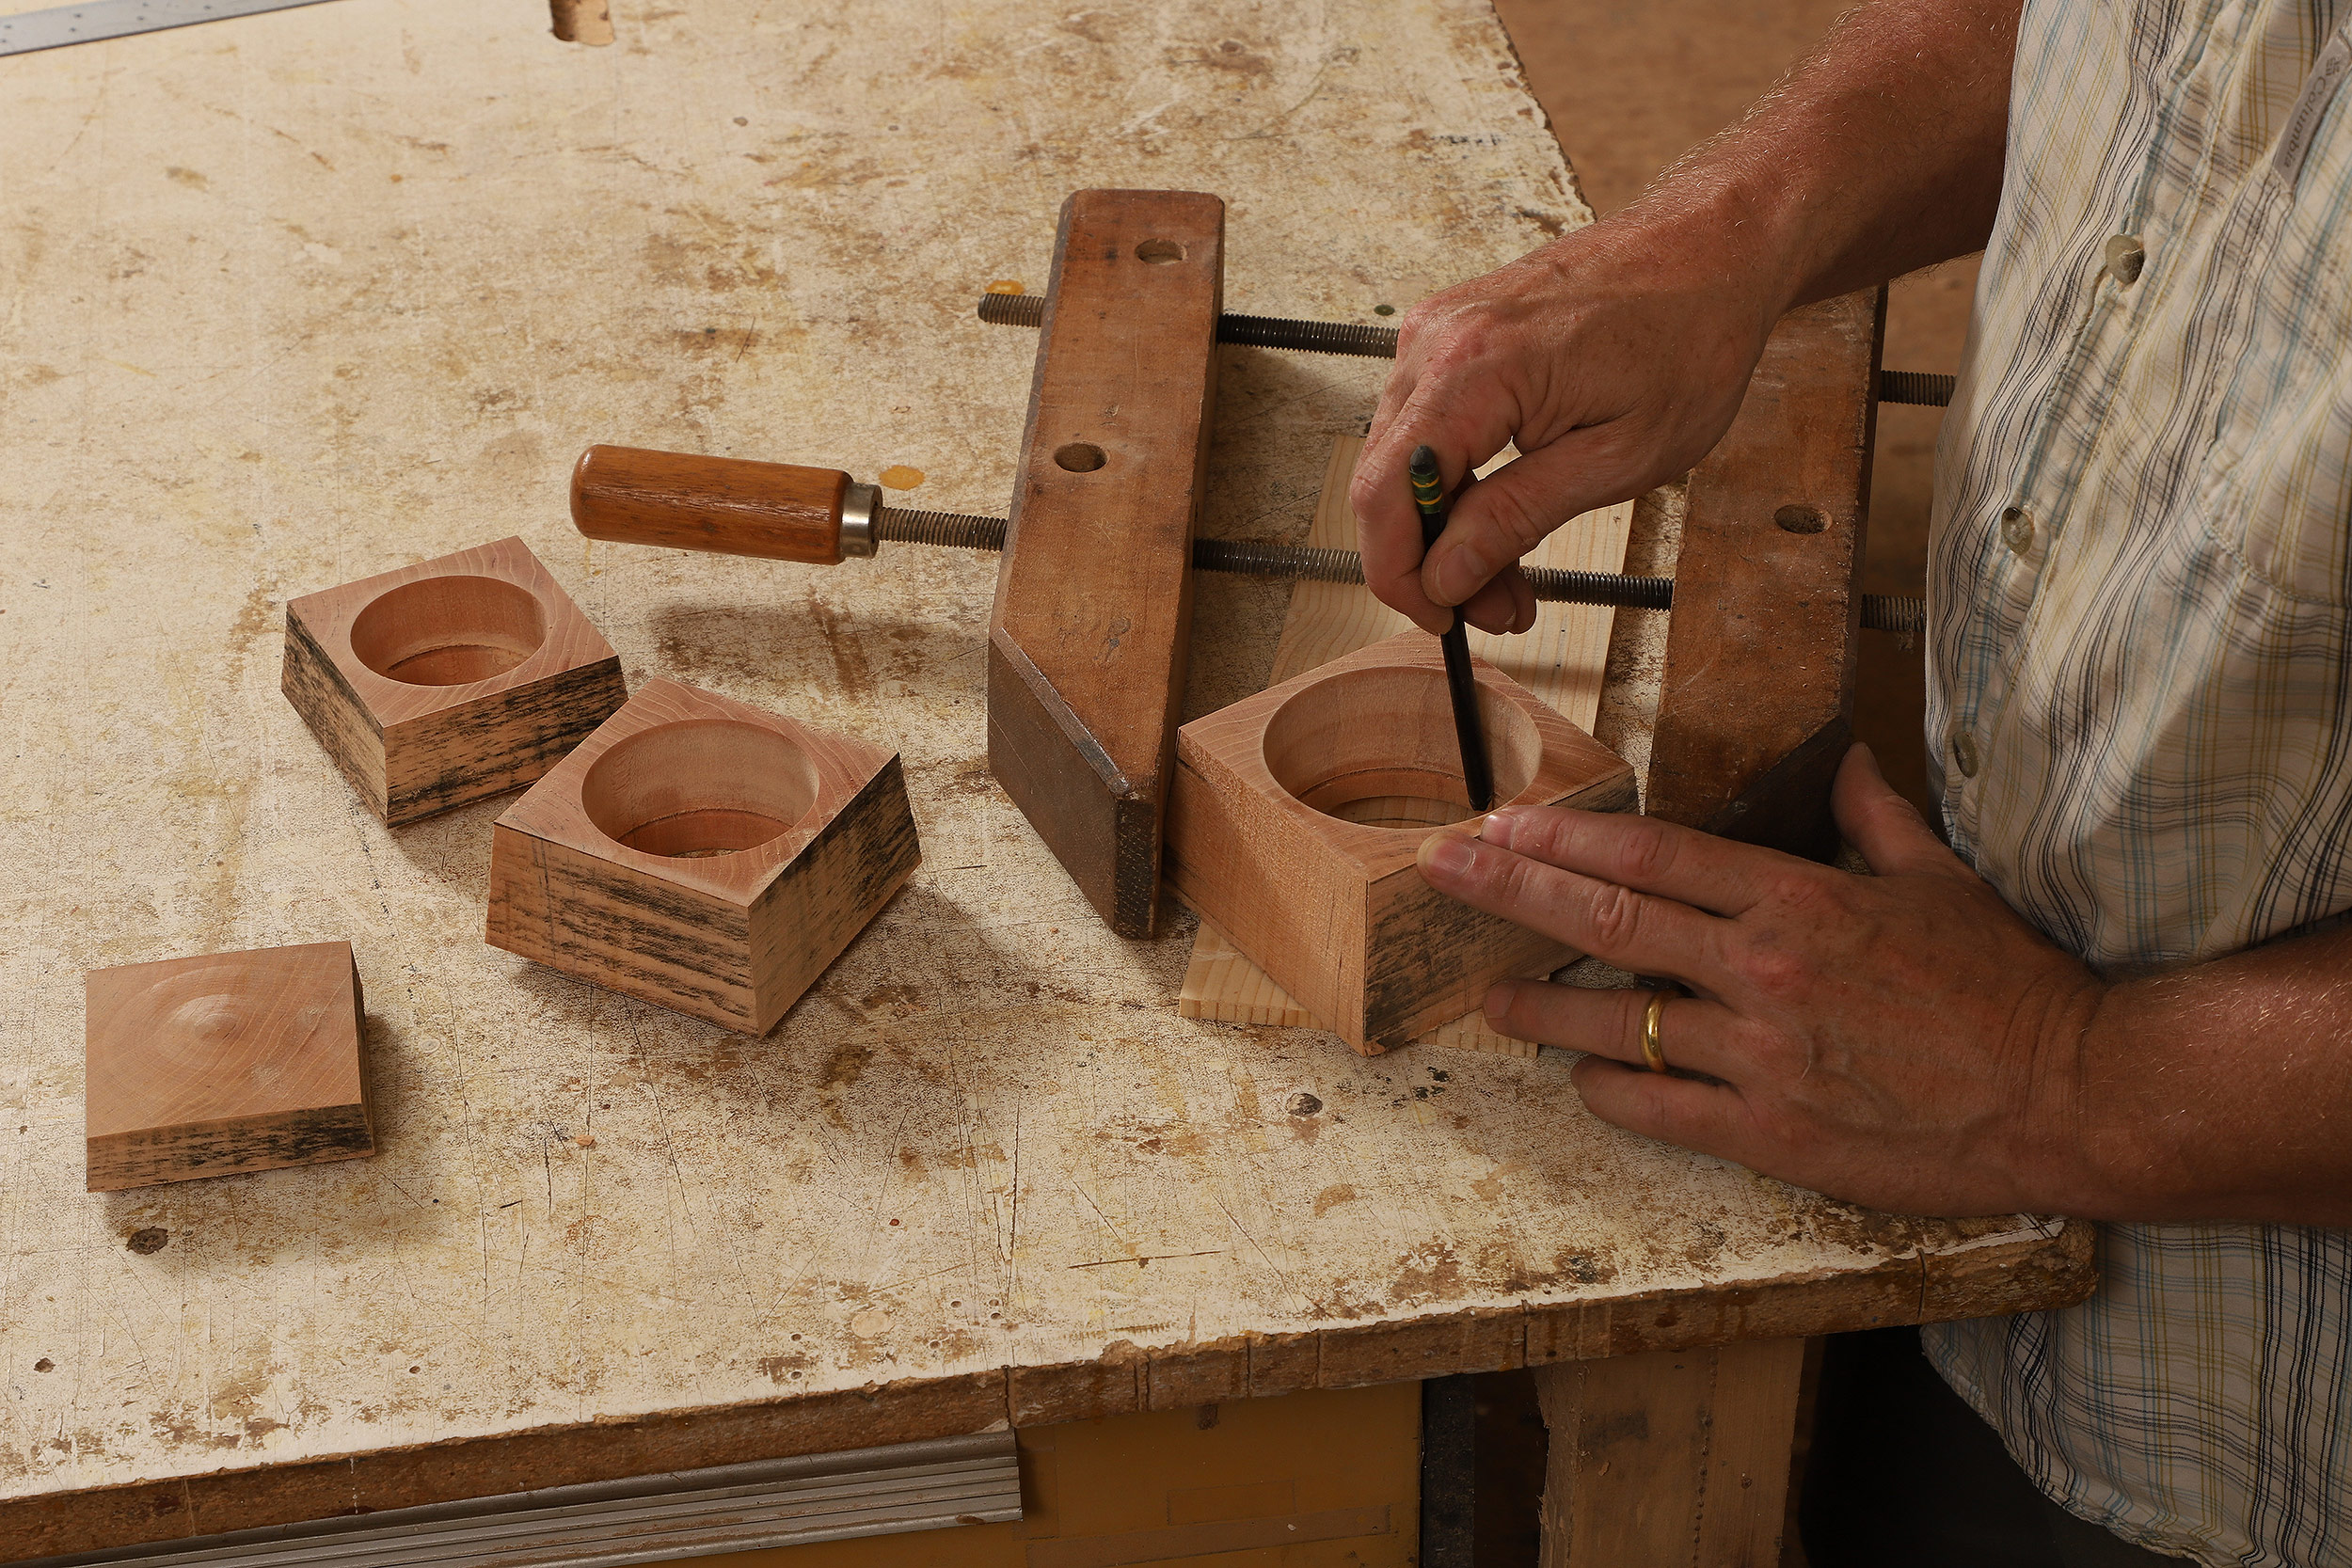
At this point the three boxes each get bottoms cut from kiln-dried stock. Here Gardner is marking the bottom blank for the bottom box. The handscrew clamp is exerting pressure on the box
to simulate the shrinkage that will take place as the green wood body of the box dries.
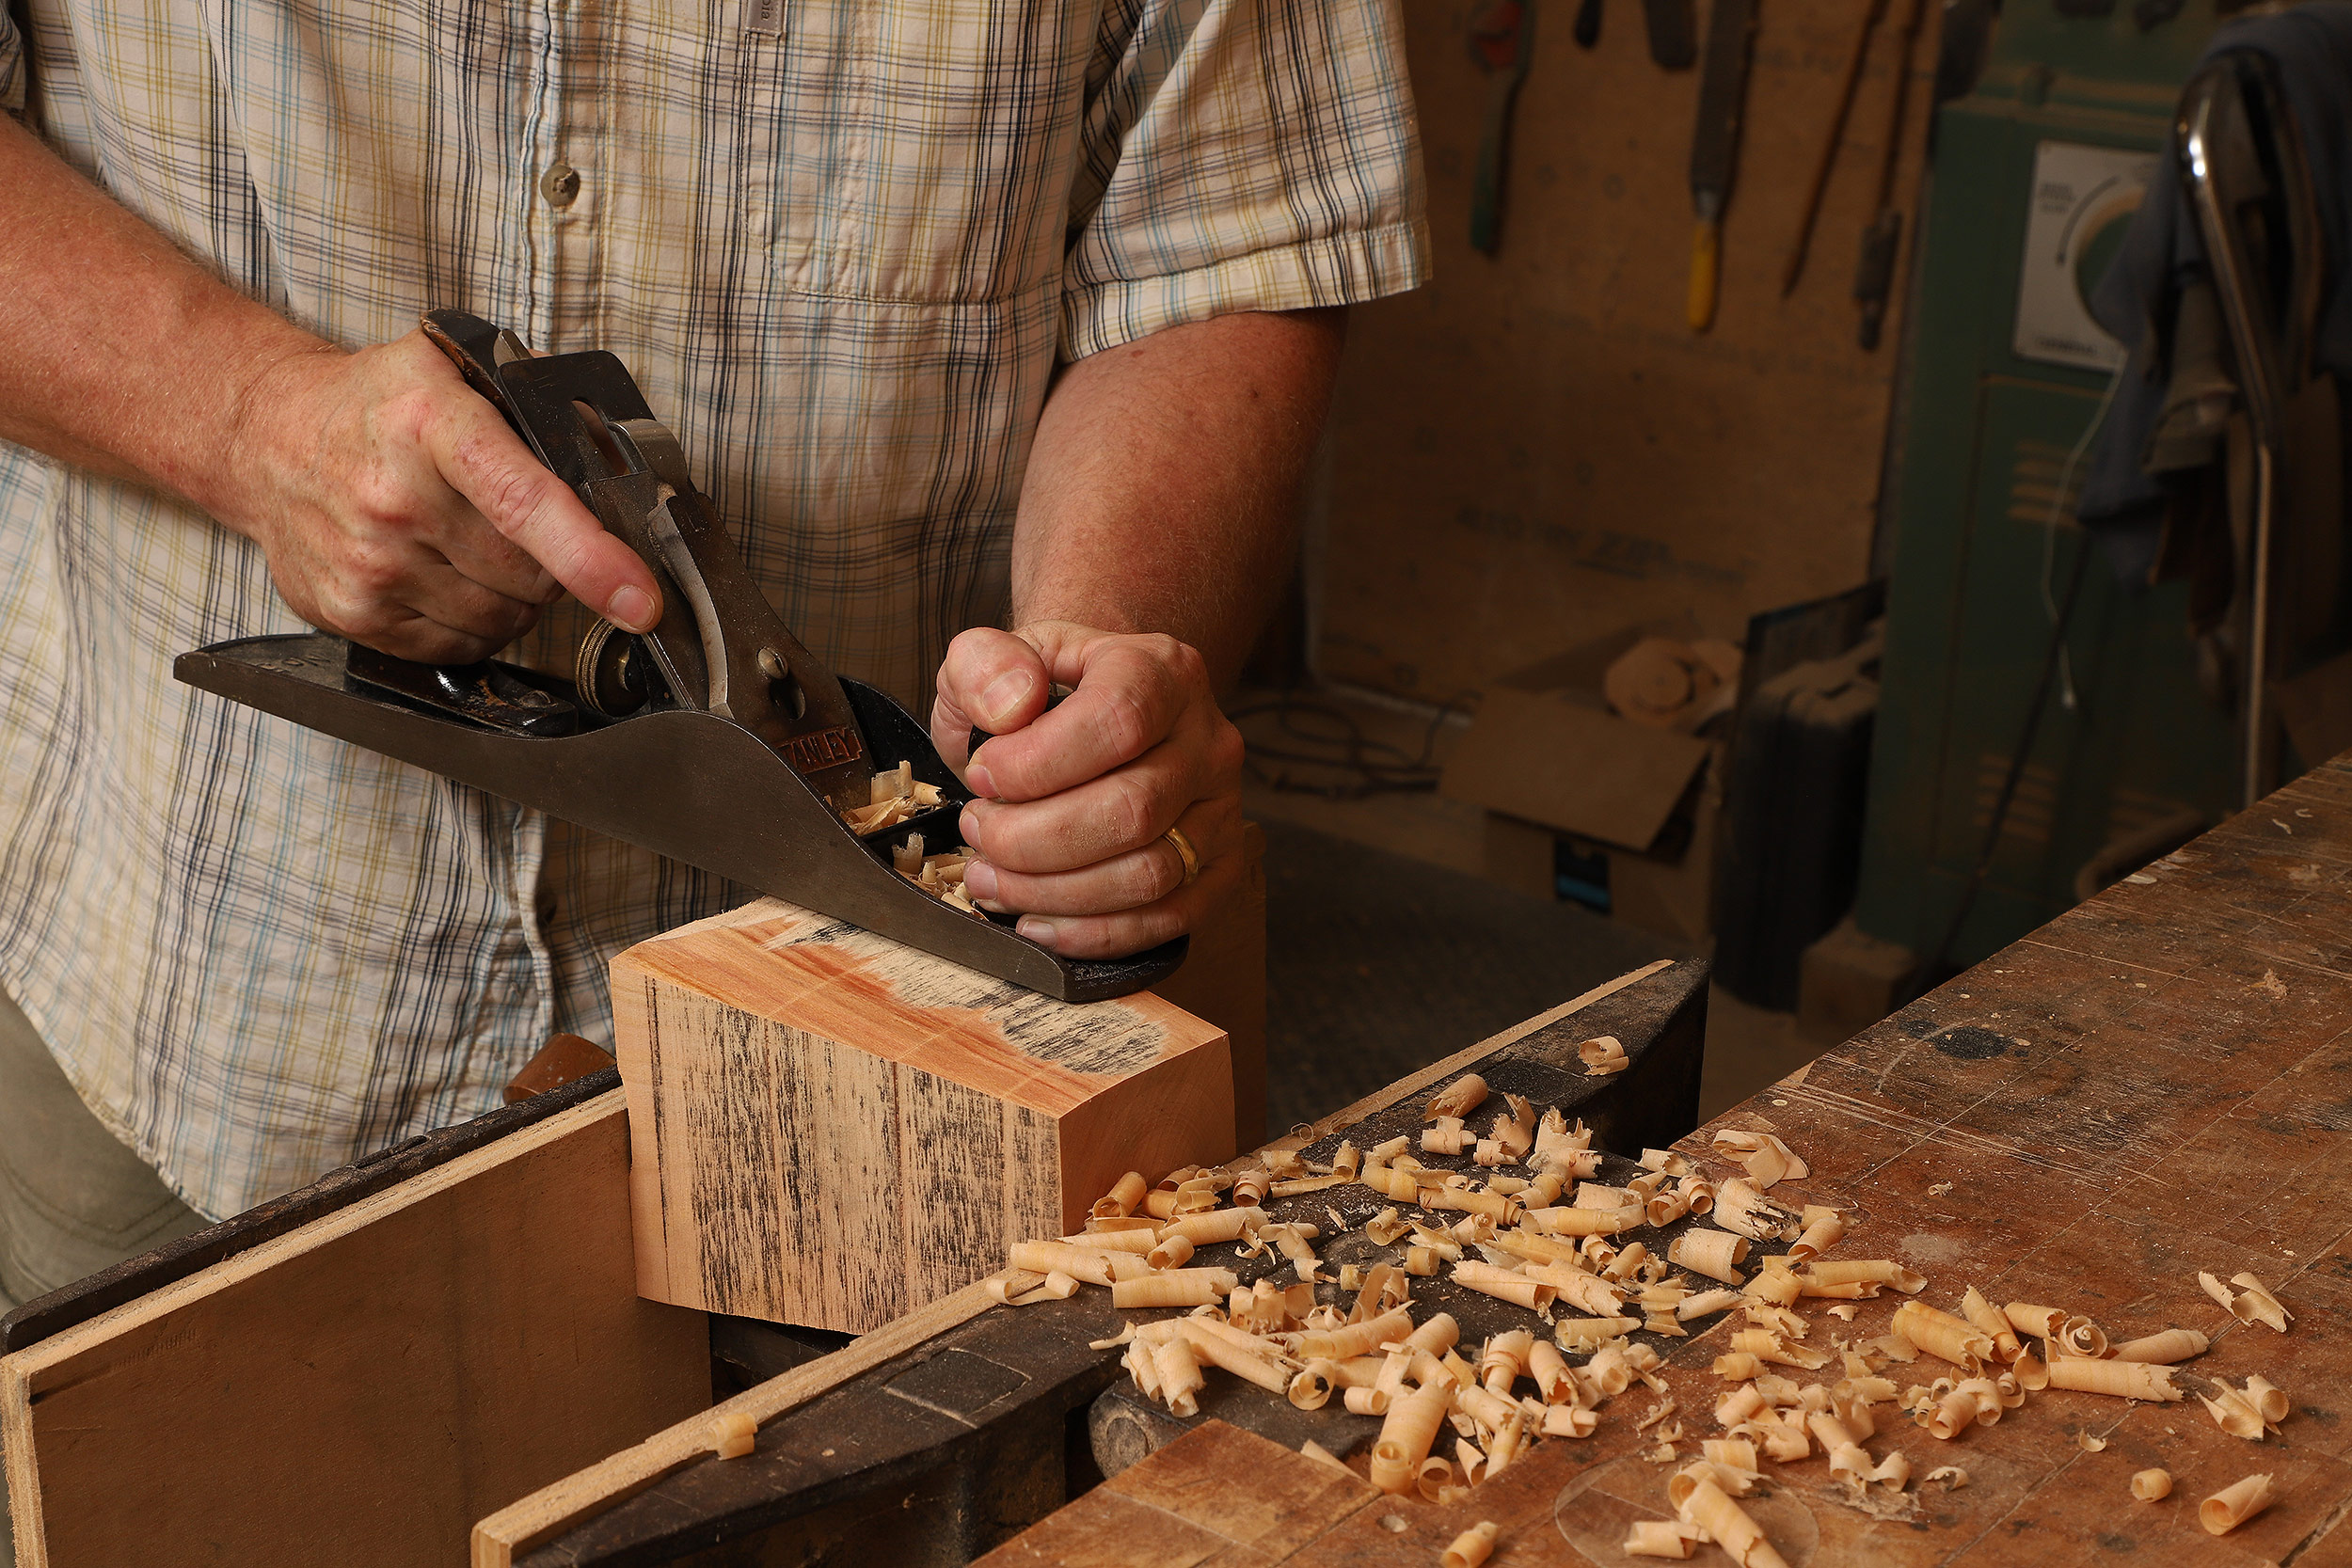
For this box, in cherry, Gardner wanted to remove the bandsaw marks and give the exterior a smooth but subtly faceted surface. He made the sides slightly pillowed instead of flat and left the marks from the handplane.
Photos: Jonathan Binzen
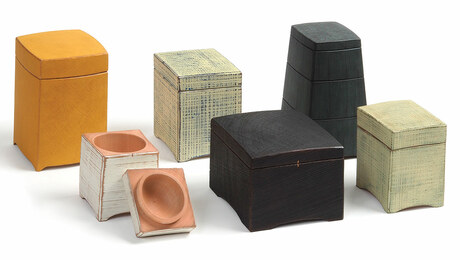 |
Video: Turned shrink boxesA variation on the traditional Scandinavian shrink pot, these shrink boxes by Mark Gardner are turned from green wood. |
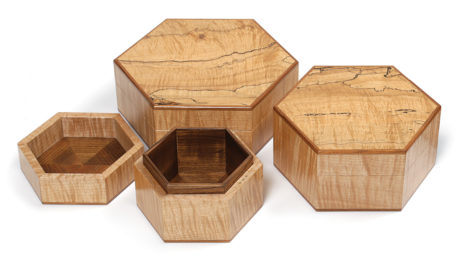 |
How to make hexagonal boxesClark Kellogg shows you how to dig out your attractive scraps and have some small-scale box fun. |
 |
Video: Greenwood shrink pot – In-depth versionDanielle Rose Byrd creates a shrink pot from start to finish and explains the process along the way. |
Fine Woodworking Recommended Products

Suizan Japanese Pull Saw






Log in or create an account to post a comment.
Sign up Log in