Challenges with Maloof low-back
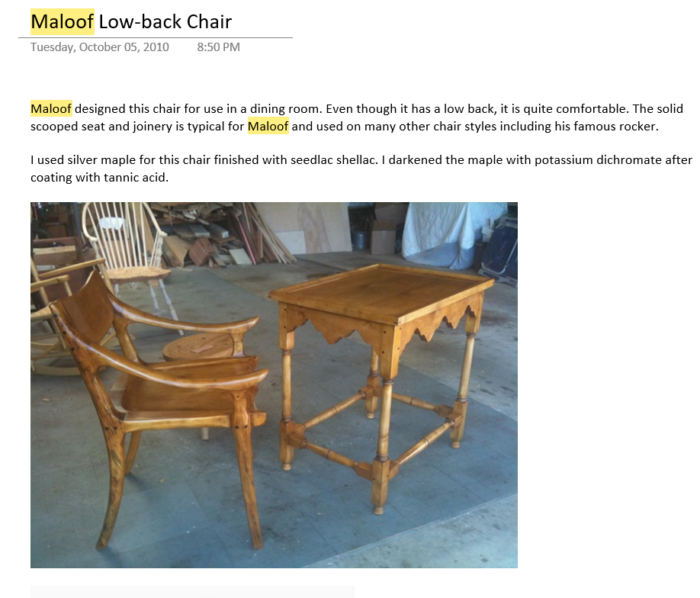
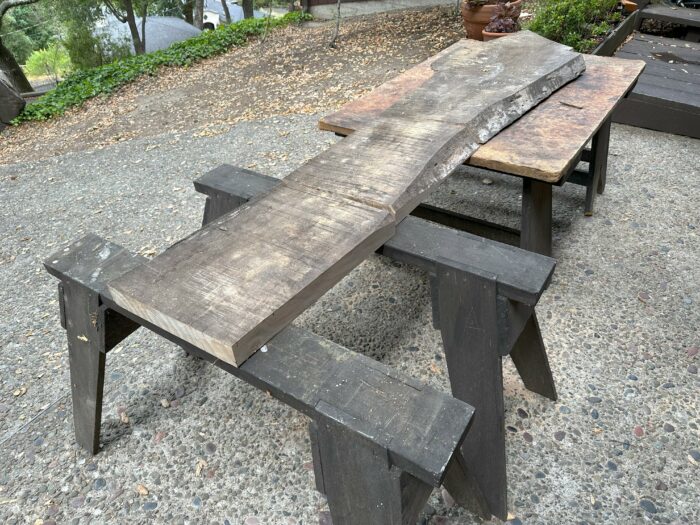
From SketchUp to construction, watch how Tim Killen remakes a Maloof low-back chair using an old plank of Modesto ash.My current project is re-making a Maloof low-back chair. I made one of these in 2010 using silver maple, but this time I want to use an old plank of Modesto ash. For much of its life, this plank has been exposed to weather and insects. It was originally cut about 15 years ago at the local sawmill. Most of our Windsor chairs used this material—it is strong and bends well. Here is a photo of the original chair I made, along with a photo of the ash plank.
Here is the ash plank, 2-in.-plus thick, and mostly quartersawn. It has held its shape very well. Unfortunately, this is my last piece and therefore, must produce all required components for the one chair.
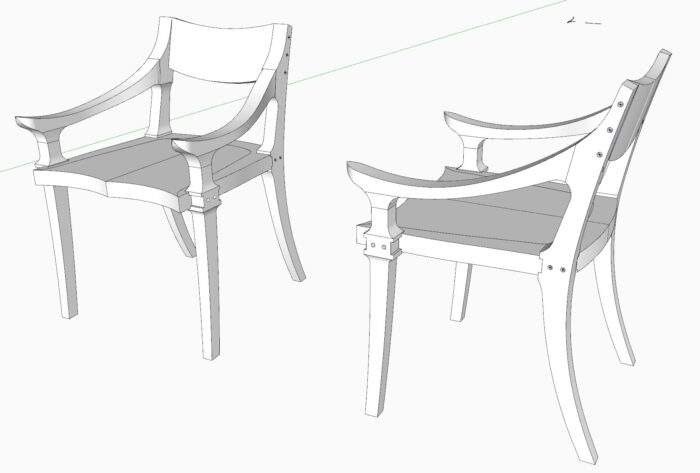
In 2010, I developed the design using SketchUp, so I’m using that available and important resource. Here is the assembled model in SketchUp. Note that I have not in SketchUp developed the final sculpting of the chair components, only the rough bandsawn shapes.
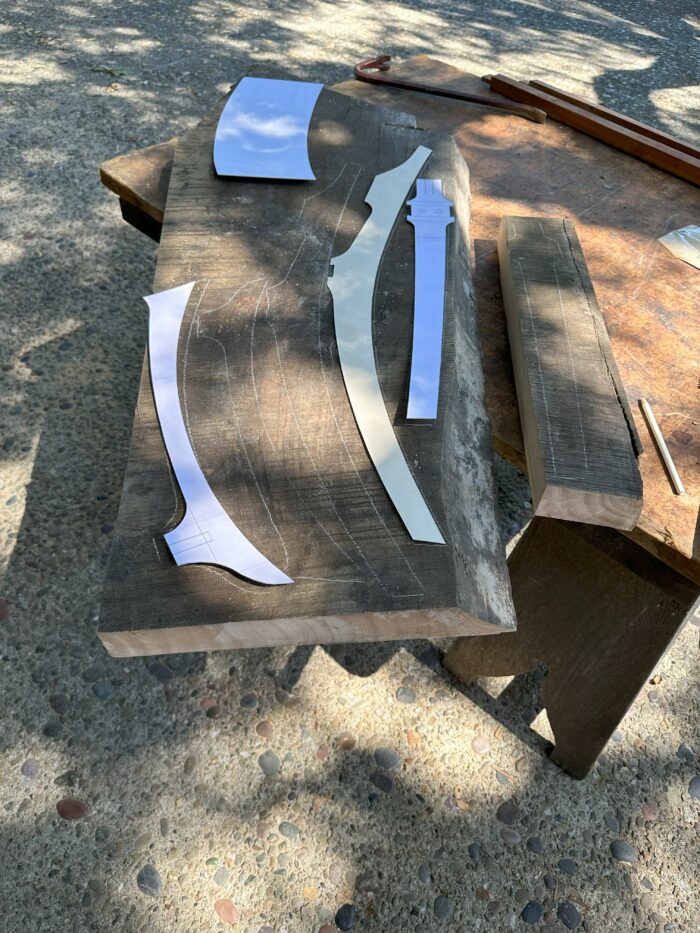
One of the first activities in the building process is creating the full-size templates. Since all components in this chair are complex shapes, the templates are key to success. Here’s a view of arranging templates to help with the cuts required in the ash plank. I’m finding out that I’m limited to just extracting the necessary chair pieces, but there will not be enough for spare parts.
All of the chair components were shaped in two axes—the side view and top view. So that doubled the number of full-size templates required. Here is a photo of the rough bandsawn components (no joinery yet).
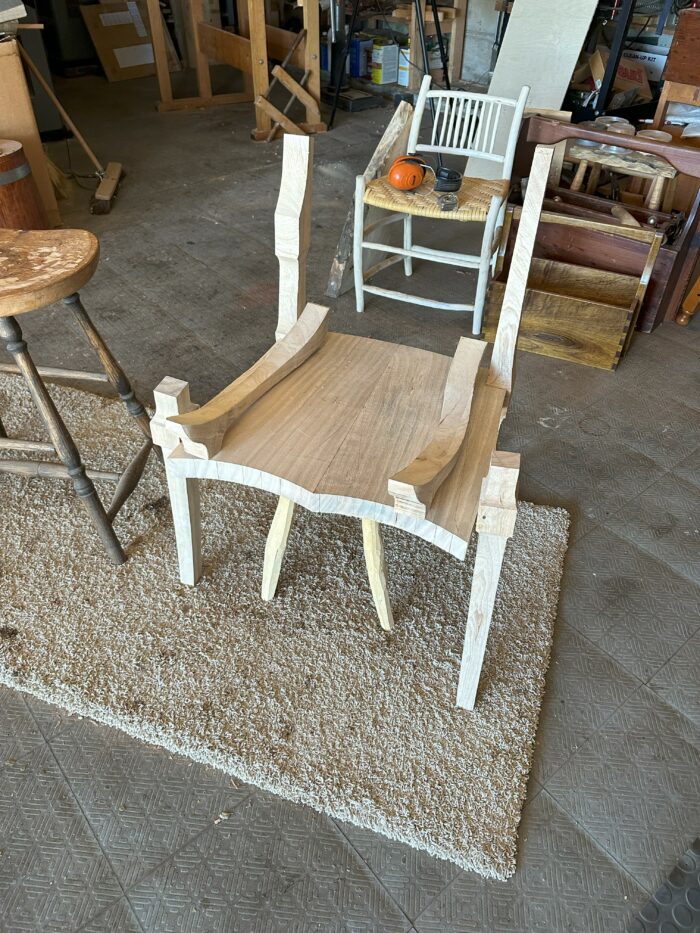
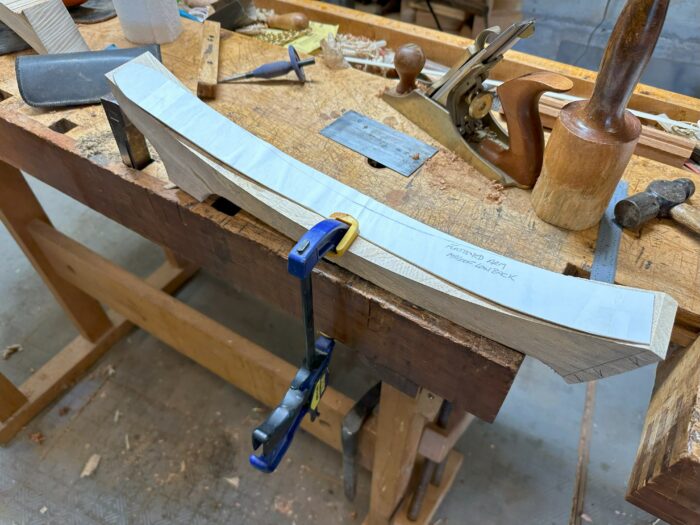
In addition to the two main templates, some components also benefited from a “flattened” full-size template. As you can see in this next photo, the top template for the arm is placed on top of the curved top face of the arm. That “flattened” template is longer so it fits on the curved surface and allows an accurate marking of the shaped cut in the vertical dimension. There are various plug-ins available in the SketchUp Extension Warehouse that produce these “flattened” templates. The use of a flattened template was also very helpful in layout and bandsawing of the back legs.
Here is a photo of the current build status, the assembled dry-fit.
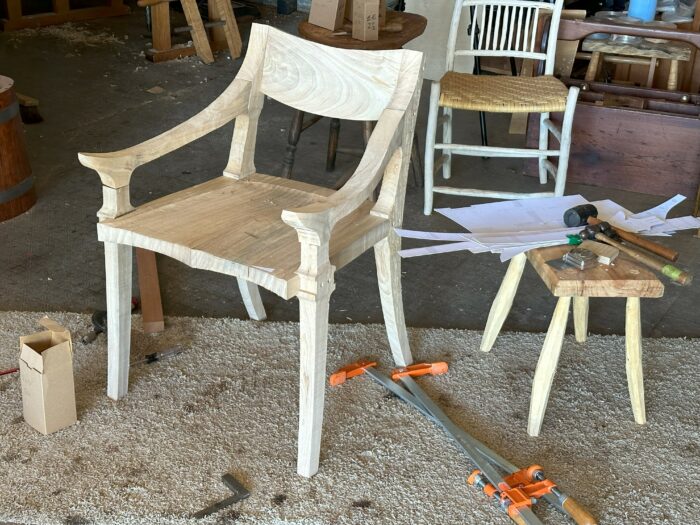
There is so much more work as none of the sculpting has been done. The gluing is next, then sculpting.
I’ve prepared videos of the construction process. Here is the starting video for that playlist.
Tim
More from Tim Killen
 |
Side chair templates galoreToo many templates? Not a problem for SketchUp. |
 |
Video: Rotating wings on the butterfly tableIt’s important to get them flat and find a way to accommodate future repairs. |
 |
Best photos for SketchUpWhen it comes to re-creating a design in SketchUp, perfect reference photos make all the difference. |






Log in or create an account to post a comment.
Sign up Log in