Elegant dining table with veneered aprons
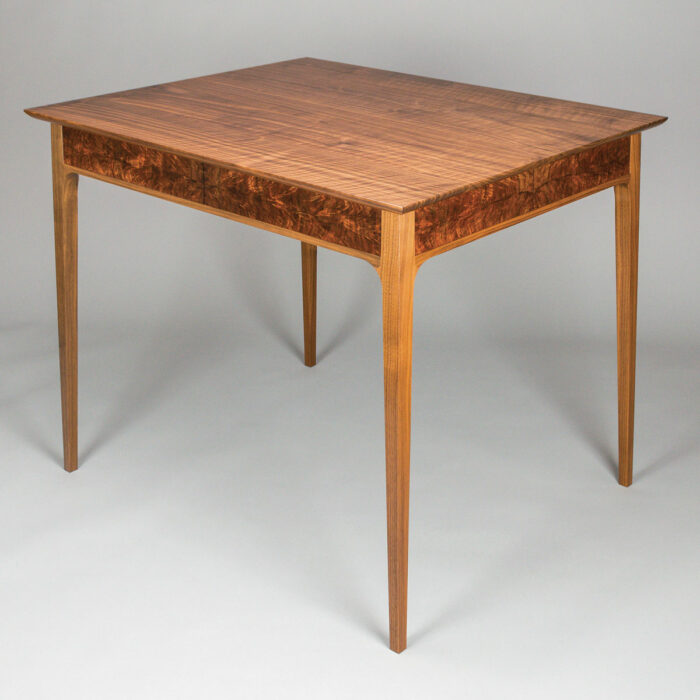
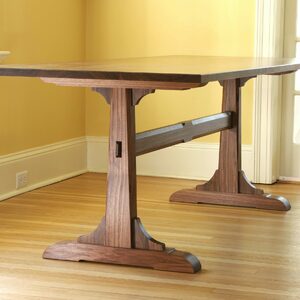
This simple dining table for two uses beautiful figured walnut for the top and straight-grained walnut for the legs, but it's the aprons that really dazzle.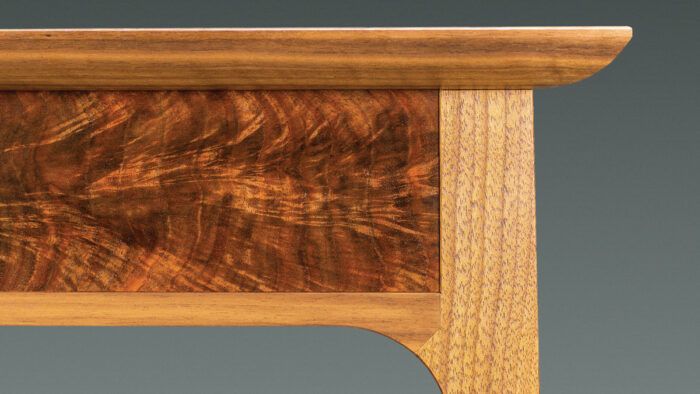
Synopsis: This simple dining table for two uses beautiful figured walnut for the top and straight-grained walnut for the legs, but it’s the aprons that really dazzle. Mike Korsak framed the crotch-walnut veneered aprons with a bottom edging that flows through a gunstock miter joint and down the legs. The technical and aesthetic details of this leg-to-apron joint are the heart of the table and the focus of this article.
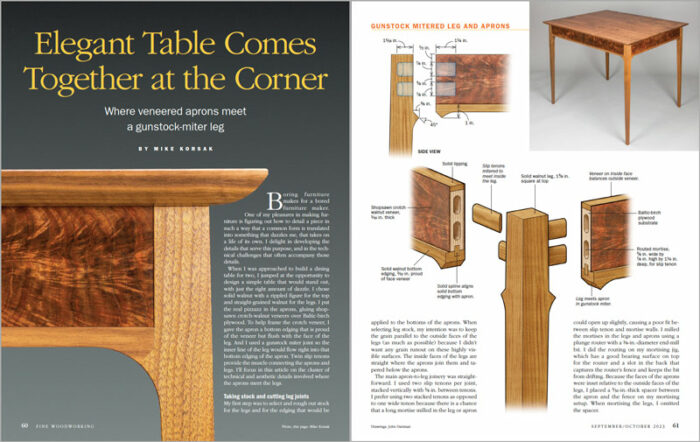
 Boring furniture makes for a bored furniture maker. One of my pleasures in making furniture is figuring out how to detail a piece in such a way that a common form is translated into something that dazzles me, that takes on a life of its own. I delight in developing the details that serve this purpose, and in the technical challenges that often accompany those details.
When I was approached to build a dining table for two, I jumped at the opportunity to design a simple table that would stand out, with just the right amount of dazzle. I chose solid walnut with a rippled figure for the top and straight-grained walnut for the legs. I put the real pizzazz in the aprons, gluing shopsawn crotch-walnut veneers over Baltic-birch plywood. To help frame the crotch veneer, I gave the apron a bottom edging that is proud of the veneer but flush with the face of the leg. And I used a gunstock miter joint so the inner line of the leg would flow right into that bottom edging of the apron. Twin slip tenons provide the muscle connecting the aprons and legs. I’ll focus in this article on the cluster of technical and aesthetic details involved where the aprons meet the legs.
Taking stock and cutting leg joints
My first step was to select and rough out stock for the legs and for the edging that would be applied to the bottoms of the aprons. When selecting leg stock, my intention was to keep the grain parallel to the outside faces of the legs (as much as possible) because I didn’t want any grain runout on these highly visible surfaces. The inside faces of the legs are straight where the aprons join them and tapered below the aprons.
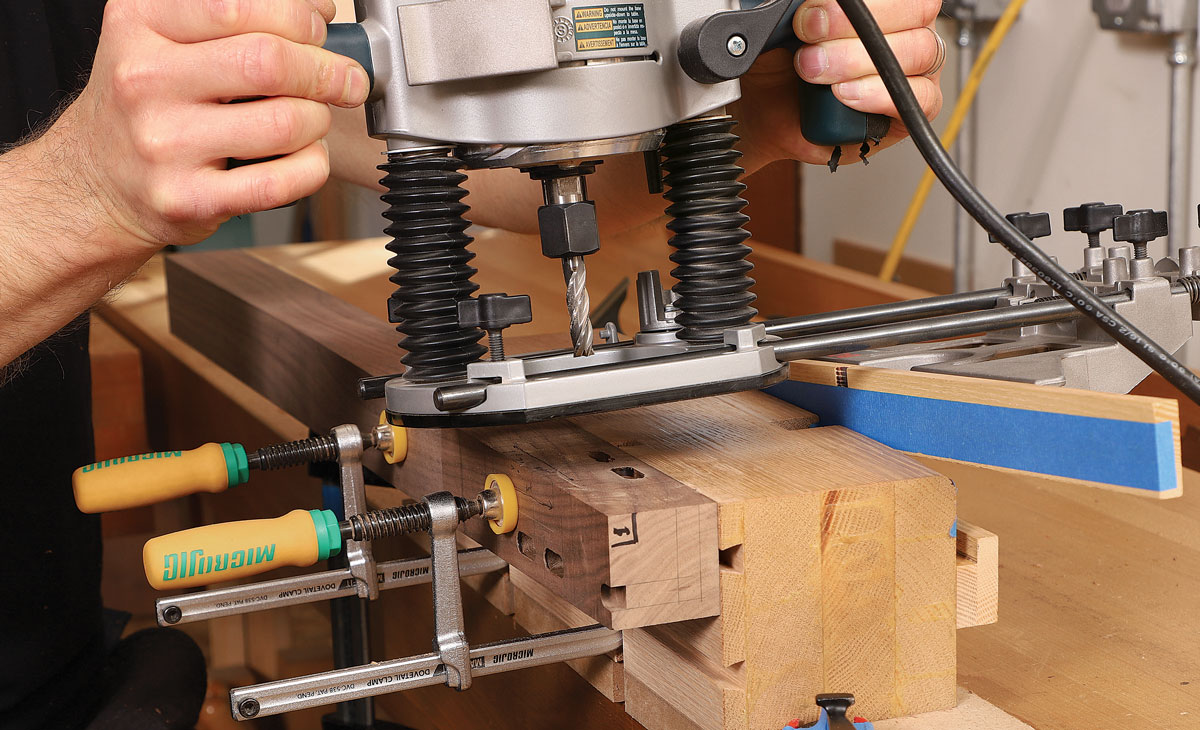
The main apron-to-leg joinery was straightforward. I used two slip tenons per joint, stacked vertically with 3⁄8 in. between tenons. I prefer using two stacked tenons as opposed to one wide tenon because there is a chance that a long mortise milled in the leg or apron could open up slightly, causing a poor fit between slip tenon and mortise walls. I milled the mortises in the legs and aprons using a plunge router with a 3⁄8-in.-diameter end-mill bit. I did the routing on my mortising jig, which has a good bearing surface on top for the router and a slot in the back that captures the router’s fence and keeps the bit from drifting. Because the faces of the aprons were inset relative to the outside faces of the legs, I placed a 3⁄32-in.-thick spacer between the apron and the fence on my mortising setup. When mortising the legs, I omitted the spacer.
Gunstock miters on legs and aprons
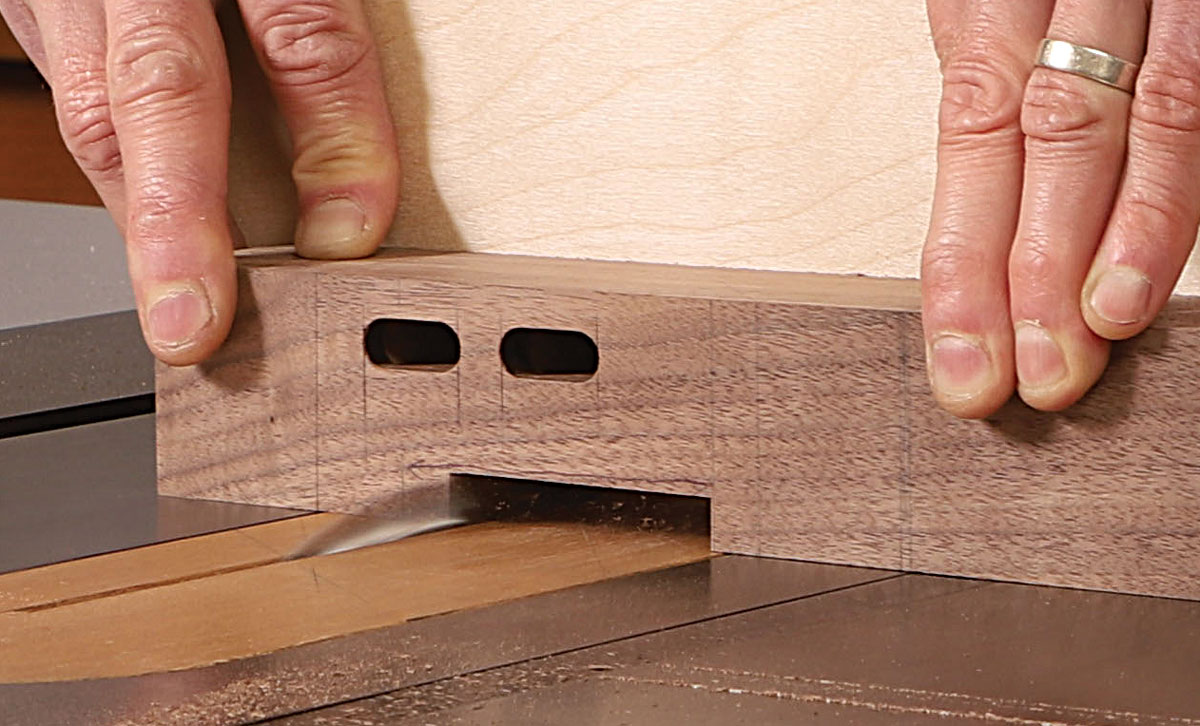
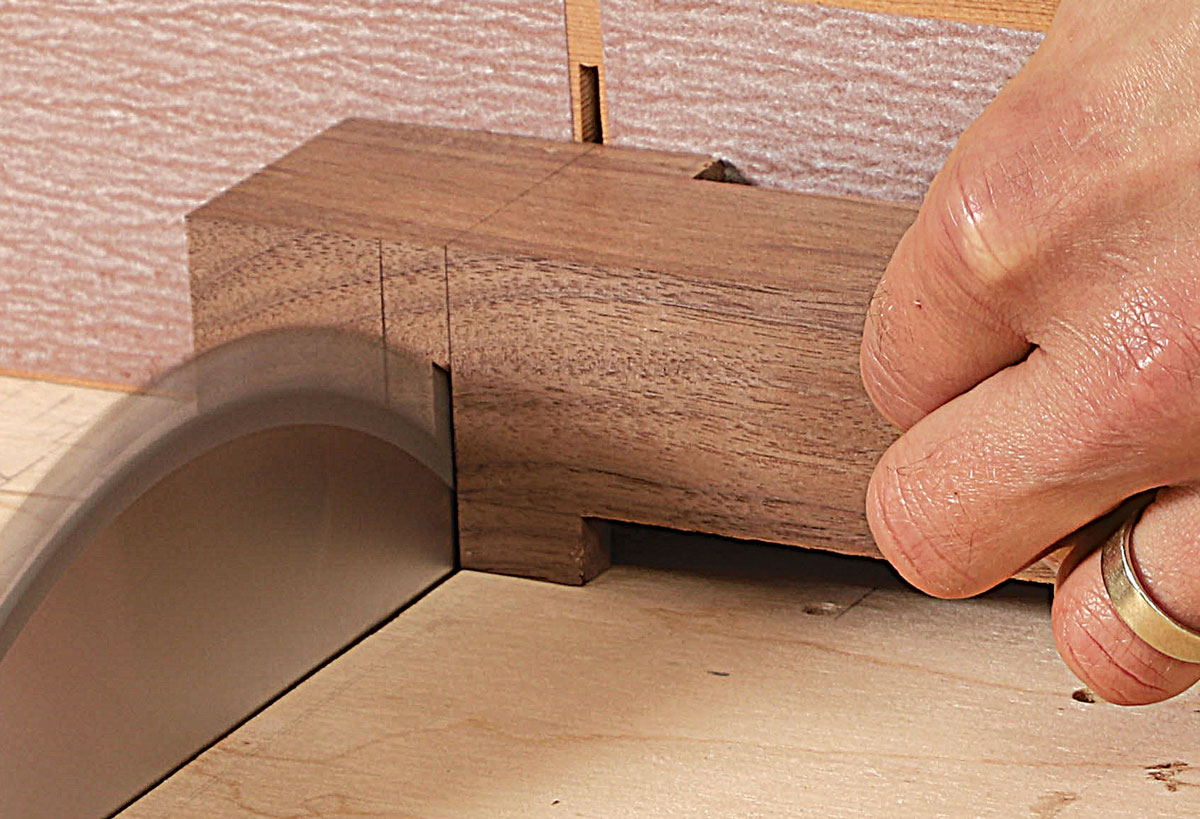
Next, it was time for the gunstock miters. The first step in forming the gunstock joint on the legs was to remove the material between the miter cut and the top end of the leg. You can use a router and end mill for this, or multiple passes on the table saw. I used the saw. I left some stock at the top end to remove later; it would help support the legs during mitering.
 Mike Korsak, after a decade in Pittsburgh, is setting up a new shop in New Hampshire.
For the full article, download the PDF below:
 |
Elegant entry tableWith tapered legs, split aprons, and profiled top, Mason McBrien’s table was designed to showcase the lightness and straight grain of the American white ash. |
 |
Video – Fir and Cherry Side Table: ApronsLearn how to how to cut aprons to accept splayed table legs. |
 |
From the archive: An elegant writing deskA three-drawer case on fluted legs |





Log in or create an account to post a comment.
Sign up Log in