Wooden quilts, part 2: Quilts over substrate
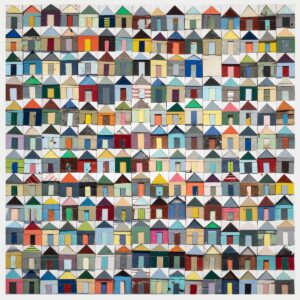
With the added stability of a substrate, the artistic possibilities of a wooden quilt abound.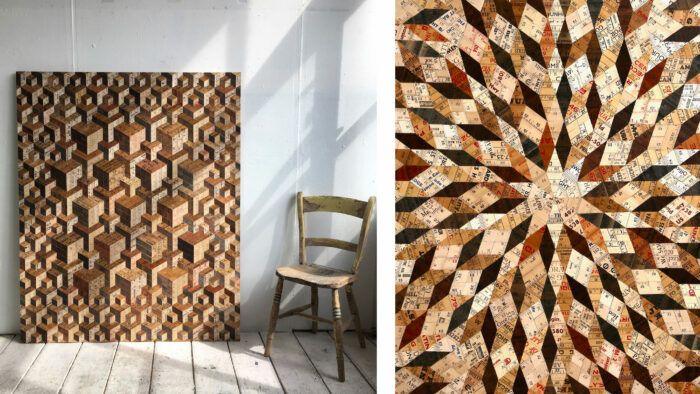
In my previous blog post, I delved into the art of creating wooden tapestries that I affectionately call “quilts,” using wood scraps. In that initial installment, I discussed quilt patterns and elucidated how to craft quilts from thicker pieces of scrap wood, resulting in solid panels capable of bearing substantial loads. Building on that foundation, I’ll guide you through a straightforward technique to create a quilt by securely affixing thinner wood segments onto a stable substrate. The structural stability of the quilt relies on the substrate, usually constructed from MDF or plywood. Doing this offers more flexibility because the quilt primarily features decorative elements that don’t require a solid load-bearing connection. Imperfections in the glue joints are acceptable, and some artists even intentionally introduce gaps between segments, which can later be filled with putty or epoxy.
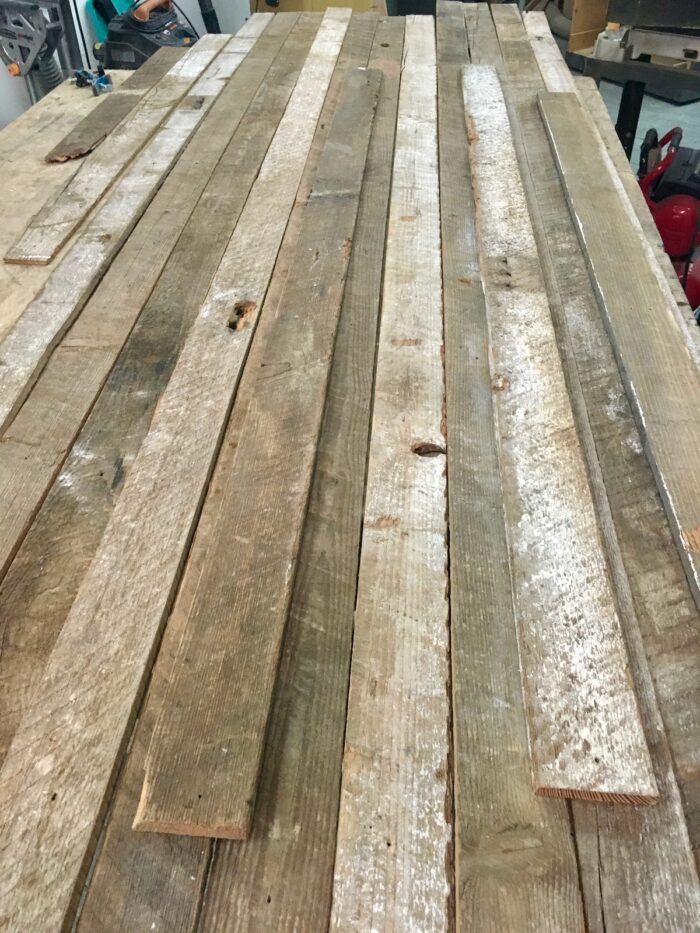
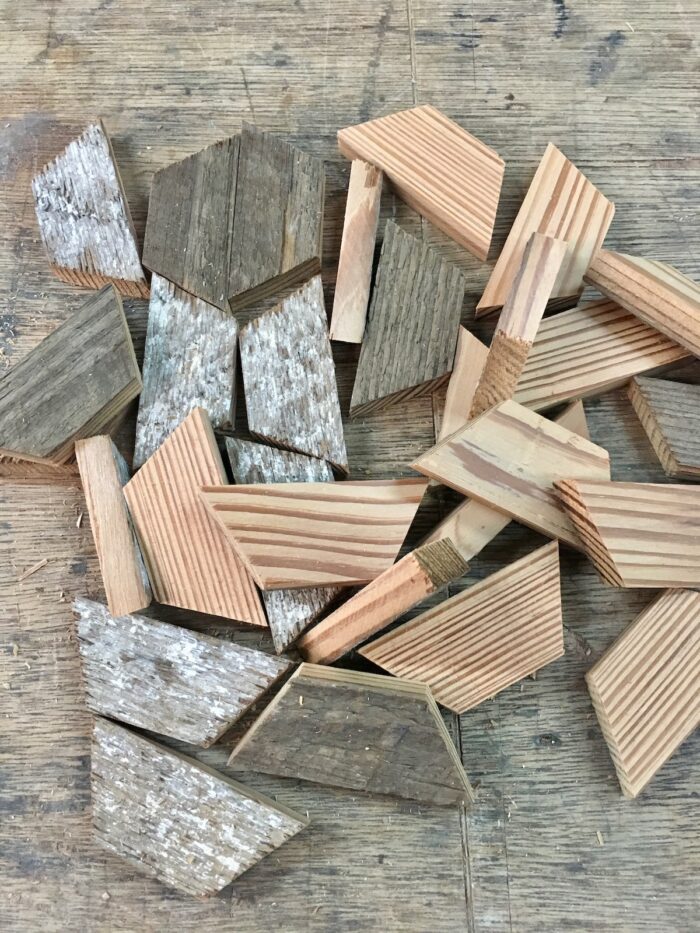
There are various methods for attaching the quilt segments to the substrate: using nails alongside yellow glue, using hot melt glue or epoxy, applying pressure to the glued segments with weights, or employing a vacuum bag to hold the pieces in place until the glue sets.
For quilts that display distinct geometric patterns or are constructed from a central “tile” assembled in different orientations, begin by cutting the parts and arranging them without adhesive. Depending on the pattern, decide whether to work from the center outward or from the bottom upward. This decision should follow a dry-run glue-up trial, after which you can proceed to apply the adhesive.
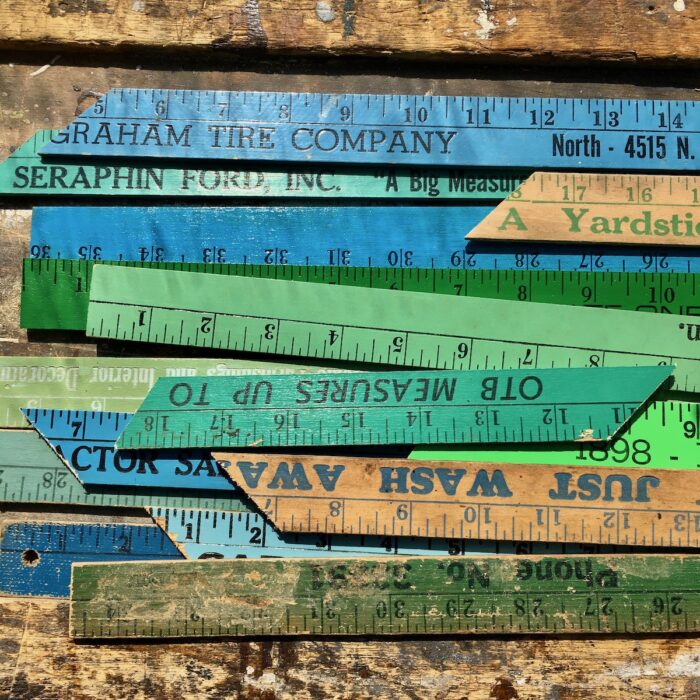
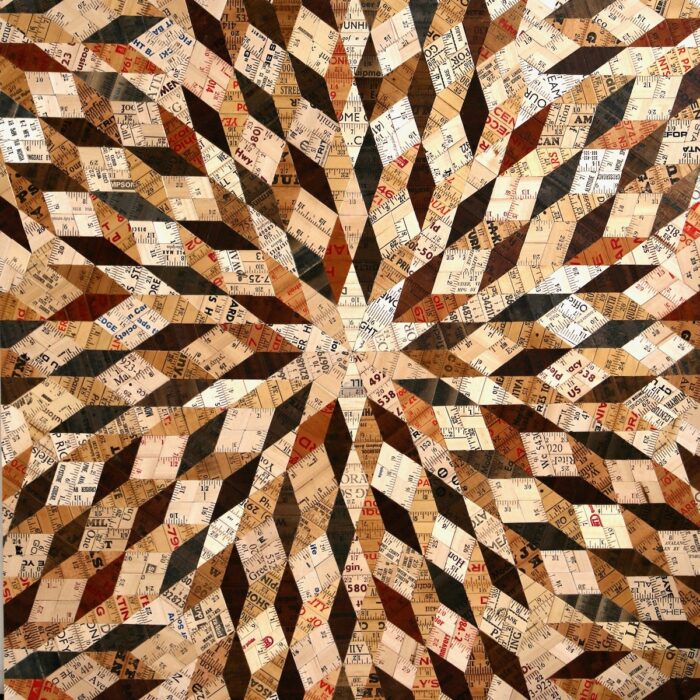
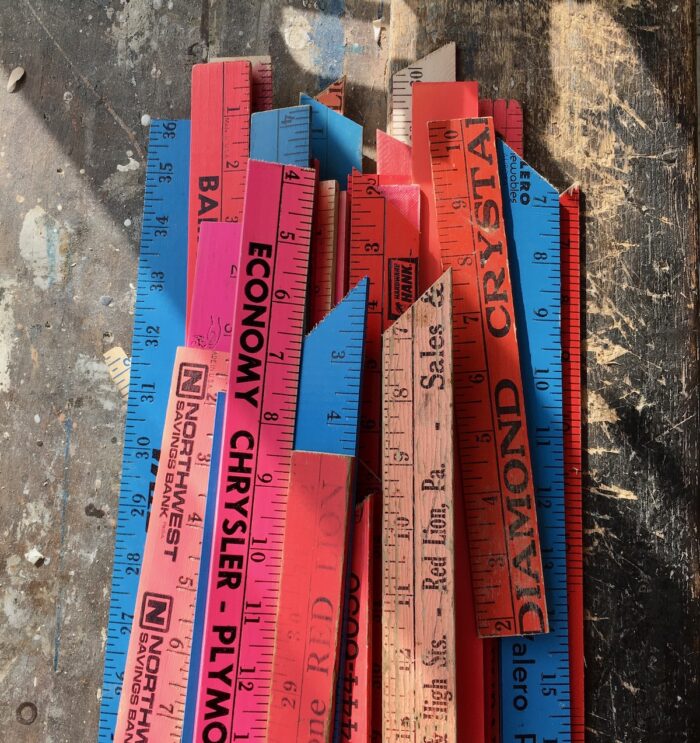
I had the privilege of learning from Rose Vickers, a British artist who expertly crafts captivating quilts from reclaimed wooden rulers. She generously shared some of her insights and techniques with me.
“My process involves selecting the necessary components and cutting them to size. As I assemble and sort by color and tone, creative decisions unfold organically. Often, I don’t finalize a design in advance; instead, I place each piece on the marine plywood and make choices as I progress. This entails rearranging elements multiple times, swapping, adding, and removing sections until satisfaction is reached. Many iterations might precede the emergence of the final piece.”
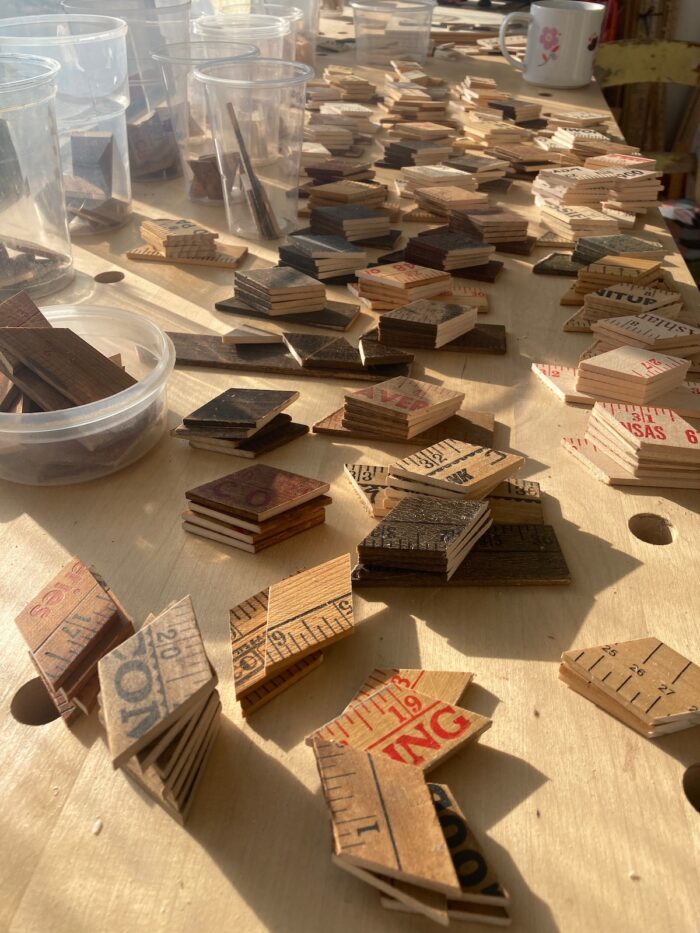
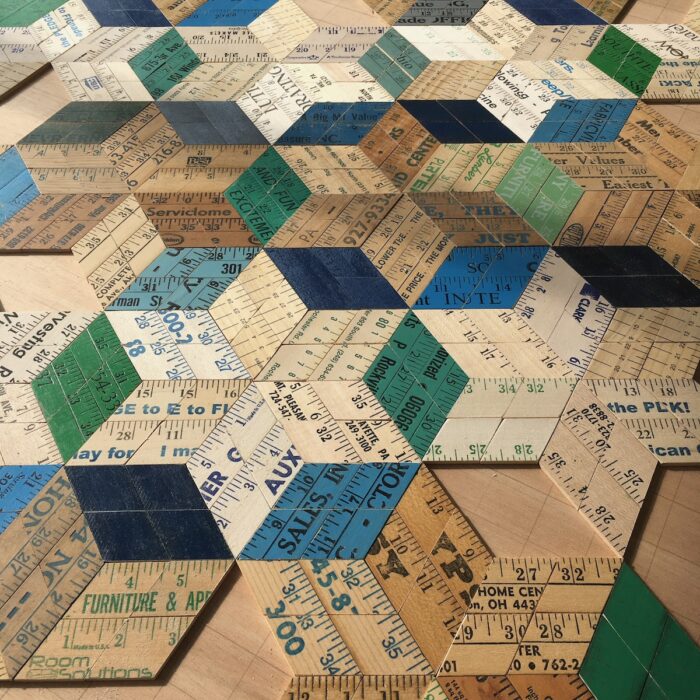
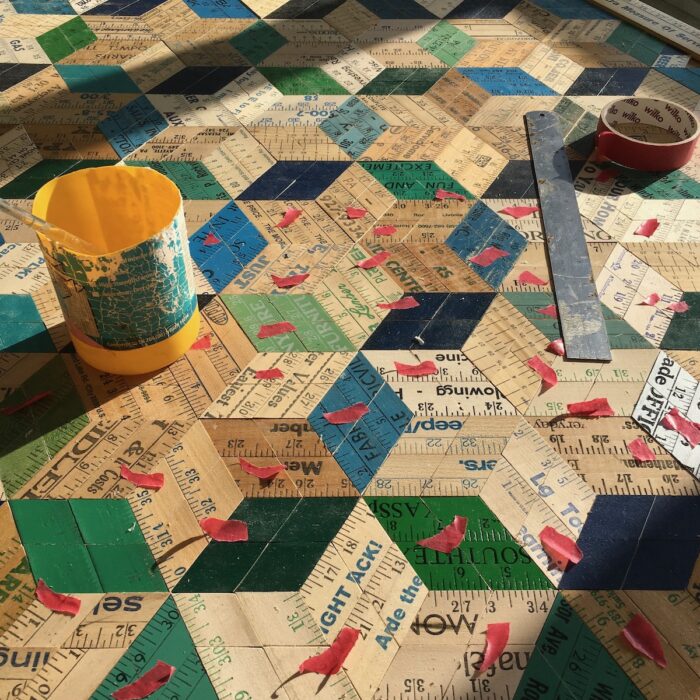
“At this juncture, meticulous alignment and piece fitting take center stage before transitioning to the gluing phase. Each piece is lifted individually, and PVA-based adhesive (yellow or white glue) is applied before repositioning it with care. This meticulous process demands swiftness, accuracy, and unwavering attention to detail, which is why I ensure minimal distractions. Affixed pieces are marked with a scrap of tape as a visual cue, preventing loss of track.”
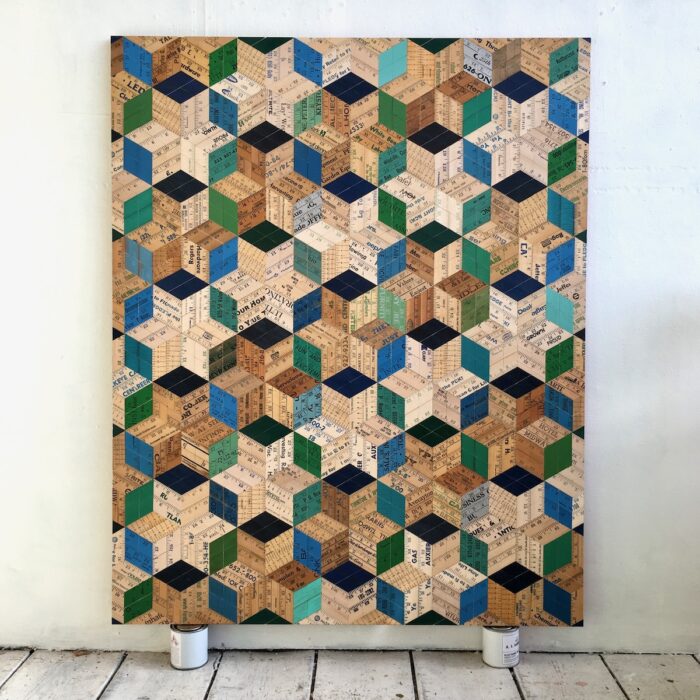
“While some might perceive this as a labor-intensive process, it’s essential to note that I find as much joy in the physical crafting as in the creative aspects—it’s a holistic experience for me.”
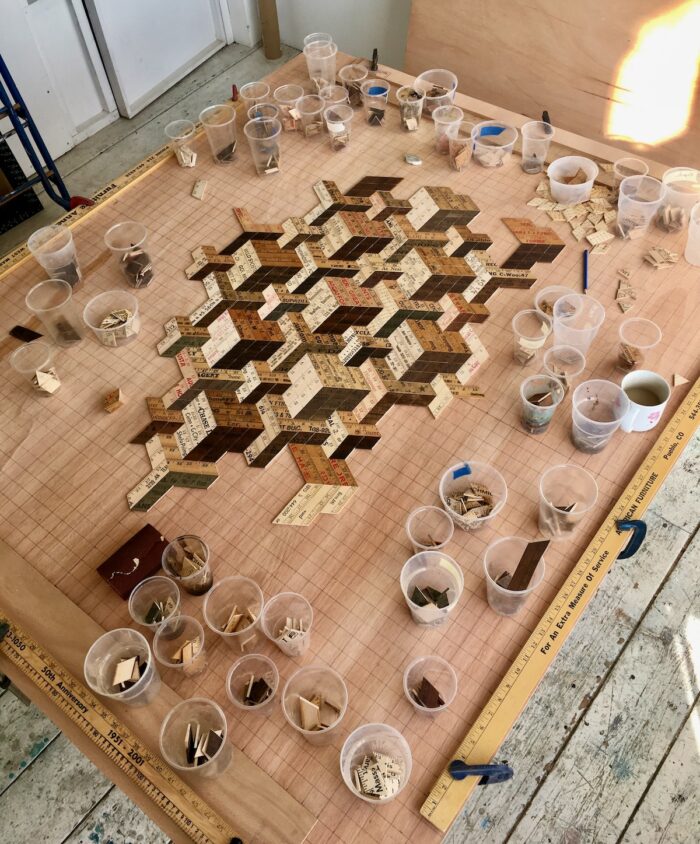
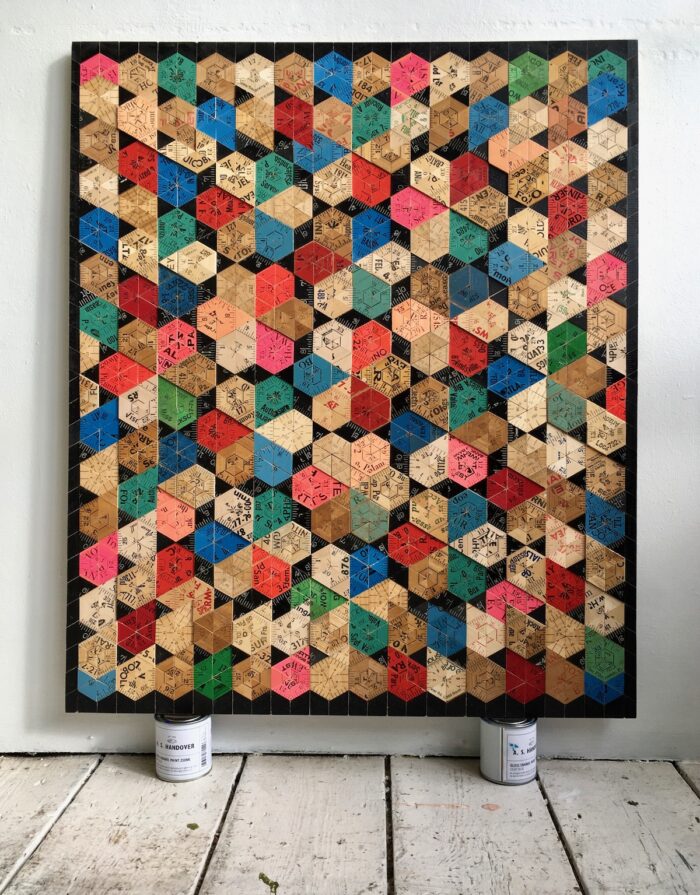
Some artists adopt a whimsical approach that involves quilt segments of varying sizes. After securing the initial pieces, they measure, cut, and incorporate new elements into the existing ensemble.
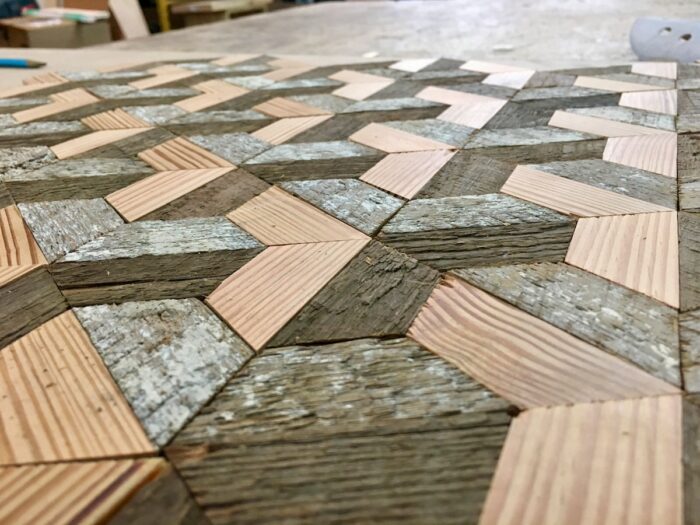
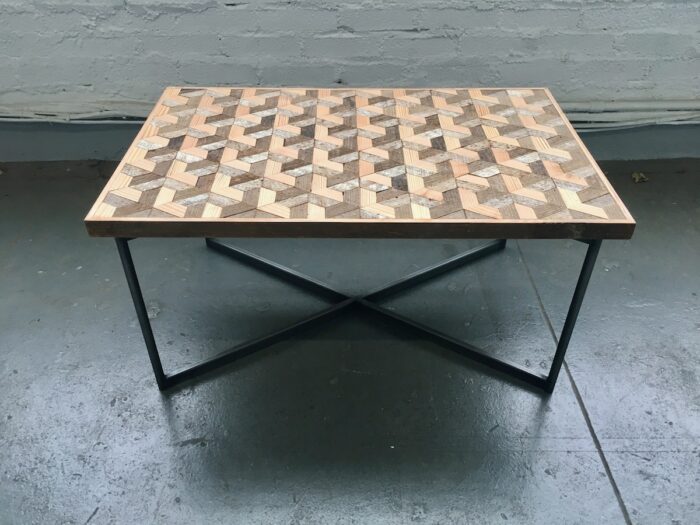
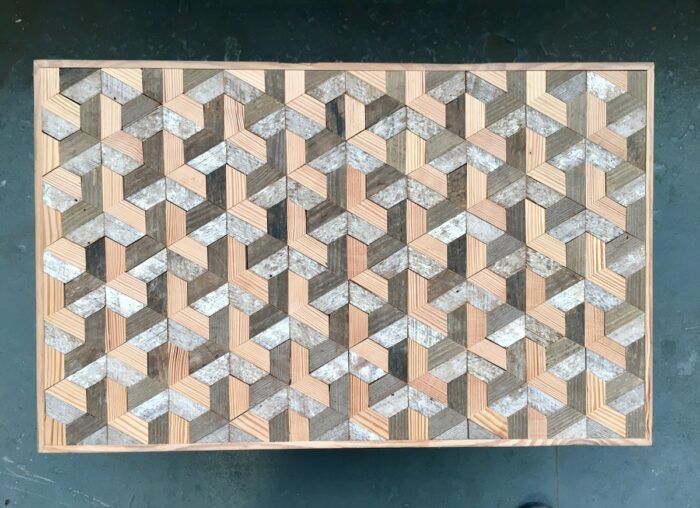
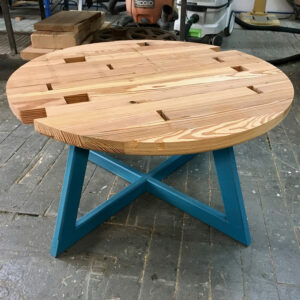
As Victor Valencia’s table in the images below exemplifies, another standard quilting method starts at the substrate board’s center. Initial segments are affixed using glue and nails. The group is then measured, and fresh elements are cut to integrate around it. The cycle of gluing, tacking, and cutting is repeated.
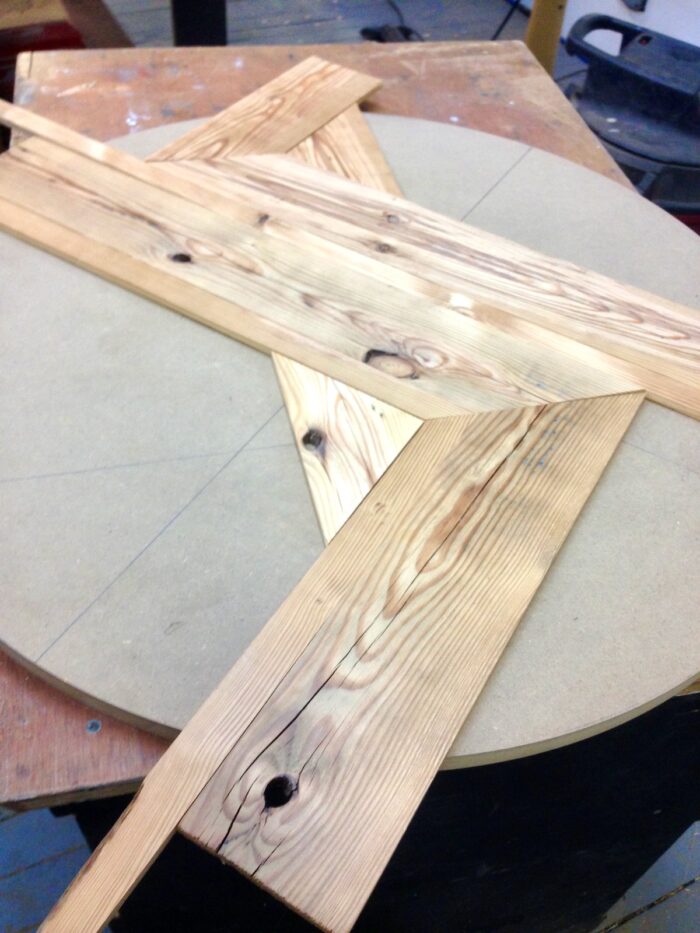
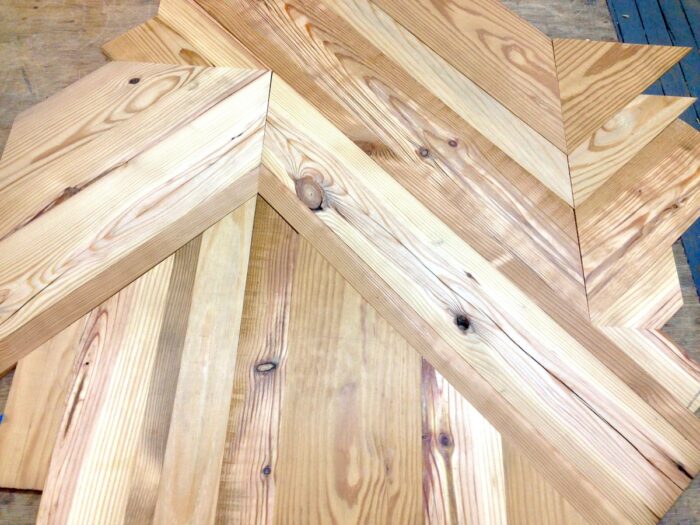
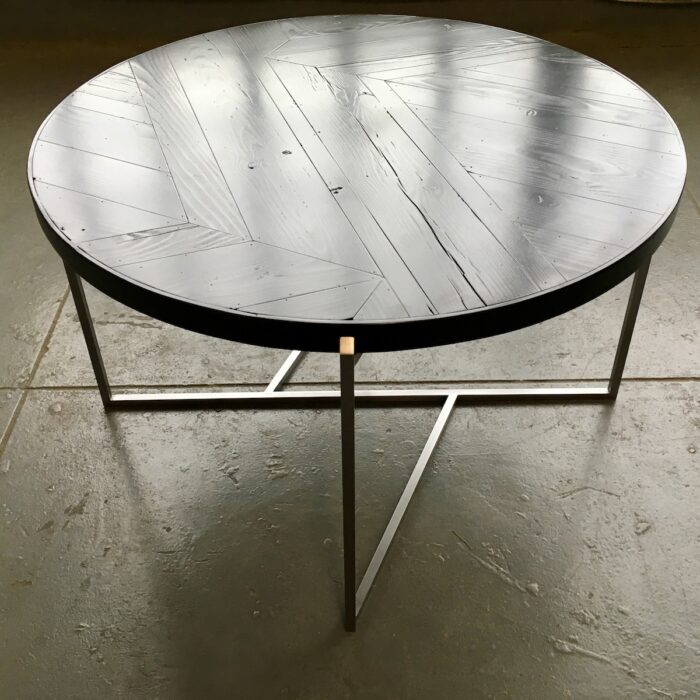
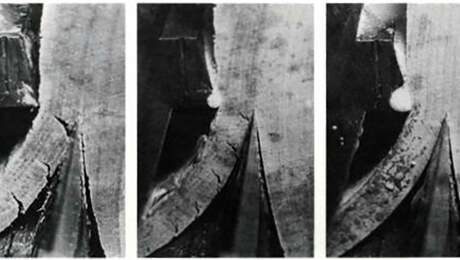
A critical consideration when working with substrate-based quilts is to avoid accidentally cutting through the brads while dimensioning the quilt or adding a wooden frame. This is especially crucial with older SawStop cartridges, which may trigger upon brad contact. Vigilance and brad-awareness are vital when dimensioning the quilt for doors, tops, or other components; alternatively, use only glue.
Substrate quilts can also suffer from substrate warping due to water-based adhesives. While the artist I interviewed didn’t encounter such issues, it’s prudent to test on a smaller trial piece before embarking on an ambitious quilt project.
In my next blog post, I’ll continue unveiling more examples of wooden substrate quilts, both for artistic displays and furniture design.
More from Yoav Liberman
 |
Wooden quiltsIn part 1 of this series, Yoav Liberman illustrates a number of creative ways to make use of small wood scraps. |
 |
Bottom feeding in the woodworking world, part 1Within the scrap bins of commercial shops, a bounty of excellent wood can be found. |
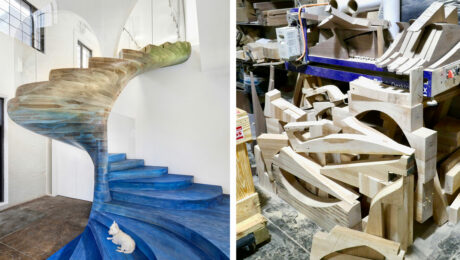 |
Bottom feeding in the woodworking world, part 2Scraps of note: These big and beautiful offcuts can serve as a jumping-off point for very creative work. |
Fine Woodworking Recommended Products

Dividers
Circle Guide
Whiteside 9500 Solid Brass Router Inlay Router Bit Set








Log in or create an account to post a comment.
Sign up Log in