Budget woodworking bench is a brute
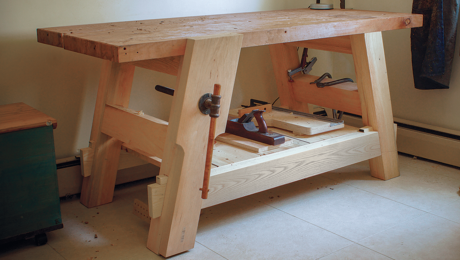
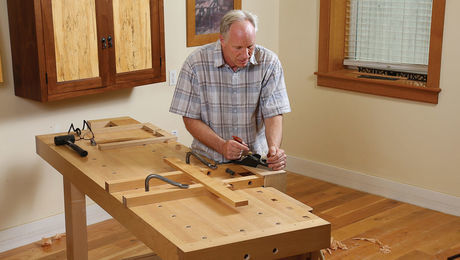
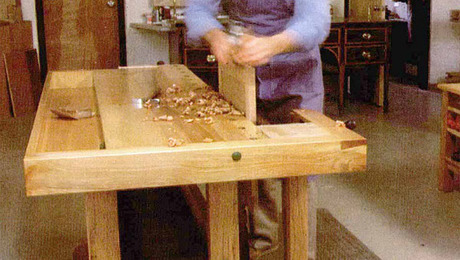
Framing lumber, turnbuckles, bolts, and bags of sand make Tim Manney's rock-solid workbench quick to make and easy to move.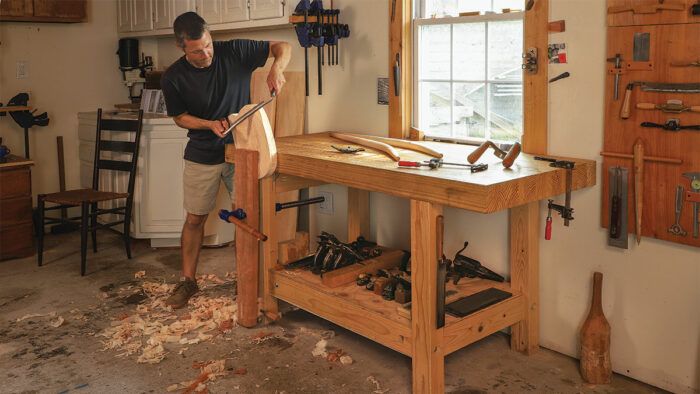
Synopsis: Ideal for those who are watching their budgets, this workbench has a classic design that will serve your woodshop for years. It’s made using widely available hardware, construction lumber, and a couple of sandbags. The legs and top are joined with stub tenons and turnbuckles that lock onto steel pins. This construction makes for a very stable bench that can be easily disassembled for moving. But you’ll want to make this bench even if you don’t ever plan to move it.
When I built my first workbench, my workshop was in the basement of a house that I was renting. I knew that I would be moving before too long, and I would need to be able to pick up and carry my workbench out of the basement. But I also needed a bench solid enough not to jump and dance all over the workshop when I was planing a board or carving a chair seat. Using widely available hardware, construction lumber, and a couple of sandbags, I built a bench that was inexpensive and easy to move, yet still had the solid feeling of a classic workbench. I loved that bench, and I’ve since built this one to a very similar design.
Starting from the top
The benchtop is laminated from dimensional construction lumber. Whenever I go to lumberyards I scan the stacks and buy any boards with straight grain and few knots. I store them up in the tie beams in my workshop and pull them down as needed to build things like jigs, bending forms, shaving horses … or a workbench. I built the top for this one while I was living in North Carolina, where southern yellow pine, a beautifully hard and heavy wood, is standard-issue construction lumber.
The benchtop is laminated from dimensional construction lumber. Whenever I go to lumberyards I scan the stacks and buy any boards with straight grain and few knots. I store them up in the tie beams in my workshop and pull them down as needed to build things like jigs, bending forms, shaving horses … or a workbench. I built the top for this one while I was living in North Carolina, where southern yellow pine, a beautifully hard and heavy wood, is standard-issue construction lumber.
I selected a batch of 2x10s, ripped them in half, and glued them up to make a top 66 in. long, 26-1 ⁄ 4 in. wide, and 3-3 ⁄ 4 in. thick. It’s outstanding, but you don’t have to make one that thick or use yellow pine. I’ve made workbenches with spruce tops as thin as 2 in. and they also worked great.
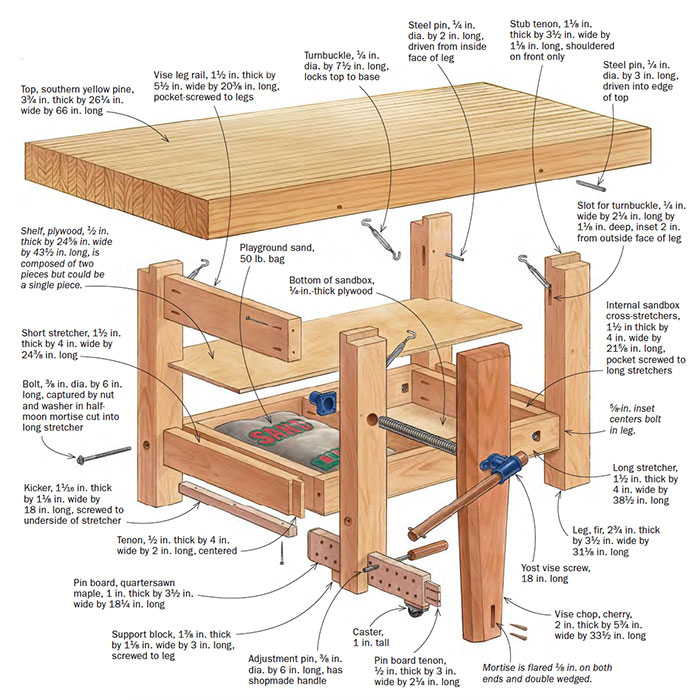
The most important feature of this workbench is the way the legs and the top are joined. The legs have stub tenons that go into matching mortises in the underside of the benchtop, and turnbuckles tighten the joints. I installed steel pins in the top and the leg near the joints to receive the hooks of the turnbuckle. When the turnbuckle is tightened, it pulls the benchtop and the legs together and seats the stub tenon against the mortise wall. This makes for a very rigid joint. But when it’s time to move, just a few turns on each turnbuckle completely frees the top from the base.
Base notes
On my first workbench, the stretchers and legs were entirely joined by bolts. That made for a very stable bench, but I’ve since realized that it’s more convenient for transportation to permanently join the two end stretchers to the legs with glued mortise-and-tenon joints. Now I only use bolts to join the front and rear stretchers to the legs. This means I have fewer parts bouncing around when I disassemble the bench for transport. And having fewer bolts to loosen speeds disassembly.
The front and rear stretchers have one bolt at each end. The bolt passes through the leg and emerges into a pocket cut in the stretcher where a nut can be threaded on and tightened. The pockets are made by drilling a 1-in.-dia. hole and squaring one side of it with a chisel so that a washer and nut can sit flat against that surface, pulling the leg and the stretcher together as the bolt is tightened. You can fit the closed end of a wrench into the opening to hold the nut, or wedge a large flat-head screwdriver between the wall of the pocket and one of the faces of the nut to keep it from spinning.
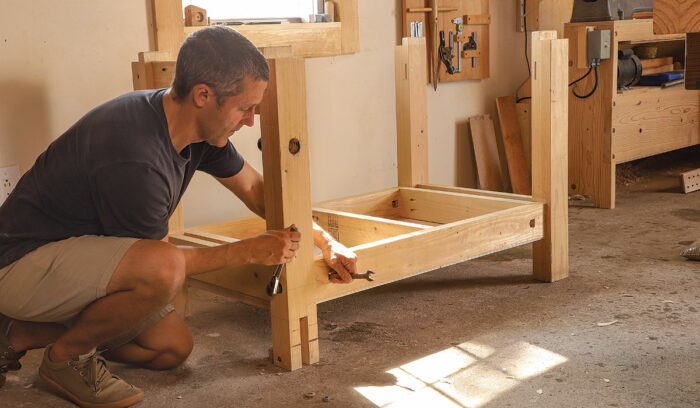
The shelf below my bench is also the cover of a box full of sand. One hundred pounds of playground sand keeps the The shelf below my bench is also the cover of a box full of sand. One hundred pounds of playground sand keeps the bench firmly in place, easily compensating for the light weight of the softwood lumber that I used to build the base. And the bags are easily removed when the bench needs to be disassembled. The front and rear stretchers are linked by three pocket-screwed cross stretchers and skinned with plywood top and bottom.
—Tim Manney builds chairs and makes reamers in South Portland, Maine.
Photos: Jonathan Binzen.
Drawings: Derek Lavoie.
For more photos and illustrations, click on the “View PDF” button below:





Comments
Where can I find the digital plans for this workbench? I have searched the library by every combination I could think of for the article title, subject and author and have not been able to find the plans even though I have an unlimited membership. Thanks for any help you can provide!
I was looking for the same plans, and it looks like they're now available here: https://www.finewoodworking.com/digital-plans-library/compact-stout-workbench
The Manney bench is well thought out but for the use of turnbuckles. With the stress imposed the turnbuckle hook ends will open up and require re tensioning and then replacement.
Log in or create an account to post a comment.
Sign up Log in